How to Send Conditional Email Notification from WordPress Contact Form Plugin
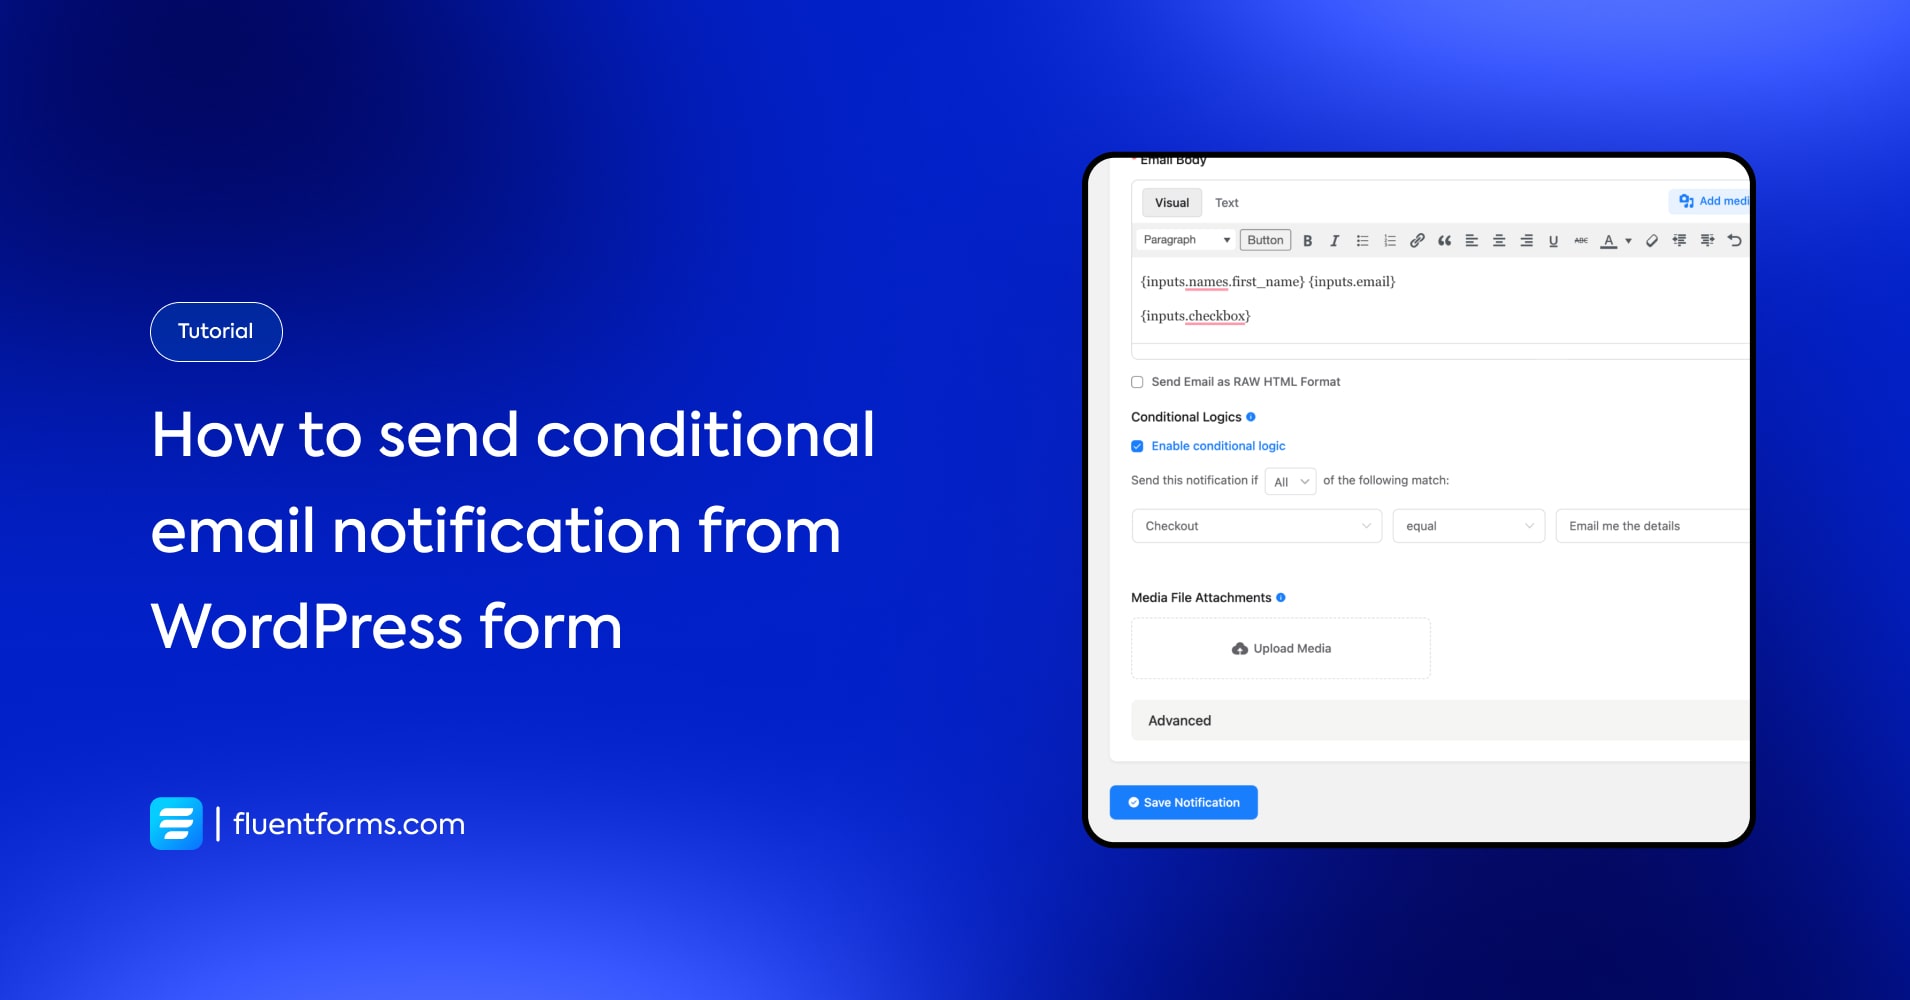
Most forms come with multiple fields. Some of those fields are more important than the rest. And you might want to receive an email notification when there’s an update on the important fields. Let’s see how to set up a conditional email notification for that.
Use case
Sending email notifications from a WordPress form plugin if a form meets certain conditions.
How to send conditional email notifications from a WordPress contact form plugin
In this tutorial, we’ll show you how to send conditional email notifications using Fluent Forms, the best WordPress forms plugin.
Step 1:
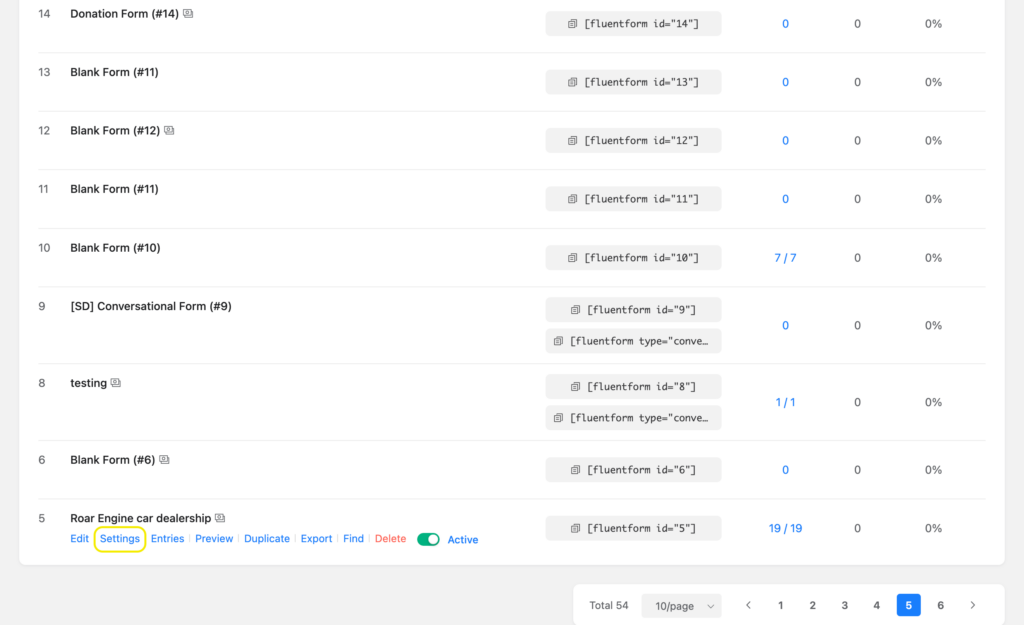
Go to the Settings of the form for which you want to receive conditional email notifications.
Step 2:
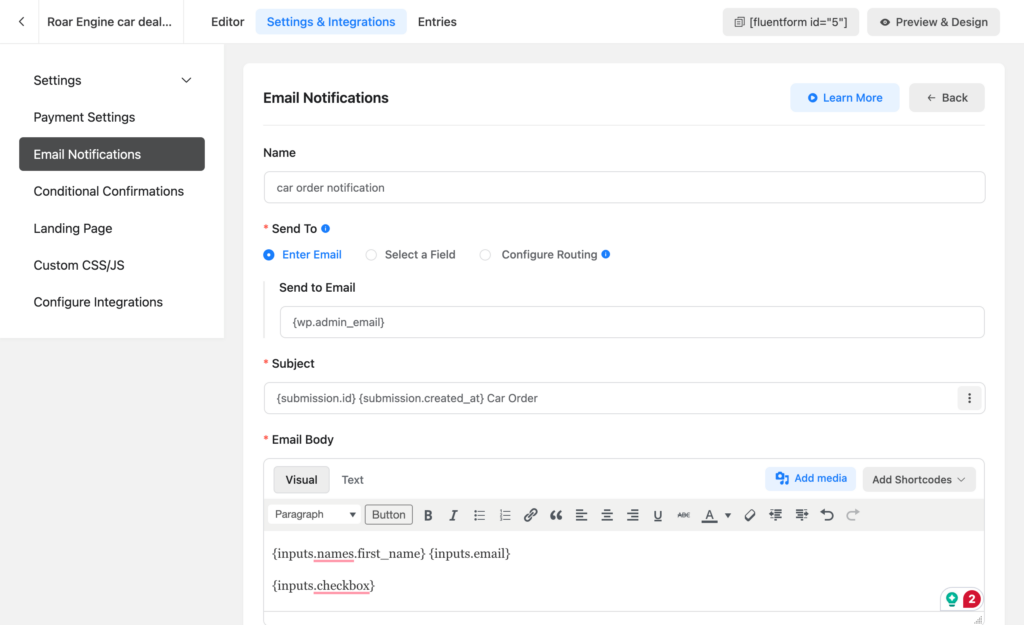
From the Settings and Integrations page, go to Email Notifications → Add Notification.

Step 3:
Name the notification. Select where you want the notifications to be sent. We want it to our WordPress admin email. So we’ve added the shortcode for the WordPress admin email under Send to Email field. Write a suitable Subject and Email Body. You can also select the input fields’ shortcodes if you want to make them dynamic.
Step 4:
Check the Enable conditional logic box. Now add one or more conditions based on your needs.
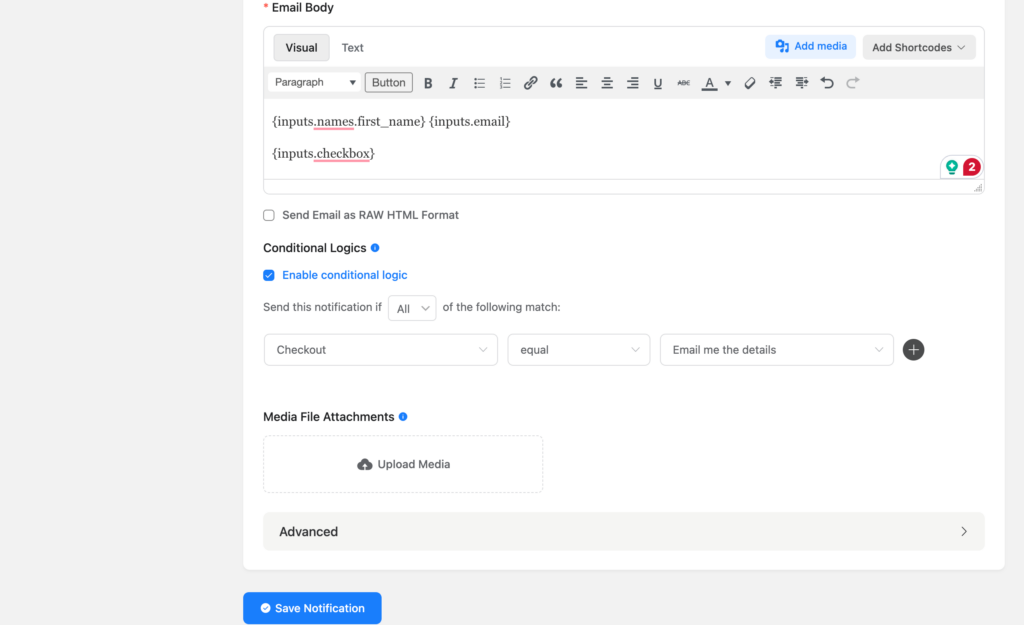
To add conditions, select the desired form field in the first box and the desired option/answer in the last box. The box in the middle dictates the relation between them, whether the field in the first box is equal to/ not equal to/ starts with/ ends with/ includes/ doesn’t include the value in the last box.
To add more conditions, click on the Plus icon.
In case of multiple conditions, select All if you want to receive a notification when all the conditions are met. Select Any if you want to receive notifications when any of the provided conditions are met.
We had two options in the radio field for “checkout”: “buy now”, and “email me the details”. We wanted an email notification when someone chooses “email me the details”. This makes it easy to send them the details in the reply email. We set a condition accordingly (in the image below).
Step 5:
Lastly, click on Save Notification.
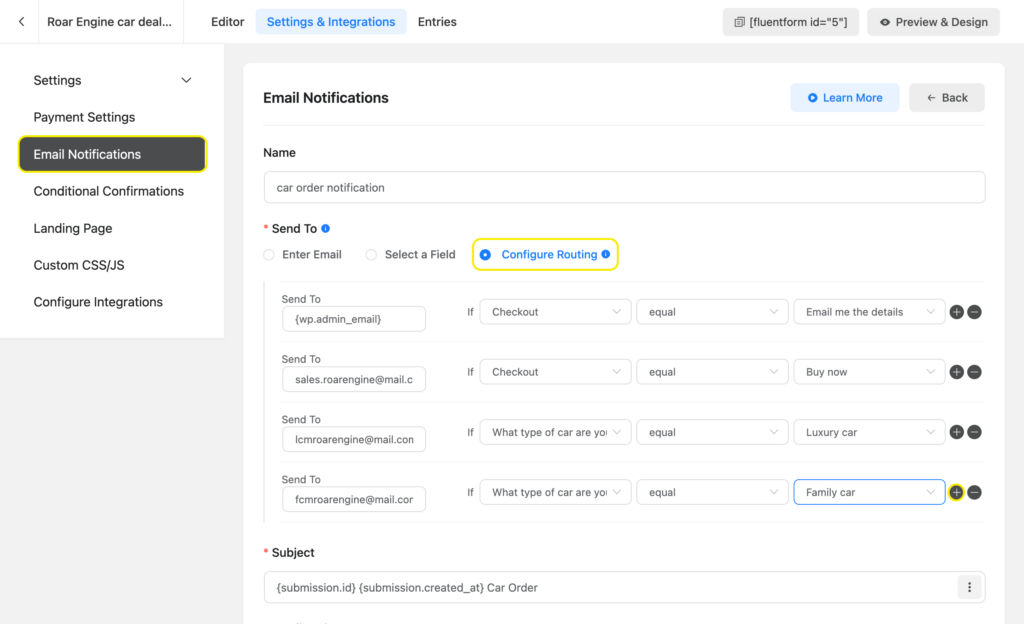
However, if you want to send different email notifications to respective departments, select Configure Routing below Send To. Then enter the email addresses for different departments and set conditions for which notifications are to be sent to them. Click on the Plus icon to add more email addresses and conditions.
Related feature
Email summaries
By enabling email summaries, you receive a weekly update on how your forms are performing. You can choose whether you want the summaries to be sent to the site admin or a custom email. You can also customize the email subject and select which day of the week you want to receive the summaries.
This feature is especially helpful if there are any updates on one of the old forms that you haven’t checked in a while.



Leave a Reply