How to Show Different Confirmation Messages to Different Users in a WordPress Form
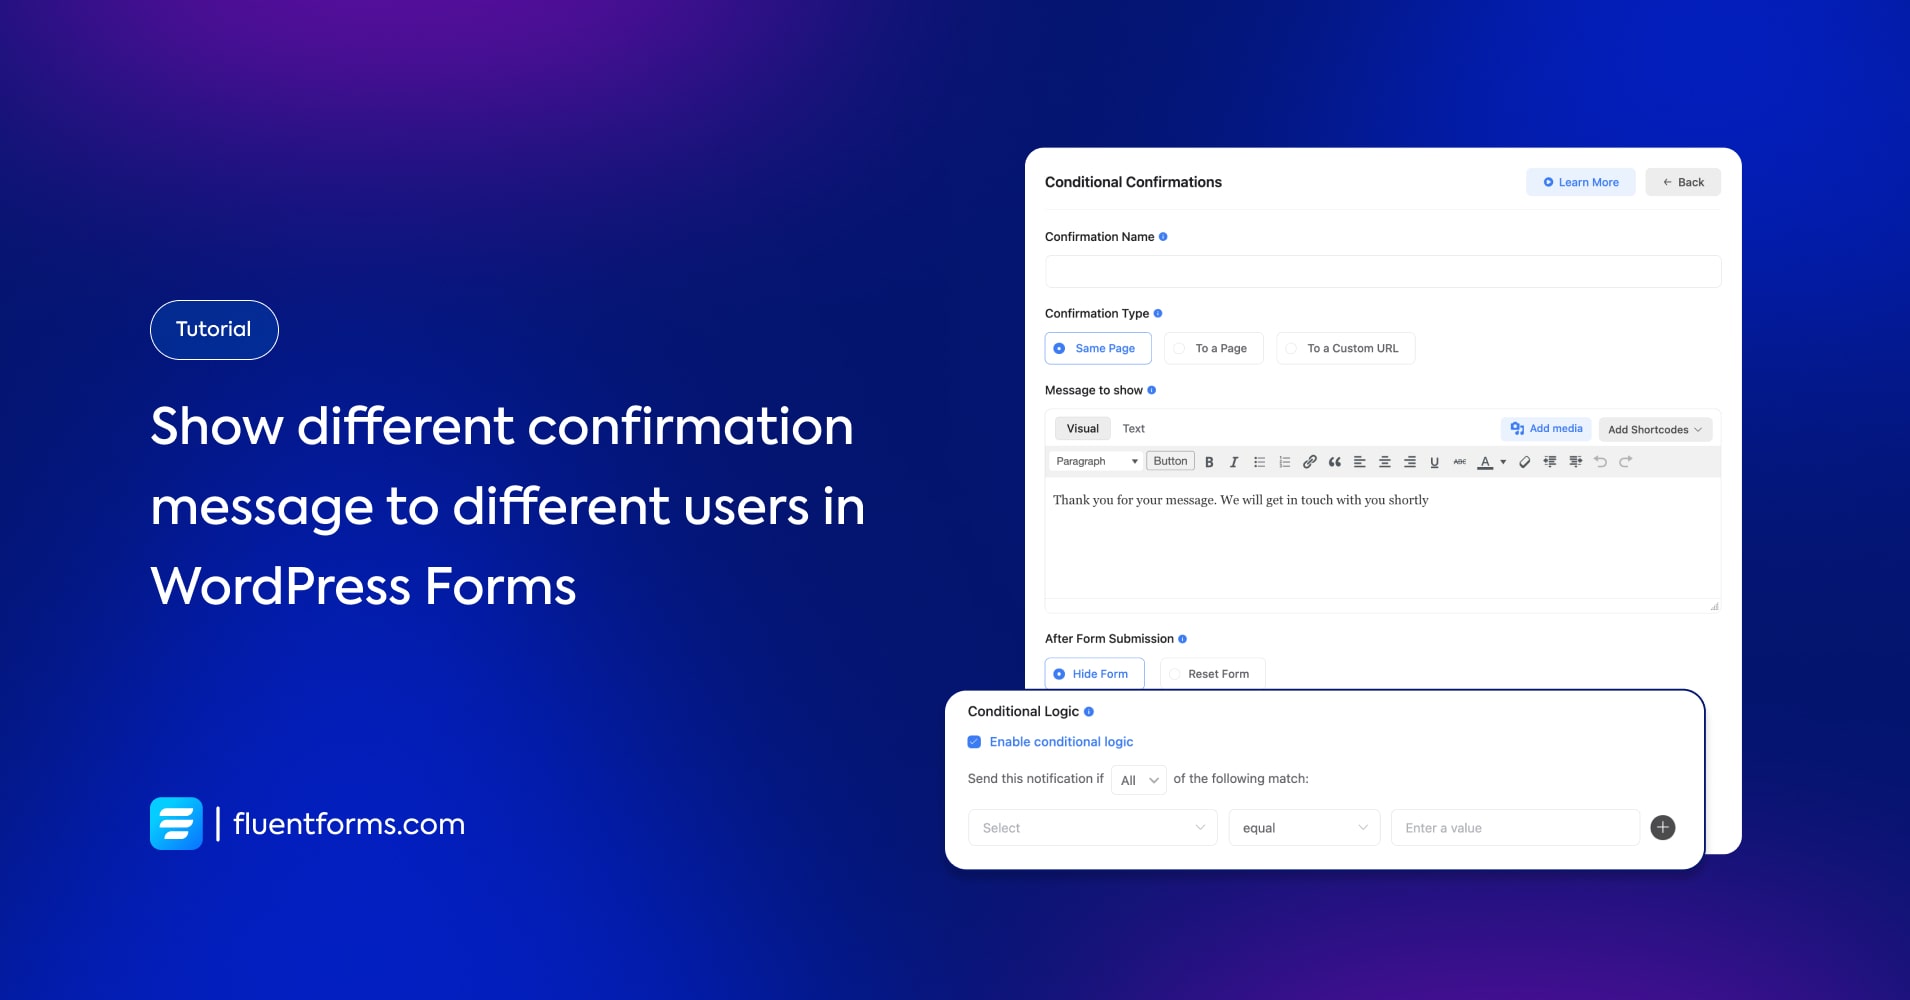
You can show different confirmation messages to different users using the Conditional Confirmation feature of Fluent Forms. This is a must-have feature if you want to offer your clients a more personalized form-filling experience.
Use cases
- Let your clients know whether they’ve fulfilled a requirement immediately after the form submission
- Show separate confirmation messages for each type of entry in a certain form field
- Send conditional confirmation messages whenever you require your clients to meet one or more conditions
- Add a CTA button in the confirmation message in case you want to redirect certain users to any further activities.
How to show different confirmation messages to different users
We’ve created a flower order form with Fluent Forms, a contact form builder plugin for WordPress.
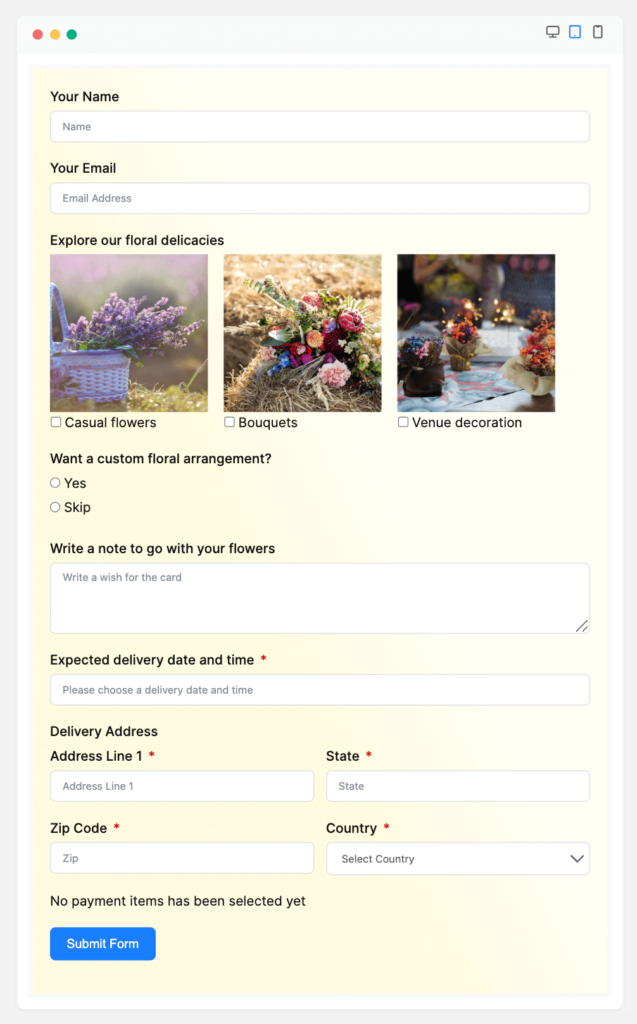
There is a default confirmation message to inform our customers about a successful form submission. However, we want to show a different message to the customers who order a custom floral arrangement, so they can discuss the details of their requirements with our florist team.
Below is the step-by-step process on how to achieve that.
Step 1:
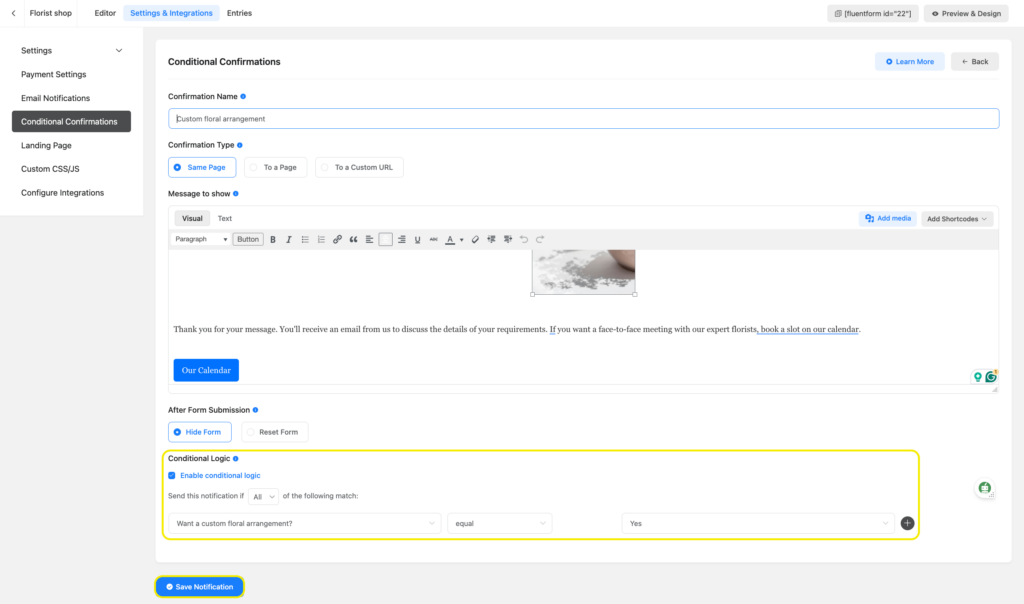
Go to the form for which you want to add conditional confirmation. From there, go to Settings → Conditional Confirmations → Add Confirmation.

Step 2:
On the page that appears, write a Confirmation Name. Then select a Confirmation Type, whether you want the confirmation to appear on the same page as the form submission, redirect the individual to any of your web pages, or to a custom URL.
Step 3:
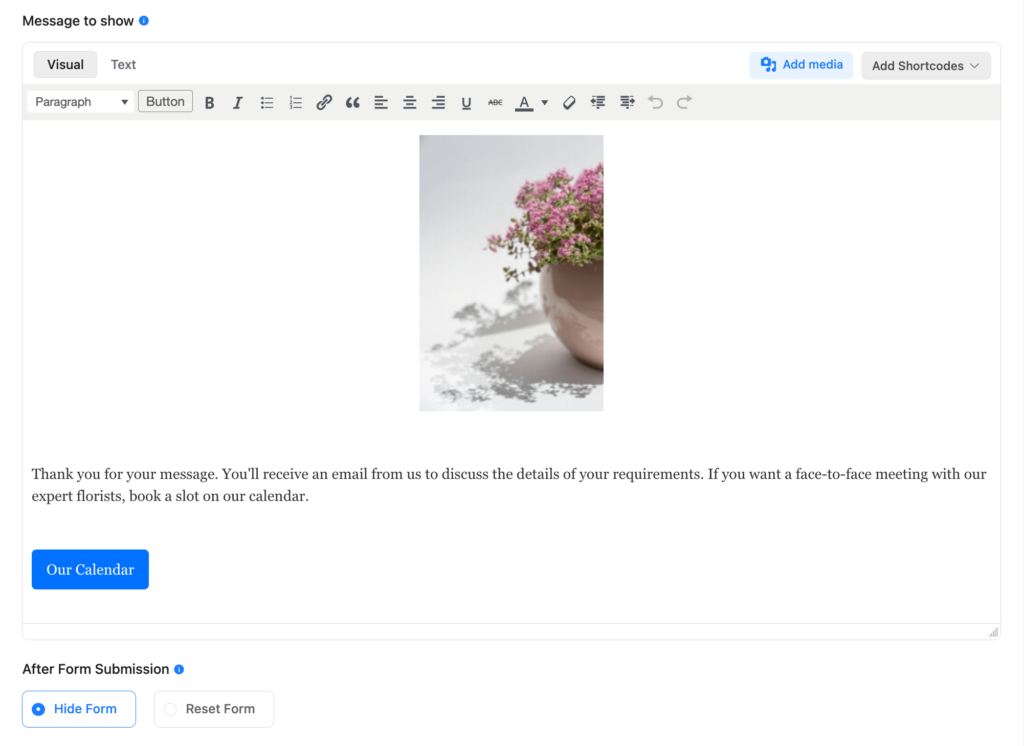
Write the custom message that you want to send if your client meets a certain condition while filling out the form. You can also add buttons here if you want to guide users to the next step. Then select whether you want to hide the form or reset the form after form submission.
Step 4:
In this step, enable Conditional Logic. You can add one or multiple conditions for different fields of your form. After adding the first condition, tap on the plus icon to add more conditions.
In case of multiple conditions, if you want the message to show if any of the conditions match, select Any. Select All if you want to show the custom message when all of the conditions are met.

Step 5:
Finally, click on Save Notification and you’re done. This is the confirmational message that your customers receive who order a custom floral arrangement.
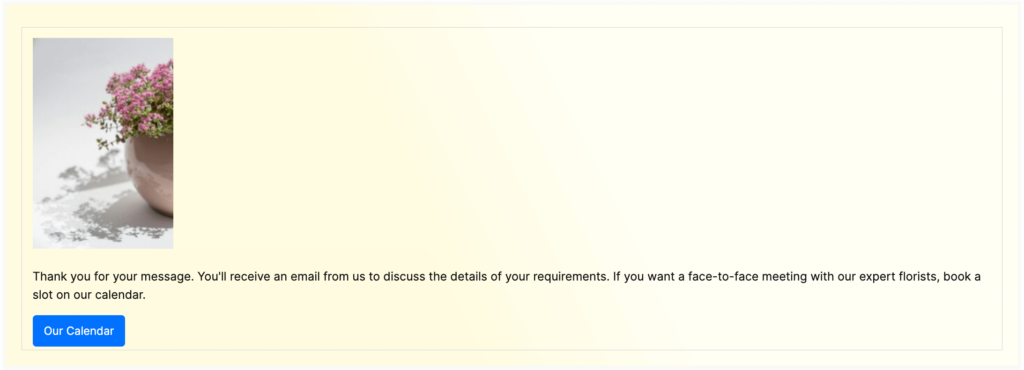
The customers who do not meet the conditions get the default confirmational message unless you add another one or more conditional confirmations targeting them.
Related features
Enabling conditional logic for smart form building
It makes your form look clean by hiding unnecessary fields. Besides, it makes navigation easy throughout the form by guiding the client from one necessary form field to the next. When conditional logic is applied, a form only shows the relevant field depending on the input/entry of a certain field.
Conditional logic in email notification
You can receive and send conditional email notifications for particular forms. For example, if there’s only one job application form for different departments, you can send notifications for each application of a certain department to a dedicated email address. You can also get the attachments with those forms in the email.




Leave a Reply