
How to Connect EmailOctopus in WordPress Forms

According to the Data & Marketing Association, 40% of marketers believe email marketing is essential for their content marketing success. So, growing a successful email list should be one of the first priorities for your business.So, you must be looking for a way to create an email list from new subscribers. But don’t know how to do that?
If the answer is yes, then this could be the end of your research. Because this article will help you to connect one of the best email marketing tools, EmailOctopus in WordPress. But before moving into the main part, let’s get some idea about the tool and the process idea briefly. For example, what exactly the software is, how it works, the benefits of using it, and the easiest but fruitful way to use it in WordPress. So, let’s dive in.
What is EmailOctopus Connect?
EmailOctopus is a simple-to-use email marketing platform providing crucial features to individuals and business owners that need to grow their email list and engage their visitors.Users can import contacts, make drip email sequences, connect with forms, import emails, and get customized reports, and whatnot. This tool can help you make time-based onboarding email sequences to engage your audience by sharing your most read content or sending a welcome series of emails to the new subscribers.
Besides, EmailOctopus gives in-depth data on campaign performance, with each click tracking the bounces and unsubscribes. It can connect to over 2,000 platforms via Zapier. The tool includes MailChimp, Shopify, Salesforce, SurveyMonkey, Eventbrite, Ticket Tailor, and so on. Now, let’s find out how EmailOctopus Connect can help WordPress users.
What does EmailOctopus bring to WordPress users?
Don’t get overwhelmed by the number of email marketing tools in the WordPress world. Some plugins are better for fast email marketing; some are best in collecting emails. Also, some features are available in all of them. Before choosing the right one for you, make sure your email marketing tool has these essential features because being wrongfooted can cost you big bucks.
Responsive email templates
Hooking EmailOctopus with Fluent Forms allows you to use various email marketing templates to make your campaigns more catchy. Keep exploring, there is no limit of use and no added cost of using templates.
Automate your task
You and your team don’t need to spend hours doing monotonous, repetitive tasks; instead, use this in more productive activities. With the powerful automation feature of EmailOctopus, you can set up drip sequences and time-based autoresponders to strategically grow your business.
Powerful analytics
EmailOctopus Connect lets WordPress users track their campaigns’ performance, analyze bounces and unsubscribes, and discuss every aspect of the email marketing efforts. The robust analytics system of the tool neatly records each result of a campaign.
Unbeatable dependability
You need 100% confidence in the reliability of your email campaigns. EmailOctopus redirects emails through Amazon’s Simple Email Service (SES), which means if you use this tool, you will get first-class service anywhere in the globe.
Now that we know the benefits of using EmailOctopus in WordPress. Time to buckle up! This walkthrough will help you to set up EmailOctopus and send emails with ease.
To connect EmailOctopus in WordPress, you have to follow the steps below.
- Select a form builder tool as a triggered app in Zapier
- Connect Zapier with that plugin
- Select the target app (EmailOctopus connect) in Zapier
So, without further ado, let’s jump in.
Use EmailOctopus Connect with Fluent Forms
In this post, we choose Fluent Forms as a triggered app in Zapier. Why? It’s simple and lightweight yet capable of building beautiful forms to attract more audiences. No coding, no hassle, simple drag-and-drop made it as easy as pie.The plugin comes with 70+ pre-built templates, 35+ third-party integrations, and 45+ input fields for users. If you want to give your forms some dynamic extent to it, feel free to use Custom CSS/JS, design some eye-catching buttons, add photos/icons to make your form more graphic. Features like advanced post creation, signature add-on, range slider field, reCAPTCHA can play essential roles in making an effective form. So why not merge it with Zapier to make it more powerful?
Fluent Forms is tied up with Zapier to connect with 1000 more apps. EmailOctopus is one of them. So, let’s find out how to add the tool in WordPress for better email campaigns. Here are the steps of the process.
- Turn on Zapier
- Make a Webhook feed and get the Webhook URL from Zapier
- Save settings
- Test trigger
- Connect with EmailOctopus WordPress
If you have already seen our article on connecting Zapier with Fluent Forms, then you can jump to step 5.
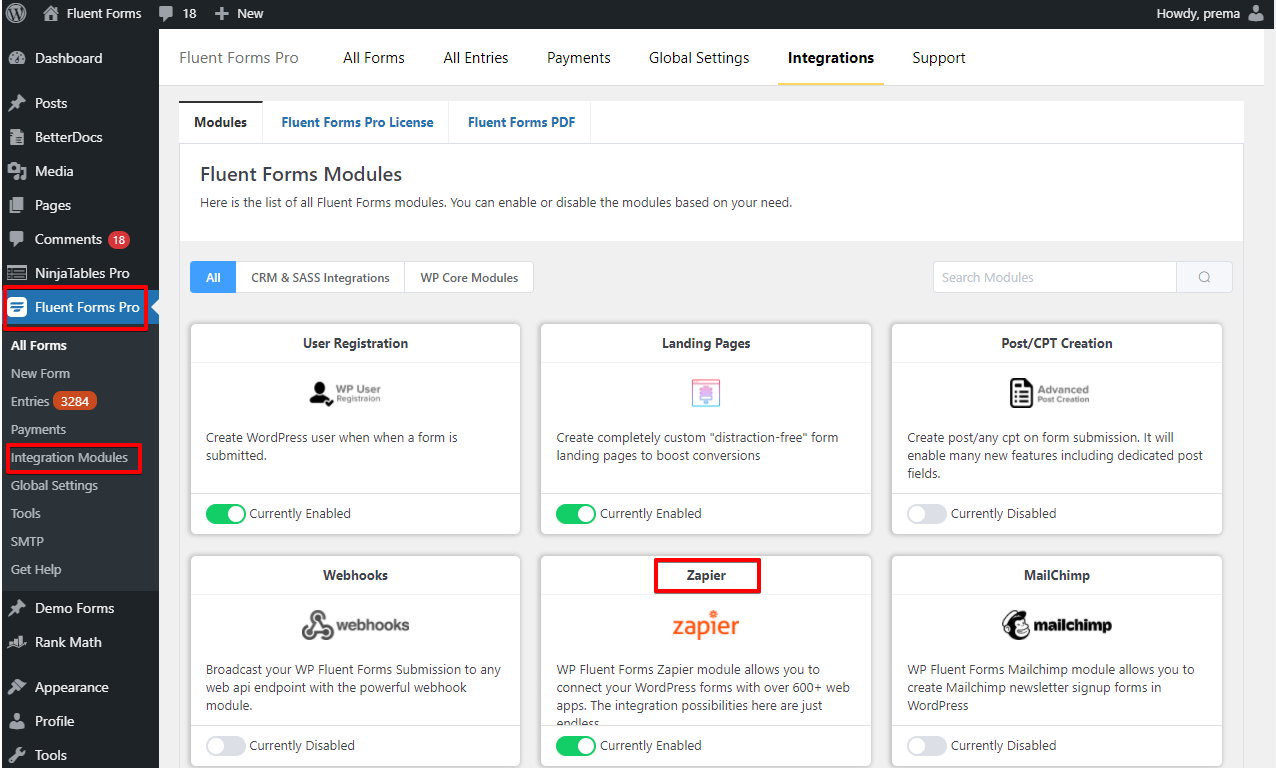
Step 1: Turn on the Zapier
Go to the Fluent Forms dashboard, from the Integration Modules of Fluent Forms Pro to activate the Zapier module.
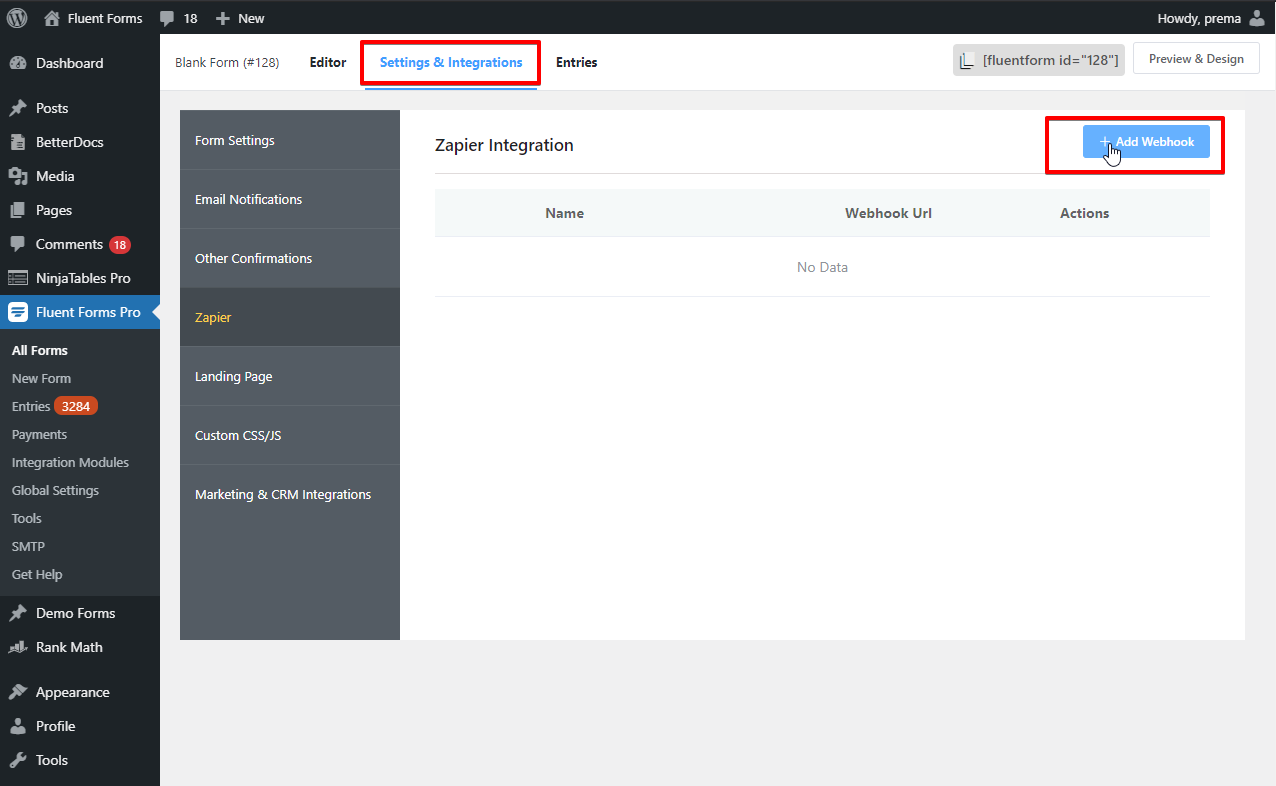
Step 2: Make a Webhook feed & get the Webhook URL from Zapier
Now, create a form or choose a pre-built one to connect it with Zapier. Go to the Settings & Integration of the selected form and click on the Zapier section from the left sidebar. Make a Webhook feed on the Add Webhook option from the top right corner.
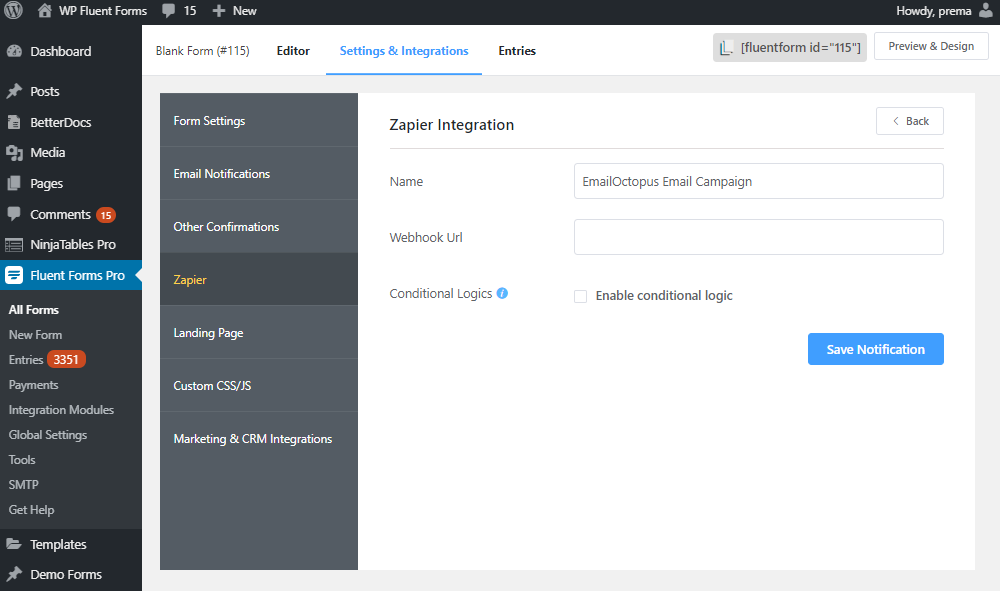
First, name the feed.
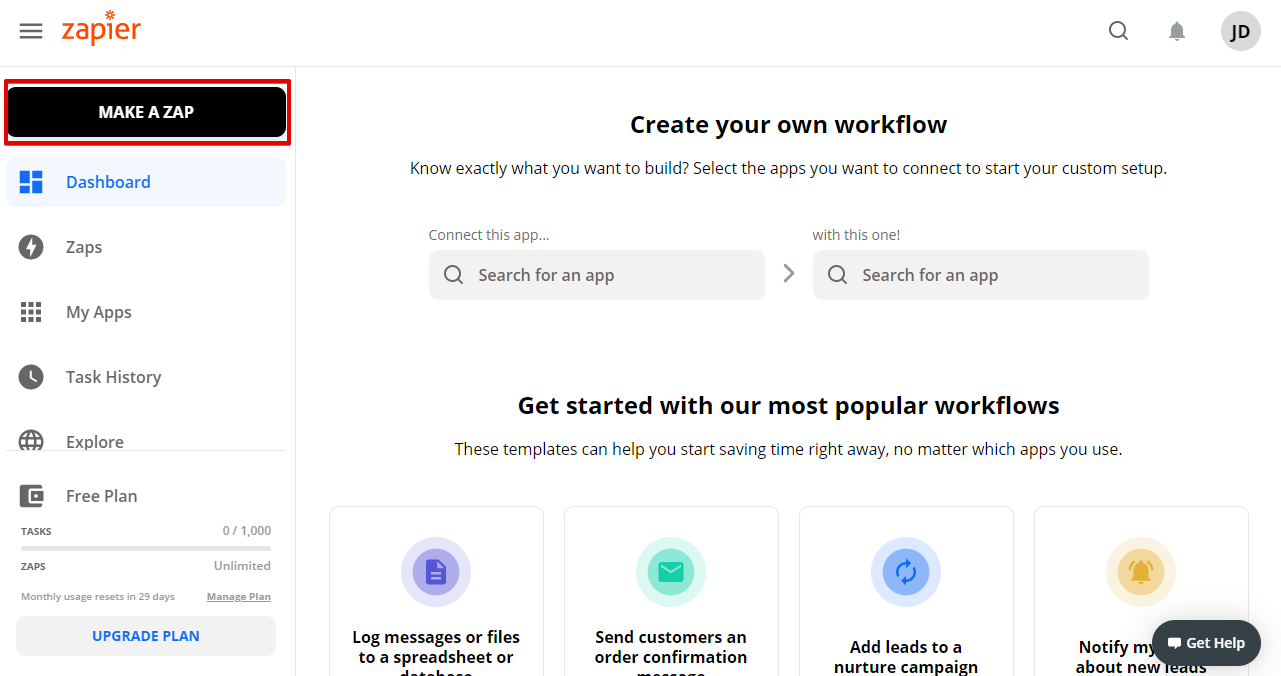
Now, log in to your Zapier account, and go for the Make A Zap button from the top left side.
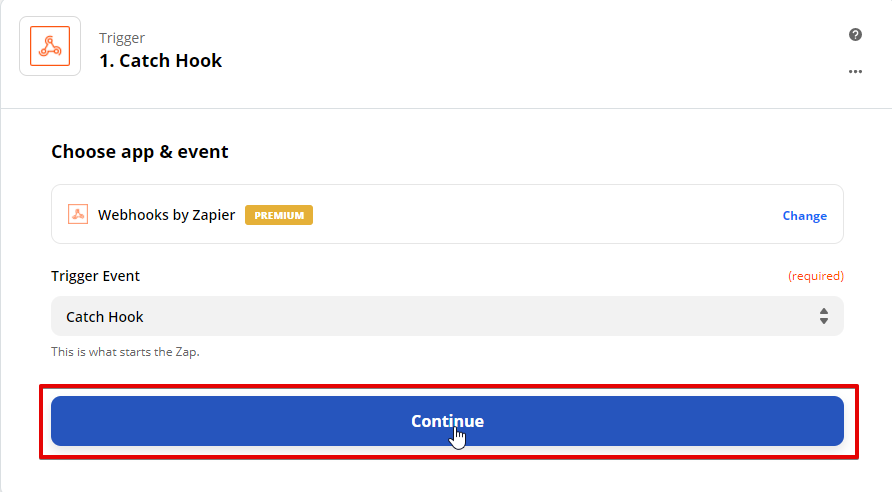
Look for the app Webhook in the Choose app & Event section. Then pick Catch Hook from the Trigger Event, and tap on the Continue button.
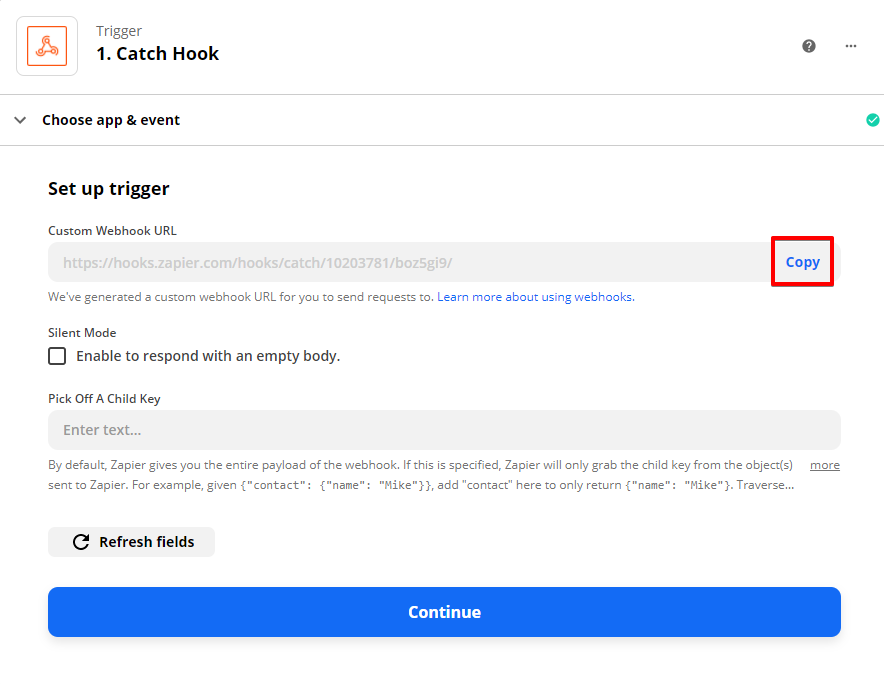
Now, copy the triggered URL.
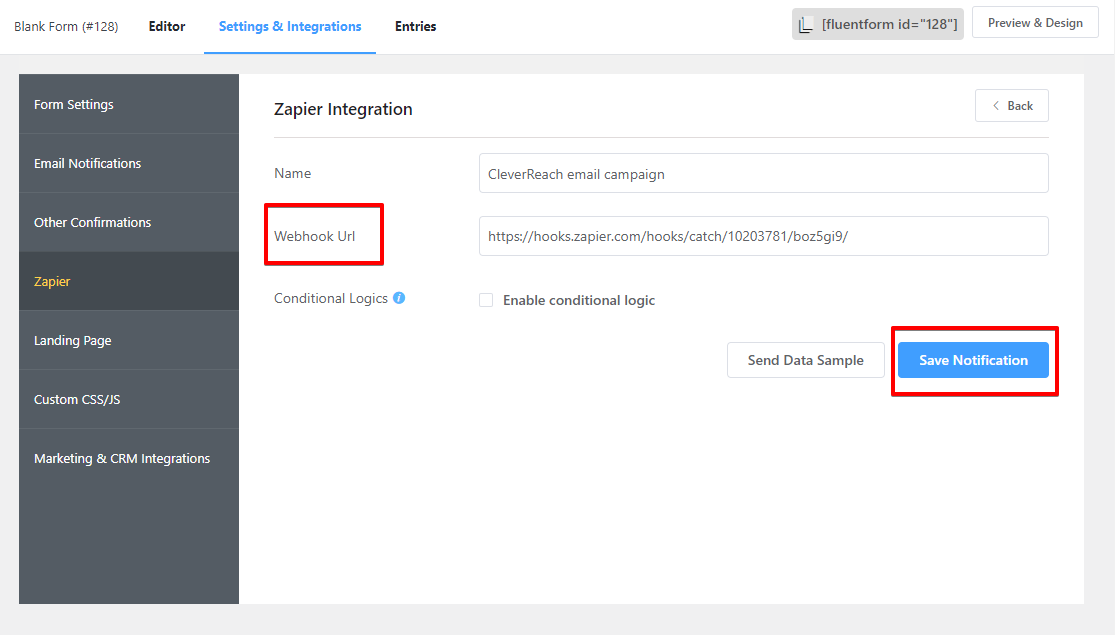
Step 3: Save settings
Paste it in the Fluent Forms dashboard, where we made a Webhook feed. Finally, save the settings.
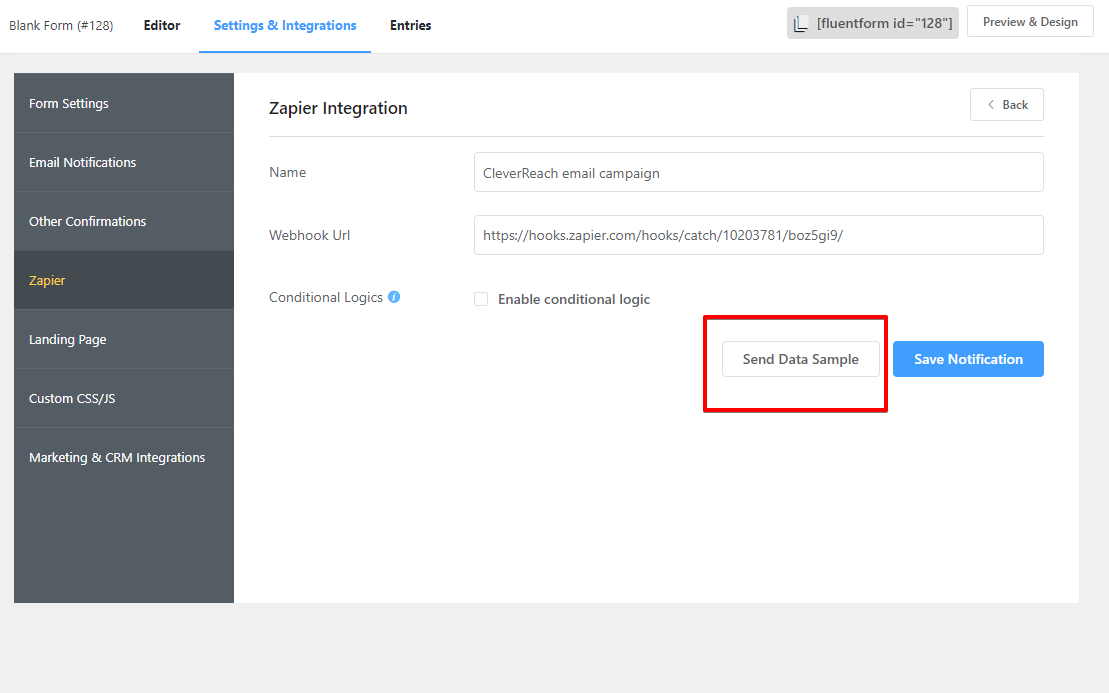
Step 4: Test trigger
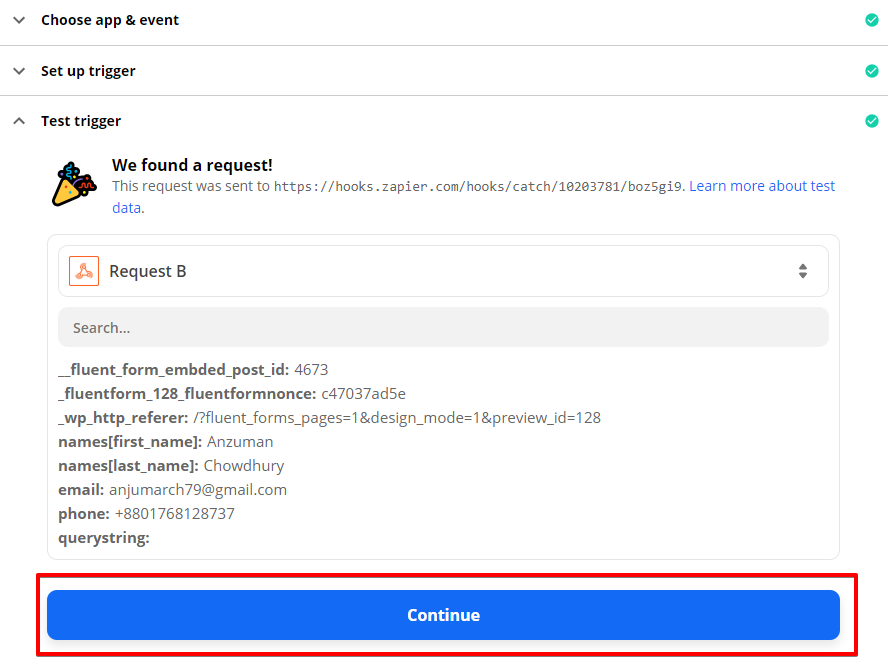
You can test the trigger by redirecting a sample of data to the created feed. Just fill-up the respective form for testing, and then from the Zapier settings, click on the Send Data Sample on the WordPress dashboard.
Click on the Test Trigger dropdown button, and you will get an effective request of a form field with a client’s details. At last, go through the Continue button to complete the setup.
Step 5: Connect with EmailOctopus in WordPress
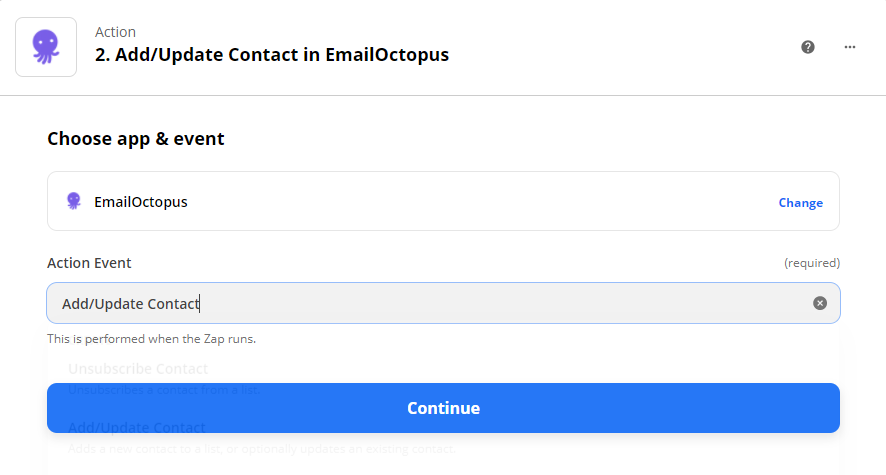
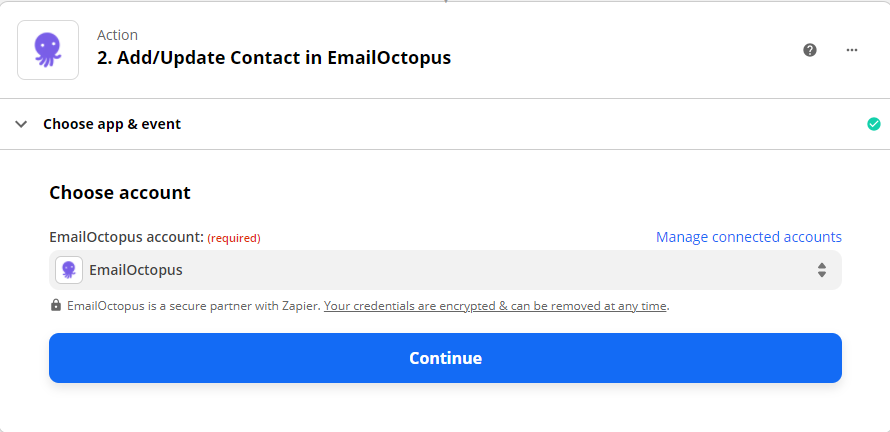
When Catch Hook is done, you will redirect to the second step. Here, you can select any app to link with your form through Zapier. In our case, we are selecting EmailOctopus now. Click on the Continue button.
Copy EmailOctopus API from its dashboard by logging into the account. Then paste it here in Zapier’s respective section. Click Continue.
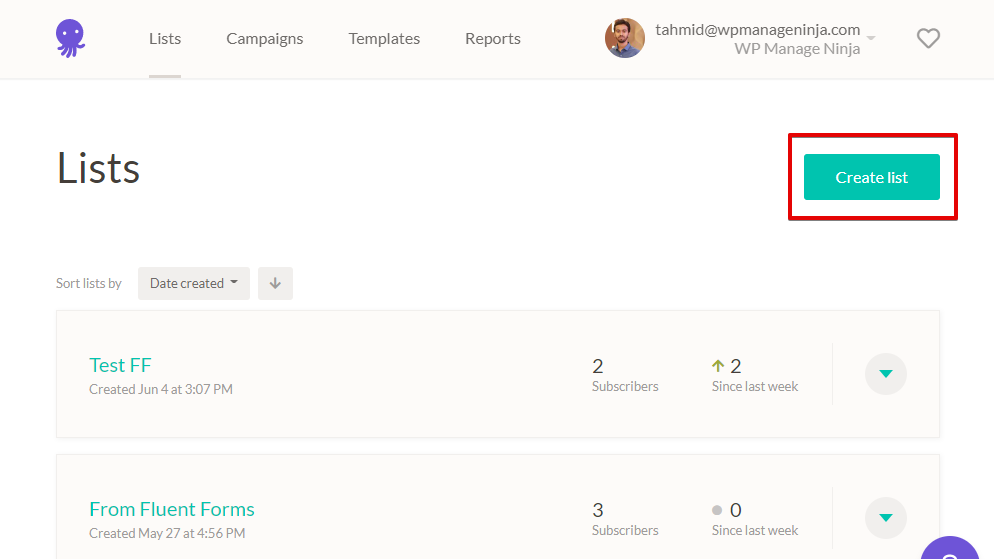
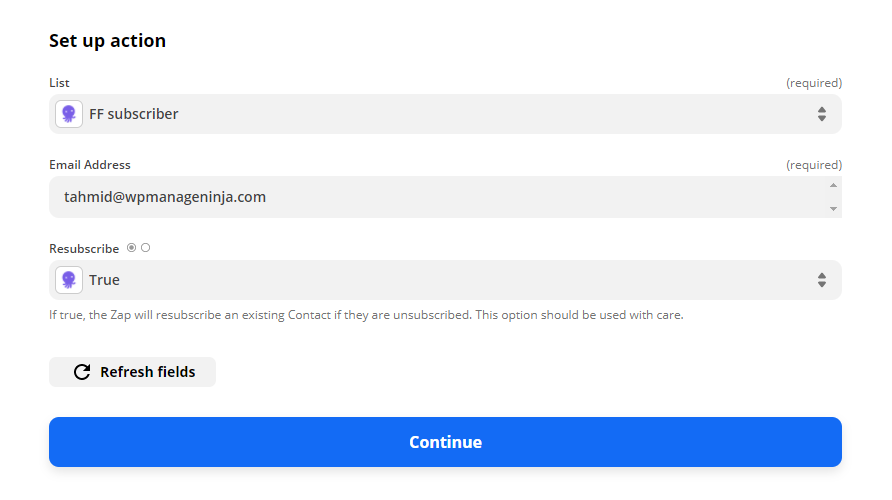
Now, you have to fill up specific information fields like list, email, resubscribe, etc. To add the list, go back to your EmailOctopus connect account. Here click on the List from the top right corner. A new page will open, there you will see a button named Create list. Go for this, and design your campaign list as you want.
Now, go back to the Zapier dashboard. Here, choose the list from the list section you have just created on the EmailOctopus dashboard. Don’t forget to refresh the pages every time before looking for the related materials. Then set up all other requirements and press continue.
To test the data, fill up your form again, and check it here. Put the required info and click on the Test and Continue button.
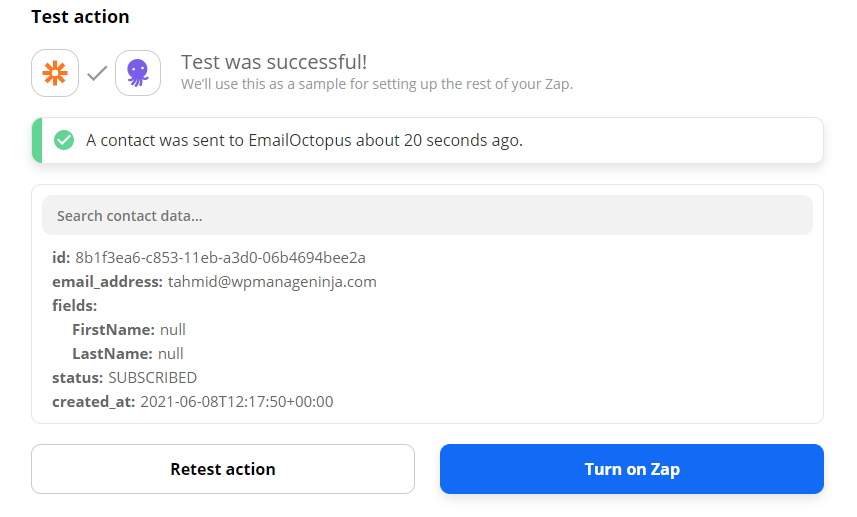
Yay! We have successfully set up the EmailOctopus Connect with Fluent Forms in WordPress by Zapier. Now, you can go back to your EmailOctopus account and check out who your subscribers are.
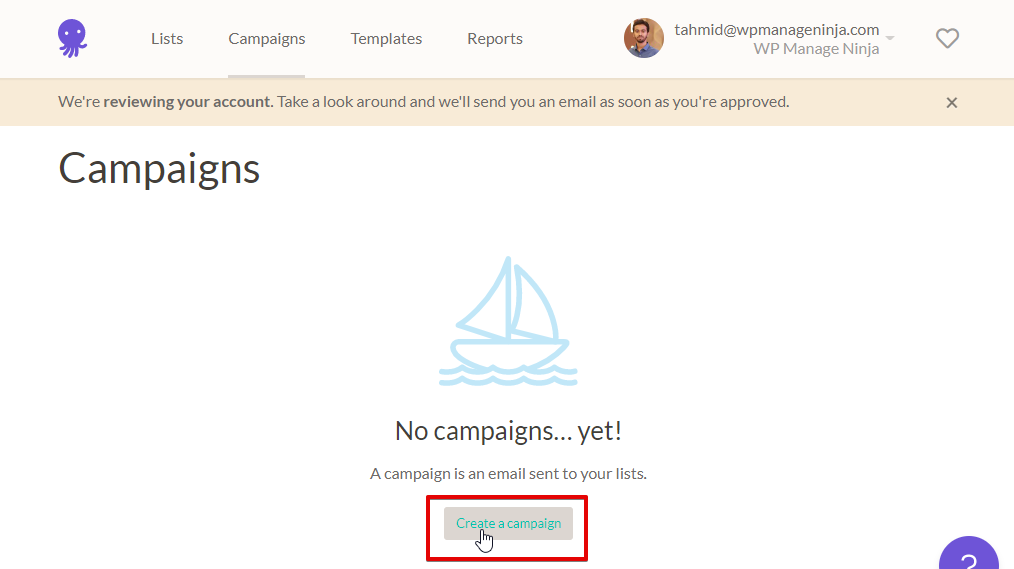
To create a campaign, go to the Campaigns section of the EmailOctopus dashboard. Here press the Create a campaign button.
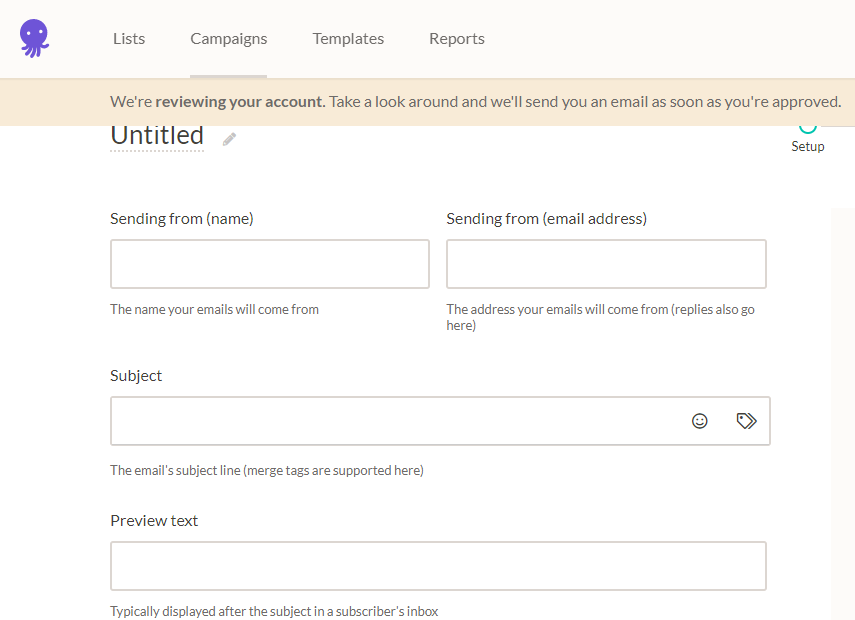
It will direct you to its campaign templates. Choose any and design the sections as you want.
Isn’t that easy? Please share your thoughts on this article in the comment section below.
Final words
Congratulations! Now, as you have a solid grasp on how to add EmailOctopus Connect with Zapier via Fluent Forms, you will find it super easy to add other apps to automate your workflow. However, once you start collecting emails, be sure you send the right type of emails that will turn your leads into loyal customers or subscribers.

Hello, This is Prema. I work as a marketing strategist for Fluent Forms at WPManageNinja. When I am not playing with words, I go to explore nature.


Leave a Reply