
Form Validation in WordPress with Fluent Forms

How many times have you given a password, but it wasn’t accepted, and proclaimed that passwords need two numbers, a special character, a capital letter, or a quote? Nothing is more frustrating than that, right?
Though it’s a common experience, form optimization is a key element for better conversion. And form validation is one of the important aspects of better form optimization, and keeps safe your form from spam submissions. But how to do that? In this article, we’ll explain how to set the form validation in WordPress with Fluent Forms.
Let’s jump in!
What is form validation, and why it’s important?
Form validation is a technical process by form builders where they check if the data given by users is correct. If the action is activated, then it will send alerts to users, when they don’t submit correct information, or when users will provide accurate data, the form will be validated.
Form validation in WordPress is important to get the expected data to meet specific expectations. It’s also necessary to restrain online form abuses by harmful users. Improper data validation causes security vulnerabilities and unveils websites to attacks, such as cross-site scripting, SQL injections, and header injections. So, form validation is important to ensure individual data sorting and form encoding.
How to validate your form in WordPress
We’ll follow these three steps to validate a form in WordPress with Fluent Forms. Why did we choose Fluent Forms? We’ll answer that in the later part of this one.
- Create a form
- Configure your form
- Set the form validation
- Publish form
Now, let’s discuss each step in detail.
Step-1: Create a form
In this post, we’ll simply make a registration form for our upcoming deal seasons.
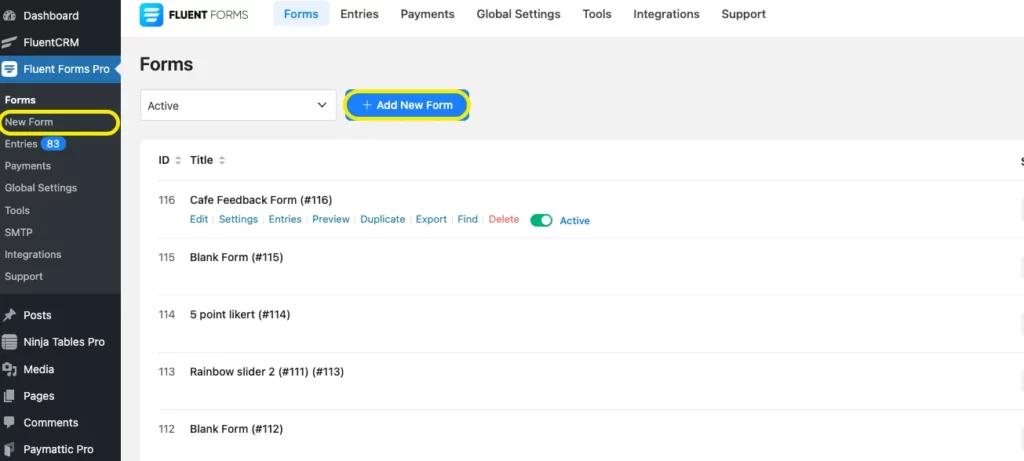
So, first, go to your WordPress dashboard, and click on Fluent Forms pro. Then, tap on the Add New Form button.
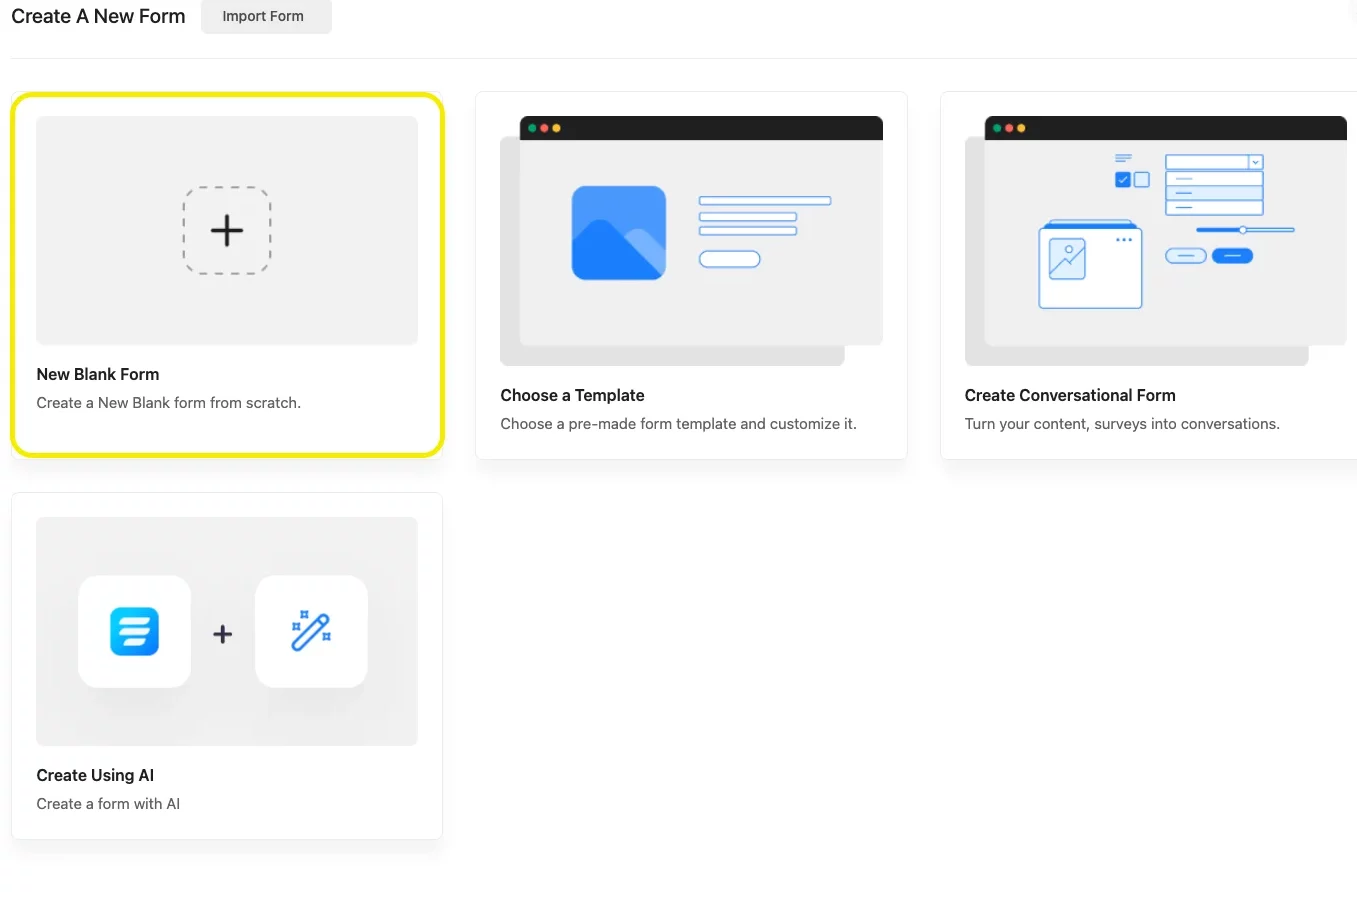
Now, you’ll get the pre-built templates of Fluent Forms. There are 70+ pre-made templates crafted by the Fluent Forms team for your convenience. We’re taking the New Blank Form option.
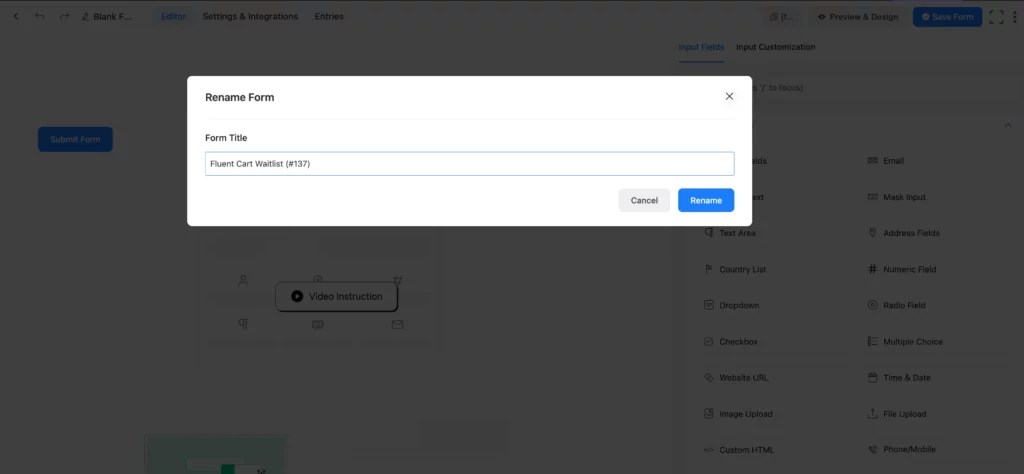
After that, the form editor will appear. First of all, we’re changing the form’s name. To do that, click on the Blank Form button in the top left corner.
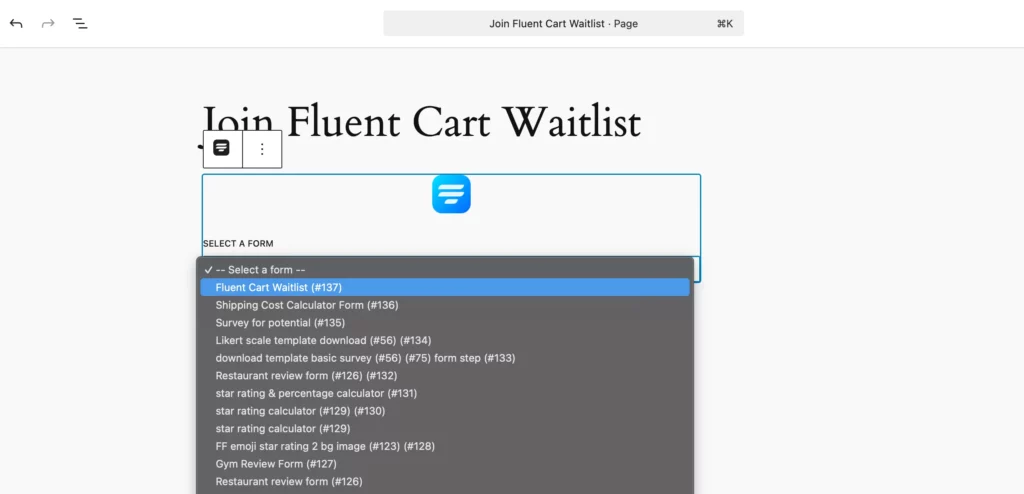
And naming our form as “Fluent Cart Waitlist.
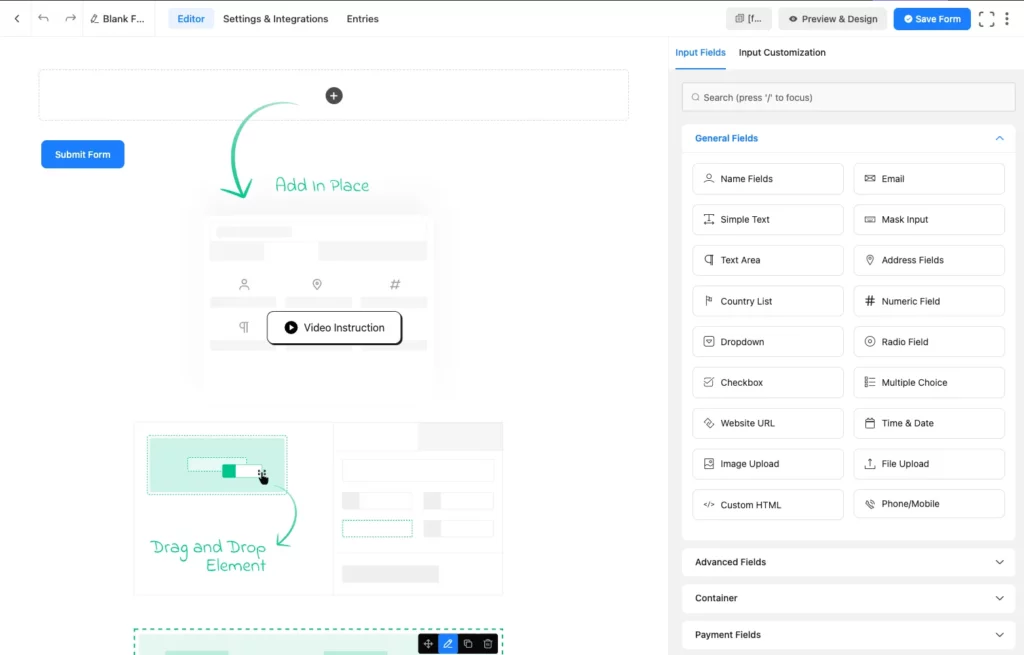
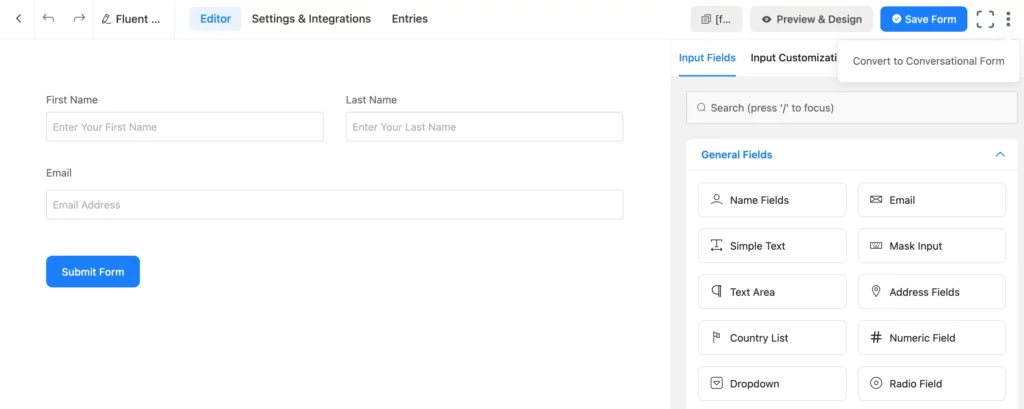
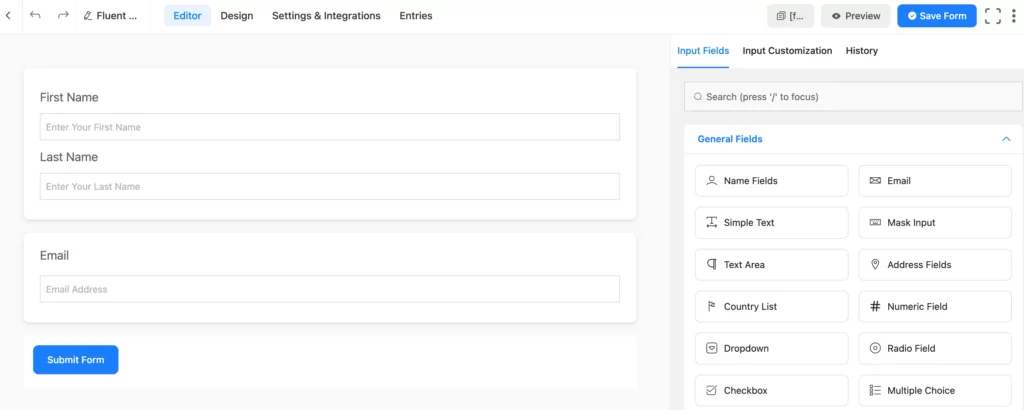
Now, from the General Fields section, we’re taking the Name Field, and Email Field. Because for an waitlist form a name field and an email field is enough.
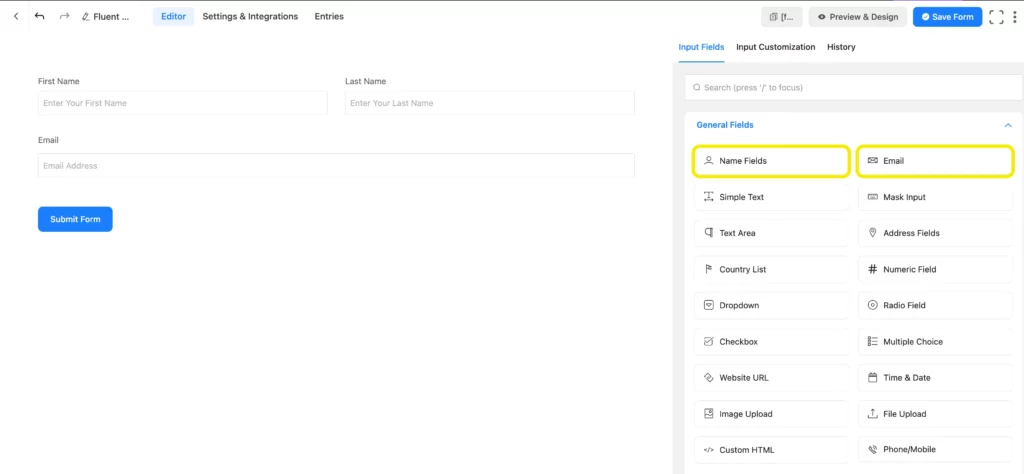
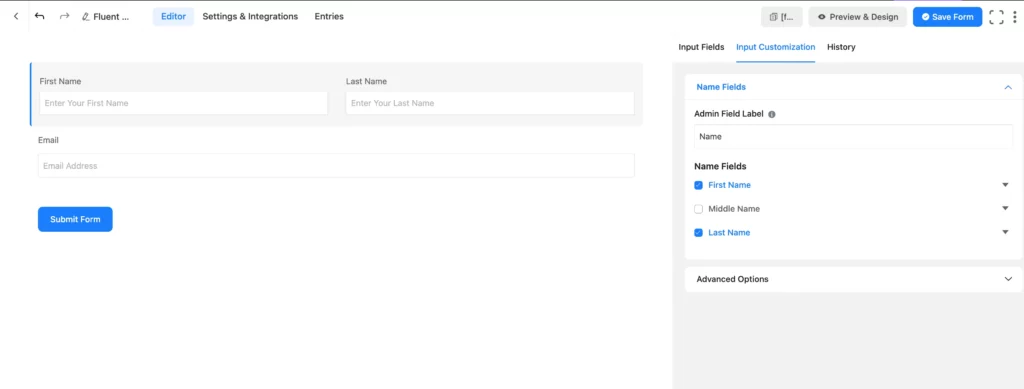
Now, if you want to edit the fields, go to the Input Customization field for each field, or click on the pencil icon to get the input customization field.
We’re skipping this part for now. Because we don’t need to customize anything.
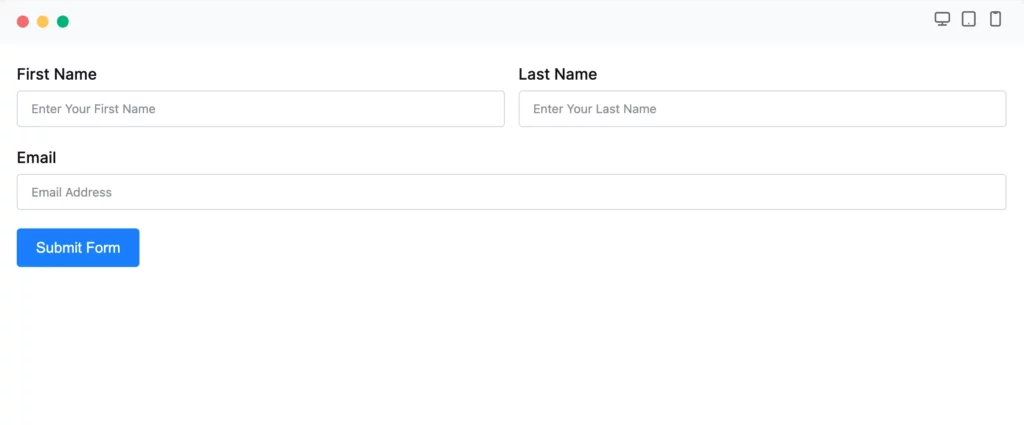
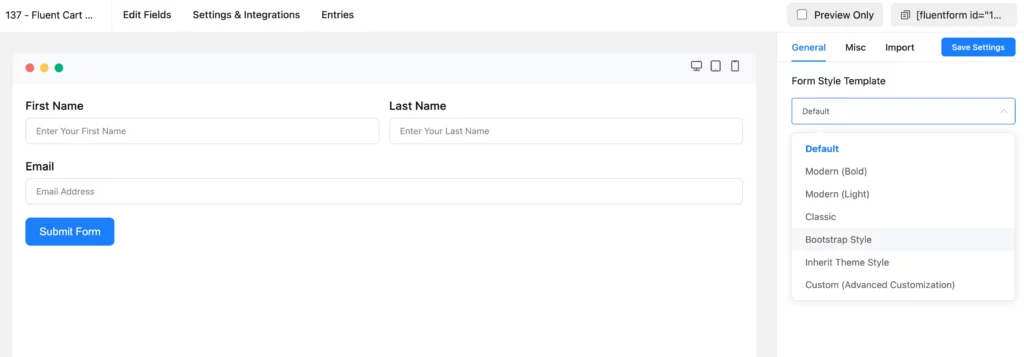
Finally, save the form by clicking on the Save Form button from the top right corner, and click on the Preview & Design button near the save form button. And here’s the preview of our form.
In the preview & design part, you’ll also get a global styler option to style your form more beautifully.
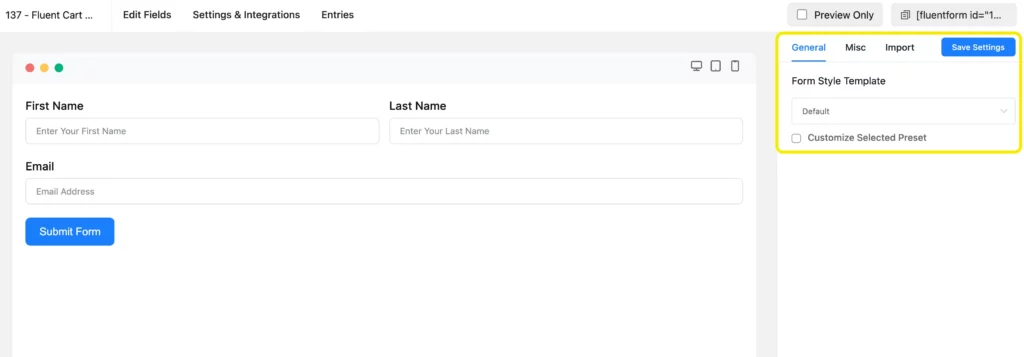
Here, select any template from the Form Style Template. We’re taking the Bootstrap Style.
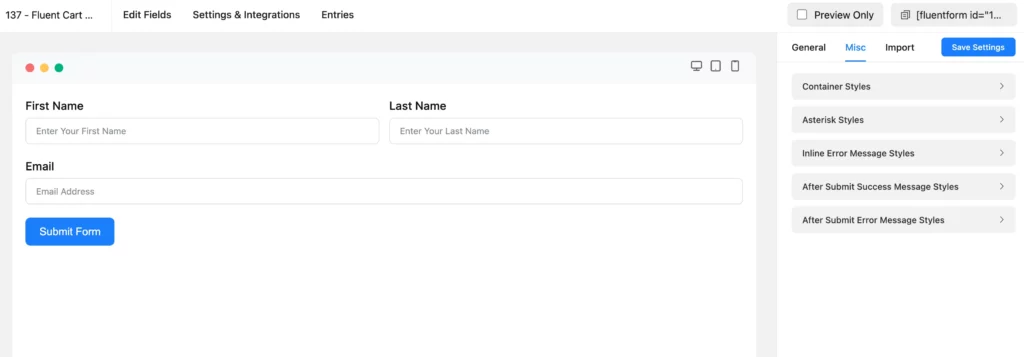
Then, moving on to the Misc section, you can customize the form in more detail, such as container styles, asterisk styles, inline error message styles. After submit success message styles, and after submit error message styles.
For this, we’re just changing the background color from the container styles.
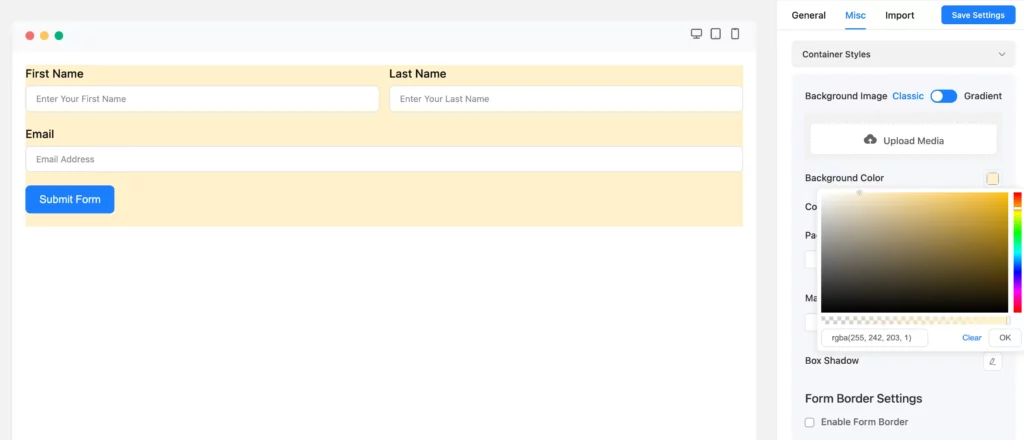
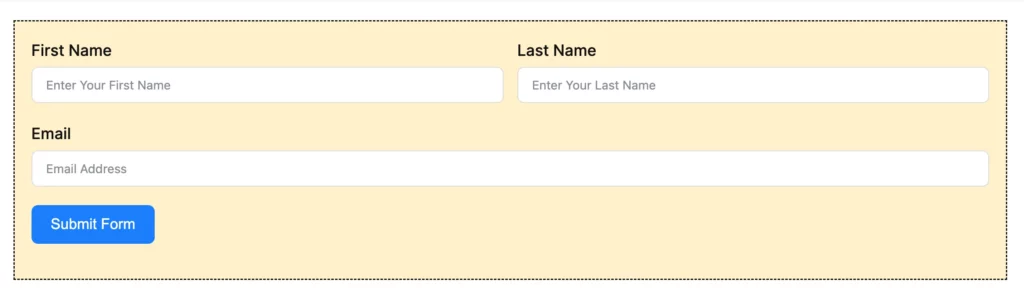
You can do more changes. For example form margin, form padding, enabling form borders, text typography, color, and many more. We’re not making any more changes for now, and clicking on the Save Settings button. And this is the current look of the form.
Moreover, if you want to give your form a lively feeling, and conversation to your users, you can use the conversational forms feature of the plugin. To convert this form into a conversational one, go to the form editor again, and hover on the three-dotted icon at the top of the right-side corner of the editor. There you’ll get the Convert to Conversational Form button.
Tap that button, and confirm the change. After that, you’ll see the conversational form editor.
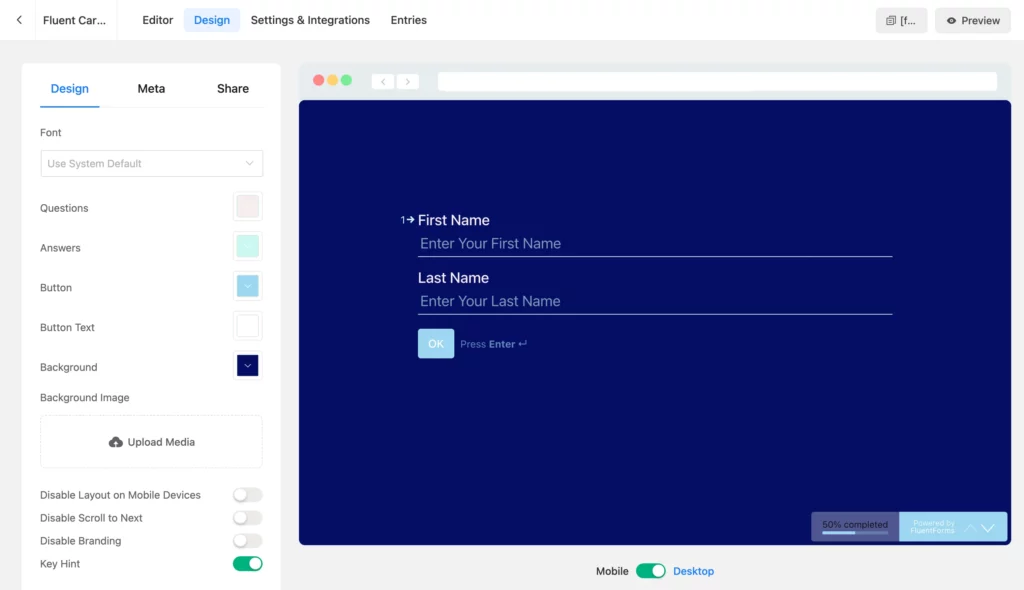
We’re skipping this part, as we don’t want to add any new fields here. So, moving on to the Design part directly. Here, you can change the font type, color of questions, and answers, set a background image, disable mobile layout, disable branding, activate key hints, etc.
We’re just adding a background image, and setting the contrast according to the questions, and answers’ colors.
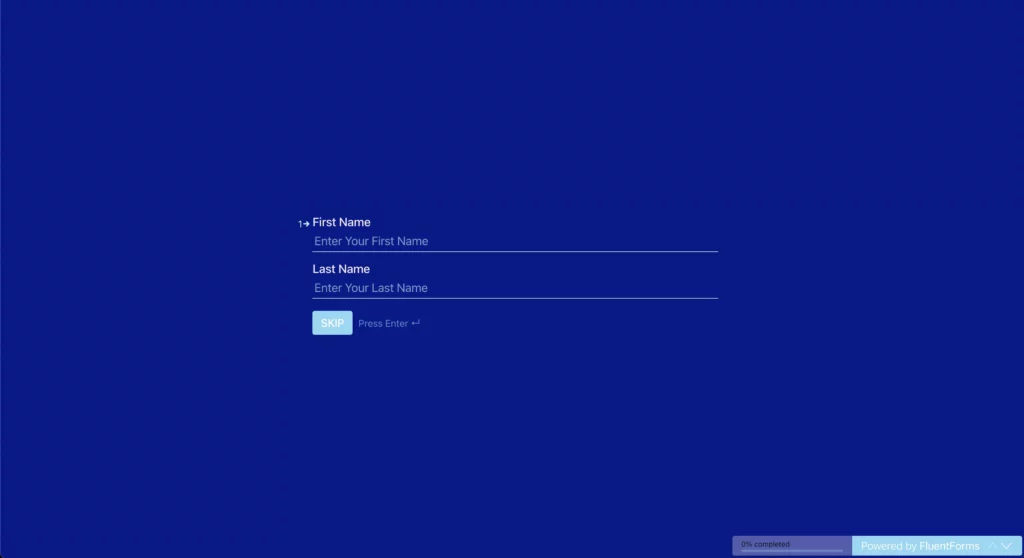
This is the final look of the form.
Step-2: Configure your form
To configure the form settings, go on to the Settings, & Integrations part.
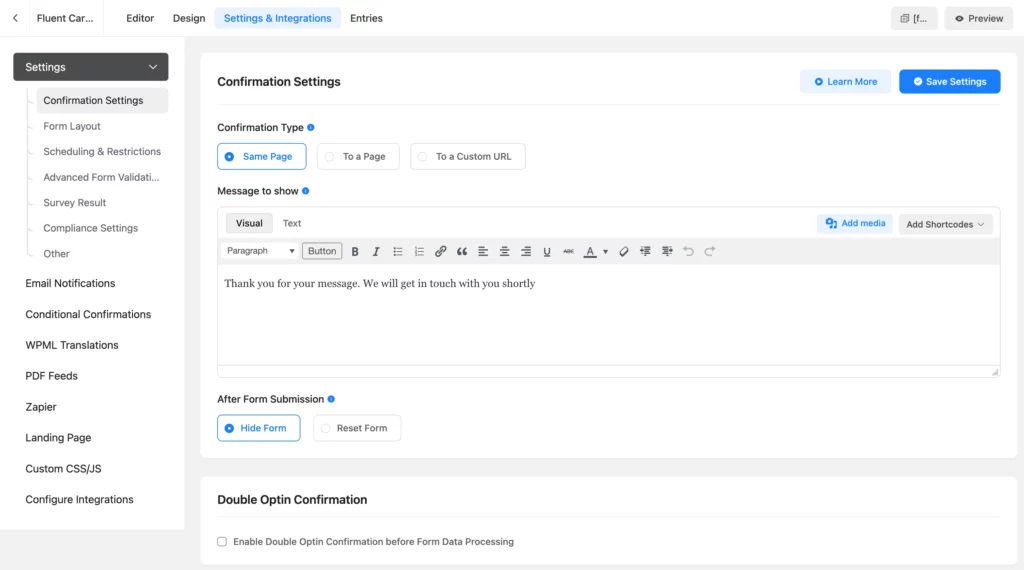
In this part, we’ll set the Form Settings, Email Notifications, Other Confirmations, Landing Page, Quiz Settings, Custom CSS/JS, Configure Integrations, etc.
Step-3: Set the form validation
To set up the form validation option, scroll down to the Advanced Form Validation section on the Form Settings part, and tap on the Enable Advanced Form Validation button.
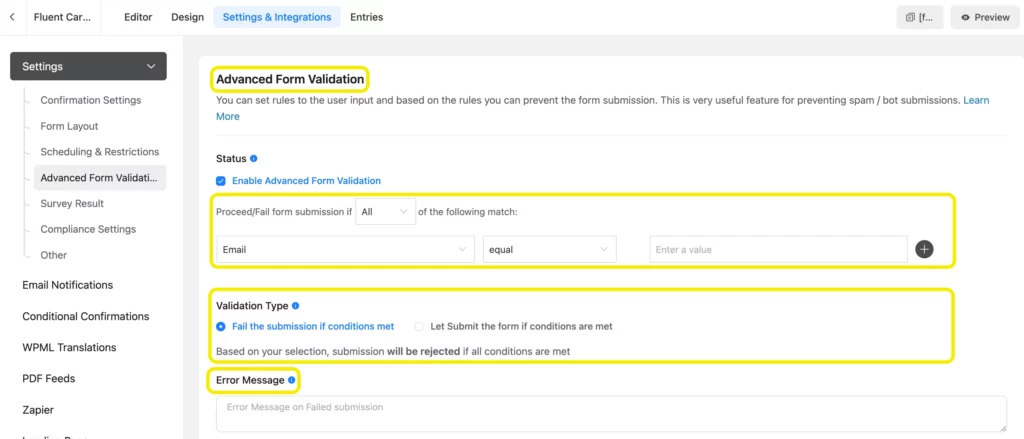
Now, you can set the condition for either proceeding with the form, or rejecting the submission, Validation Type, and Error Message for the invalid submission. At last, click on the Save Settings button to save all the information.
Step-4: Publish form
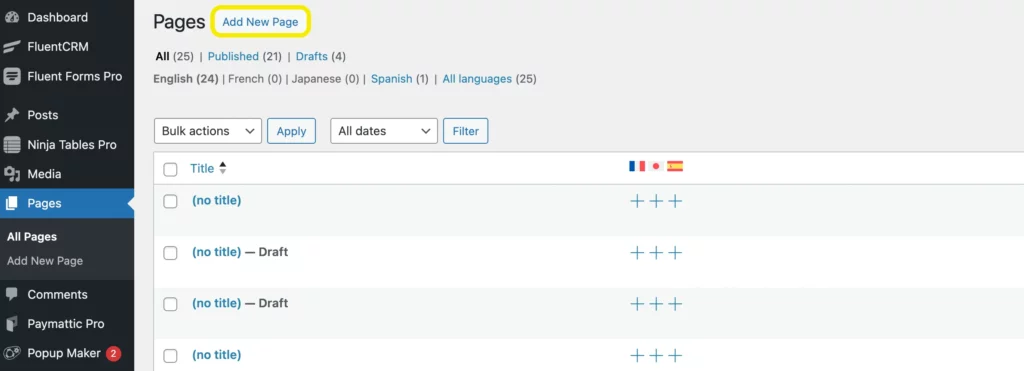
You can publish the respective form in two easy ways. If you want to display your form on a page, just go to the Pages section on your WordPress dashboard, and tap on the Add New button.
After that, you’ll get Fluent Forms’ Gutenberg block by clicking on the editor’s plus (+) icon.
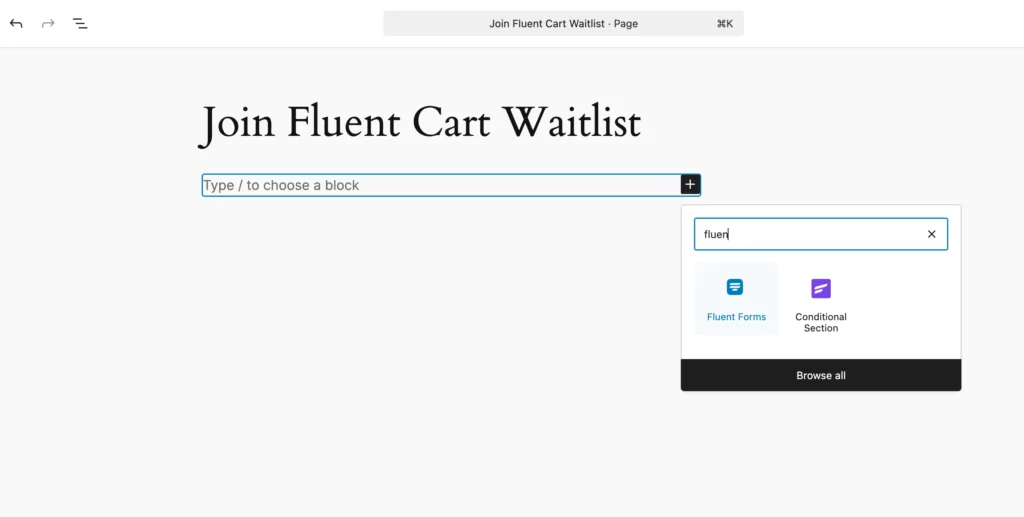
After that, select the form, and publish it on your website.
There’s another way to publish your form. Just copy the form’s shortcode, and paste it anywhere on your website with the shortcode field.
Easy, isn’t it?!
Final Words
We hope you found this article helpful. In this post, we tried to show you the best possible way of validating your forms. Besides, the benefits of using Fluent Forms doesn’t end here. There’re tons of solutions with plugins, you could use for your website.
For more solutions like this, you can follow us on Facebook, Twitter, Instagram, and YouTube.

Hello, This is Prema. I work as a marketing strategist for Fluent Forms at WPManageNinja. When I am not playing with words, I go to explore nature.


Leave a Reply