How to Detect and Remove Malware from Your WordPress Site

You start your working hours with a coffee in hand, ready to conduct a routine check of your WordPress site, if the site is up and running, whether all the URLs are working, that sort of thing. But something feels off. The homepage is covered in ads, visitors are complaining about redirects, and your inbox is full of worried emails.
You realize your site’s been hit by malware, even though you were always careful about security. It actually happens more often than you might think. However, with the right knowledge and tools, you can easily detect and remove malware from your WordPress site within moments.
It’s completely fine if you don’t have any prior knowledge. We’re going to walk you through the process to recover your site step-by-step and help you make it stronger than ever.
Let’s dive right into the details.
Malware: what it is & types
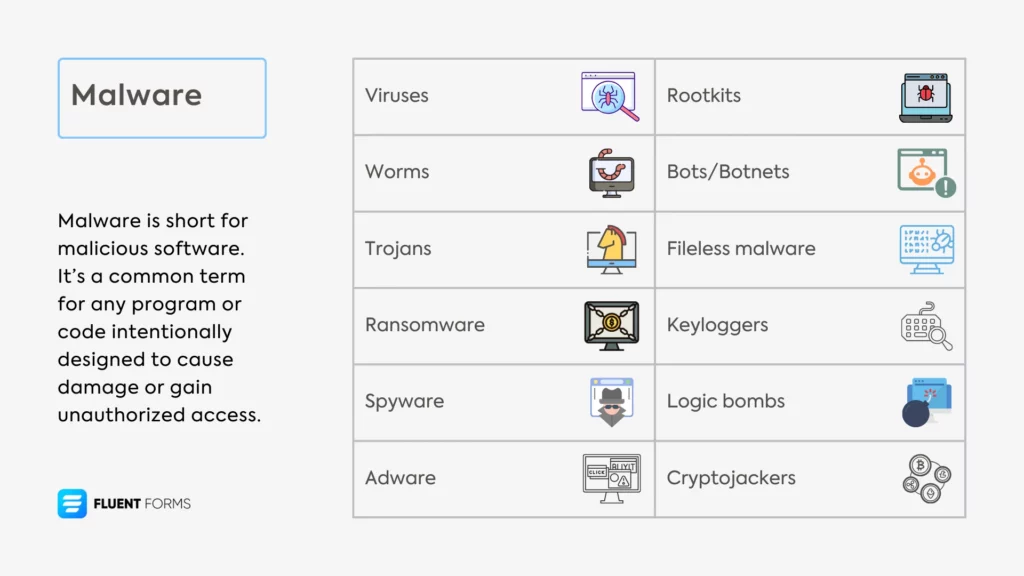
Malware is short for malicious software. It’s a common term for any program or code intentionally designed to cause damage or gain unauthorized access to computers, servers, clients, or computer networks.
Cybercriminals typically create malware to steal data, damage systems, or extort money from victims. It can infect devices through email attachments, infected websites, software vulnerabilities, etc.
Each type of malware has its own way of causing trouble. Here’s an overview of the common types of malware:
- Viruses: Viruses attach themselves to legitimate programs or files. They only cause harm or spread (replicate) when the infected file is activated.
For example, a virus might be hidden as an email attachment. However, it can’t activate until a person opens that attachment. Once opened, the virus executes its code and can infect other files on the system.
You can activate a virus by opening infected email attachments, clicking on malicious links, running infected programs or applications, inserting infected USB drives, downloading and installing software from untrusted sources, etc. - Worms: Unlike viruses, worms don’t need a host program or user interaction. They exploit security vulnerabilities in operating systems or applications to self-replicate and spread across networks independently. Worms are great at clogging bandwidth.
- Trojans: These disguise themselves as harmless, often useful software but open a backdoor for attackers once installed. They don’t replicate like viruses or worms but can steal data or install more malware.
- Ransomware: This locks or encrypts a victim’s files and demands payment (ransom) to restore access.
- Spyware: These are designed to secretly monitor and collect user information, like browsing habits, login credentials, etc. This information is later sent to the attacker.
- Adware: This program automatically shows unwanted advertisements to users. Shady businesses and advertisers often hire developers to create adware for a small fee per impression or click. This adware then takes advantage of a site’s vulnerability to display ads. Adware often carries spyware and steals the victim’s data.
- Rootkits: Designed to provide hackers with unauthorized access to a computer or its software while hiding their presence, even to standard antivirus tools.
- Bots/Botnets: Infected devices (bots) controlled remotely as part of a network. They’re built using other malware (like Trojans) and used to perform coordinated tasks like DDoS attacks.
- Fileless malware: This lives in a system’s memory rather than on disk, making it harder to detect.
- Keyloggers: This is a type of spyware that captures every keystroke a user types on a device, and then sends that data to the attacker. They’re designed to steal sensitive information like passwords, credit card numbers, or private messages, often without the victim noticing.
- Logic bombs: They lie dormant in a system until triggered by a specific condition. They’re less about widespread infection and more about targeted chaos. They’re also hard to detect because inactive code doesn’t trip antivirus until it’s too late. They’re designed to delete data or sabotage systems and are often planted by insiders or delivered via other malware.
- Cryptojackers: Cryptojackers hijack a victim’s device to secretly mine cryptocurrencies like Bitcoin, Monero, or Ethereum. Mining involves solving complex mathematical problems to validate transactions on a blockchain, earning the miner a reward in crypto. Since this process demands serious computational power and eats up electricity, attackers use malware to offload the work onto someone else’s hardware.
Attackers often overlap more than one type of malware for convenience or better targeting. For example, a trojan delivering ransomware or a worm carrying a rootkit.
Are you worried that your site might be vulnerable? Read the section below to learn how to detect malware on your WordPress website.
How to detect malware on your WordPress website (checklist)
Detecting malware on your WordPress website involves manual checks & use of tools. Here’s a step-by-step guide to help you identify any potential malware:
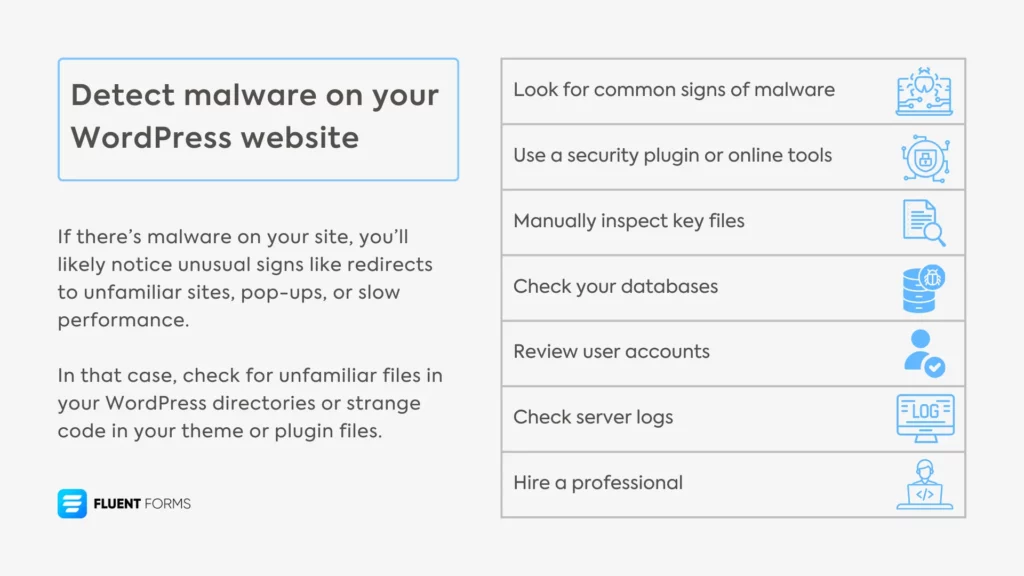
1. Look for common signs of malware
If there’s malware on your site, you’ll likely notice unusual signs like redirects to unfamiliar sites, pop-ups, or slow performance. In that case, check for unfamiliar files in your WordPress directories or strange code in your theme or plugin files.
Moreover, check if Google flags your site as unsafe (“This site may be hacked” in search results). There might be reports of odd behavior from visitors as well. Additionally, your server logs might show strange login attempts, or there may be a sudden increase in traffic.
2. Use a security plugin or online tools
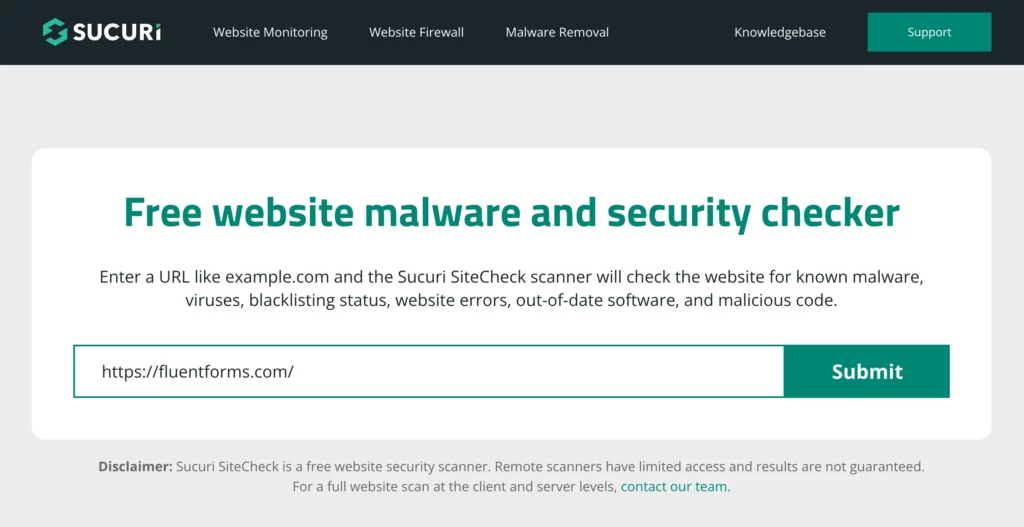
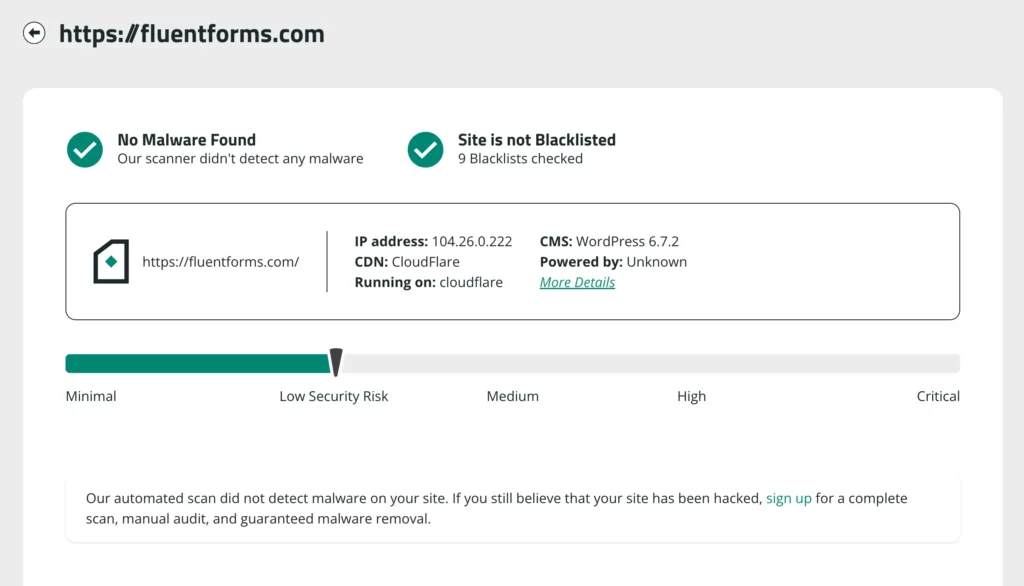
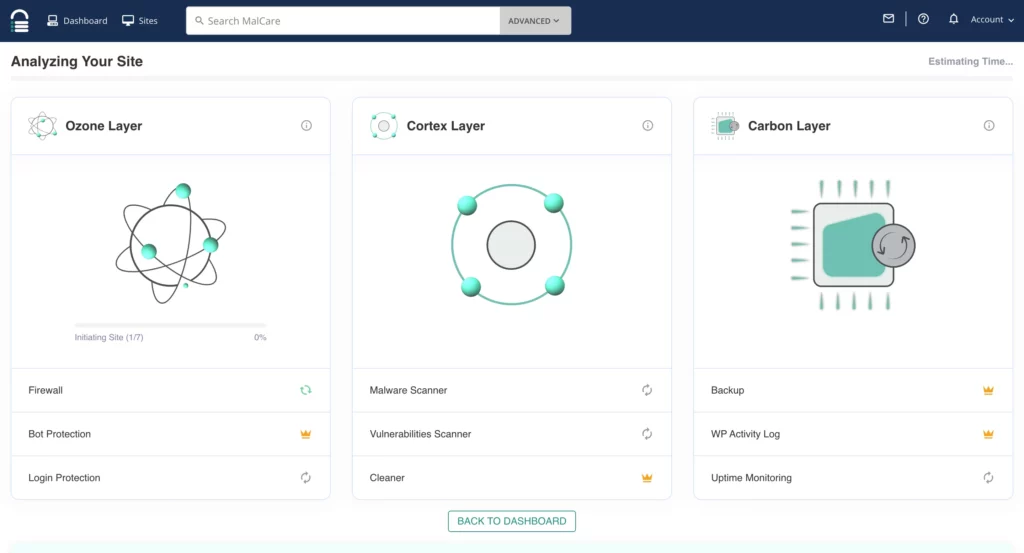
Install a reputable WordPress security plugin to scan your site. Some popular options include Wordfence (scans for malware, vulnerabilities, and suspicious changes), Sucuri SiteCheck (a free website malware and security checker), Quttera (another free scanner), MalCare, and Bitdefender Link Checker, etc. You have to install the Malcare plugin, which allows you free site scans; however, you need to upgrade to a paid plan if you want the plugin to remove any malware.
3. Manually inspect key files
Compare core WordPress files like wp-config.php, index.php, and .htaccess with fresh copies from the official WordPress repository (wordpress.org). Look for added or altered code.
Additionally, check the wp-content/themes and wp-content/plugins folders for unrecognized files or scripts (e.g., .php files with encoded text like eval() or base64_decode()).
Moreover, inspect your wp-content/uploads (uploads folder) for executable files (e.g., .php or .exe) that shouldn’t be there, as this is a common hiding spot for malware.
You can use various online tools (like Diffchecker) to compare your code with a fresh version, and the tool will highlight areas that don’t match.
4. Check your databases
Malware can inject scripts into your database. Use a tool like phpMyAdmin or a plugin like WP-CLI to search for suspicious entries. Look for script tags, iframes, or unusual links in posts, pages, or comments.
5. Review user accounts
Go to the users’ section in your WordPress dashboard. Look for unfamiliar admin accounts or recent changes to user roles.
6. Check server logs
Access your hosting control panel (e.g., cPanel) and review access or error logs for unusual activity, like repeated login attempts or requests to odd URLs.
7. Hire a professional (if needed)
If you’re overwhelmed or the infection still remains, services like Sucuri or a WordPress expert can clean your site.
Now, let’s see the next steps you should follow when you detect malware on your WordPress website.
What to do once you detect malware on a WordPress site
These are the steps you need to follow before removing malware from your website. These steps are important to protect your users and yourself from any further harm.
Restrict WordPress access
You need to restrict WordPress access first, so visitors can’t access your site. This way, the malware is contained, and the removal procedure becomes much smoother.
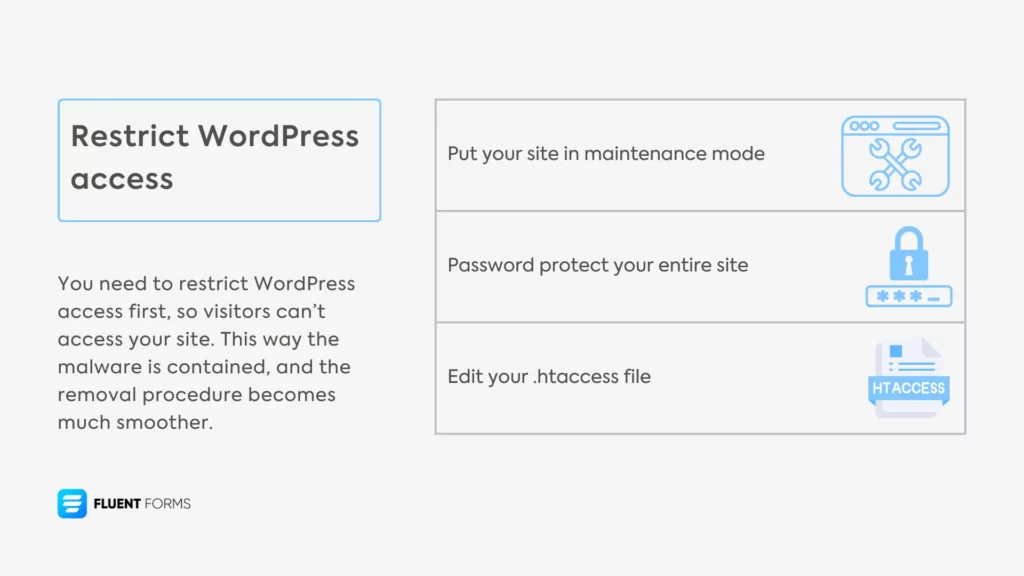
First, put your site in maintenance mode. You can use plugins like WP Maintenance Mode or Under Construction for that if you can still access your dashboard. Configure it to display a “Maintenance” message to visitors while allowing admin access.
However, if you can’t access your dashboard, you have to go for the manual approach. For that, create a simple maintenance.php file with a message like this.
<?php
header('HTTP/1.1 503 Service Temporarily Unavailable');
?>
<html>
<body>
<h1>Site Under Maintenance</h1>
<p>We’re working on some updates. Please check back later!</p>
</body>
</html>
Upload this to your WordPress root directory via FTP or your hosting file manager. Then, add the following to your wp-config.php:
define('WP_MAINTENANCE_MODE', true);Now your visitors should see the maintenance page, while you can still log in. Test the result to be sure.
Step 2
Password protect your entire site via the hosting control panel (cPanel). First, go to “Directory Privacy” or “Password Protect Directories.” Select your WordPress root folder (usually public_html or a subdomain folder). Then, enable password protection and set a username/password.
Your visitors will need these credentials to access the site. However, it won’t affect your admin access via wp-admin if you know the direct URL.
Step 3
Edit your .htaccess file (in the WordPress root directory) to allow only your IP. Write the following code and replace YOUR_IP_ADDRESS with your actual IP (if you don’t remember, search “What’s my IP” on Google)
Order Deny,Allow
Deny from all
Allow from YOUR_IP_ADDRESS
This blocks everyone except you. Be cautious if your IP changes (e.g., dynamic IP from your ISP).
Back up your files
Backing up your files helps you compare the affected files with their respective fresh versions. Remember, you have to isolate the infected files to contain the malware. Store them securely (e.g., encrypted or offline) to prevent accidental reinfection.
Most hosting providers offer a quick way to back up your entire site, including files and databases. You can download a compressed file of the entire site using that. If you can still access your WordPress dashboard, you can also complete the process using a plugin. However, be sure that the malware doesn’t interfere with the process.
Here’s how you can do it manually:
Get FTP credentials from your hosting provider and use them to connect to your server. Download the entire WordPress directory (e.g., public_html) to your computer. The key folders include wp-content (themes, plugins, uploads), wp-config.php, .htaccess, etc.
Now log in to phpMyAdmin via your hosting panel to export the database. Select your WordPress database, go to the Export tab, and save it as a .sql file.
Finally, open the .zip or folder on your computer (in a sandboxed environment if possible) and check if all key files are present.
Check recent changes
Checking recent changes is a key step to pinpoint what’s been altered, added, or compromised.
Here’s how you check file changes manually:
If you have a pre-infection backup, use a tool like WinMerge (Windows) or diff (Linux/Mac) to compare current files with the pre-infection backup. This highlights added, deleted, or altered lines.
Common malware signs include encoded scripts (e.g., eval(), base64_decode()), strange redirects or <iframe> tags, files named like wp-feed.php, wp-tmp.php, or random strings.
Run this SQL query to find recent changes in your databases:
ELECT * FROM wp_posts WHERE post_modified > '2025-03-01' ORDER BY post_modified DESC;Adjust the date to just before you noticed the malware.
Next, review the server logs. Server logs can reveal when and how the malware acted (i.e., unauthorized access or file uploads).
Find Raw Access Logs or Logs in your hosting panel. Download the latest log file. Look for unusual POST requests (e.g., to wp-login.php or plugin URLs), requests from unfamiliar IPs or countries, recent file uploads (e.g., to wp-content/uploads), etc.
Finally, check the wp_users and wp_usermeta tables in phpMyAdmin for new or modified admin accounts.
Note down timestamps, file names, and altered code for cleanup. Move them to a quarantine folder (via FTP) instead of deleting them immediately. Lastly, compare the selected sections with known malware patterns.
Update passwords and access keys
Changing your passwords and access keys will slow down the attack on your site. Here’s a list of the passwords you need to update:
- WordPress user passwords
- Hosting account password
- FTP/SFTP passwords
- WordPress salts and keys
- Database password
- Third-party API keys
- SSH keys (if used)
Generate new passwords with a password manager like LastPass, 1Password, etc., or a random string generator. Go for 16+ characters with letters, numbers, and symbols. To minimize vulnerability, use a unique password for each account.
Remove symlinks
A symlink (short for symbolic link) is like a shortcut on a server that links one file or directory to another location. It’s a reference that tells the system, “When you access this path, go to this other location instead.”
A symlink can mask the real location of malware, making it harder to spot. Additionally, it might connect to a hidden .php file that lets attackers re-enter your site.
Run this command to remove all symlinks in a directory via SSH/Terminal:
find . -type l -exec rm -v {} \;Remember to recreate your essential symlinks after removing the malware, so your website works as it should.
Update WordPress
Outdated code might have security vulnerabilities. Updating your WordPress makes sure you apply all the latest security measures. Additionally, update your themes and plugins as well so you’re all secured on that front.
Moreover, update your PHP version for further security tightening.
Reset file & folder permissions
Malware often changes permissions to allow unauthorized access or execution of malicious scripts. Here’s how you can reset them properly:
- Connect via SSH: ssh user@yourserver
- Navigate to cd /path/to/public_html.
- Reset folder permissions
find . -type d -exec chmod 755 {} \;- Reset file permissions
find . -type f -exec chmod 644 {} \;
Resetting permissions prevents unauthorized parties from modifying your data further.
Scan your computer
Scanning your computer is very important when you detect malware on your site, especially if you’ve been uploading files, managing the site via FTP, or logging in from your device. Attackers could also have used your computer as an entry point (via keyloggers, stolen credentials, etc.)
First, run your computer’s built-in or installed antivirus software. Locate WordPress-related files on your computer and scan with your antivirus. Next, update your operating system and software. This step prevents the malware from re-accessing your website.
Now, let’s check out the steps to remove malware from your site manually. If you prefer to clean up using a plugin, skip to the next section.
How to remove malware from WordPress site manually
Learn how to remove malware from your WordPress site manually step-by-step to recover your site with all traces of malware gone.
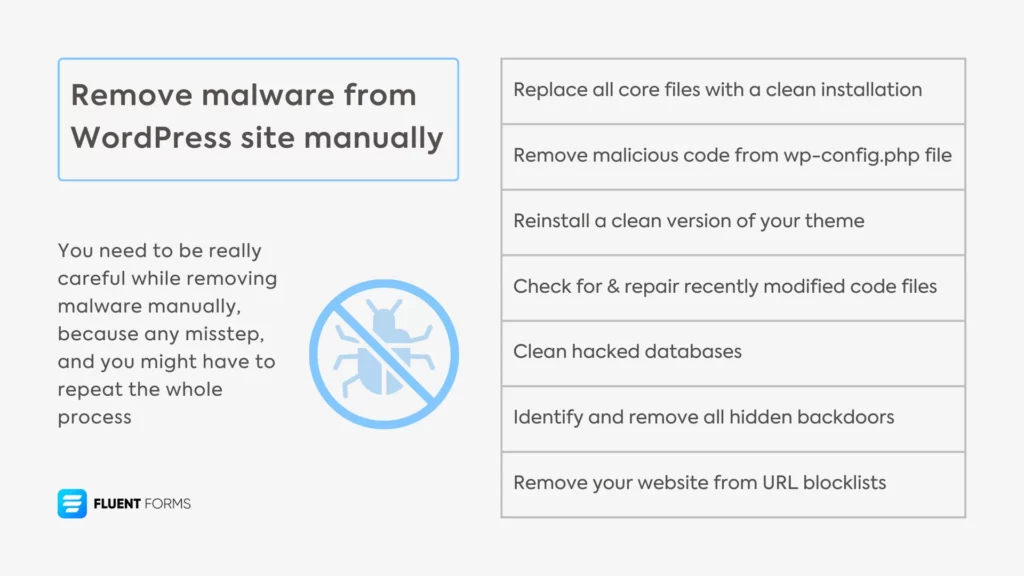
1. Replace all WordPress core files with a clean installation
Since you’ve already taken a backup of your WordPress site, now it’s time to reinstall a clean WordPress version.
Download the latest WordPress .zip file or go to wordpress.org/download/releases/ to find the version you were using. Export it to a folder on your computer.
To remove the old, potentially compromised core files, delete wp-admin folder, wp-includes folder, and all loose files in the root (e.g., wp-login.php, wp-settings.php, etc.). Keep essential folders such as wp-content, wp-config.php, .htaccess (optional).
Upload clean files to replace the deleted ones from the folder you just exported. Ensure the files overwrite any leftovers, but don’t touch wp-content, wp-config.php, or .htaccess.
2. Remove any malicious code from the wp-config.php file
Before making changes, download a copy of your current wp-config.php from your WordPress root directory (public_html) via FTP or your hosting File Manager (cPanel). Save it locally with caution for backup.
Open wp-config.php using a secure text editor like Notepad++ (Windows), VS Code, or TextEdit (Mac).
Look for suspicious PHP code: eval(), base64_decode(), gzinflate(), str_rot13(), or exec(), unauthorized includes: lines like include(‘/tmp/malware.php’); or require_once(‘somefile.php’), strange variables or constants, altered DB_NAME, DB_USER, DB_PASSWORD, or DB_HOST, changed salts/keys (e.g., AUTH_KEY, SECURE_AUTH_KEY) with encoded strings, prepended/appended code, text strings, etc. You can compare it with a clean version to make this task easier.
Lastly, remove malicious code by cleaning the existing file or by rebuilding from scratch. Additionally, clean the wp-content folder. This includes your uploads, themes, and plugin folders.
3. Reinstall a clean version of your theme
At this point, you need to reinstall a clean version of your theme. Go to your WordPress dashboard and navigate to Themes from Appearance. Now install and activate your chosen theme.
If you’re using a theme from the WordPress repository, search for your theme there and download the latest version. From your dashboard, go to Appearance →Themes, then click Add New → Upload Theme. Upload and activate the zip file you just downloaded.
4. Check for and repair recently modified code files
To identify any recently modified code files, connect with an FTP client. Then navigate to your WordPress root: cd /path/to/public_html. Next, use this command to find recently modified files:
find . -type f -mtime -7Add -name “*.php” to filter for PHP files:
find . -type f -name "*.php" -mtime -7-mtime -7 shows files modified in the last 7 days, you can adjust this number.
Now, analyze the modified files to find suspicious changes. You can either restore clean versions or manually remove malicious code.
If only specific lines are affected, open the file in a text editor. Now, delete suspicious code (e.g., eval(base64_decode(‘…’)); or <iframe> tags). Lastly, save changes and re-upload via FTP or File Manager.
5. Clean hacked databases
Cleaning a hacked WordPress database includes identifying and removing malicious entries, such as injected scripts, spam content, or backdoors, while preserving your legitimate data.
Open phpMyAdmin and select your backed-up WordPress database. You’ll see tables like wp_posts, wp_options, wp_comments, etc. (prefixes may vary).
1. Search for script tags, <iframe> tags, or encoded strings (eval(), base64_decode()) in your post_content. Here’s a query example for your convenience:
SELECT ID, post_title, post_content FROM wp_posts WHERE post_content LIKE '%script%' OR post_content LIKE '%eval%';2. For the wp_comments, look for script or <a href= tags, or URLs to shady sites in comment_content. Example query:
SELECT comment_ID, comment_author, comment_content FROM wp_comments WHERE comment_content LIKE '%http%';3. For wp_options, look at option_name and option_value for the malicious domain, new options with encoded values, etc. Query example:
SELECT option_name, option_value FROM wp_options WHERE option_value LIKE '%eval%' OR option_value LIKE '%http%';4. For wp_users, look for unfamiliar user_login or recent user_registered dates. Query example:
SELECT ID, user_login, user_email, user_registered FROM wp_users ORDER BY user_registered DESC;To clean up wp_posts manually, edit the affected rows. In post_content, delete malicious code (e.g., script tags) while keeping legit content and save the changes. Run a query to delete malicious links from wp_comments. Finally, delete suspicious IDs from wp_users. Moreover, if you find unrecognizable tables, remove them as well.
6. Identify and remove all hidden backdoors
If attackers gain access to your site, they’ll likely leave behind a hidden ‘backdoor’ (a way to get back in). They usually try to hide the backdoor in plain sight. For example, naming the file similar to your other WordPress files, so it becomes hard to detect. Common examples of backdoors include rogue PHP files, database injections, or modified core files.
To identify backdoors, you need to check files including wp-content/plugins, wp-content/uploads, and wp-content/themes, and look for any of these PHP functions:
exec
system
assert
base64
str_rot13
gzuncompress
eval
stripslashes
preg_replace (with /e/)
Move_uploaded_file
These functions aren’t malicious by default. So whether they’re planted by an attacker depends on the context and placements. To be sure, you can compare your existing files to the fresh ones, determining whether there’s a legitimate reason for the code to be there.
Besides, these factors on malicious PHP might narrow down your search:
- They’re usually located immediately before or after a valid code
- Contains long strings of random characters
- Contains reinfectors (malware that duplicates if you delete it)
Once identified, eliminate backdoors carefully. You can replace core files or remove suspicious files. To clean modified files, open affected files, remove malicious code, and save.
7. Remove your website from URL blocklists
This is an additional step, because the previous steps should already remove any malware from your website. All you have to do now is ask Google to reindex your site.
First, verify which blocklist your site is on. You can use online tools for that. Then set up the Google search console. In Search Console, go to Security & Manual Actions > Security Issues. Review listed problems (i.e., malware URLs, phishing).
Ensure all issues are resolved, and then click Request Review.
Removing malware from WordPress site using a plugin
Removing malware from your site using a plugin is effective, convenient, and often self-explanatory. Most plugins can identify and remove malware automatically. Here’s a brief explanation of how to do it. Make sure to choose a reliable security plugin. Wordfence Security, Sucuri Security, or MalCare should do the job.
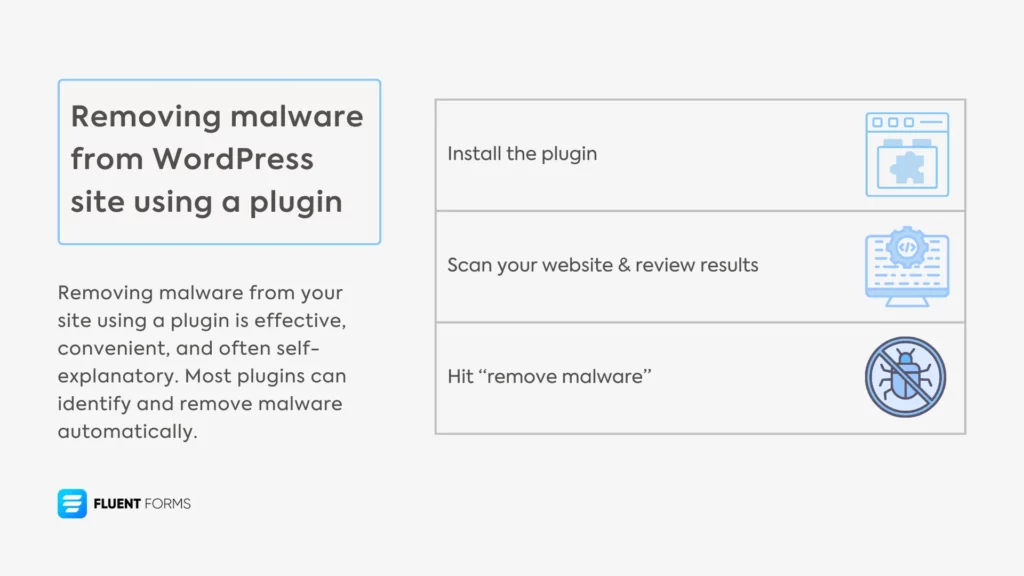
Install the plugin
If your dashboard is accessible, go to plugins and navigate to add a new plugin. Upload a plugin of your choice.
If your dashboard is locked, access your site via FTP or hosting File Manager (cPanel) and upload the ZIP to wp-content/plugins. Open your WordPress database in phpMyAdmin, go to wp_options, find active_plugins, and add the plugin path. The plugin is now installed.
After activation, go to the plugin’s dashboard. Ensure the “Enable Live Traffic View” and “Scan” options are active.
Scan your website & review the results
Navigate to the plugin’s Scan option and start a new scan. Review the results under “Issues Found” for infected files or database issues. View the detailed report.
Hit “remove malware”
Most security plugins can replace malicious code with clean versions from wordpress.org. Select actions “Repair” or “Delete” (remove files that are not part of WordPress), and click Apply Selected Actions. Finally, run a second scan to ensure all issues are resolved.
Note that, although most plugins scan your site for free, you need a paid plan for malware removal.
Protect your WordPress site from future malware attacks
Prevention is always better than cure. That’s why you should take preventive measures when it comes to your site’s health. Follow these steps to protect your site so it isn’t as vulnerable to security threats in the future.

Change your password and credentials
Change all the following passwords and credentials to harden your site’s security. Use a unique, long, and strong password in each case. Make sure the characters in your password are random; use a combination of letters, digits, and symbols.
- WordPress admin passwords
- Hosting account password
- FTP/SFTP passwords
- WordPress salts and keys
- Database password
- Third-party credentials
- 2FA enabled
Save new credentials in a password manager, not plain text, for an added layer of security. Enable 2FA and limit login attempts.
Regularly update everything
Outdated software, themes, or plugins are more vulnerable to attack. An updated software has updated security measures in place that are hard to crack. So make sure to update everything regularly. You can also schedule a routine update, so you don’t have to do it manually every time.
Install a security plugin
You might consider installing a security plugin for convenience and an added layer of security. Security plugins regularly compare your files and databases against fresh versions and known malware patterns from multiple sources.
You get notifications each time there’s something suspicious, which you can review to find out if there’s any vulnerability. This basically makes your site impregnable, and any potential danger is removed before it can cause any harm.
Install a backup plugin
Installing a backup plugin will save you from so much trouble if anything goes wrong. Instead of creating everything from scratch, you can roll back to a pre-malware version and then make necessary changes. Most hosting providers usually come with a backup feature. But if yours doesn’t, you can install a plugin for this purpose.
Some plugins allow you to store the backup locally, while others offer cloud storage. Go with the cloud option, because storing locally makes the backup vulnerable in case your device gets compromised.
Once you have the backup plugin set up, schedule a daily or weekly backup. However, more frequent backups are always in your best interest. Some plugins also offer a dynamic backup option, which means they only save what’s changed since the last backup. This could be a wise choice, for they take up less storage, and you don’t have to deal with many backup versions.
Follow these best practices to harden your site’s security and make it less prone to a security threat. It’ll save you the hassle of going through a thorough cleaning of your hacked site and protect your users’ sensitive data.
Bottom line
We get it; having your site attacked is panicking, especially when you don’t know the scope and capabilities of the malware. That’s why you should detect and remove malware from your WordPress site as soon as you notice something suspicious.
However, you don’t need to worry. Follow our steps to scan and thoroughly clean your site in case of a malware attack. It’ll help you restore your site without losing any data.
However, the cleaning process can sometimes get messy, potentially affecting your devices, systems, or even your users. That’s why you should follow the security best practices to harden your site’s security so further breaches are near impossible.
Let us know what security measures you take to protect your site from potential attacks, and don’t hesitate to ask if you have any questions!

Sarika writes for Fluent Forms and loves to offer insights into small businesses. She’s curious and enjoys discussing ideas, interests, and perspectives. In her free time, she’s either marvelling at architectural beauties or trying different cuisines.


Leave a Reply