How to Customize Error Messages in WordPress Contact Forms
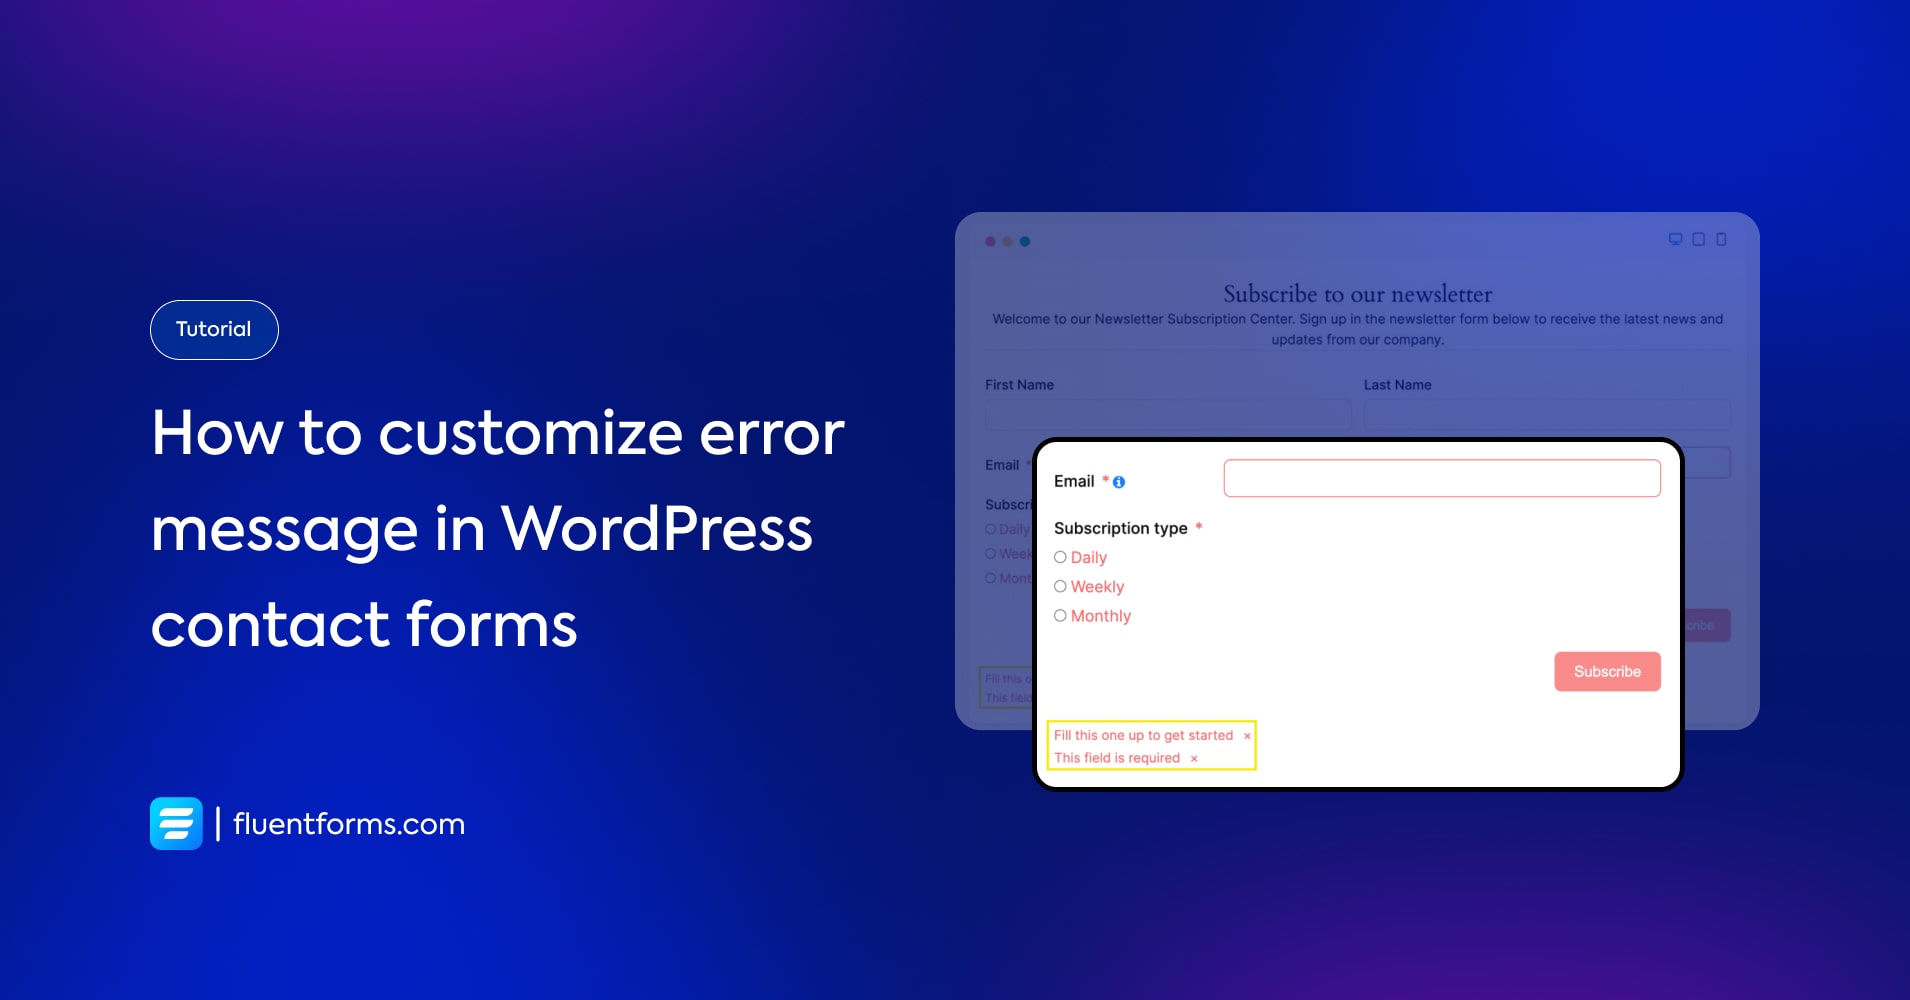
Error messages are a necessary part of the forms. They make sure that users don’t leave any important field unfilled.
Let’s learn how to ensure your users get the perfect error message using the best WordPress contact form plugin – Fluent Forms
How to customize error messages in Fluent Forms
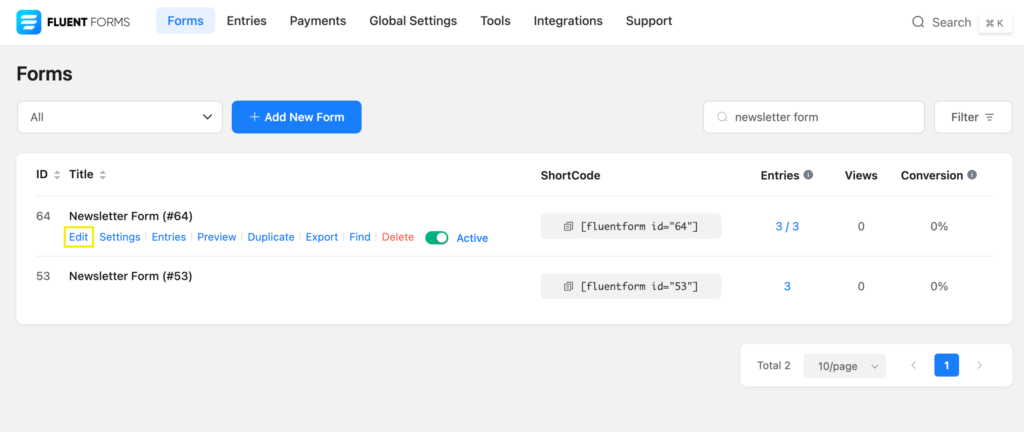
First, you need to go to the Edit section of the form of your choice.
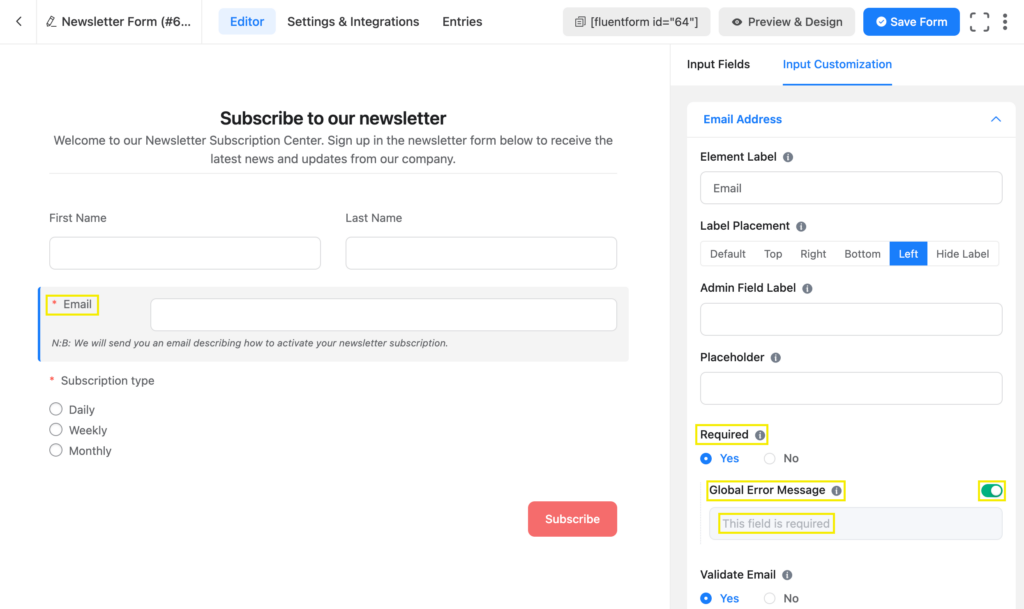
Select the input field that you want to customize the error message. Then go to the Input Customization tab.
Here you’ll find the Required section, select Yes to mark the field as required.
You’ll see that there’s already a Global Error Message as default. Click on the button on its right side to toggle to the Custom Error Message.
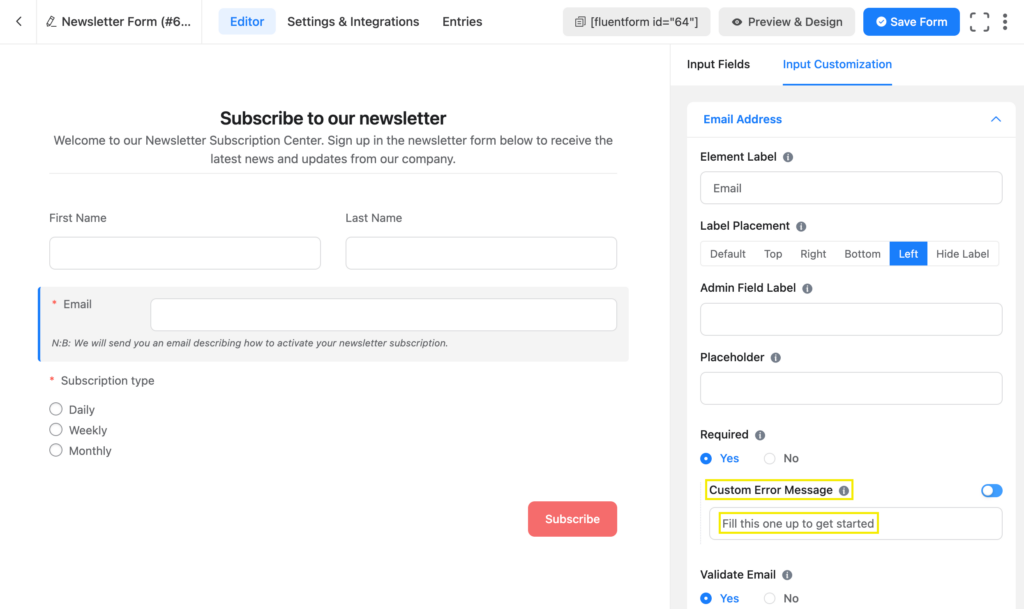
In the Custom Error Message section, you can write the error message as you like. Save the form when you’re done writing the message.
You can place your error messages on different positions of the form. Go to Settings & Integration and find the Form Layout section from there.
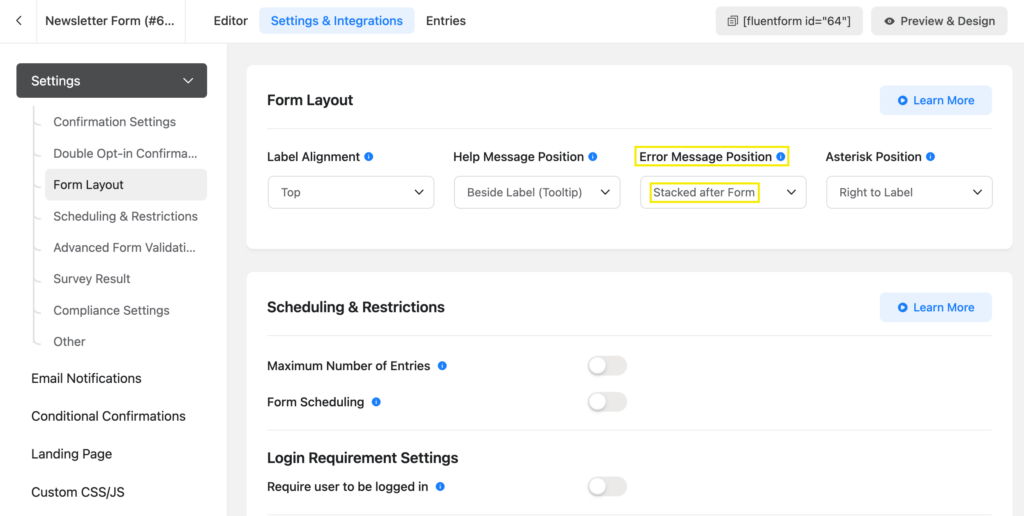
In the Form Layout section, you’ll see the Error Message Position. There are two positions available,
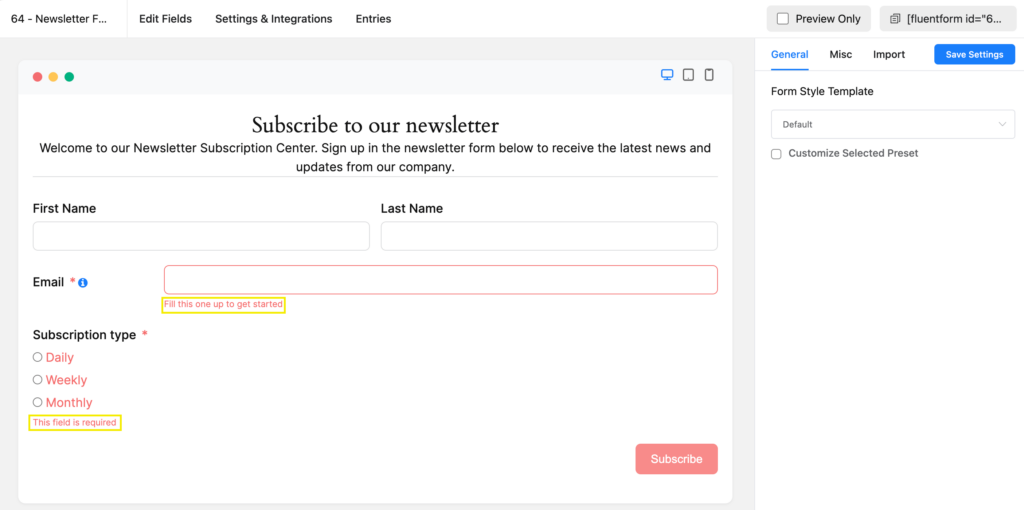
a) Below Input Fields and
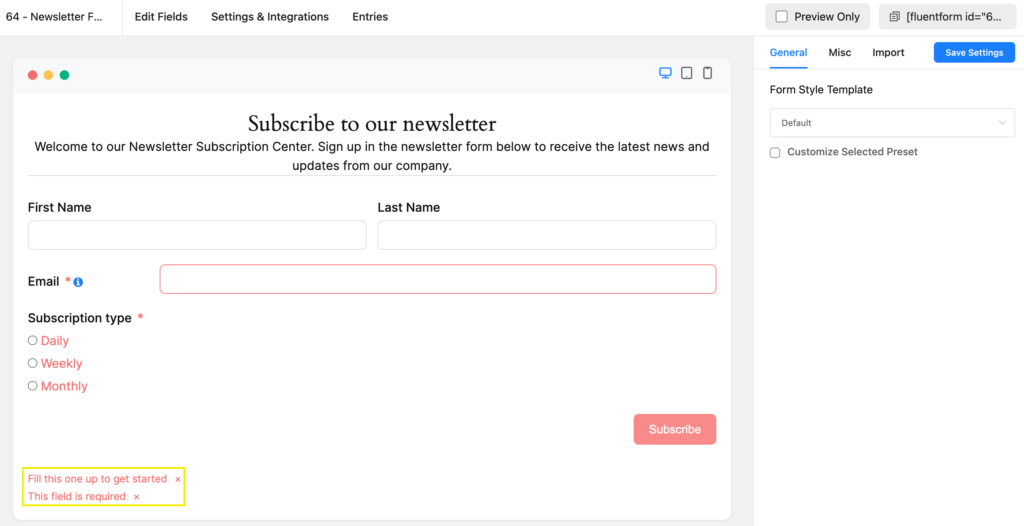
b) Stacked after Form.
Let’s see what each of the options looks like.
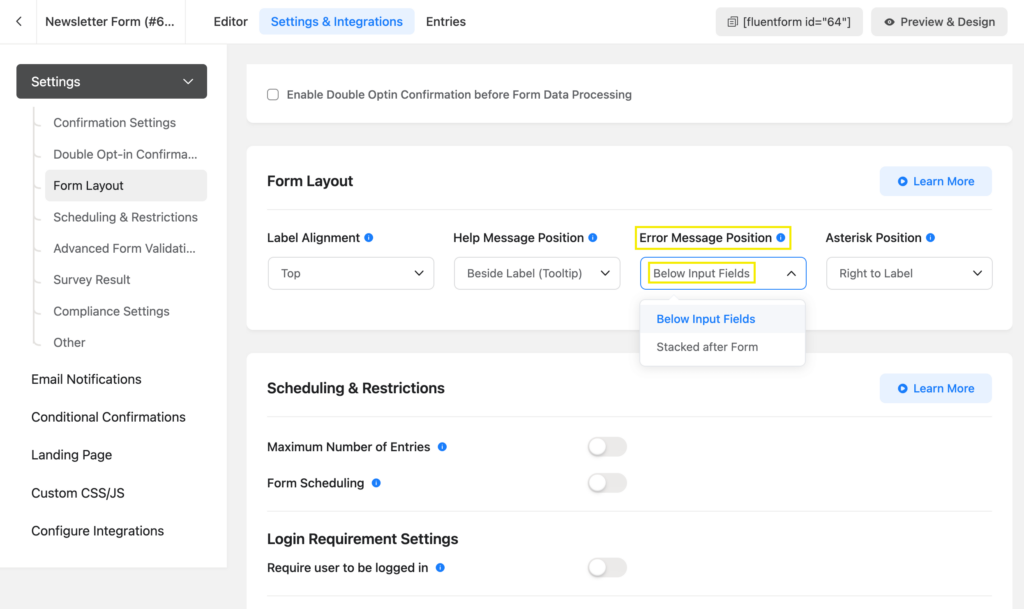
This is where the error message is positioned when you select Below Input Fields.
If you select Stacked after Form the error messages stack up together at the end of the form.
Here all the error messages are shown at the end of the form —
Use case
Set Error Messages to be shown when a user fails or forgets to fill out required input fields. Error Messages can be set in Fluent Forms or any contact forms to make your forms more understandable to the audience.



Leave a Reply