How to Send Email Notifications from WordPress Contact Forms
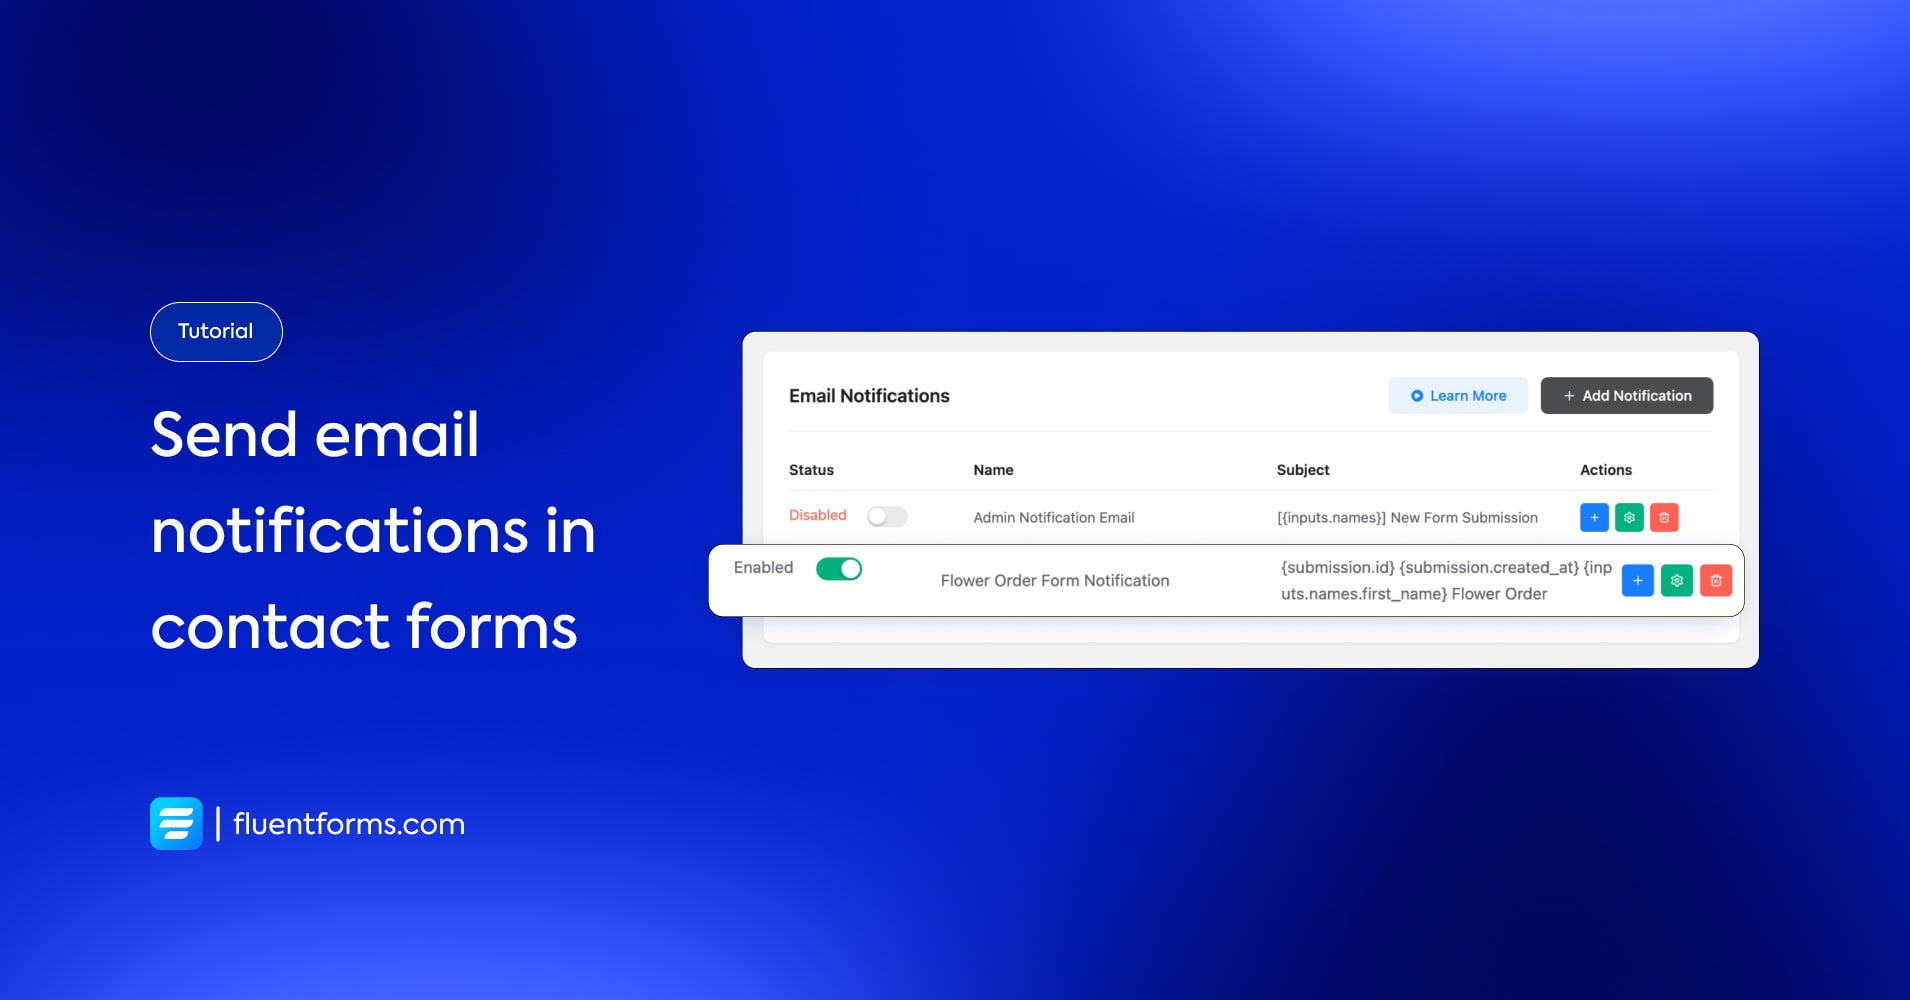
Sending tailored email notifications to the users about form submissions is a necessary part. It assures users that their submission is sent to the right place.
Let’s learn how to send email notifications with Fluent Forms, an efficient drag-and-drop contact form builder.
How to send email notifications
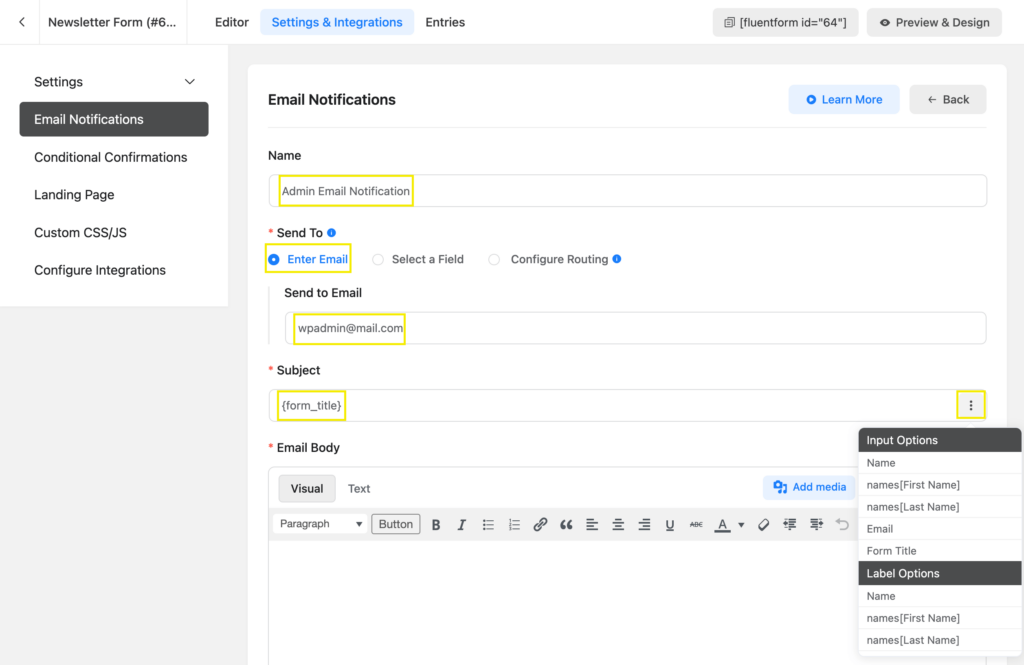
First, select the form you want to get a notification for and go to its Settings option.
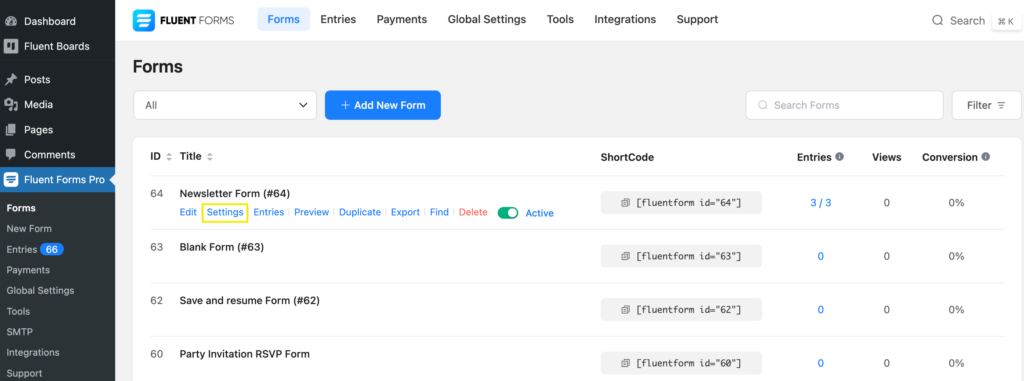
You’ll find the Email Notifications option here. Click on Add Notification to create your notification.

Name your notification the way you want (keep it relevant).
Use the Select a Field option to send to the email, users filled up while submitting the form.
You can select Subject from the input fields or labels.
Customize the Email Body as it fits.
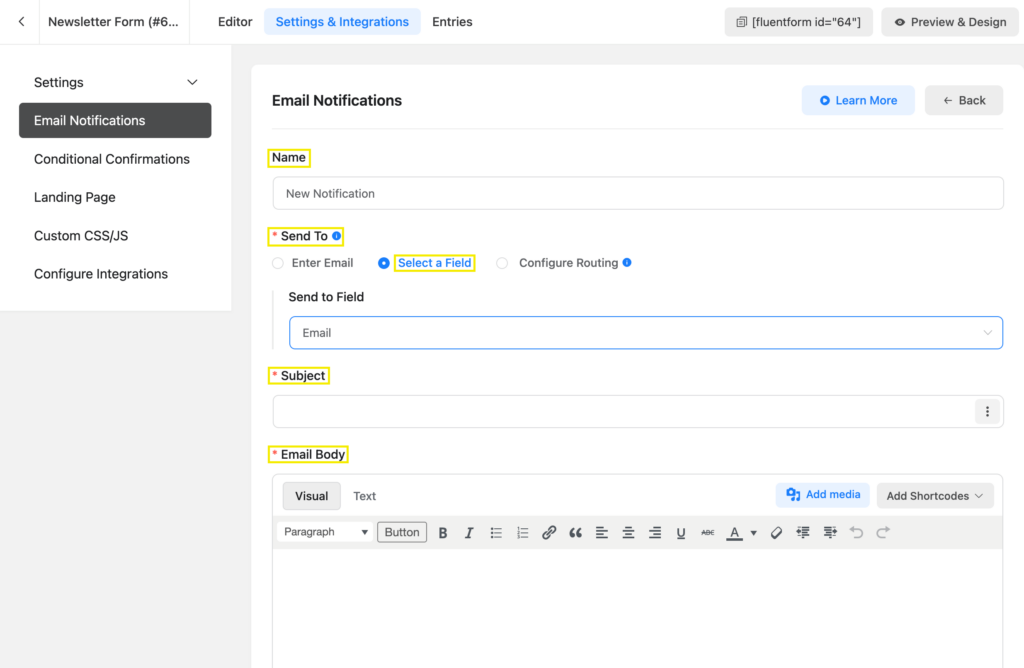
Using Conditional Logic on your form for notifications is also possible. But we have a different blog about that.
You can also upload media files with the notification.
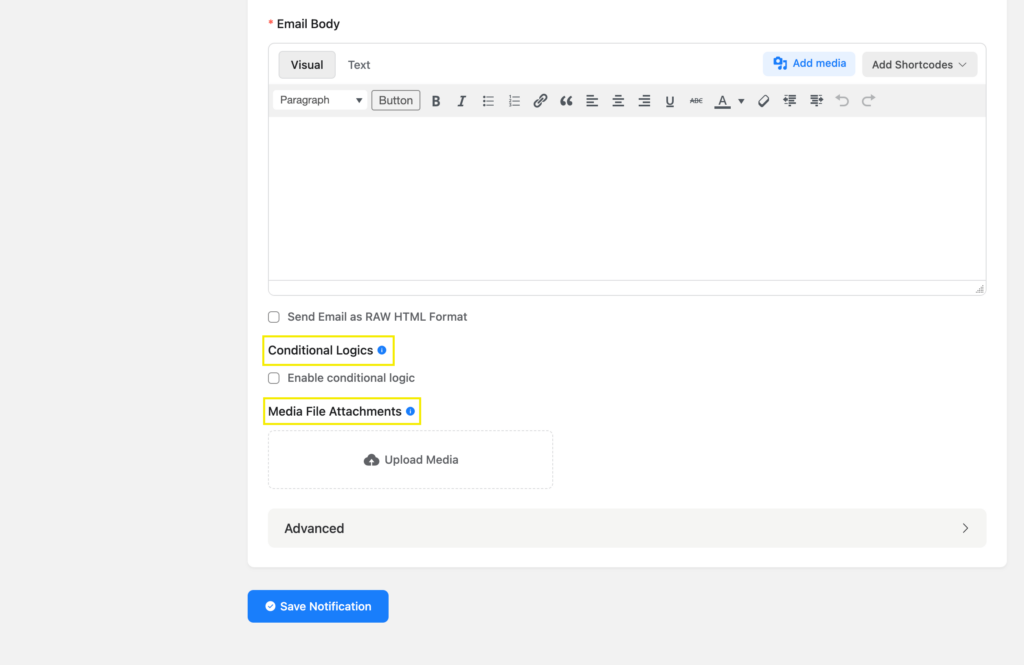
In the advanced settings, you can configure if someone else needs to get the notification. Fill out the From Name, From Email, and Reply-To address that is to be shown in the notification email.
In the BCC field, enter the email addresses to which you want the notification sent. You can also add shortcodes from the dropdown menu.
Use cases
Email notifications can be a good way to interact with users, as they offer a feeling of personalization. You can add necessary attachments and information within the email to provide a better experience.
You can also send an email to yourself notifying users of submission with email notification settings.



Leave a Reply