How to Integrate WP Social Ninja with WordPress Form Builder Fluent Forms

Social media is a great platform to socialize and network. And an official website is obviously undebatable. But how can one bridge these two vividly different worlds?
Cue, WordPress social tools. These tools efficiently accomplish these seemingly impossible tasks. Some tools specialize in fetching user reviews from various social media platforms so you can display them on your website. Some will showcase your social media feeds in real-time so when visitors can get an idea of what your business is about. Some others offer live chat facilities. But what if you could get everything in a single plugin? And what if you could display reviews using forms?
It’s time for the combo of WP Social Ninja integration with Fluent Forms. So sit back and read.
- What is WP Social Ninja
- How to integrate WP Social Ninja with WordPress
- Other amazing things WordPress forms are capable of
WP Social Ninja
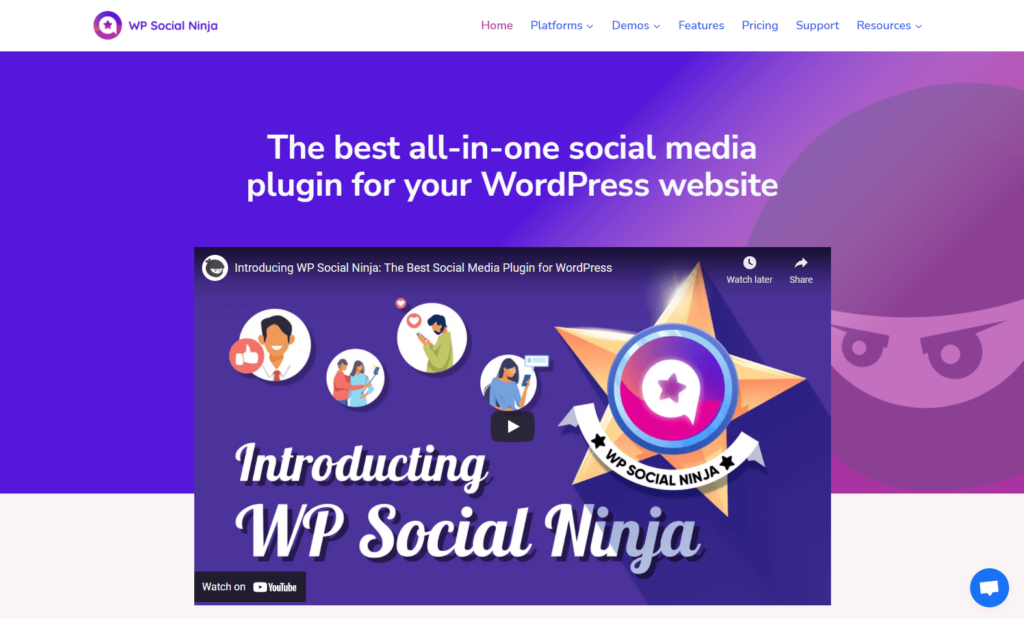
As we mentioned already, WP Social Ninja is an all-in-one social media solution for your business. Whatever you need, as long as it is social media, WP Social Ninja will do it for you. This is the newest entry in the world of WordPress social tools, and WP Social Ninja already offers connections with 26+ social channels. The services can be majorly divided into three categories.
- User reviews – You can use it to collect and display reviews from different platforms like Google, Amazon, Facebook, Booking.com, Airbnb, Yelp, etc.
- Social feeds – This will allow you to place the shortcode anywhere on your site and display your social media feeds in real-time, like Twitter, YouTube, Instagram, etc.
- Social chat widgets – This feature will allow you to instantly connect with your users using Messenger, WhatsApp, Telegram, etc. and communicate.
How to integrate WP Social Ninja with Fluent Forms
Integrating WP Social Ninja with your WordPress forms is really easy. Just go to your Fluent Forms dashboard and follow the 4 easy steps mentioned below.
Integrate WP Social Ninja with Fluent Forms in 4 steps
- Turn on WP Social Ninja integration module
- Create a form
- Create WP Social Ninja feed
- Embed form
These steps are elaborated for you below.
Step 1: Turn on WP Social Ninja integration module
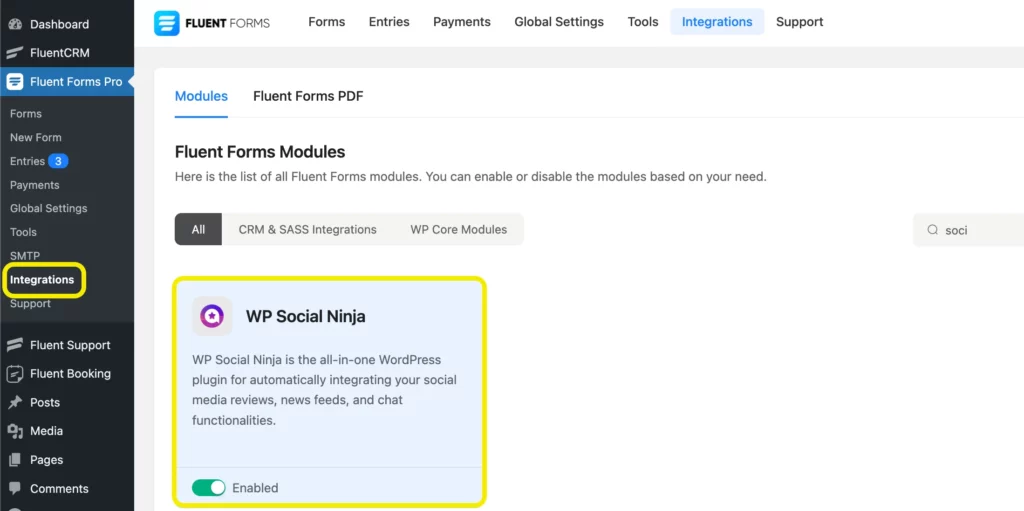
To kick start the process, go to the Integrations tab of Fluent Forms and scroll to the WP Social Ninja module. You can also use the search bar to get there.
Then toggle on the module to enable it.
Step 2: Create a form
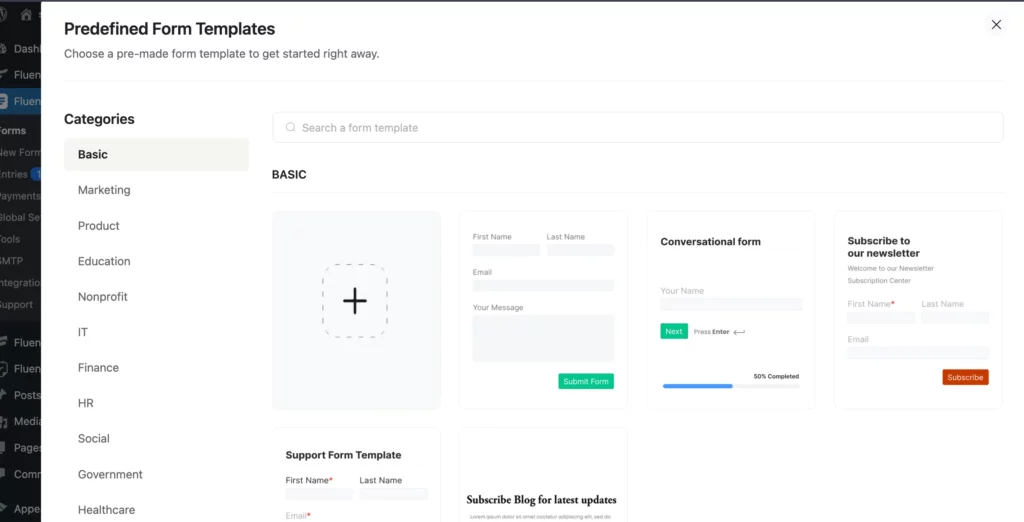
Now, it’s time to create a WordPress form that can collect your precious reviews. To do that, head over to the click on the Add a New Form button on the All Forms tab. A popup will appear displaying all the available prebuild form templates. If you are using the free version, you will get over 60 unique templates. But an upgrade can extend that number to 75+.
We would like to show the whole procedure in detail, so we’ll go with a blank form and build our way through. After clicking on the Create a Blank Form button, you’ll be redirected to the form editor. Notice the selection of available form fields. We can select the ones we need.
Since our aim is to design a simple webform to collect user reviews, we’ll only need the following input fields.
- Name field – To collect the users’ identities.
- Email field – To collect users’ contact details.
- Simple text field – So users can give a title before jumping to detailed feedback.
- Textarea field – To display a detailed review.
- Ratings field – So users can rate the product/service.
We will then customize the input fields with appropriate element labels, mark the required fields, and hit the Save Form button.
Step 3: Create WP Social Ninja feed
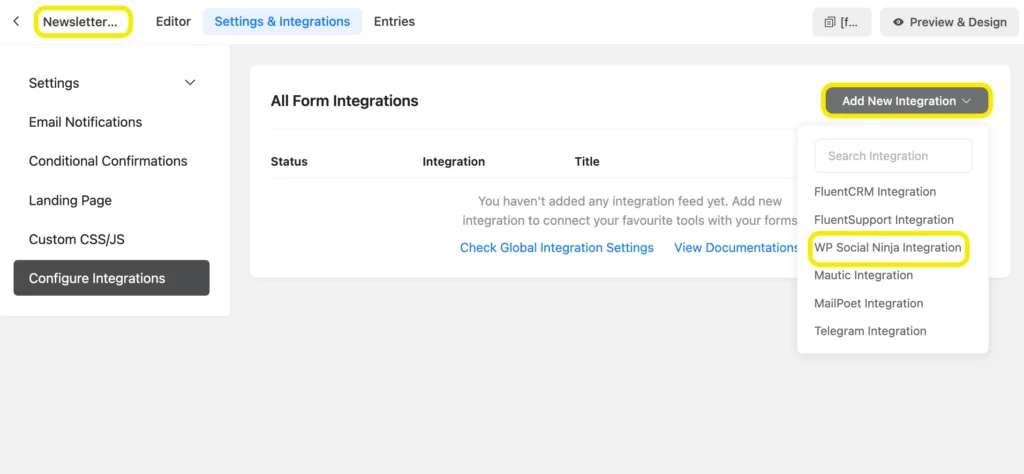
Moving on, our next step is to create a WP Social Ninja feed on your WordPress form. Head to the Settings & Integrations of your form and go to Configure Integrations from the left sidebar.
On the top-right corner of the tab, there’s an Add New Integration button. Clicking on it will reveal a dropdown menu with all enabled integrations. Select WP Social Ninja Integration from there.
It’s now time to configure the feed. Name the feed, map the fields, enable conditional logic if needed, and hit the Create WP Social Ninja Feed. That’s it.
Step 4: Embed form
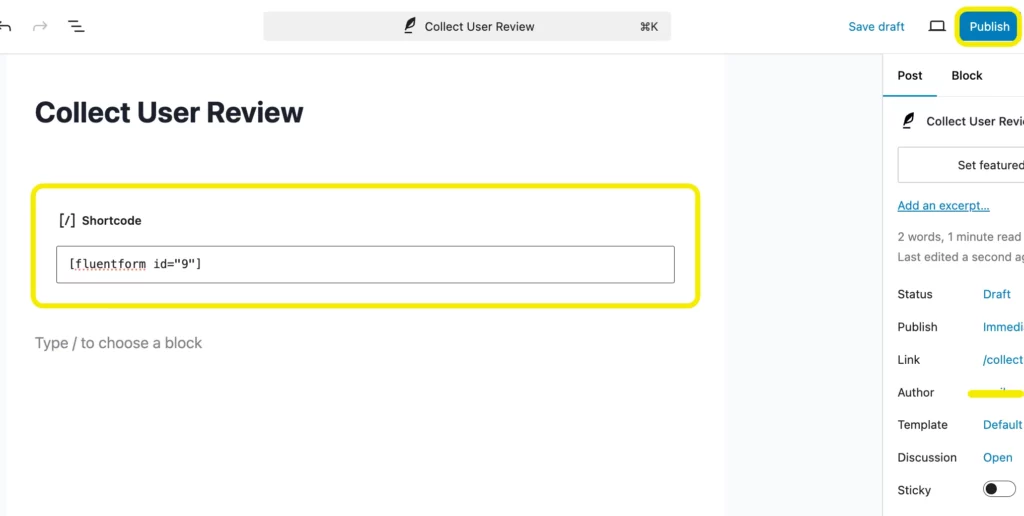
There’s only one last thing to do. You have enabled the integration module, created a review fetching form, created a WP Social Ninja feed. Now all that’s left to do is embed the form.
Copy the shortcode of your form and open the page you want to embed the form in. Simply paste the form shortcode. And Publish.
Related resource: WP Social Ninja integration with Fluent Forms documentation.
Best of WordPress with Fluent Forms
You’ve seen how easy it is to collect user reviews and directly display them on your website using a simple form. But that’s not all a WordPress form can do. With a fastest form plugin like Fluent Forms, the possibilities are endless. SMS notification, modal checkout, recurring payment, subscription payment, Google Maps autocomplete, double opt-in, scheduling & restricting forms, etc., are only some of the things you can do with Fluent Forms. To explore them deeply, definitely give Fluent Forms Pro a try.
60+ Third-party Integrations
Expand your form functionality with seamless integrations.



Leave a Reply