
Mailchimp Signup Forms: Types and How to Create Them

Ever been asked to set up a signup form for an event, product launch, or lead magnet but weren’t sure which type to use?
Maybe you need to share it through a CTA button on social media. Or embed it into a landing page without touching code. Or send automated follow-up emails to everyone who signs up.
Forms like these aren’t just for collecting names and emails. They’re often the starting point for bigger goals like generating leads, segmenting contacts, or driving action at the right time. That’s where Mailchimp comes in. It’s flexible, easy to use, and works well if you’re already running email campaigns or automations.
In this blog, we’ll walk you through the types of Mailchimp signup forms, how to build them step by step, and practical ways to use them effectively.
Let’s get started!
Mailchimp signup forms at a glance
Mailchimp offers several types of signup forms, depending on how and where you want to connect with your audience.
Forms for your website:
- Embedded Form: Copy-paste HTML directly into your site to place a clean, and straightforward form.
- Popup Signup Form: Trigger a styled popup form on your site to capture attention and emails.
- Signup Form Block: Use this within a Mailchimp-built website to add forms as content blocks.
Forms for sharing:
- Hosted Form: A standalone form hosted by Mailchimp. Easy to customize and link to from anywhere.
- Advanced Hosted Form: Lets you dive into the HTML if you’re on a paid plan and want full control.
- Landing Page Form: A signup form added to a custom Mailchimp landing page—great for promotions or lead magnets.
In this blog, we’ll keep our focus on the website-based forms– specifically how to set them up, design them, and make them work smoothly inside WordPress.
Create Mailchimp website-based signup forms in WordPress
WordPress powers a huge portion of the web, and luckily, Mailchimp plays nicely with it.
You can easily embed a form into your pages or set up a pop-up to capture attention. Whether you prefer pasting code manually or using a plugin to keep things simple, there’s a method that fits.
In the next sections, we’ll show you how to create two of the most popular options:
- Embedded forms that sit right on your page
- Pop-up forms that show up when the timing’s right
Let’s start with embedded forms.
Create an Embedded Mailchimp signup form
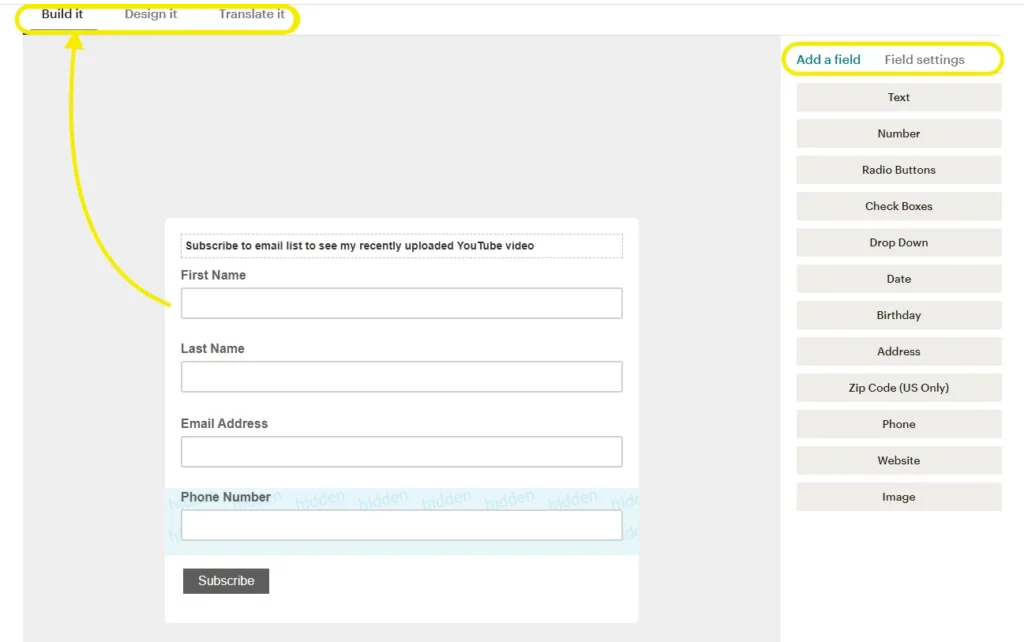
Creating an embedded signup form in Mailchimp comes down to three main steps: build it, design it, and translate it.Build it by choosing which fields to include—like email address or phone number- to collect the info you need.
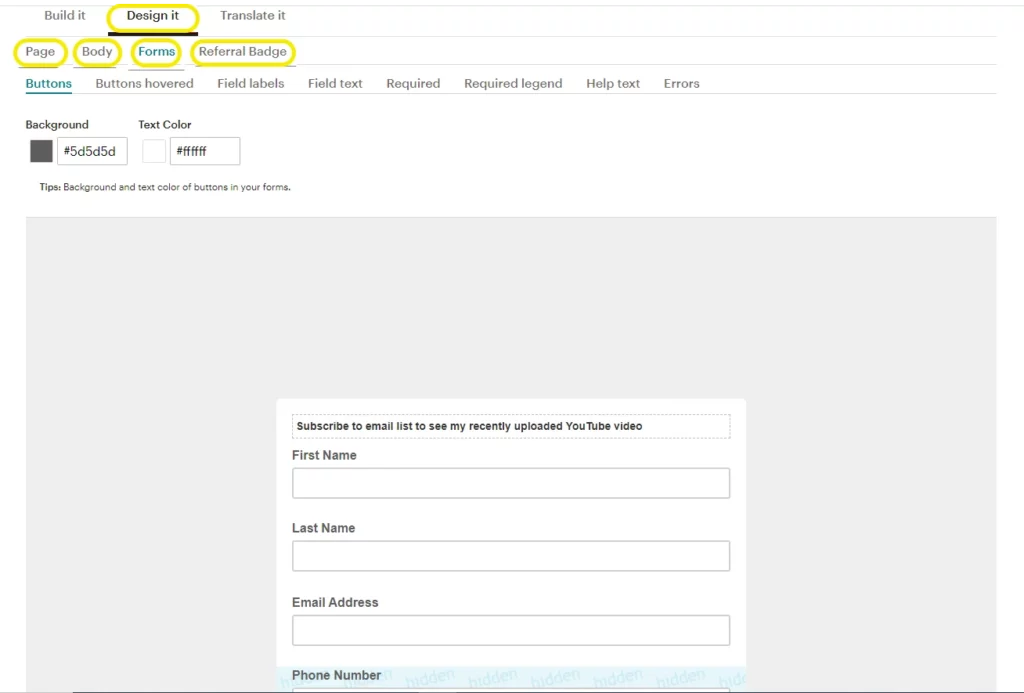
Design it to match your website’s style so it feels natural and inviting.
And translate it to make sure your form speaks your audience’s language, reaching more people around the world.

Together, these steps help you craft a form that’s both functional and user-friendly.
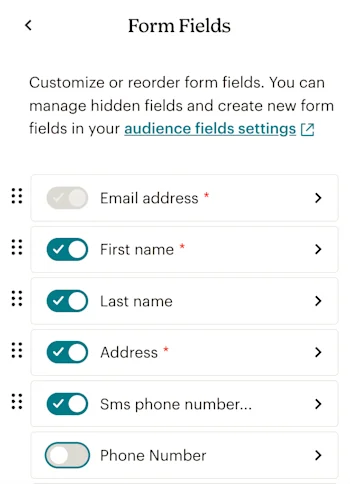
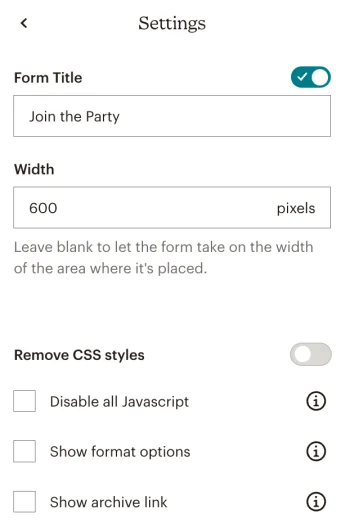
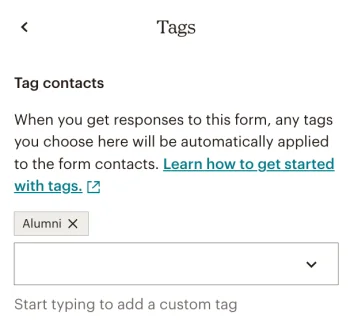
Customize embedded signup form
Click Form Fields, Settings, Tags, or Referral Badge to customize your form. Collect email and subscribed SMS contacts on your embedded form. Either an Email Address or SMS Phone Number input field is required.
Generate embedded form code
1. Click Forms, then choose Other forms.
2. Click Create new form.
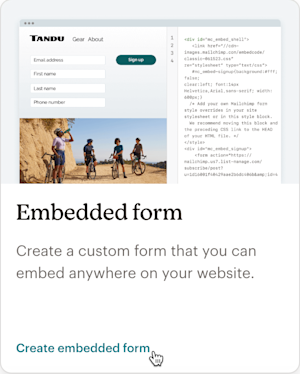
3. Click Create embedded form.
4. Enter a name for your form, then click the Audience drop-down to choose the audience you want to work with.
5. Click Continue to builder.
6. When you’re ready, click Continue.
7. Click Copy Code.
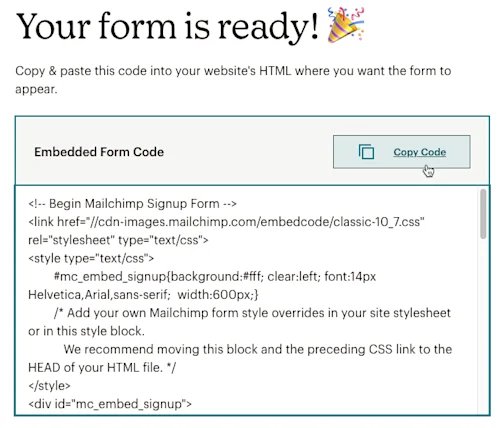
Mailchimp signup form- embed on your site
Once you’ve copied the form’s embed code, it’s time to place it on your website. You can paste it into your site’s HTML directly or use a Custom HTML block if you’re working with WordPress.
Some great places to embed your form include:
- Sidebar or footer: Keeps the form visible across multiple pages.
- Homepage or landing pages: Capture attention from the get-go.
- Below blog posts: Catch visitors after they’ve read valuable content.
- On a dedicated “Subscribe” page: Great for promoting through social or navigation menus.
- Inside a popup or sticky bar (via plugin): Helps increase visibility without taking over the whole screen.
Where you place your form can impact how well it converts. Test different spots, and see what works best for your audience.
Create a Pop-up Mailchimp signup form
Pop-ups get a bad rap sometimes, but when done right, they work. A well-timed popup can grab attention, offer real value, and drive sign ups without being annoying.
Mailchimp makes it easy to create one in just a few steps. You’ll start by choosing what to offer, then select a design, and finally, set it up for your audience.
Here’s how to do it:
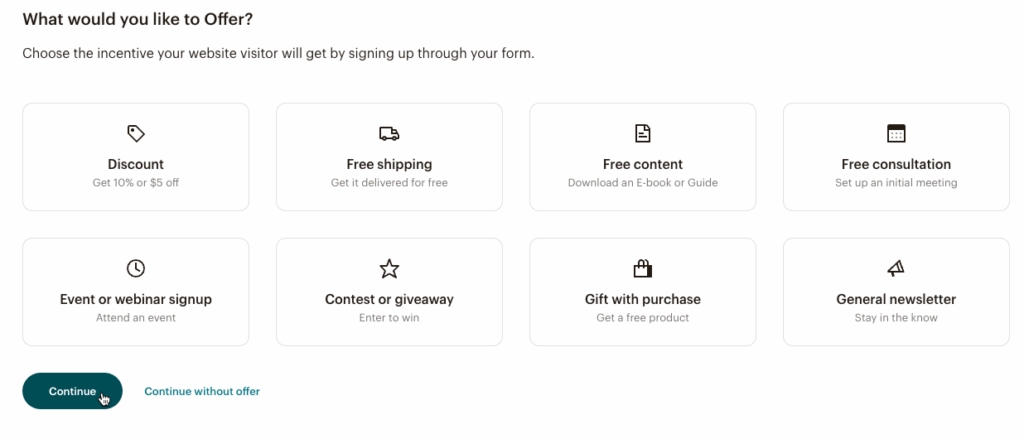
1. Click “Create popup form” in your Mailchimp dashboard to get started.
2. Pick your offer on the Offer page, choose what you’ll give in exchange for a signup. It could be a discount, a free resource, or early access to something. Click Continue once you’ve decided.
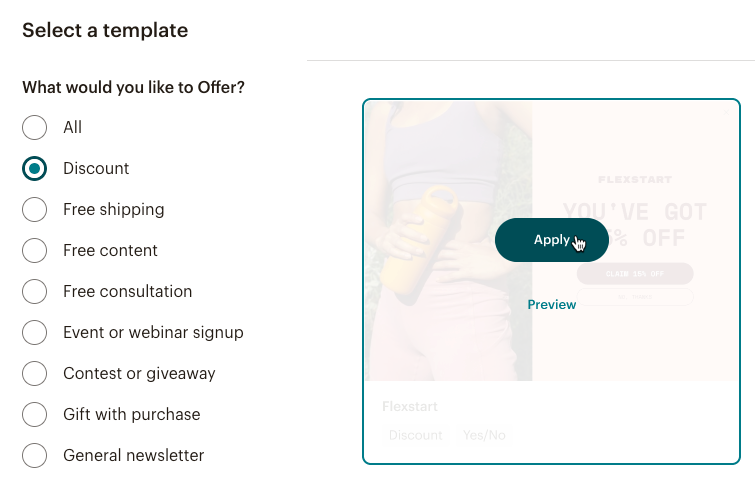
3. Choose a template, by browsing the template library and pick one that matches your site’s style. Click Apply to move forward. You can also click Preview to see a live preview of the template.
4. Set up your form, on the Setup page, give your popup a name, select your audience, and choose the type of data you want to collect. You can ask for email addresses, phone numbers, or both.
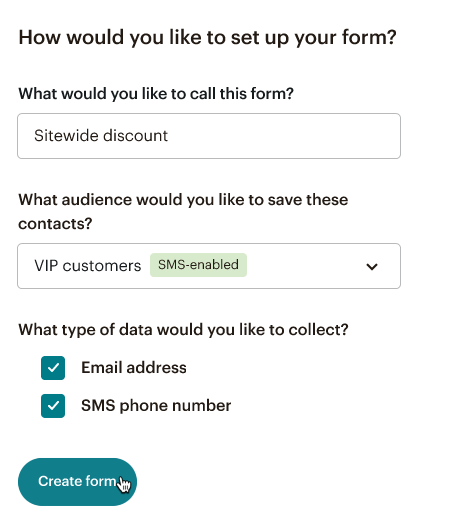
Note: If you want to collect phone numbers for SMS marketing, you’ll need to submit an application and get approved by Mailchimp first.
5. Click “Create form”, once everything looks good, hit the button and your pop-up form is ready.
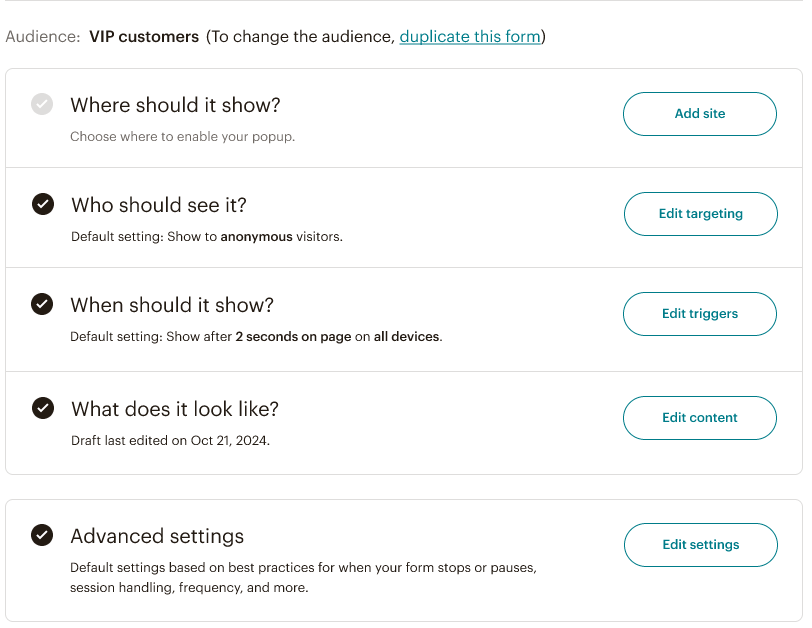
Fine-tune when and how your popup appears
Creating the form is just the first step. The real magic comes from showing it at the right time.
Mailchimp signup form alternative
Mailchimp does a great job with signup forms, but it’s not the only tool in the game. If you’re using WordPress and want more flexibility, better control, and smoother workflows, it’s worth checking out Fluent Forms.
Fluent Forms is an excellent form builder plugin for WordPress. It’s lightweight, user-friendly, and designed to help anyone create beautiful, high-converting forms without writing a single line of code. Thanks to its drag-and-drop interface, building a form takes just a few minutes- no steep learning curve.
You get access to:
- 60+ input fields and 70+ pre-built templates to speed up form creation
- 60+ third-party integrations, including Mailchimp, ActiveCampaign, Slack, and more
- Advanced features like Stripe and PayPal payments, PDF entry generation, file uploads, conditional logic, and multi-step forms
- Built-in security with reCAPTCHA, Honeypot, and Akismet to prevent spam
And if you’re looking for long-term value, the plugin is incredibly cost-effective. Plus, the developers consistently roll out new features every couple of months, making it a tool that keeps getting better over time.
Build Smarter Forms for Free

Want to take it for a spin? Here’s how to get started:
A fan of Mailchimp? No worries. You can use Mailchimp integration with Fluent forms. They work greatly on combining lead generation and email marketing. Want to give it a try?
Learn- How to connect Fluent Forms to Mailchimp and grow email list
If you’re serious about growing your email list with forms that look and feel native to your WordPress site, Fluent Forms is a strong alternative to consider.
Utilizing signup forms the best way
Signup forms are more than just fields on a page, they’re your gateway to building a real connection with your audience. Whether you go with Mailchimp or a more flexible option like Fluent Forms, the goal stays the same: make it easy, make it valuable, and make it count. Also, Mailchimp integration with Fluent Forms can supercharge your email marketing strategy.
Got questions, stuck somewhere, or have a specific use case in mind? Drop a comment below — we’d love to hear what you’re working on.

This is Sumit. He’s a physics major who’s trying to understand both the physical as well as the WordPress worlds. Whenever he’s not busy, plays fifa or spends time with his family.


Leave a Reply