
How to Send Email Notifications to Your WordPress Users
Whether it’s a reminder, a welcoming or thankful message, or a notification for updates, you often need to send notification emails to your WordPress website users.
Sending notification emails to users is simple once you’ve set up the process. In this blog, I’ll show you how to exactly set up the process of sending email notifications from your WordPress website and the known issues you might encounter in the process.
TL’DR:
- Fix WordPress email issues: Ensure your WordPress email settings are correct, and use a reliable SMTP server with a trusted email service provider to prevent emails from going to spam.
- Use an SMTP plugin: Install and configure a free SMTP plugin like Fluent SMTP to improve email deliverability and avoid issues with shared hosting email services.
- Set up form notifications: Utilize a form plugin like Fluent Forms to easily set up email notifications that are sent automatically after a form submission.
- Personalize your emails: Use Fluent Forms’ features to send custom welcome emails, attach files like lead magnets, and use conditional logic to send personalized messages based on a user’s query.
How to fix WordPress’s email-sending issues
First, check the email settings of your WordPress site to make sure the provided email is correct. And then make sure your email service provider is integrated with a trustworthy SMTP server. Your next move should be to check whether the hosting service is properly configured.
How to send email notifications from WordPress
As your online business needs to send emails to visitors. In that case, you will need a fluent email system installed on your website.
Install, activate, and configure a free SMTP plugin
All you need is to install, activate, and configure a free SMTP plugin for your WordPress site. Let’s take Fluent SMTP – the smartest WordPress SMTP plugin as an example. It’s a free SMTP plugin dedicated to the WordPress community and loved by 400,000+ WordPress users worldwide. You can install and activate it in a few simple steps.
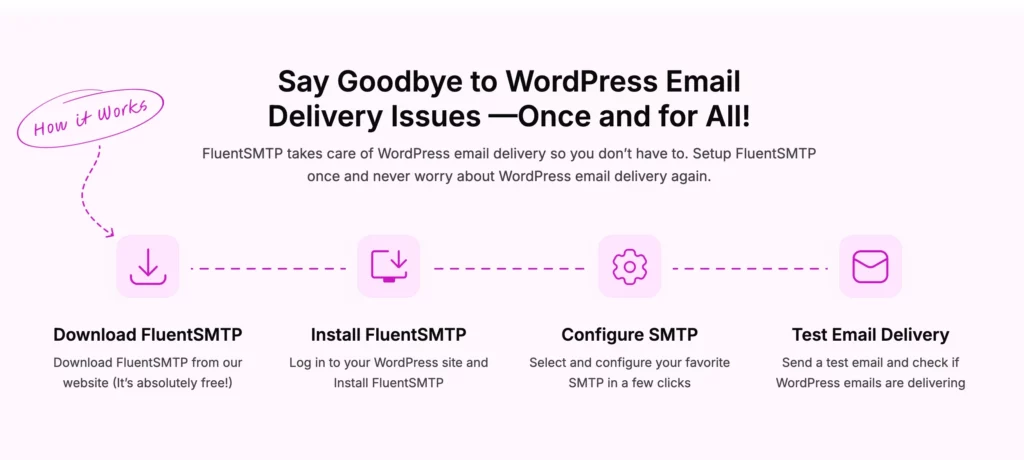
Follow this step-by-step guide to configure FluentSMTP. If you don’t want to use your hosting email service, you might want to explore other email service providers. Using email service from your shared hosting will often send your email to spam and hit your domain health.
FluentSMTP integrates well with 10+ popular SMTP/PHP mailers like Google Workspace, Microsoft Outlook, Amazon SES, Mailgun, Sendgrid, Elastic Email, and more. You can easily follow this documentation guide to connect with your favorite SMTP/PHP mailers.
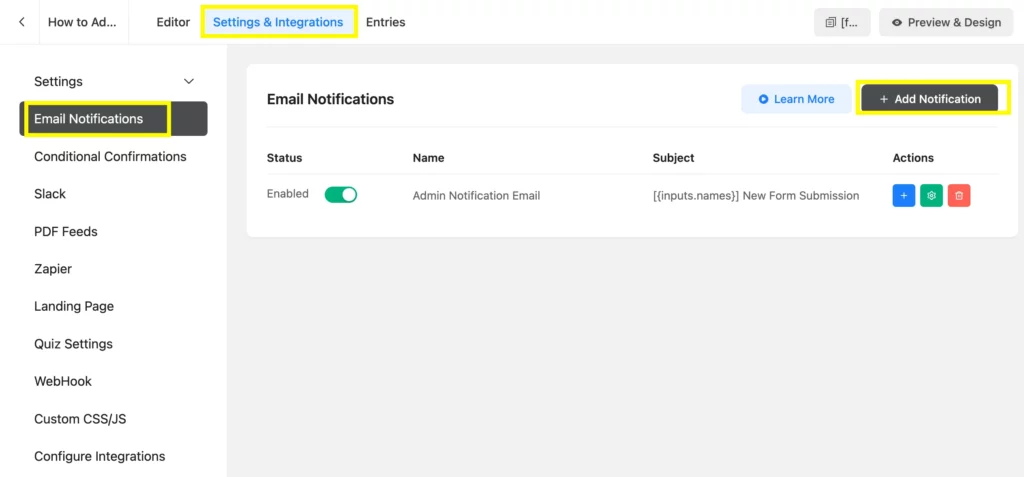
Set up email notifications on forms
Whether you get a submission of any kind of form, such as a contact form, sign-up form, application form, product order form, booking form, payment form, etc, you are more likely to send an instant response to your website visitors. To ensure that you send a notification to the user immediately after a form submission, set up email notifications on the forms.
Using Fluent Forms– the fastest WordPress form plugin, you can easily set up email notifications on forms with a few simple steps.
You can utilize the email notification sending system to send notifications to the visitors of your WordPress website.
Users expect a confirmation notification from you once they sign up for your website, place an order, make a payment, or take any similar action using their email address.
You can follow the same basic steps to enable notifications for a particular form.
Send custom welcome emails
You can send a welcome email to the visitors who have recently signed up for your website to make a positive impression.
Using Fluent Forms helps you make your email notification sending experience smoother. It comes with the smoothest way– you get the user’s email whenever they submit a form, just select the field and set up the notification, and prepare your mailing text. Yes, it’s that simple.
Here, you can see I have added an email notification that can be used whenever someone joins our community.
I have chosen the Send To button for the respective form’s Email field, and also selected the user’s first name in the welcome message.

You can attach a file to that email, which is a very special benefit of using Fluent Forms while communicating with your users through email. For example, you can offer a lead magnet using Fluent Forms. If someone signed up to your site and claimed an eBook, you can add the eBook’s PDF file to the email. You can also enable conditional logic and have advanced options, too.
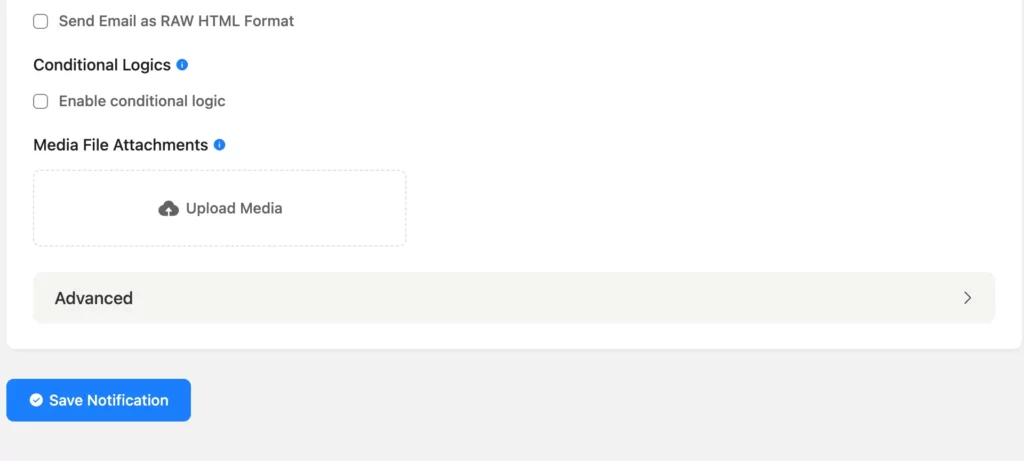
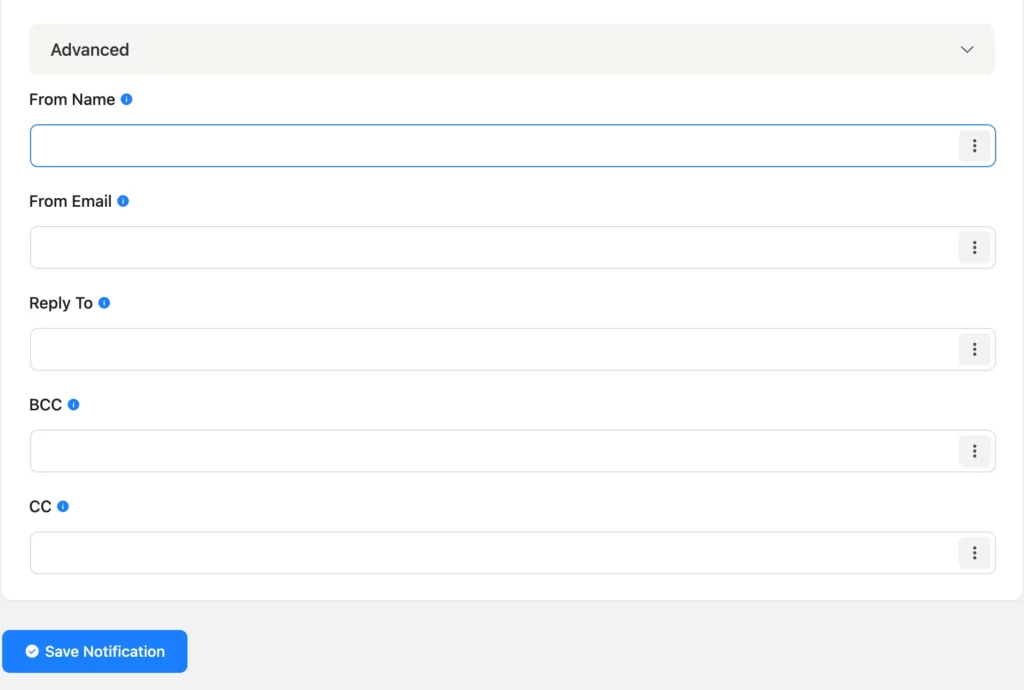
For a more personalized experience, use the advanced options of the email notification inside Fluent Forms, and add the From Name, From Email, Reply to, BCC, and CC.
Send form submission notification
You can show a thank you message as a form submission notification. Besides, you can send an email with more specificity.
When you want to send a form submission notification, such as when someone places an order, makes a payment, or provides an instant notification.
Send application/subscription/reservation/order placement confirmation
You can send an email to the users once a form is submitted, with the basic and important details.
It applies to repeatedly used forms, such as reservation forms.
Send a personalized email based on the user’s query
You can send a personalized email based on the user’s query. If it’s a support ticket or a complaint form, you can send a personalized email to the form submitters using the conditional logic feature of Fluent Forms.
Build Smarter Forms for Free


Hi, this is Aparup. I am a Literature postgraduate, mixing my creative thoughts with my experience in the tech industry to surpass AI. Professionally, I am a content marketer seeking solutions to users’ problems regarding WordPress.


Leave a Reply