Trello Integration for WordPress Forms to Stay in The Loop
Email marketing is a vital step to scale your business. And there are many email marketing practices that you should follow or stay away from to make the experience smoother.
However, before sending out the emails, you will first need a well-organized system to collect and store these emails. Trello works excellently in this regard. You can collect emails using a newsletter, and after connecting the form with your Trello board, all the data you collected will be stored accordingly.
Trello integration is very effective and saves you the trouble of going through heaps of data alone. But first, what is Trello?
Trello
Trello is, first and foremost, a team management software. It offers a robust Kanban board, rich with comments, attachments, checklists, etc. It leads to less confusion and easy regulation. All these make it a straightforward option for contact management.
You can easily use Trello to manage all your leads and contacts using Kanban boards. Deploy a contact form, and your entries will be automatically added to designated lists. As a bonus, you can also have a board, specifically to communicate with your clients, like Fluent Forms.
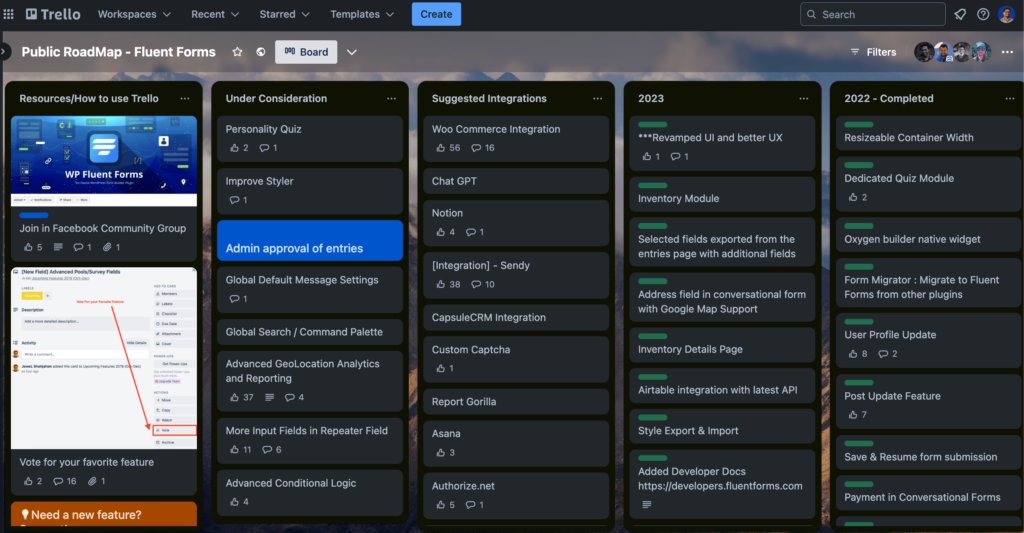
Here, Fluent Forms puts out all the future plans, and the voters can upvote the choices they like best and also suggest new features that they would like to see.
Why Fluent Forms
Fluent Forms is one of the lightest contact form plugin for WordPress. It lets you create excellent forms for your WordPress website. It provides a ton of fantastic features to meet your data collection and lead generation requirements.
Fluent Forms allows you to design a wide range of forms, from simple contact forms to more advanced payment forms.
The key features of Fluent Forms are –
- 60+ input fields to collect any type of information
- Numeric calculation to create forms with calculators
- Multi-step forms to break long forms into multiple steps
- Conversational forms to provide a better form-filling experience
- Advanced post creation to collect user-generated content
- Conditional logic to show/hide input fields based on user behavior
- Integration with popular payment gateways to collect payments and donations
- Spam protection using hCaptcha, reCAPTCHA, Turnstile, Honeypot, Akismet
- Quiz and survey with advanced scoring
- Advanced form styler to align form with your brand identity
- Custom CSS and JS to create more advanced forms
- Export entries in CSV, Excel, ODS and JSON format
- PDF add-on to turn form submissions into PDF files
- Form scheduling and restriction based on different rules
- Double opt-in confirmation to ensure efficient data collection
- Email notification after form submission
- Conditional confirmation to show confirmation messages based on predefined conditions
- Advanced form validation to accept eligible submissions
- Fully responsive and accessible to ensure inclusivity
- 55+ integrations to expand core functionalities
Currently, more than 500K websites use this form builder plugin, and the number is constantly growing. Although the free version of Fluent Forms can handle most of your basic needs, the Pro edition further pushes the limit.
Integrate Trello with Fluent Forms in 6 steps
To integrate Trello with Fluent Forms, you have to follow the steps below –
1. Subscription form
2. Enable Trello integration
3. Get the Trello access key
4. Create a Trello feed
5. Email notification
6. Embed form
These steps are elaborated for you below.
Step 1: Create a subscription form
Your email campaign cannot start without a useful email list. And subscription forms can help you there.
By following these easy steps, you can create a webform using the WordPress plugin, Fluent Forms.
First, head over to the All Forms option and click on the Add a New Form button from there. You will see an array of prebuilt form templates in front of you. Select the Newsletter form, and you’re set.
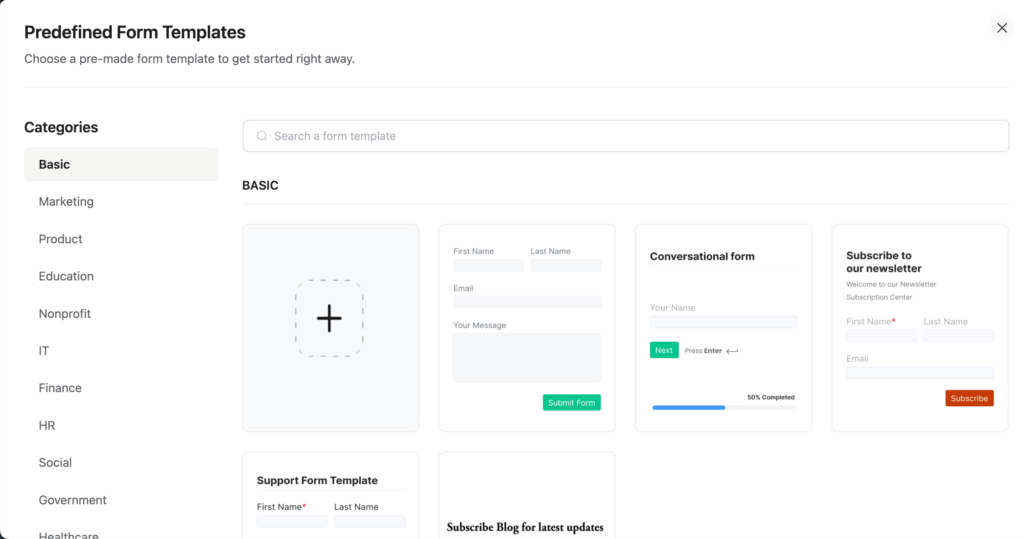
This template should contain all the form fields necessary for your task at hand, but if you want to customize further, go on ahead. Please choose from the 60+ input fields and style it however you like it.
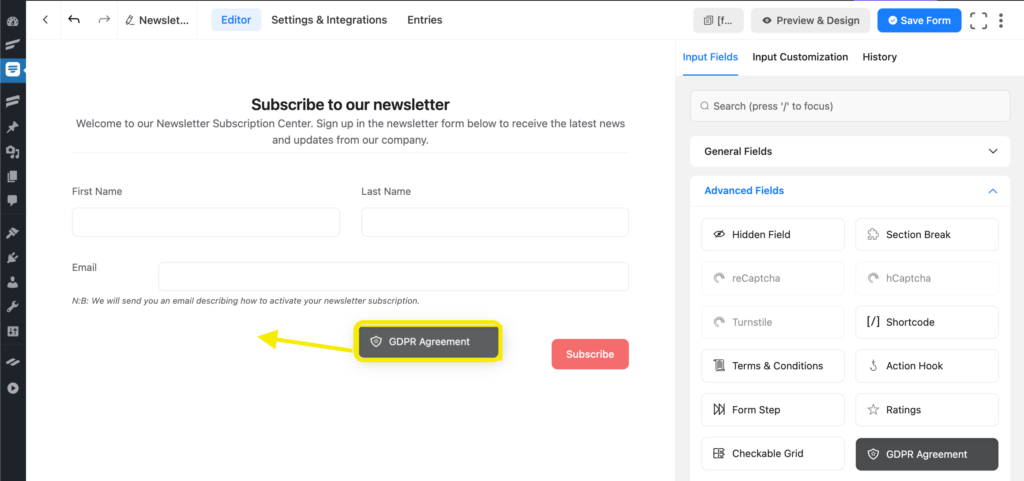
Bonus points, it’s always wise to stay updated with GDPR compliance practices.
Step 2: Enable Trello integration
Now that your subscription form is ready, it’s time to move on to the next step. You have to connect your newsletter to your Trello account.
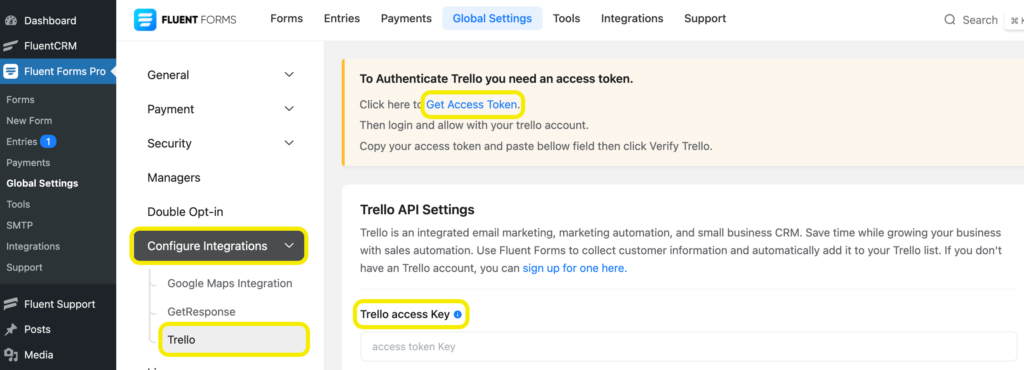
You can do that by going to the Fluent Forms’ Integrations‘ tab from the dashboard. You can check all your available integrations from here. Use the search bar or Scroll to Trello, and activate it. This will enable the integration.
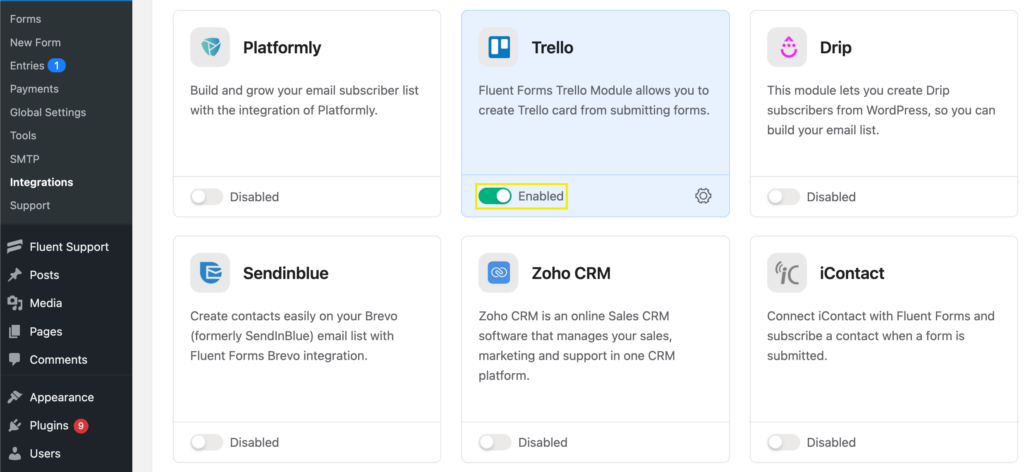
For the next step, you need to go to the Global Settings of Fluent Forms. Here, you need to provide your Trello Access Key, which you will get from your Trello account.
Step 3: Get the Trello access key
Log into your Trello account and click on this link.
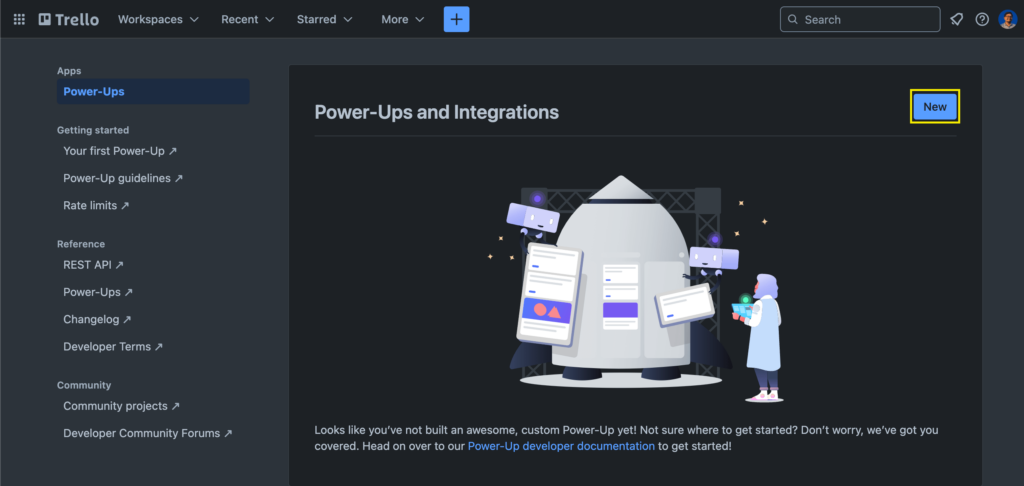
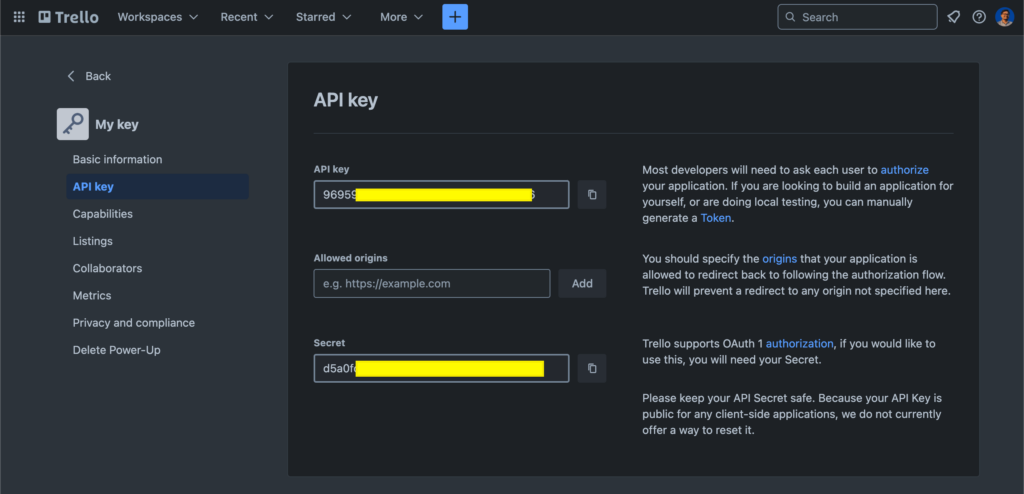
To create a Trello account, click here! If you don’t already have an API key, you need to generate one. To do that, click on the ‘New’ button to generate API key.
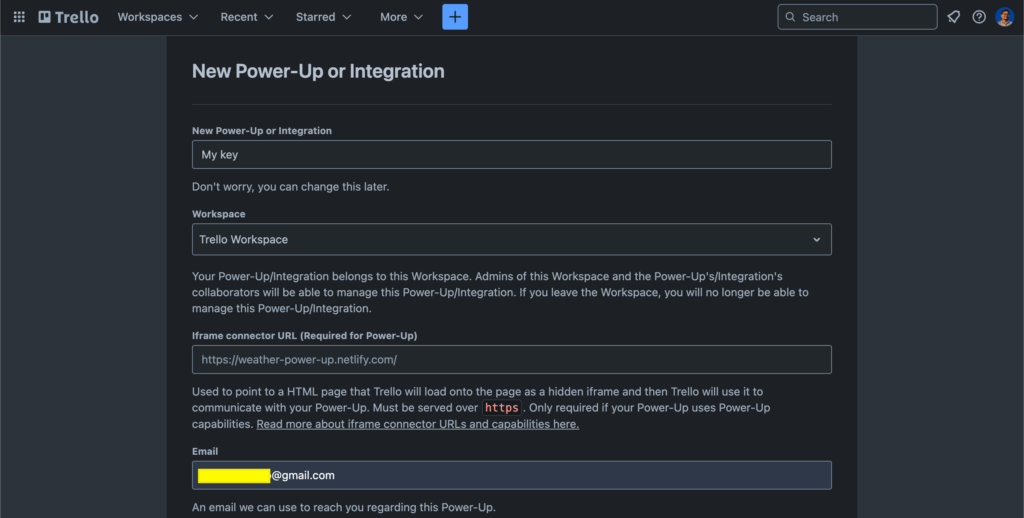
Put the necessary information to create your API key.
Copy your API key and don’t share it with anyone else.
You will also need to generate an ‘Access Key’. Click on ‘Get Access Token’ to generate your token.
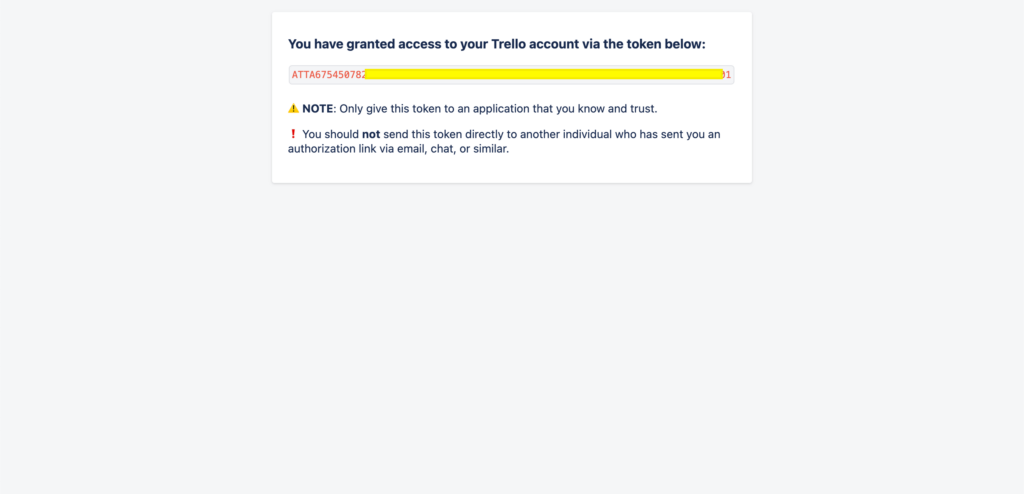
The ‘Access Token’ will look something like this.
Step 4: Create a Trello feed
Now that your form is ready and your Trello integration is enabled, it’s time to set up your Trello feed. Go to the Settings & Integrations of the form, and from the sidebar, select Configure Integrations.
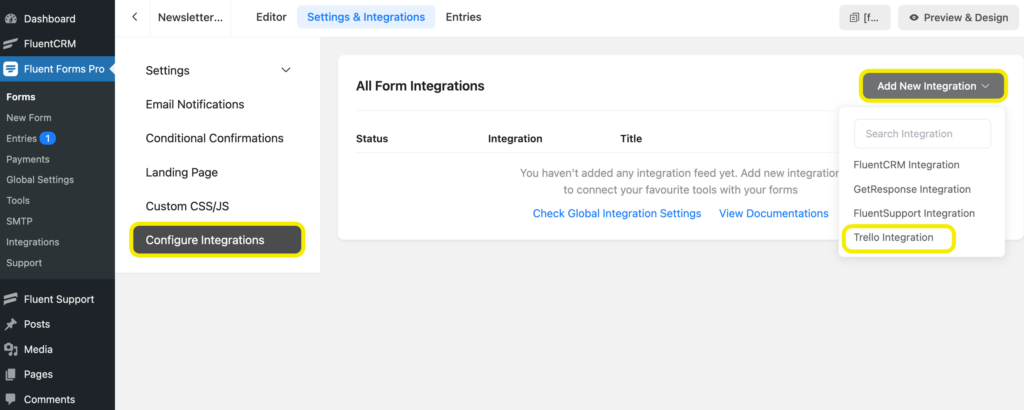
There’s an Add New Integration button on the top-right corner. Now click on Trello Integration.
Then, click on the Create Feed button. You can configure your Trello boards and cards and configure some more.
Step 5: Email notification
This is an extra step that will make email collection a little bit extra smooth. By enabling this, you can keep up to date with your campaign. You will be promptly notified every time someone fills out a form. You can also configure it to forward emails to other members of your team.
Head to the Settings & Integrations of your form and from the sidebar, go to Email Notifications. From the top right corner, select Add Notification. Next, name your notification and define the routing address.
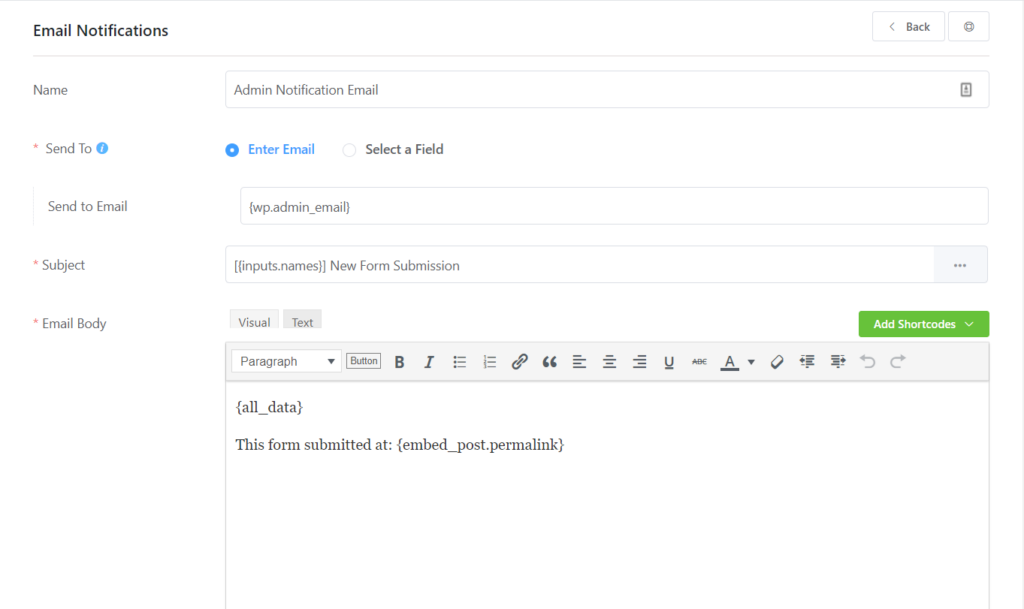
You can configure additional details here and also apply conditional logic if needed. Moreover, from the advance panel, set important details like BCC and CC. Hit the Save Notification button, and you are good to go.
Step 6: Embed form
Now that you have created a newsletter, activated Trello, created a Trello feed, and even configured email settings, there’s one last thing to do. Embed the form in a relevant post or page. Research what works best for you and then embed the newsletter on a post, page, or as sidebar widgets.
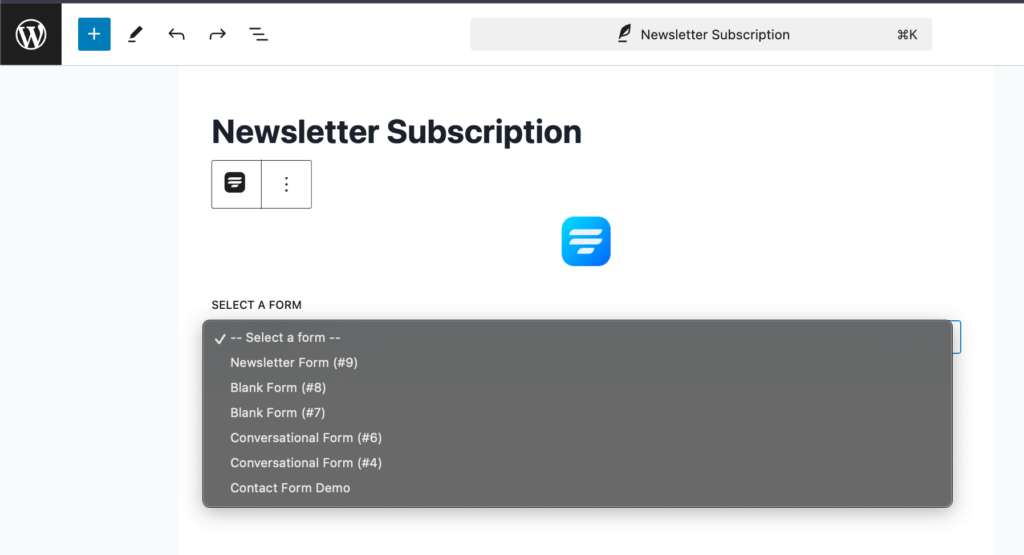
In order to do that, you’ll have to go to the post or page you want to embed the form to. Then, from the dashboard, click Posts » Add New. Go to the section where you want to showcase your form and click on the ‘+’ icon. From the dropdown menu, select the Fluent Forms logo. After doing this, a modal box will be attached. Next, select your newsletter.
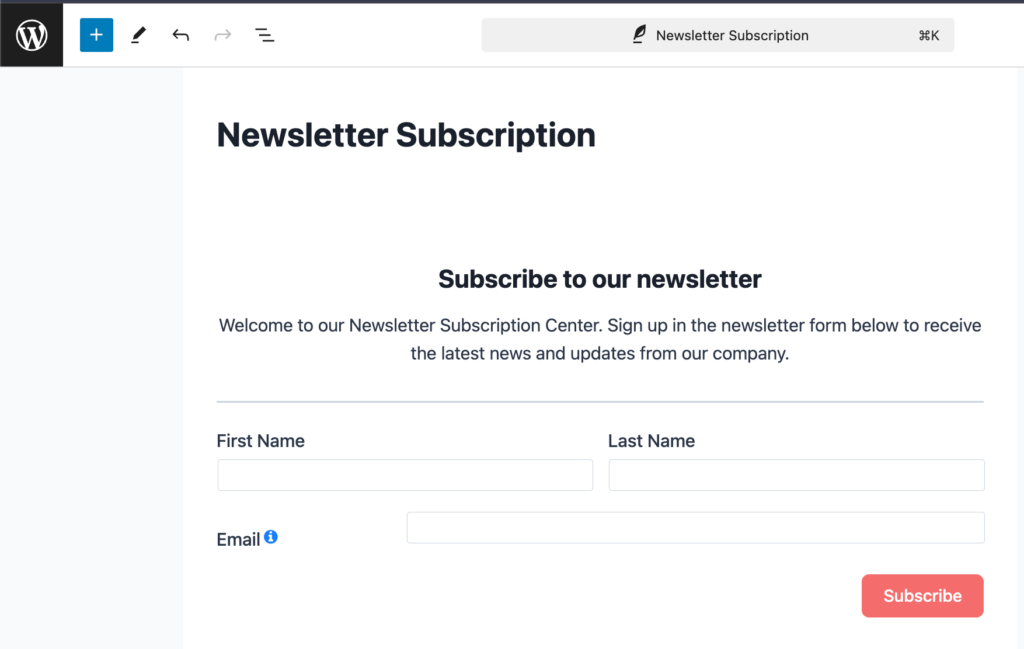
And there you go! Your Trello feed is ready to go. Every time someone fills out a form, their data will be automatically added to a designated Trello card. Since we are talking about successful email collections, you should also keep updated with ways to keep unsubscribe rates low.
Related resource: Trello integration with Fluent Forms documentation.
60+ Third-party Integrations
Expand your form functionality with seamless integrations.

4 responses to “Trello Integration for WordPress Forms to Stay in The Loop”
-
https://i.imgur.com/NDGxpZ9.png
I’m having trouble creating multiple conditions but with the same content, for example : placing data categories into multiple trello boards.
I wish there was a duplicate action button here. ??-
Hi! I think it would be better if you opened a support ticket so our team can look closely into the matter.
Open support ticket here: https://wpmanageninja.com/support-tickets/
-
-
Hello Pianino.
You can follow us on:
Twitter: https://twitter.com/Fluent_Forms
Facebook: https://www.facebook.com/wpfluentforms -
Very interesting. Do you have a facebook or twitter page I can follow you on?





Leave a Reply