
How to Create a Volunteer Application Form in WordPress
Are you looking for a solution to make a volunteer application form for your organization’s WordPress website?
If you run a people-managing institution, you might be spending a lot of time and money to handle paper forms, or sending business emails. Imagine the convenience of being able to gather volunteer applications online and effortlessly oversee them directly through your website.
In this article, we’ll show you how to create a volunteer application in WordPress easily with the fastest form builder plugin in WordPress Fluent Forms, and collect volunteers’ information smoothly.
TL;DR
- A volunteer application form on WordPress helps you have all applicants’ data in a single dashboard
- By installing a drag-and-drop form plugin like Fluent Forms, you can make a volunteer form from scratch and publish it on your site
- Use fields such as name, email, address, phone, and simple text to collect applicants’ personal information
- Dropdown, multiple choice, and multi-column fields make users fill out a volunteer registration form easily and rapidly, with a tailored experience
- You can use a terms and conditions field while showing a customized message about your organization’s policies
- Use the global styler section to set the design template, check device responsiveness, and publish the form using the shortcode
Why create a volunteer application form online
Many organizations depend on volunteers, especially nonprofits, and charities. In 2020, volunteers in the United States gave a total of 6.9 billion hours of service which is worth $183.4 billion. However, going back and forth from each task to maintain a single volunteer can kill a lot of time. By adding an application form online, you can recruit more volunteers and automate the process of managing your volunteers. This will save you a lot of time, and effort. Some more benefits of using an online volunteer application are:
- You can maintain all the data in one dashboard and also will be able to keep them secure.
- Set up automated email campaigns when needed.
- Reach more people by the online presence.
With that said, let’s see how to make a volunteer application form in WordPress, step by step.
Make a volunteer application form in WordPress
We’ll follow these four easy steps to create the volunteer application form.
- Install a contact form plugin from WordPress
- Make a form from scratch
- Design the form
- Publish the form
Now, let’s proceed with the steps.
Step 1: Install a contact form plugin from WordPress
As a form plugin, we’ll use Fluent Forms today. Why?
Because Fluent Forms is the fastest and most robust form builder in WordPress, loved by 600K users worldwide with tons of advanced functionalities. From creating user registration to survey forms, from volunteer application forms to conversational forms, making any type of form with Fluent Forms is just a matter of a few clicks. Fluent Forms provides,
- 70+ pre-built templates
- 60+ input fields
- 50+ third-party integrations
- Quiz form fields
- Email notification
- Multi-step form field
- Payment options
- And more features
More so, the plugin has an address field both in the regular editor and conversational form editor. It also comes with a PDF addon, signature add-on, GDPR field, containers, etc. Additionally, Fluent Forms supports double opt-in, form scheduling and restrictions, spam protection, Global Styler, and whatnot.
The most amazing fact about the tool is that despite having such amazing facilities, it asks you a very small amount to pay. Even so, it’s a free version enough to run a startup business.
So, without any further ado, let’s install it from the WordPress dashboard.
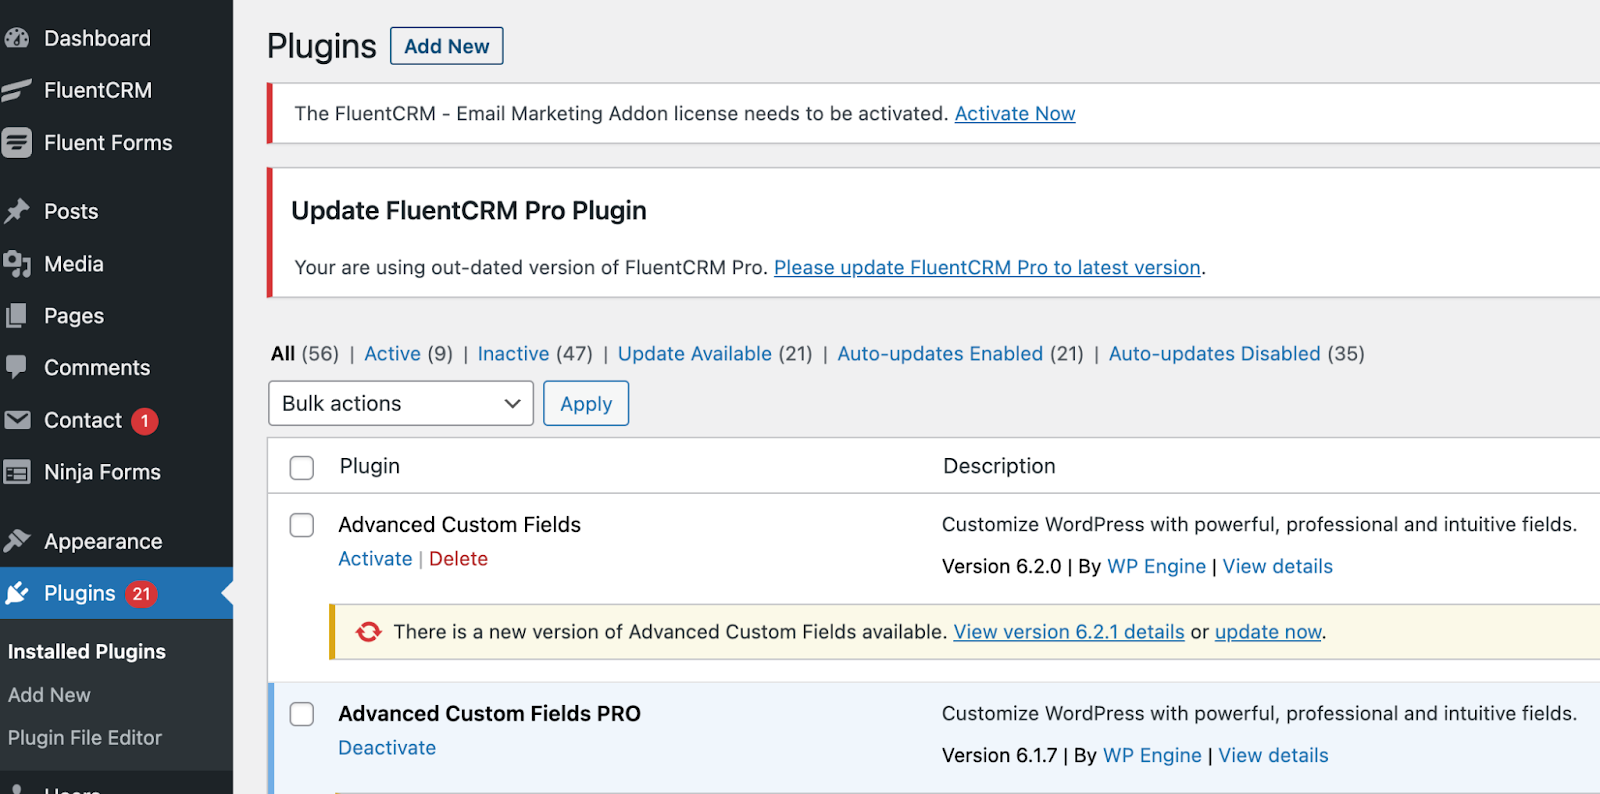
Go to the Plugins section from your WordPress dashboard, and click on the Add New button from the top left corner.
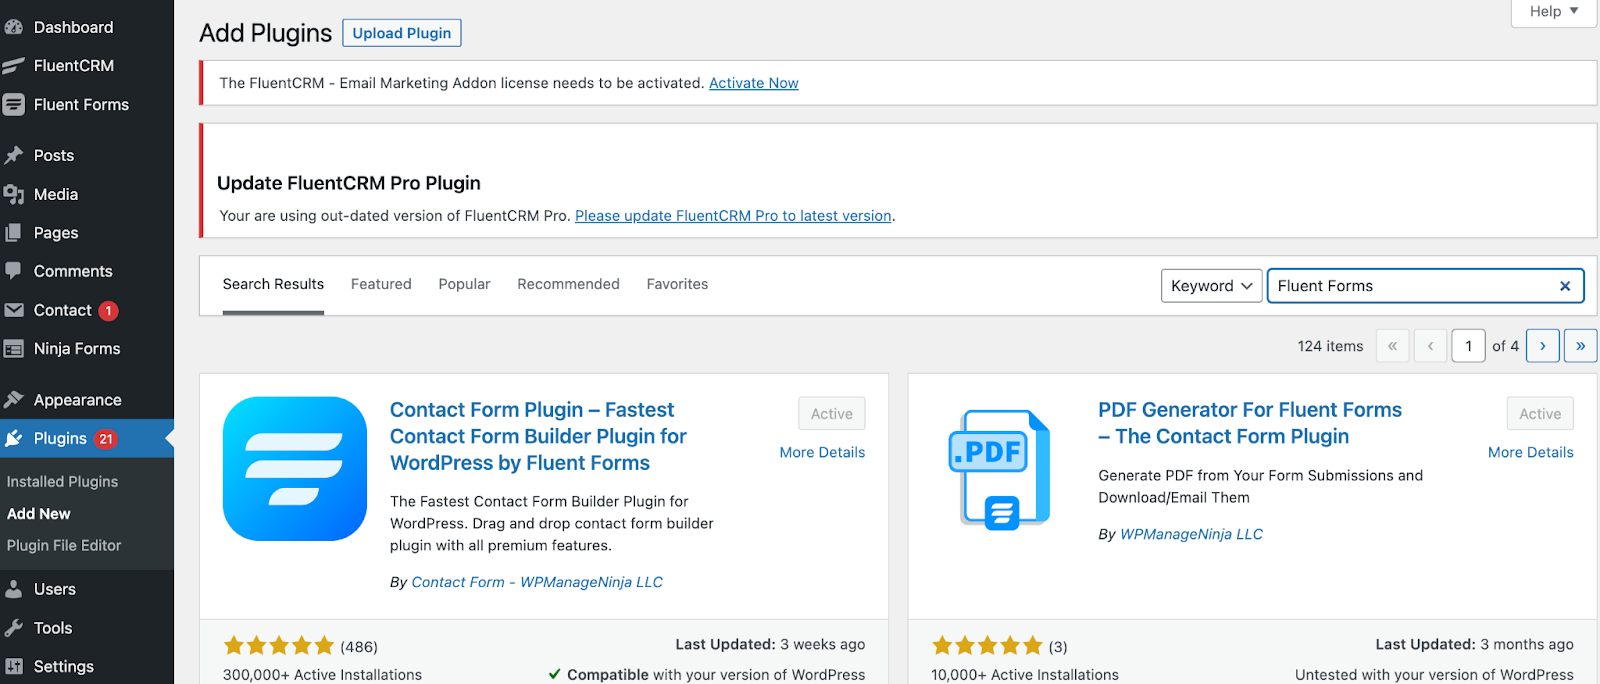
Now search for Fluent Forms on the search button from the right corner of your screen. Install, and activate the free plugin, or you can upload the pro version on the Upload Plugin button in the same place.
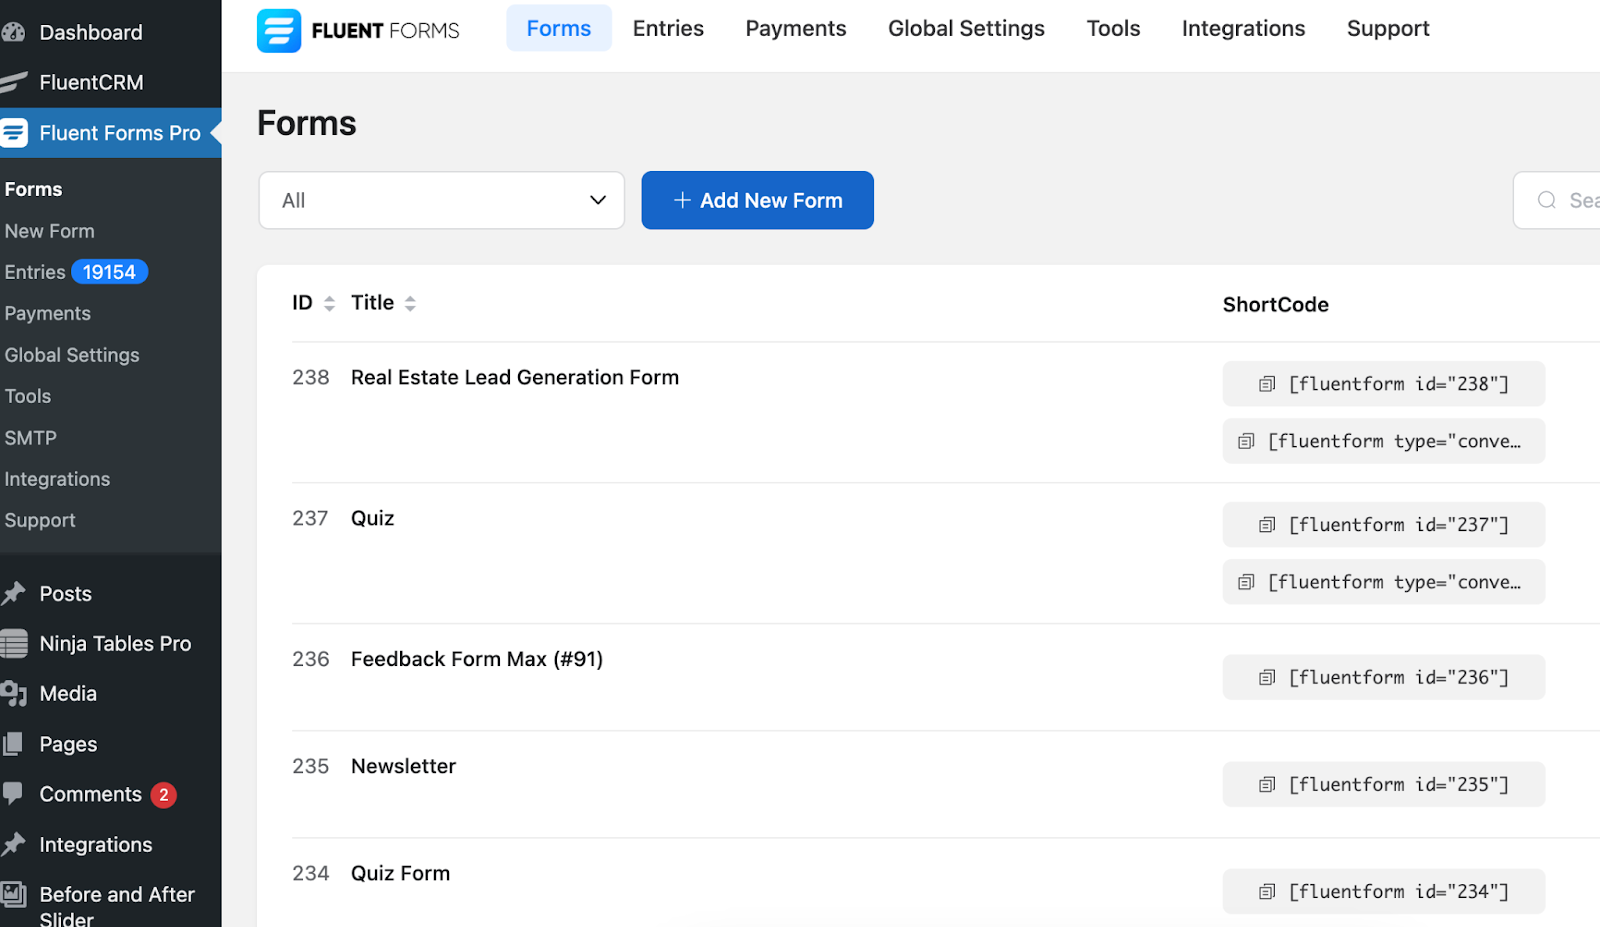
We’re using the pro version to show you the process more efficiently. Now, after activating the plugin, you’ll get the Fluent Forms option right in the panel of your WordPress dashboard. We’re clicking on the Fluent Forms Pro button.
Step 2: Make a form from scratch
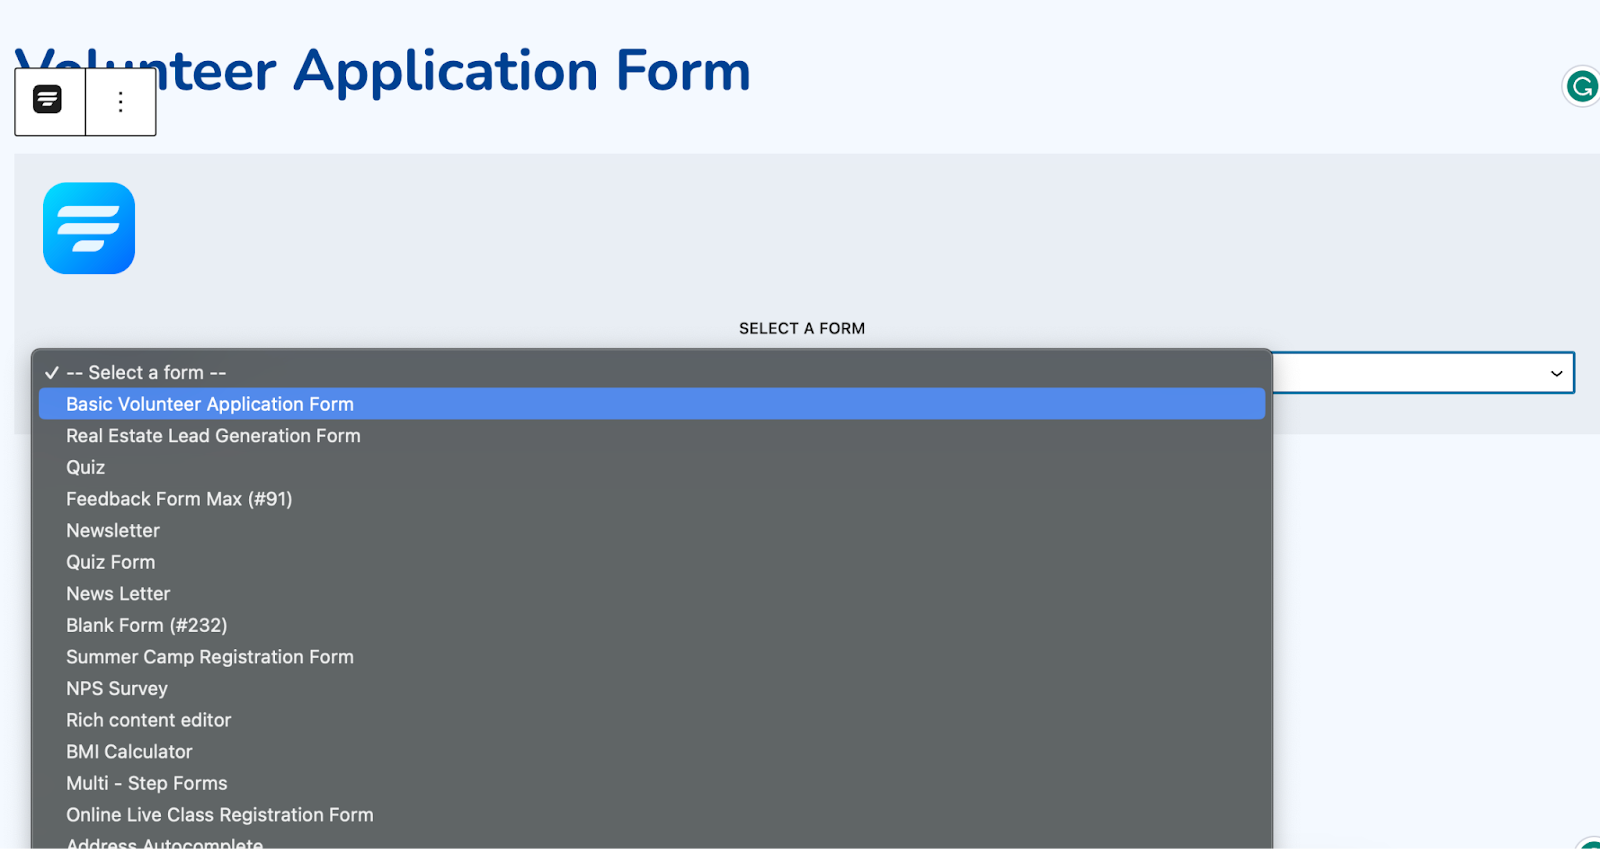
After that, you’ll get the Add New button on the Fluent Forms dashboard, click on it.
Now, you’ll get the options for pre-built templates.
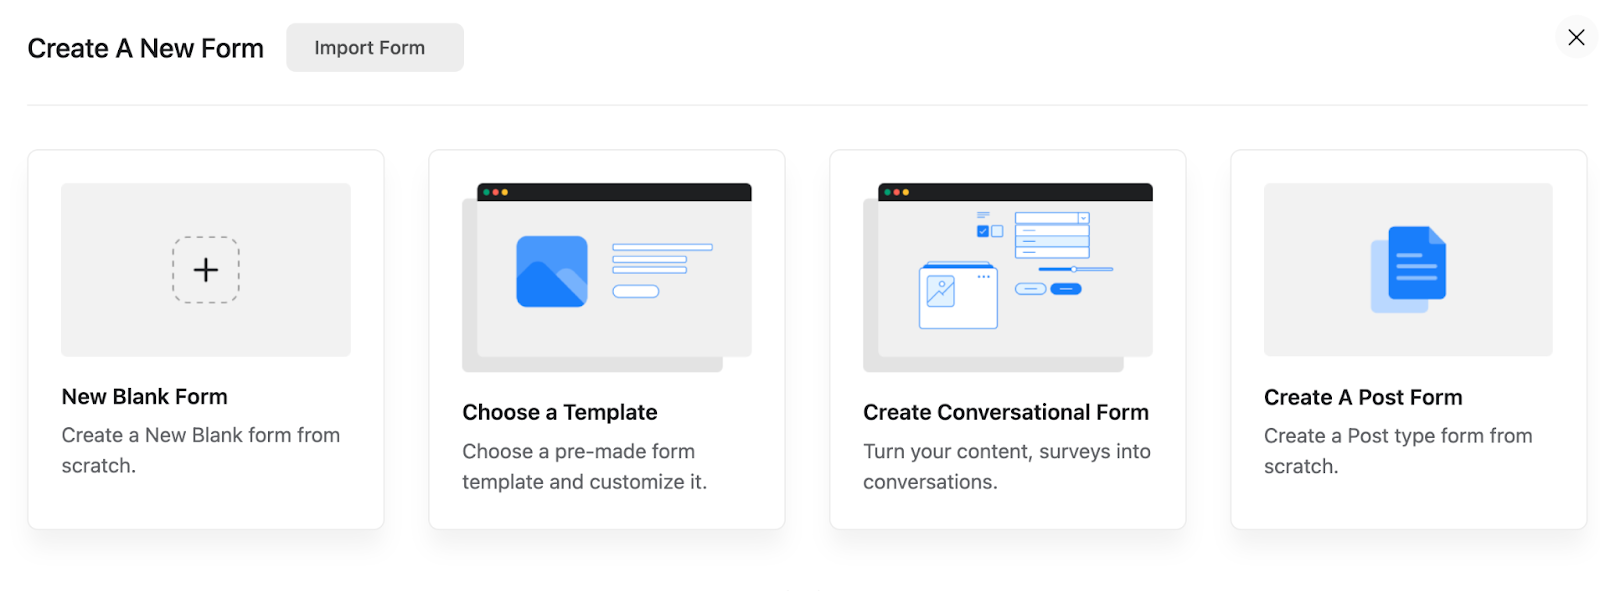
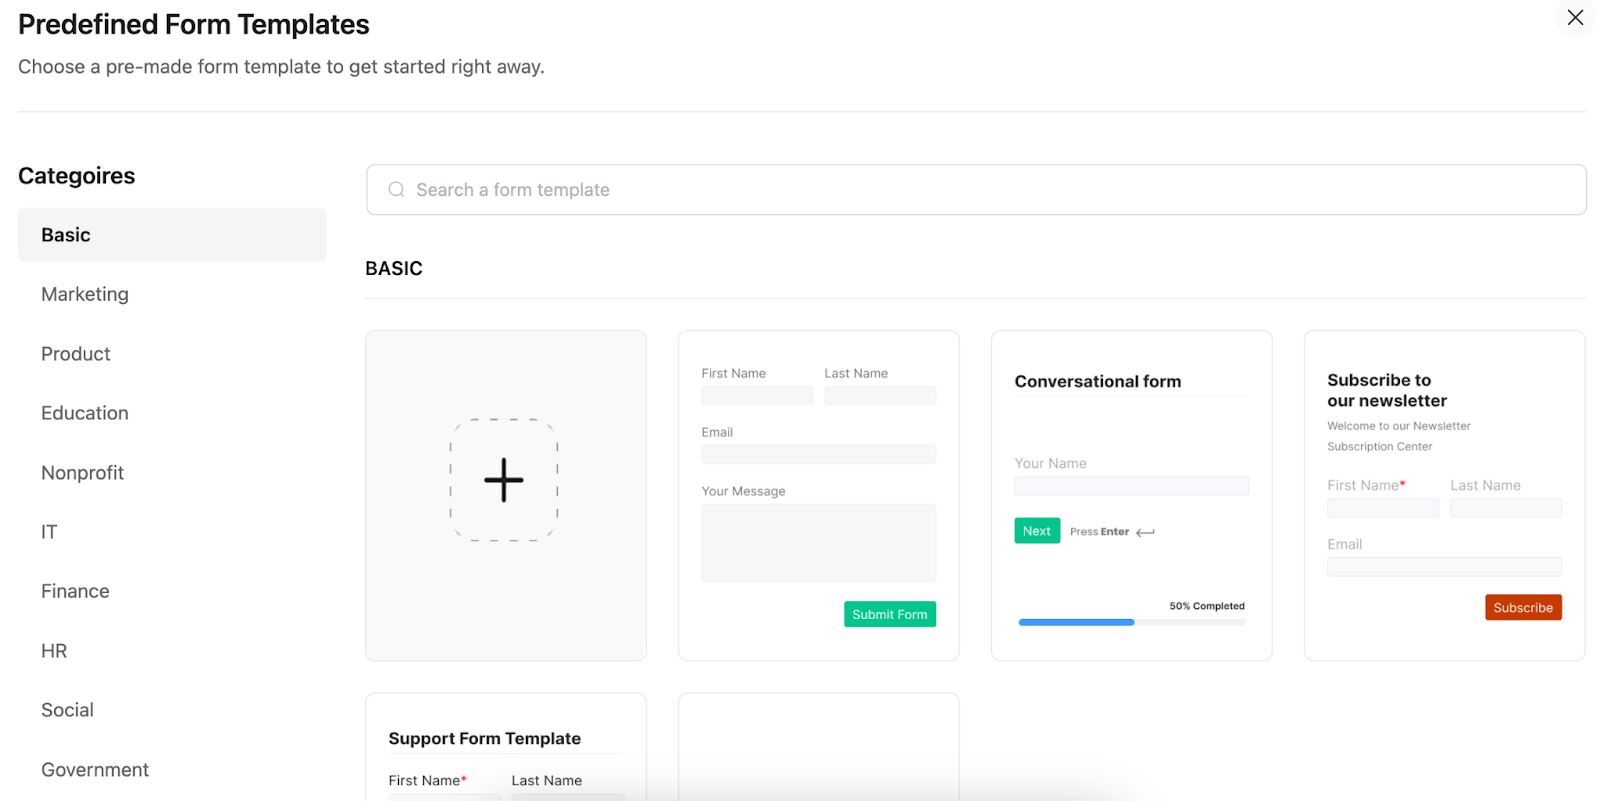
If you go for the Choose a Template option, you’ll get plenty of pre-made templates of online forms perfectly designed and organized by the Fluent Forms team.
We’re choosing the Blank Form template, as we want to build the form from scratch.

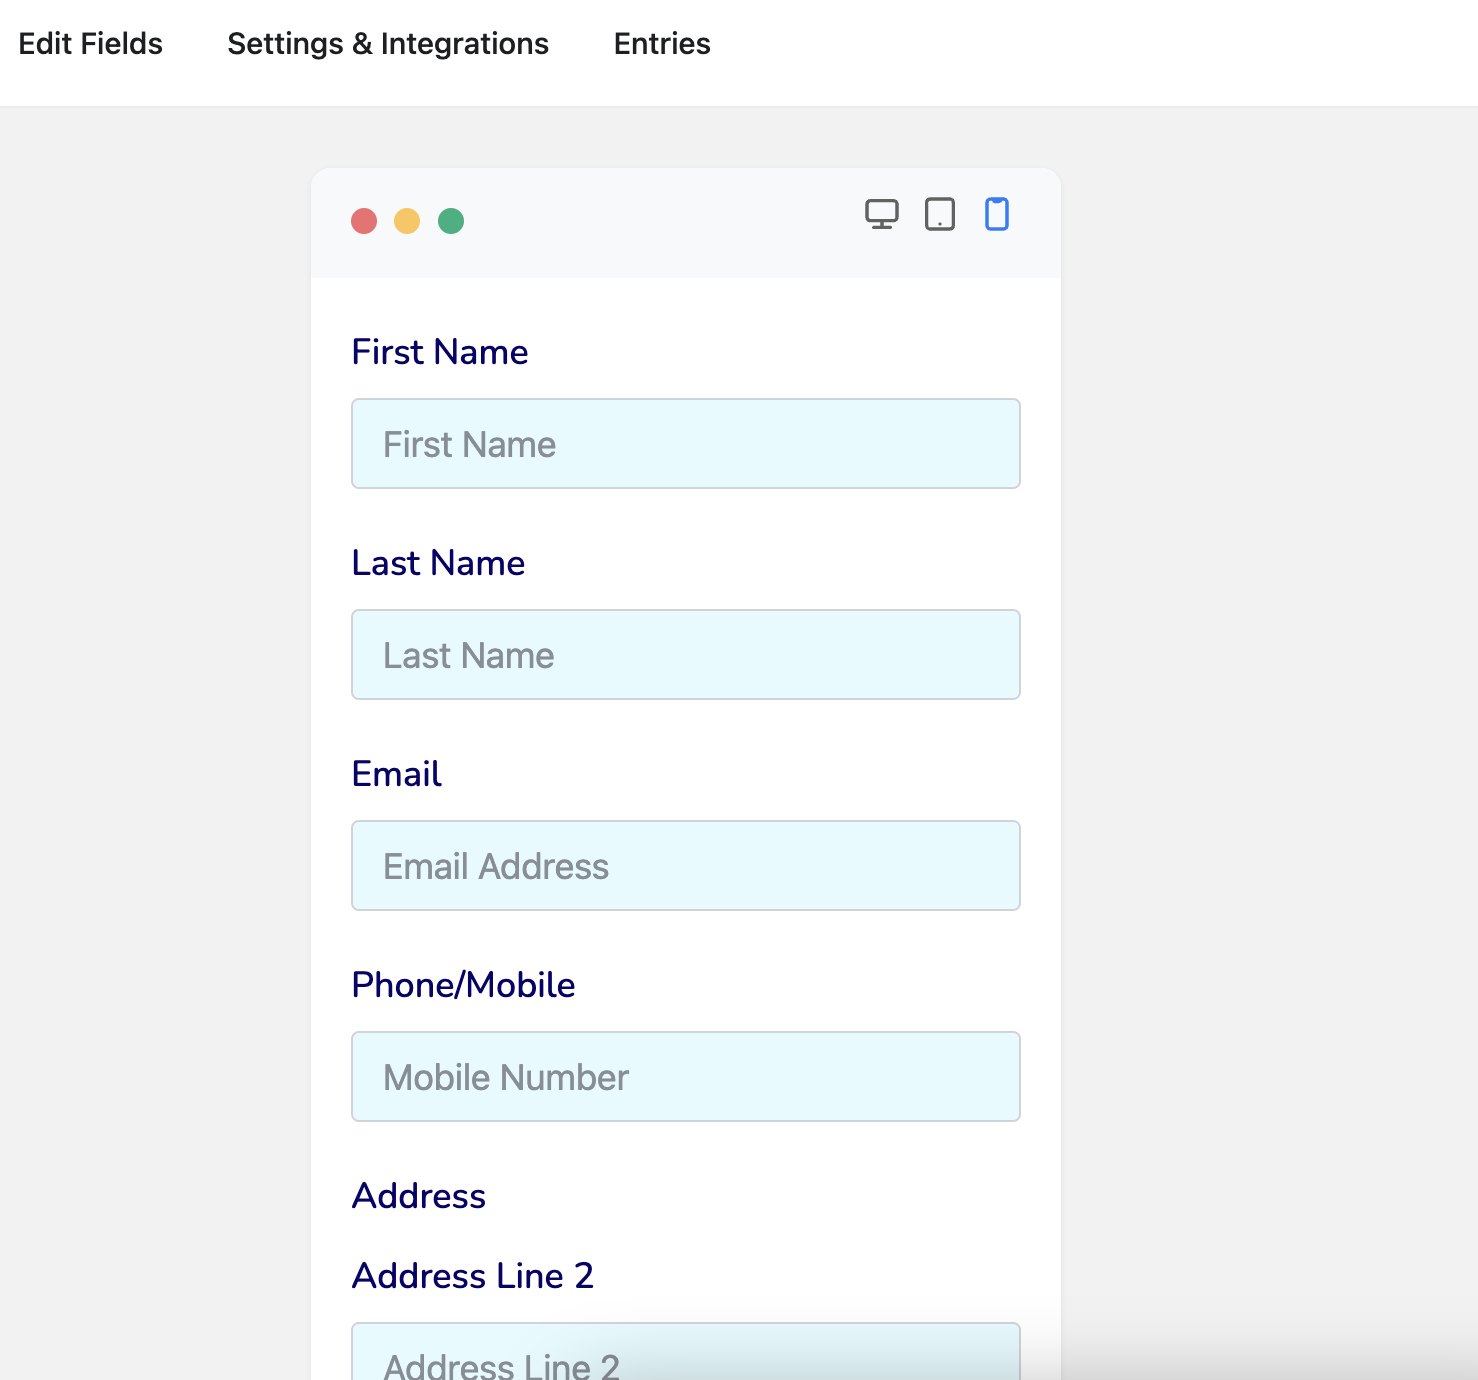
Then, you’ll get a form editor like the image below.
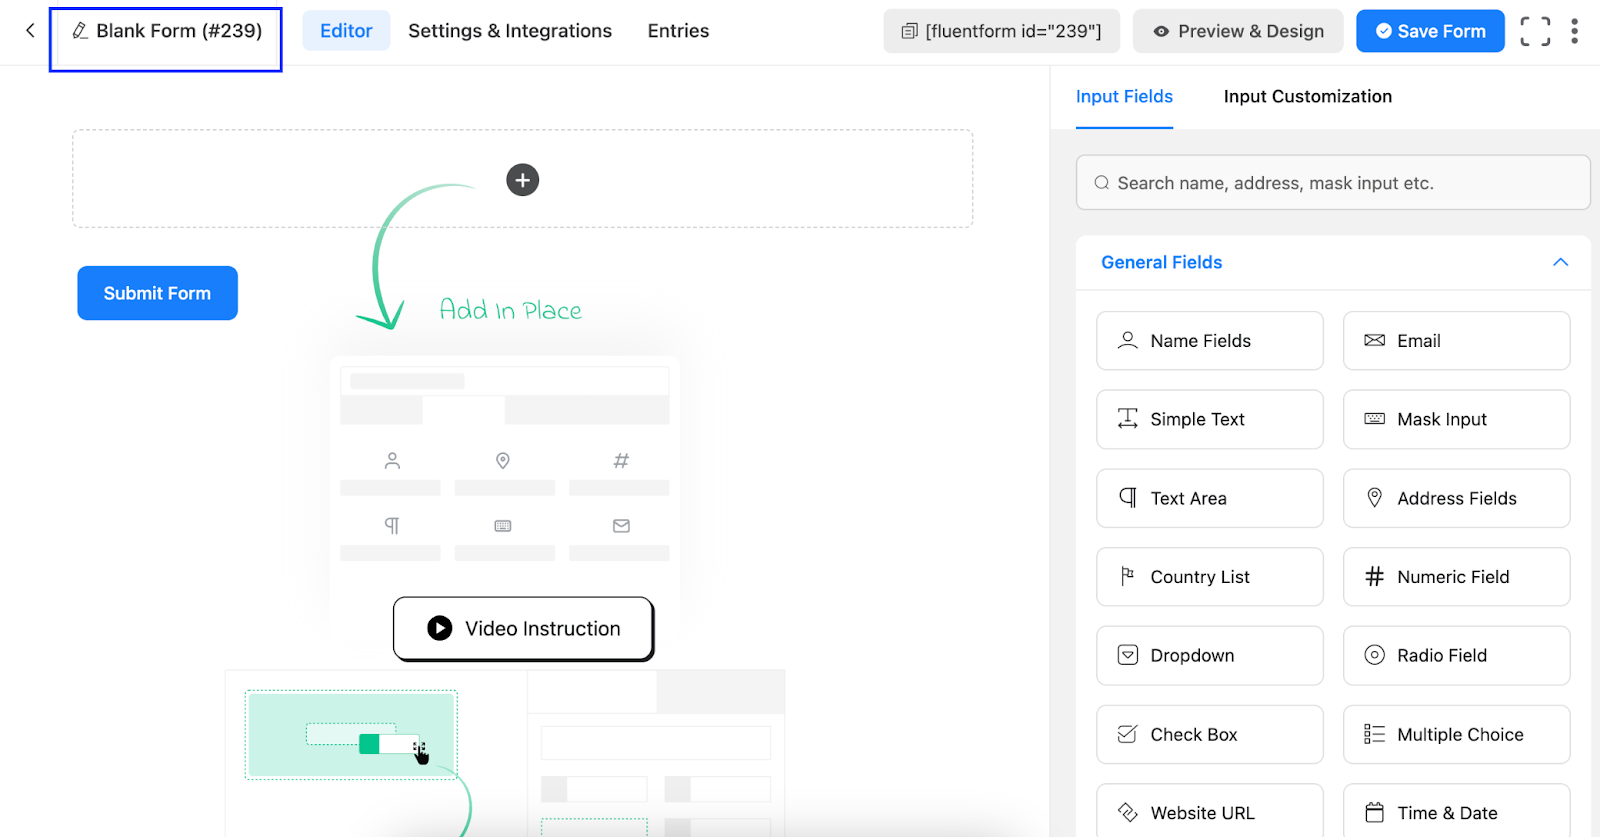
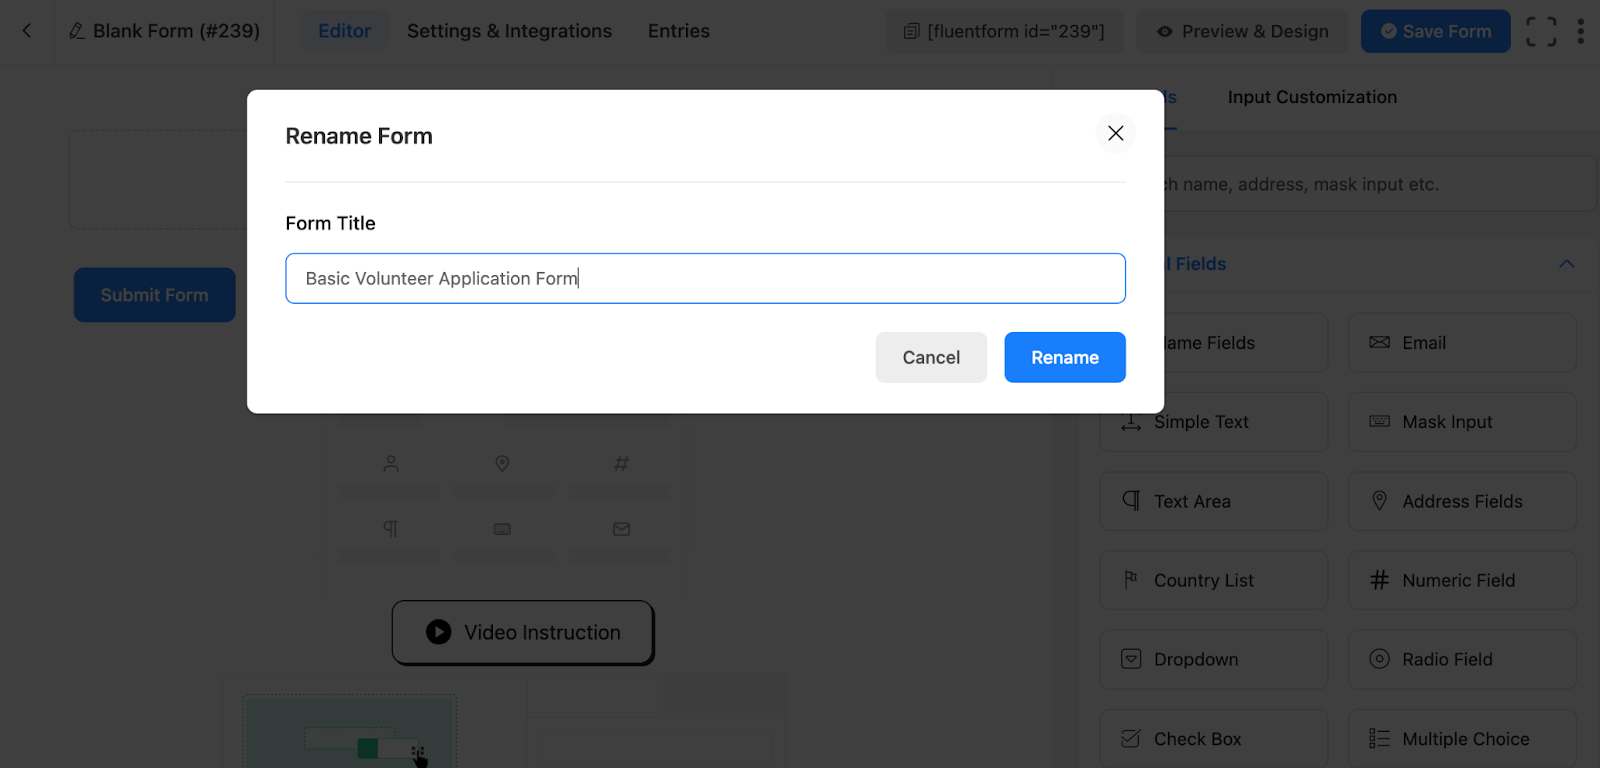
Let’s name the form first. Let’s say, we want to make a volunteer application form for our non-profit organization that serves the people of society who are deprived of the most basic needs of life, and our organization name is “BASIC”. So, we’re naming our form as “Basic Volunteer Application Form”.
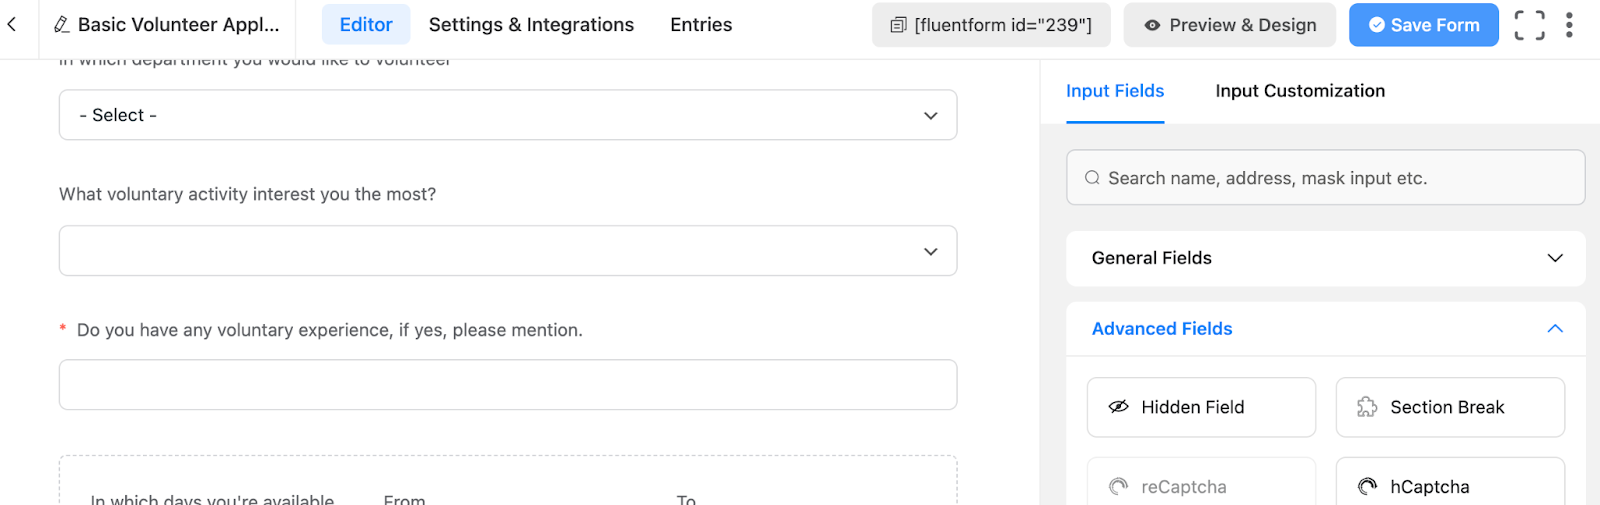
Now, let’s drag, or click the necessary fields from the right sidebar, or tap on the plus (+) icon on the editor to add them.
We’re adding the Name, Email, Phone, and Address fields first, as these are the most needed requirements to collect people’s information.
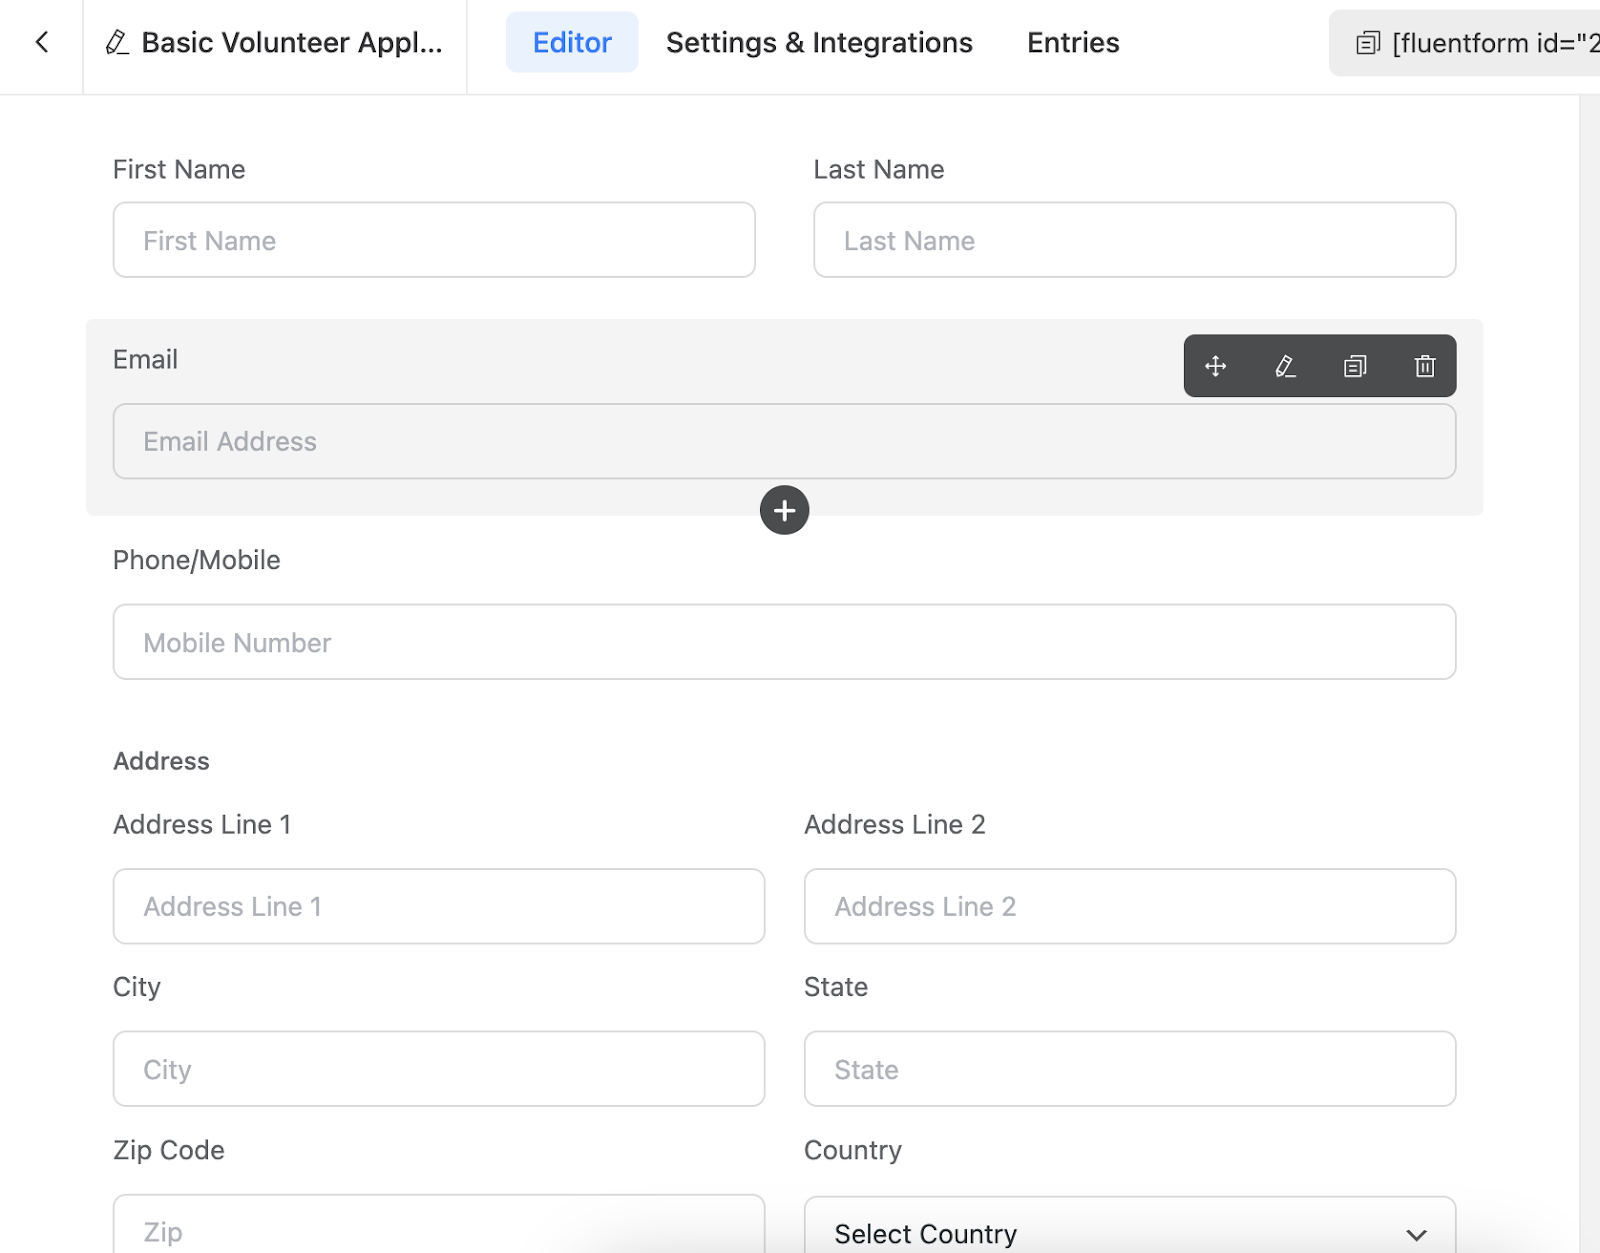
After that, let’s customize the Address Field a bit as we don’t want only one address detail for our volunteer. To do so, click on the edit icon of the field.
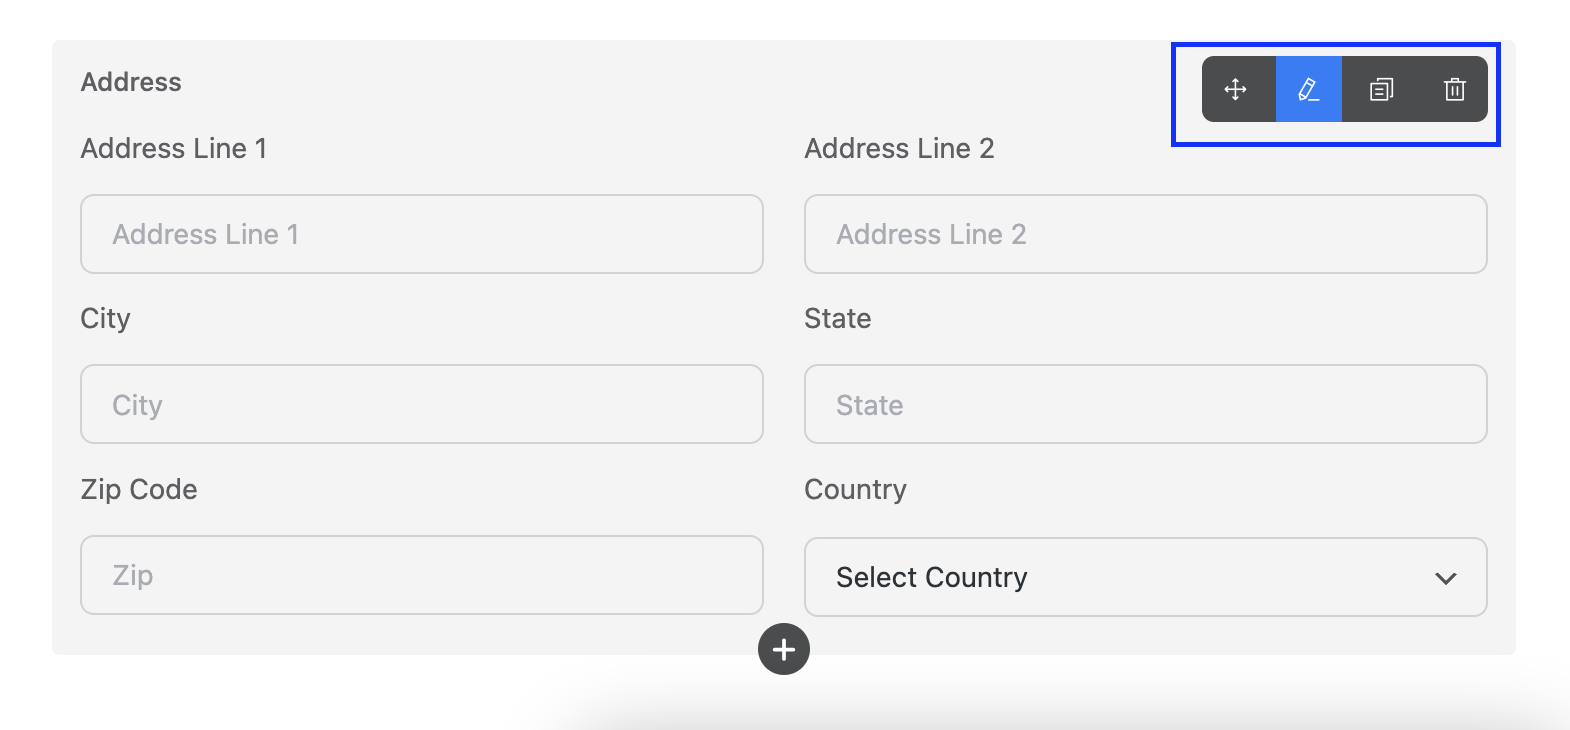
Now, let’s untick the Address Line 2, Country option from the Input Customization option.

Now, let’s ask about people’s educational background, and where they work. To do that, let’s add four Simple Text fields from the General Fields section, rename them, and set the label placement from the Input Customization option.

Finally, let’s move on to the voluntary work-related questions.
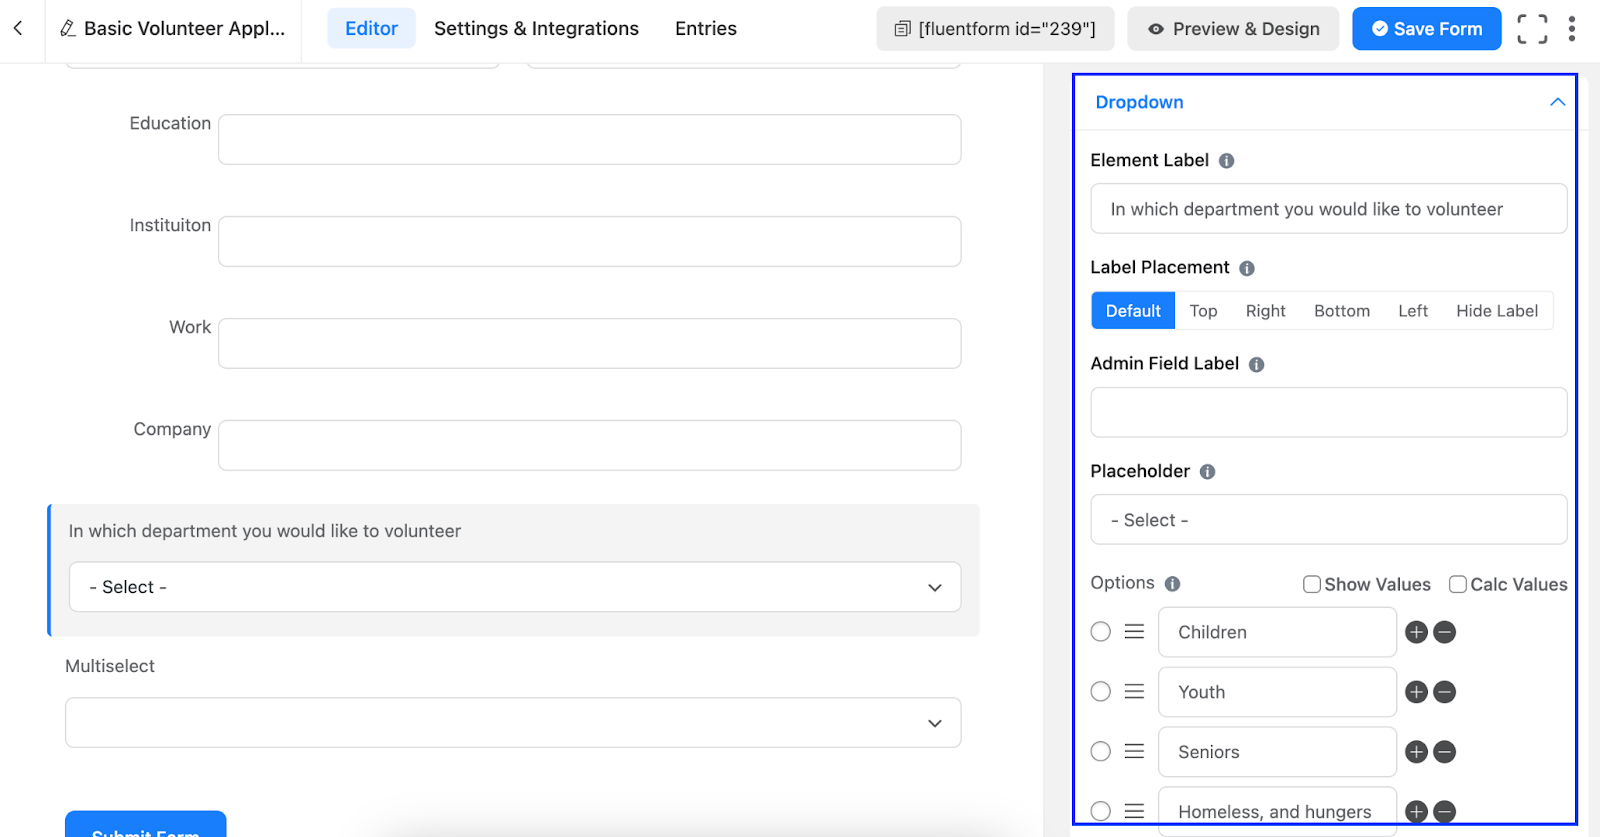
For instance, let’s ask which department they are interested in working in, their voluntary experience, which days, and hours they’re available in the week or month, what time they can work, etc.
For this, we’ll use Dropdown, Multiple Choice, and Text Area Field.
Enjoying this article?
We regularly publish actionable content on our blog. Subscribe to get them delivered straight to your inbox.
We won’t spam you. You can unsubscribe whenever you want.
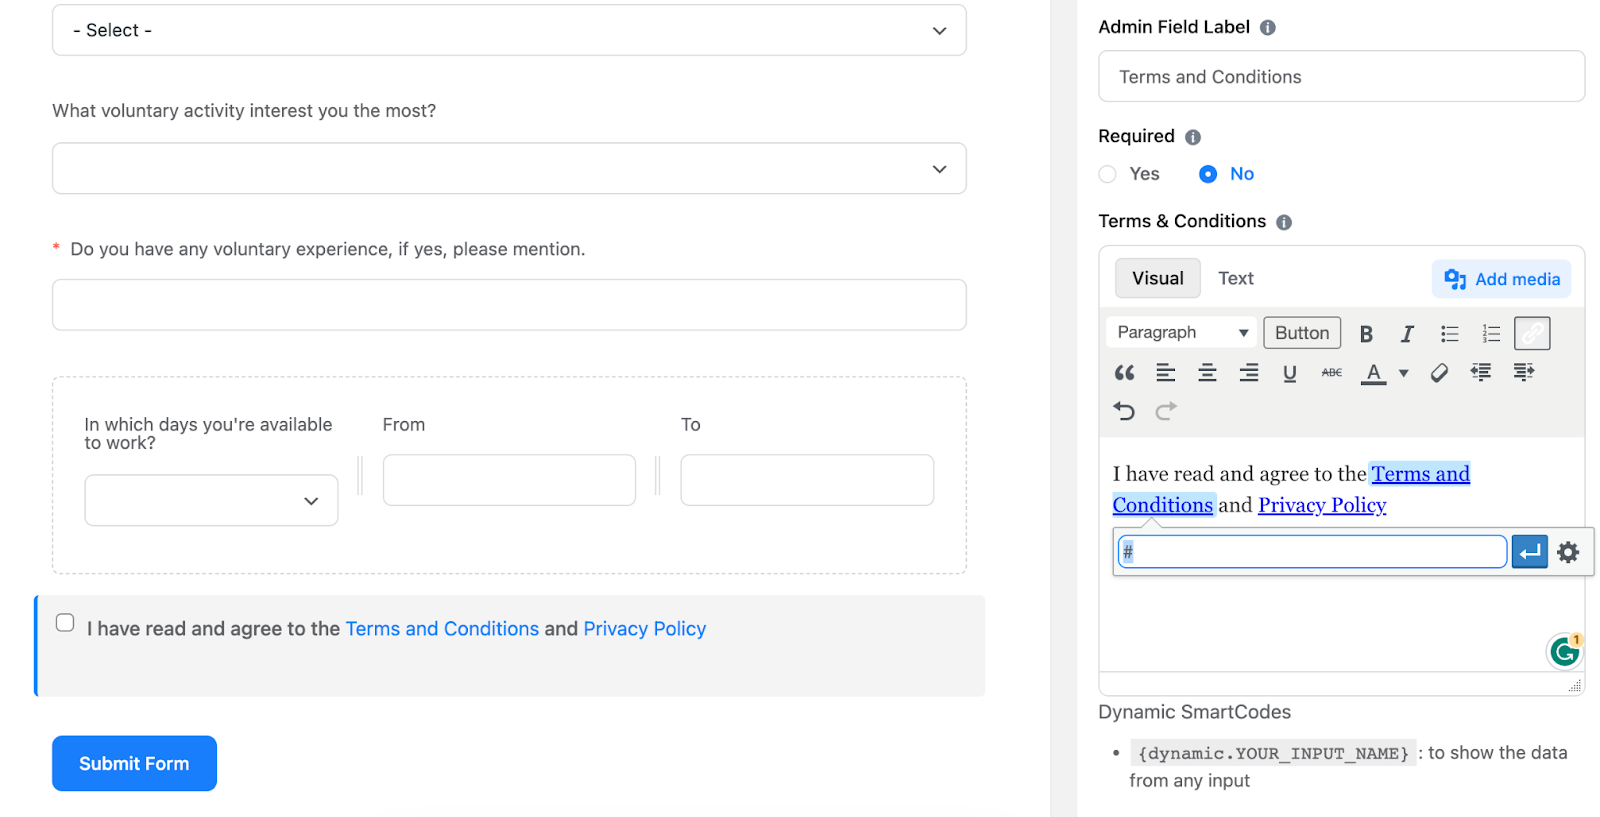
In the dropdown section, we’re asking about the interested fields of volunteers they want to work with.
In the multiple-choice field, we’re asking about the specific working zone.
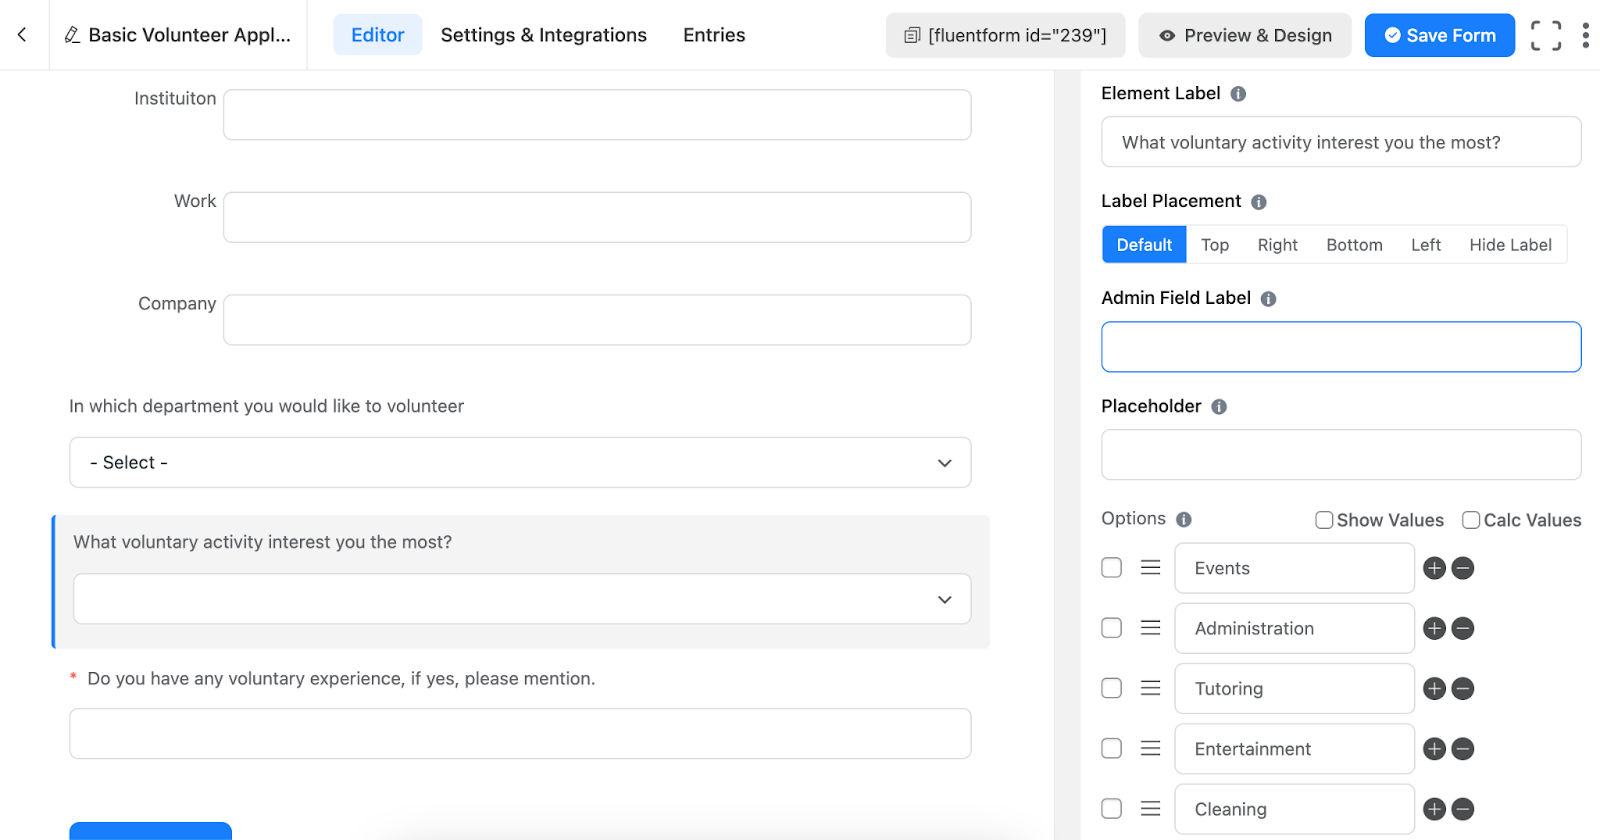
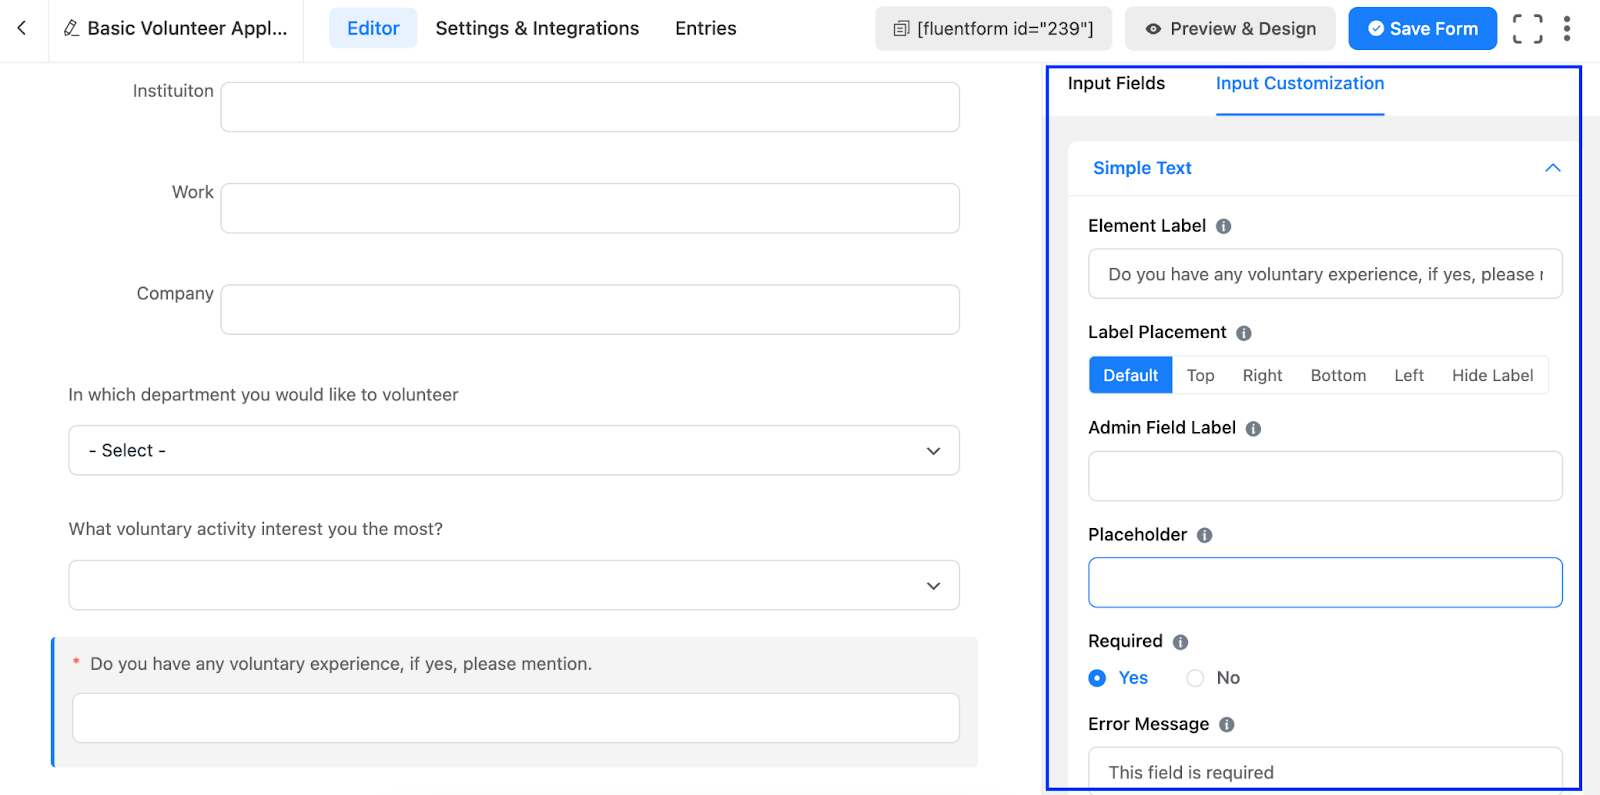
Then, to the Text Input field, we’re inquiring about their voluntary experience, and marking it as mandatory to answer by clicking on the “Yes” button from the Required option on the input customization section.
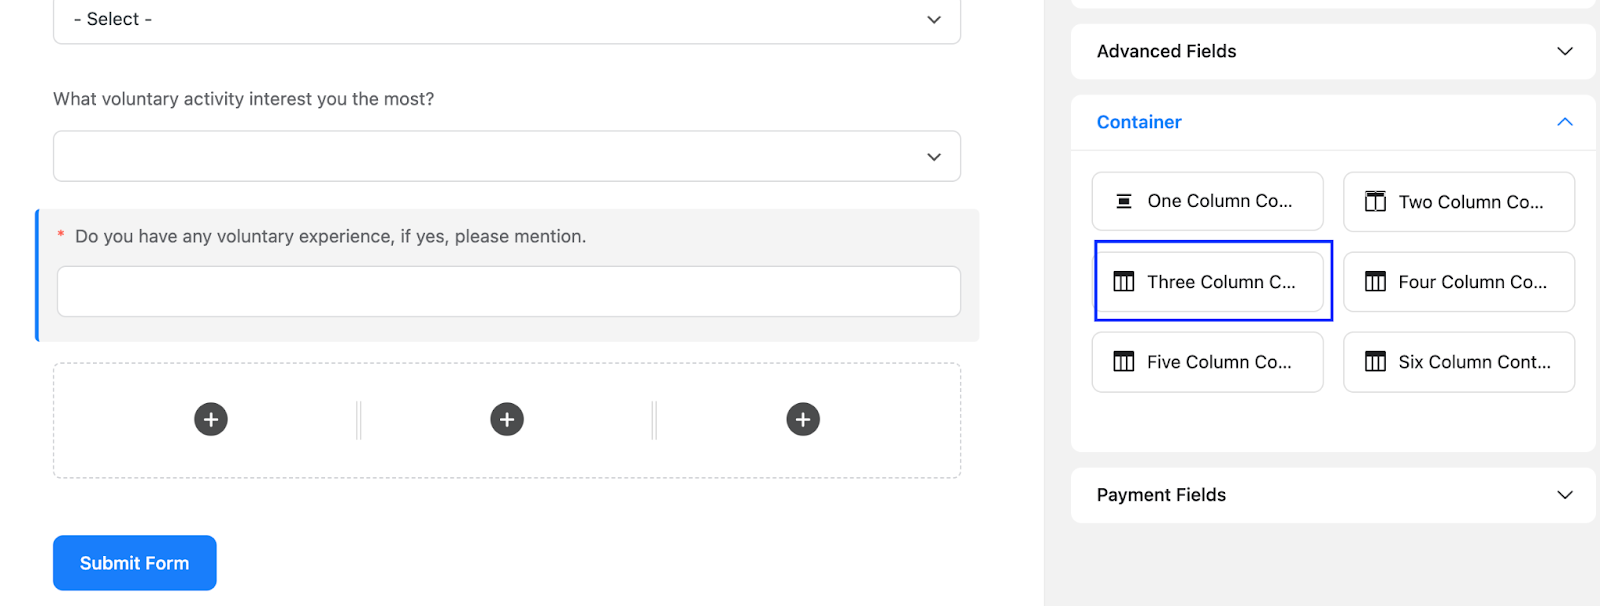
Now, we’re adding a three-column container from the Containers section to question the available time of volunteers.
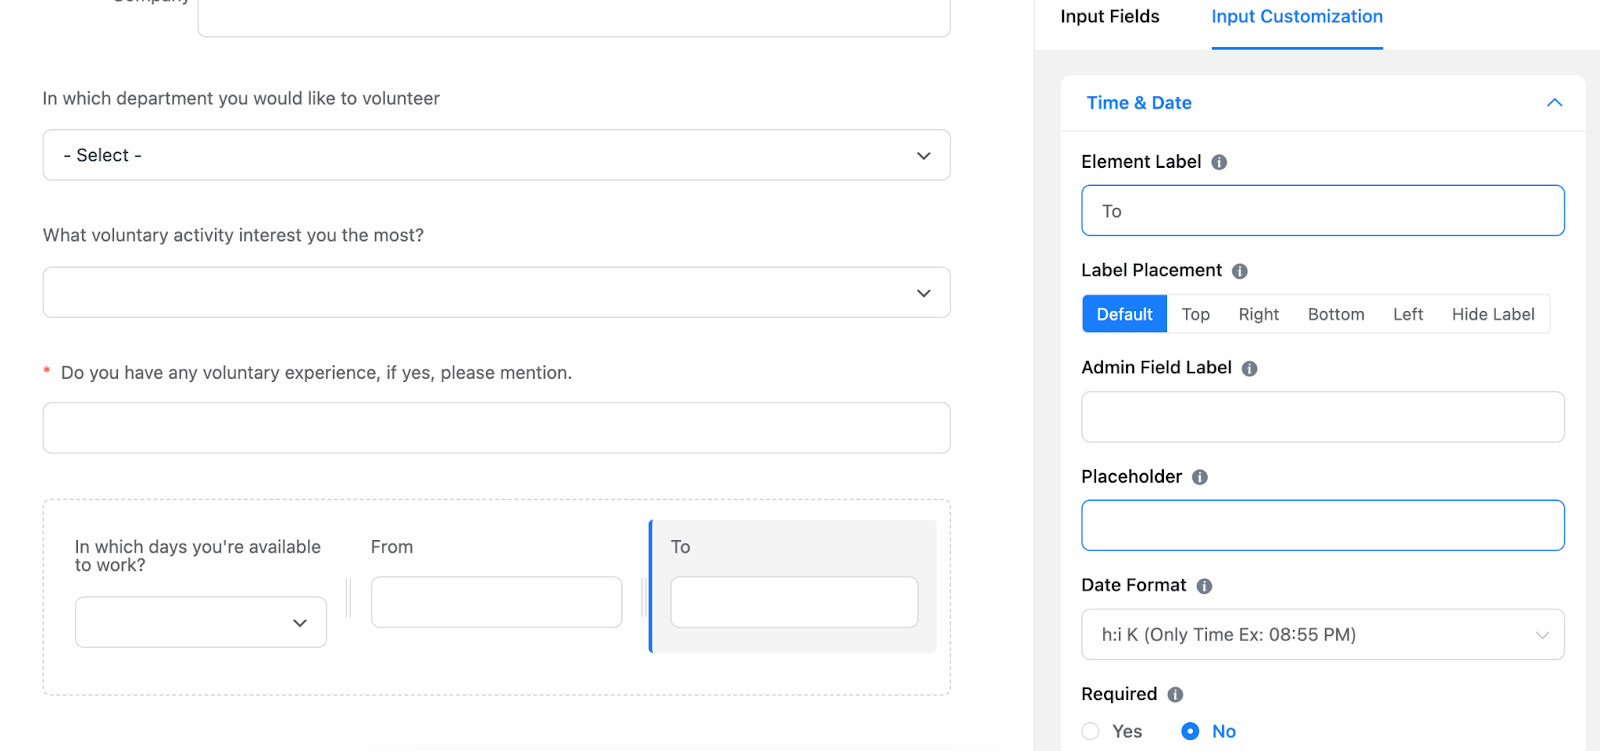
After that, on the first container, we’re adding the Multiple Choice field, and asking about the availability of the volunteers during the work. Besides, we’re adding the weekdays to the options on the input customization.

Then, on the next two containers we’re adding the Date & Time field, and customizing it to the time format only.
Finally, let’s put on the Terms & Conditions field at the end to collect people’s concerns. You’ve to set the policies of your own for your organization, then set the policy link to the field where the editing options are given.
After adding all the fields, let’s click on the Save Form button from the top right corner.
Step 3: Design the form
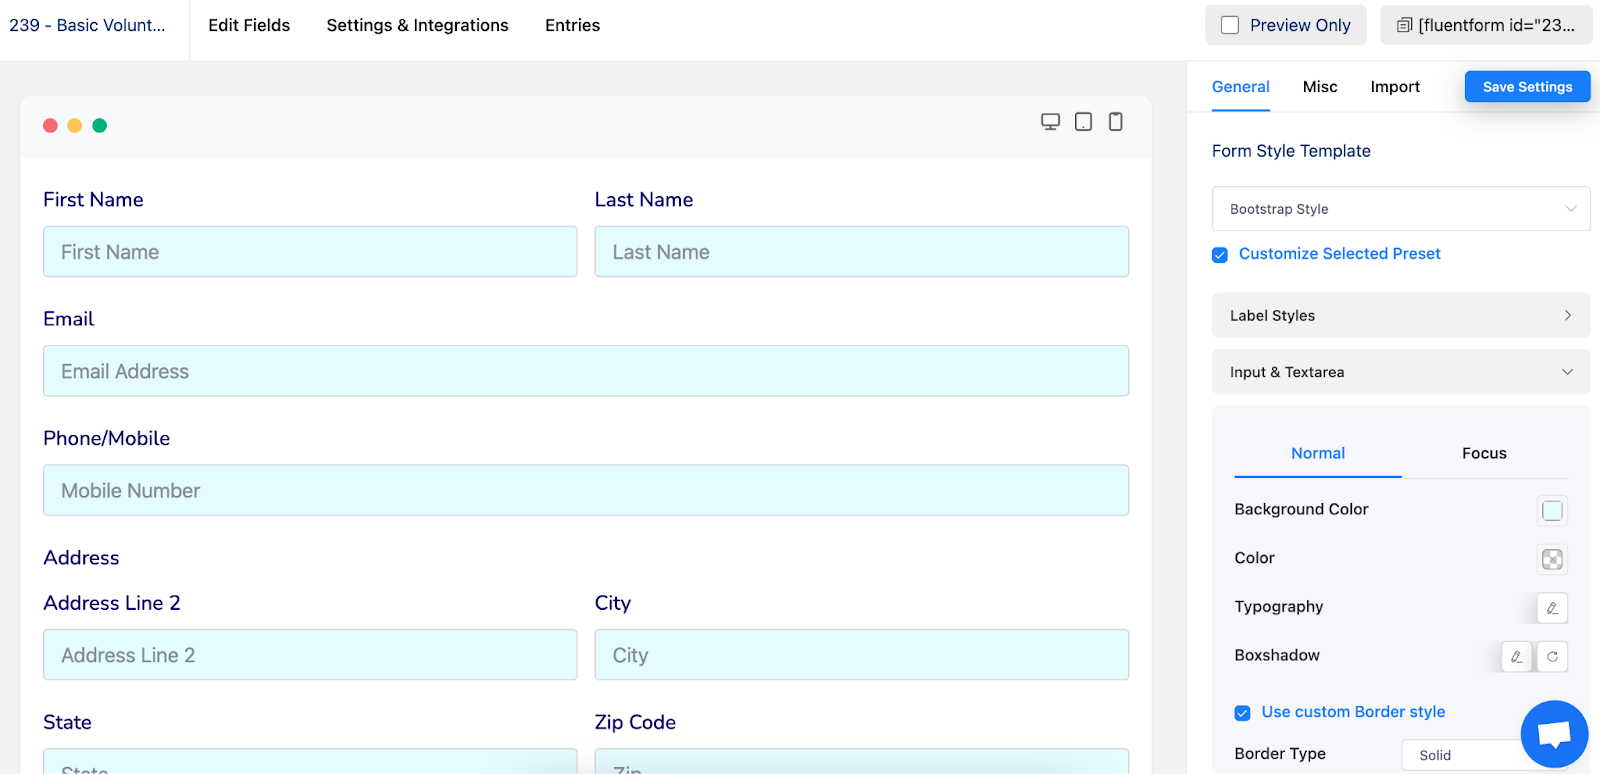
To make your form more beautiful and attractive, you can use the global styler feature of Fluent Forms. To use the feature, go to the Preview & Design section of the form editor.
There, select any template from the Form Style Template, customize the form on your own, or import any form design.

For now, we’re using the Bootstrap Style, and customizing it a little bit by changing its form fields’ name color, and form fields’ background color.
Check out the responsiveness of the form by clicking on the device icons on the left corner of the form in the preview section.
At last, Save the Settings.
Step 4: Publish the form
You can publish your volunteer application form in two easy ways.
First, you can go for the Gutenberg block editor on your WordPress dashboard. Click on the Add New button on the Pages option in the WordPress dashboard’s left sidebar. Give the page a title. Click the plus (+) icon or insert a forward slash (/). Then, in the search box, write Fluent Forms.

Then, select the form from the dropdown menu.
The second option is the Fluent Forms shortcode feature. You’ll find it at the top of the form editor, or in the all forms panel, copy it.
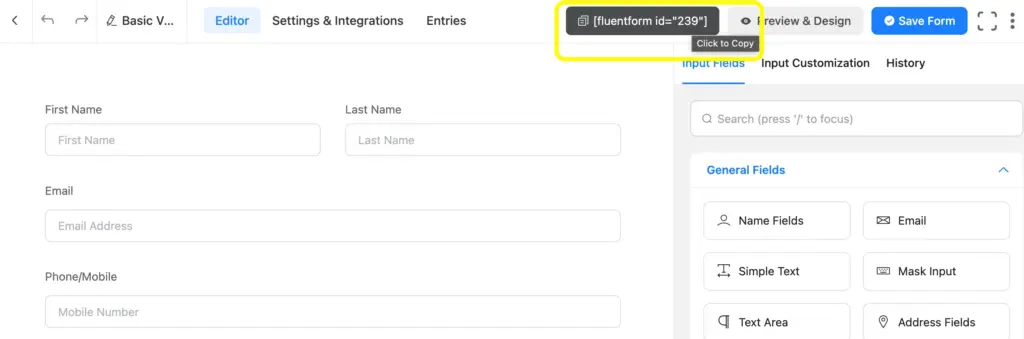
Then, paste it anywhere on your website by using the shortcode block.

Conclusion
As we said, making any type of form is just got easier with Fluent Forms, you can check out more of our form-making tutorials on our website. For example, real estate forms, medical intake forms, brand awareness surveys, NPS survey forms, market research survey forms, and more.
We hope you found this article helpful for your voluntary organization. If you want to know more about it, let us know in the comment section below.

Hello, This is Prema. I work as a marketing strategist for Fluent Forms at WPManageNinja. When I am not playing with words, I go to explore nature.


Leave a Reply