
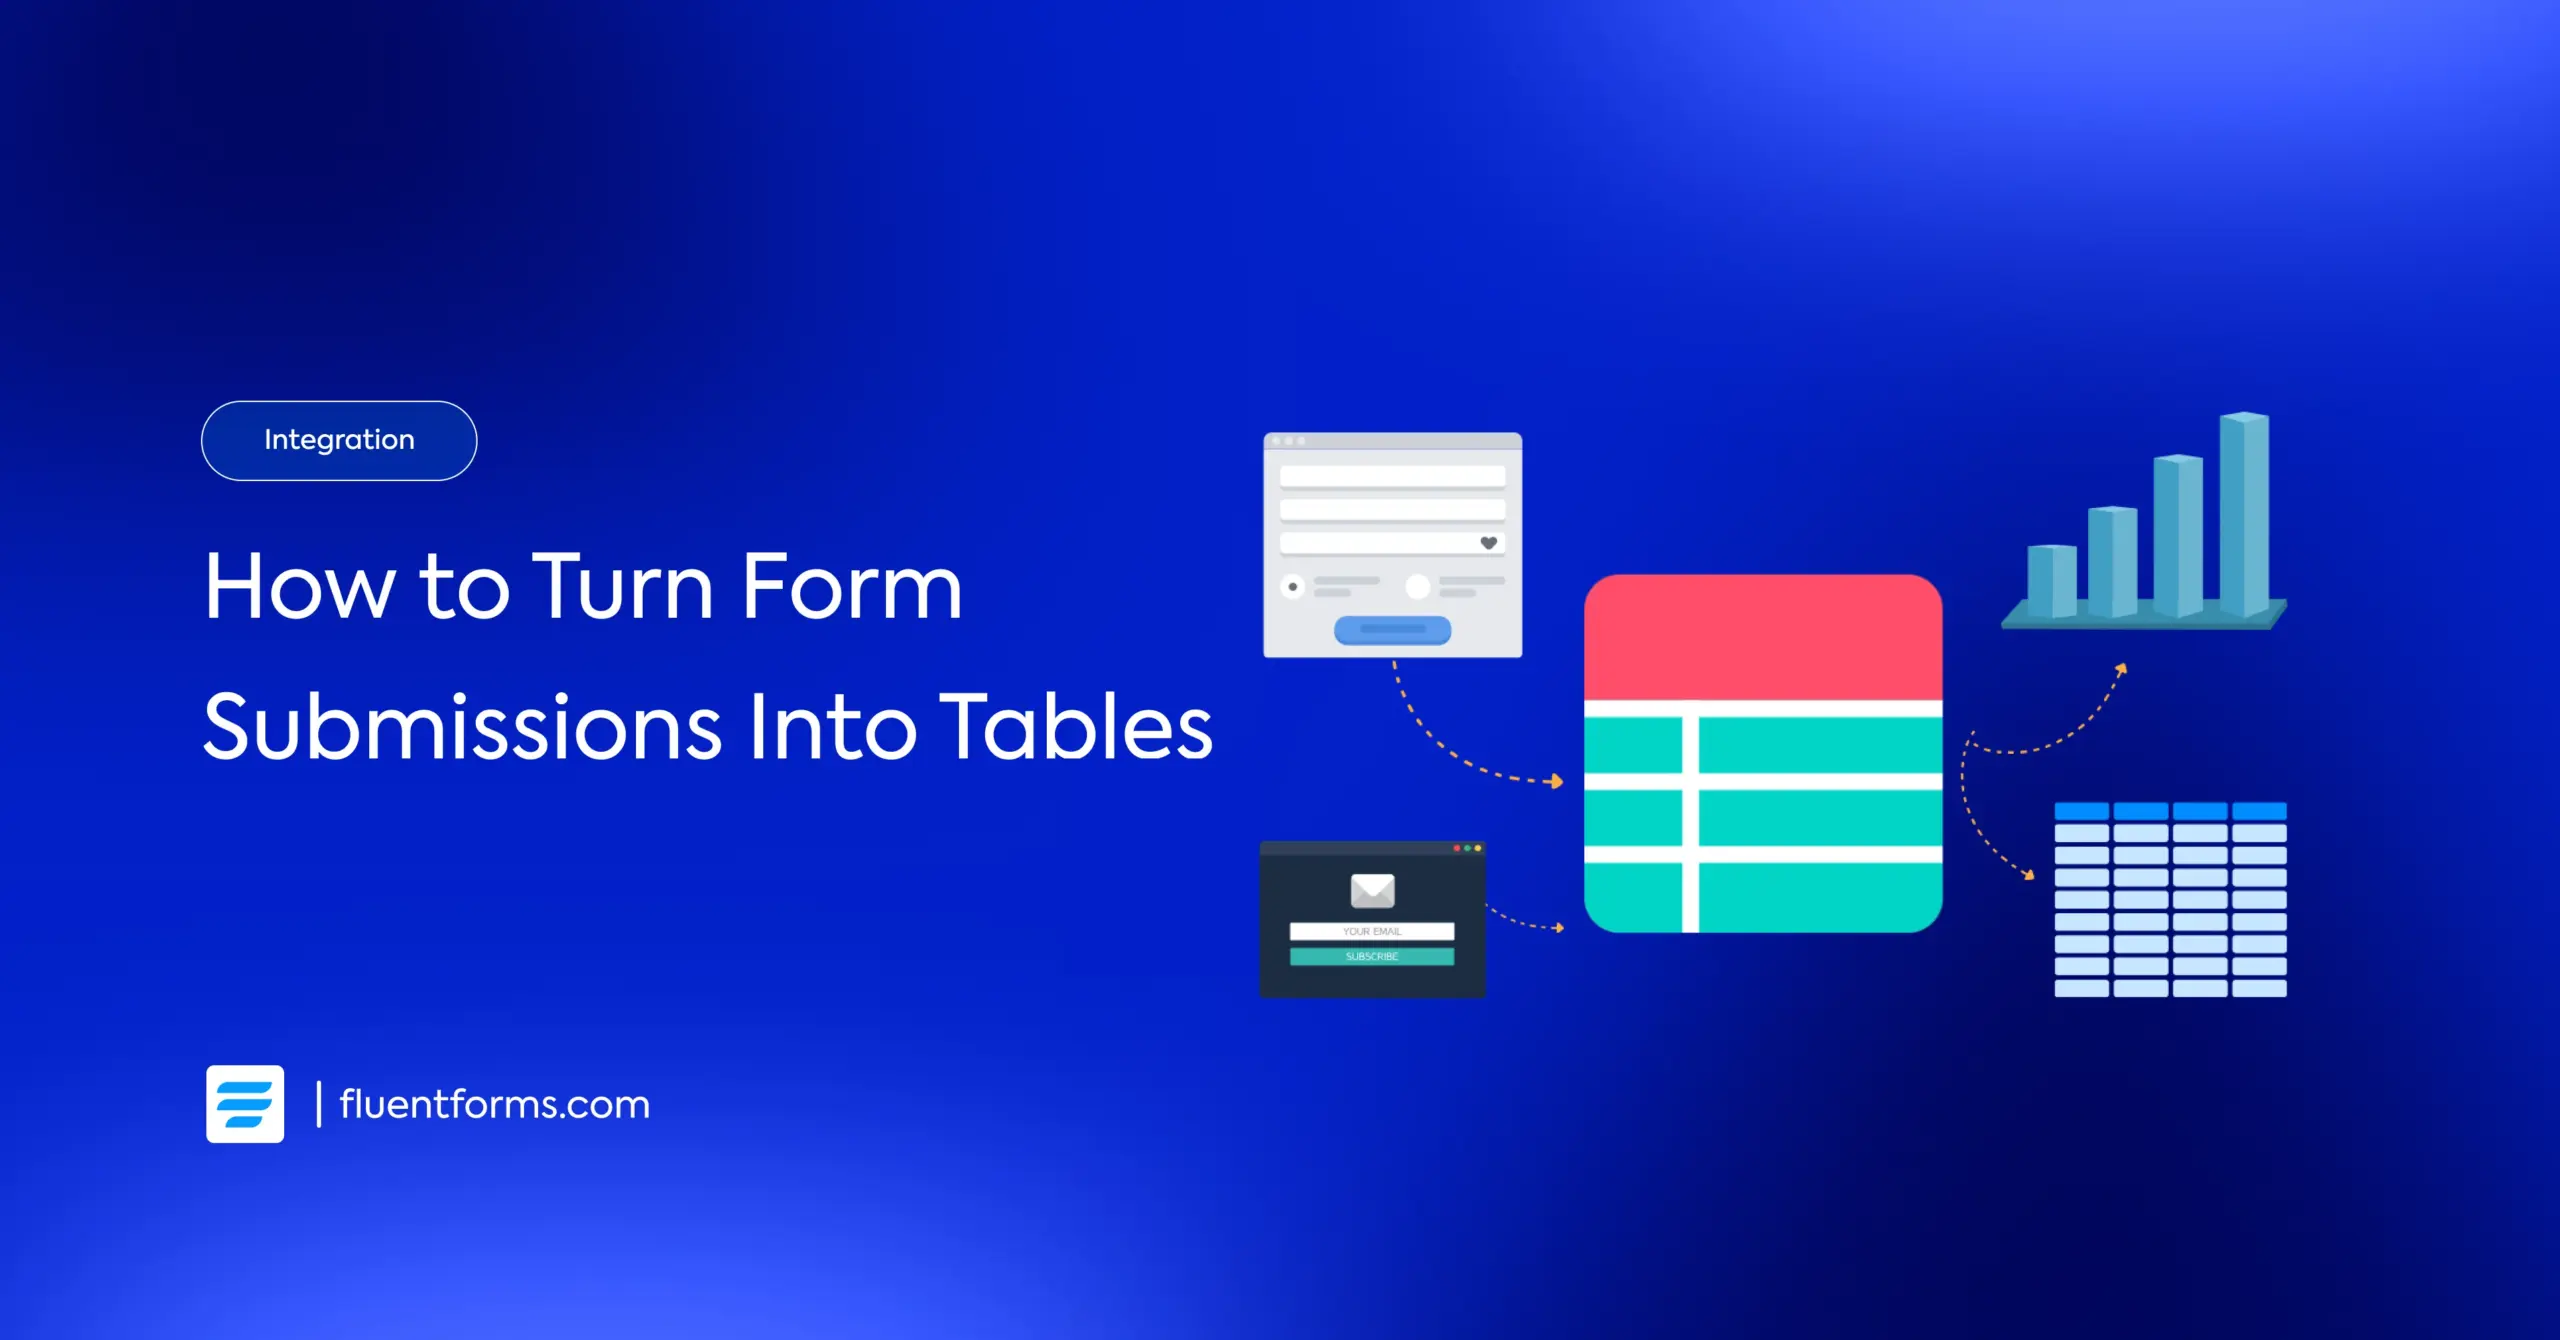
How to Connect Ninja Tables with WordPress Forms
Collecting form submissions is just one part of the process. The real value? Displaying that data cleanly and clearly on your website. And if you are still copying form entries manually or exporting CSVs to update tables, you are wasting precious time.
Let’s face it. Nobody likes messy workflows. That is why automating the process of displaying form data in a table format is a smarter choice. It is faster, more accurate, and way less hassle.
Enter Ninja Tables integration with Fluent Forms. These two powerhouse plugins make the process seamless. Together, they help you collect data via forms and display it dynamically in tables, all inside WordPress.
In this guide, we will show you how to connect Ninja Tables with WordPress forms using Fluent Forms. But first, let’s talk about why tables are even necessary when working with forms.
TL;DR
- Fluent Forms is a WordPress form plugin that collects structured data with unlimited forms, advanced fields, and conditional logic.
- Ninja Tables is a WordPress table plugin that displays that data dynamically in responsive and customizable tables.
- Together, they remove the need for manual data entry or CSV exports. Form submissions update tables in real time.
- Fluent Forms handles data capture, notifications, payments, spam protection, and integrations, while Ninja Tables ensures tables are visually appealing, filterable, and SEO-friendly.
- Setting up is simple. Create a form in Fluent Forms, submit a test entry, connect it in Ninja Tables, and embed via shortcode.
- The integration streamlines workflows, ensures accuracy, and can even power live charts for visual insights.
- Fluent Forms with Ninja Tables is ideal for WordPress users who want automation, control, and clear data presentation.
Why you need tables with forms
Imagine this. You have a form on your site collecting valuable data, but you want to showcase it publicly or manage it in a structured format. Without automation, you are left with two inefficient options.
You could export form entries to a CSV file and manually update your tables. Or you might copy and paste data one by one. Both are time-consuming. Both are prone to human error.
That is why integrating Ninja Tables with Fluent Forms is the smart way forward. Once connected, form entries get updated in real-time on your tables. No manual work. No risk of mistakes.
Now before we dive into the steps, let’s get familiar with the tools we are working with.
Why choose Ninja Tables
Ninja Tables is a feature-rich WordPress table plugin designed to help you organize data in an intuitive and visually appealing format. Whether you need pricing tables, product comparisons, user data listings, or anything in between, Ninja Tables has got you covered.
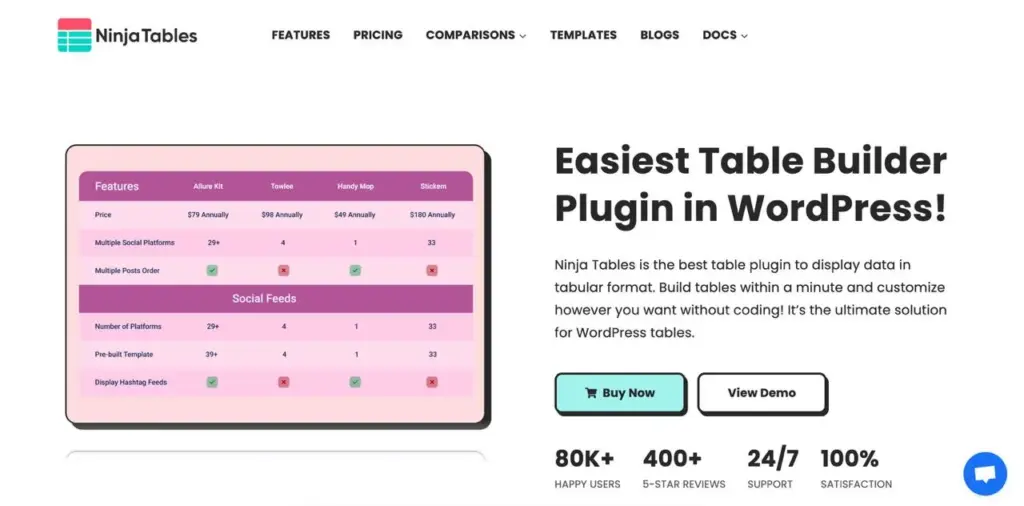
It is fully responsive, easy to customize, and beginner-friendly. Plus, it comes with advanced styling options and requires zero coding skills. And here is a bonus. Google loves well-structured tables, which can help boost your site’s SEO.
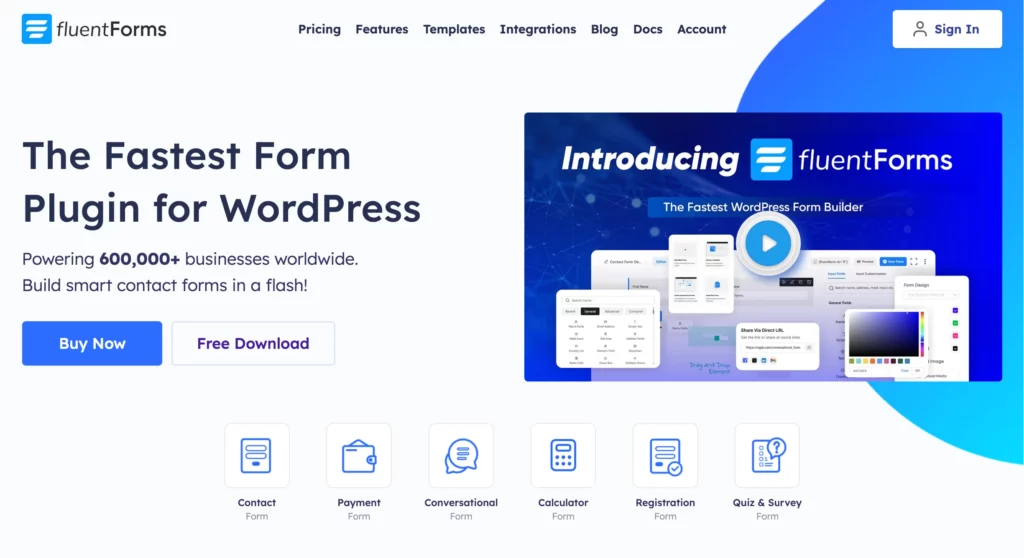
Why Fluent Forms
While Ninja Tables is the expert at displaying data, it first needs a powerful and flexible way to collect that data. This is precisely the role Fluent Forms fills.
It acts as the perfect front-end data-gathering engine, creating the structured information that Ninja Tables is designed to showcase. The synergy between them is what eliminates manual work; Fluent Forms captures the entries, and Ninja Tables instantly displays them.
To make this practical, think beyond a simple contact form. Fluent Forms allows you to build the exact data collection tool your table needs. For example:
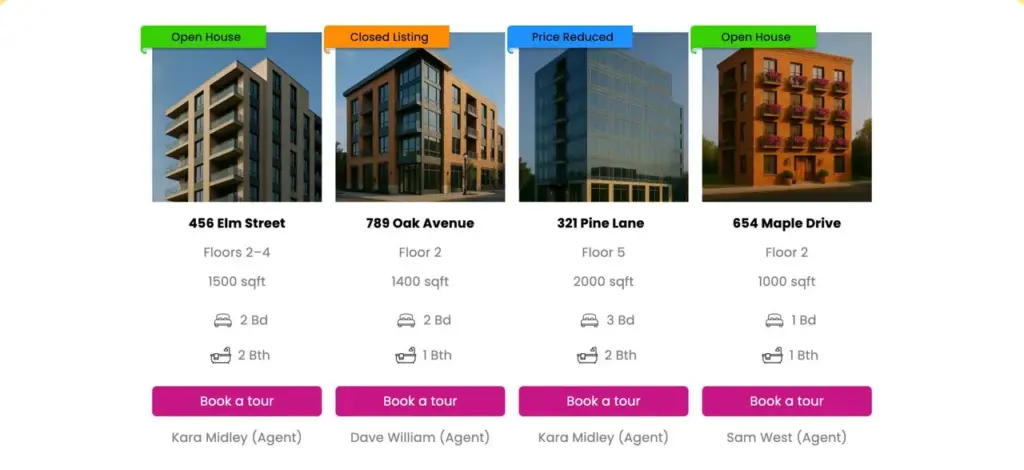
- A Business Directory: Create a submission form where businesses can enter their name, category, website, and upload a logo. This data can then feed directly into a public-facing, sortable business directory powered by Ninja Tables.
- Event Registrations: Build a registration form for a workshop or webinar. The submitted data – attendee names, companies, and selected sessions; can automatically populate a real-time attendee list on your event page.
- User Testimonials: Use a form to collect customer reviews, ratings, and photos. Ninja Tables can then display these submissions as a clean, organized testimonial section on your website.
- Contest Submissions: Run a contest where users submit entries through a form. The valid submissions can be displayed in a public table for transparency and engagement.
What makes Fluent Forms the right choice for these tasks isn’t just its drag-and-drop builder, but the features that ensure high-quality data for your tables:
- 60+ ready-to-use input fields
- Conditional logic
- Conversational form
- Payment
- Spam protection using reCAPTCHA, hCaptcha & more
- Popular integrations including Mailchimp, Slack, Mailpoet, & more
- Email notification
- Form scheduling & restriction
- Export entries in CSV/Excel/ODS/JSON format
- PDF generator
- Custom CSS & JS
and many more.
How to connect Ninja Tables with Fluent Forms
So, without waiting any longer, let’s walk through how to connect Ninja Tables with Fluent Forms. Make sure both plugins are installed on your WordPress site.
Here are the three steps to set it up:
1. Create and design a form with Fluent Forms
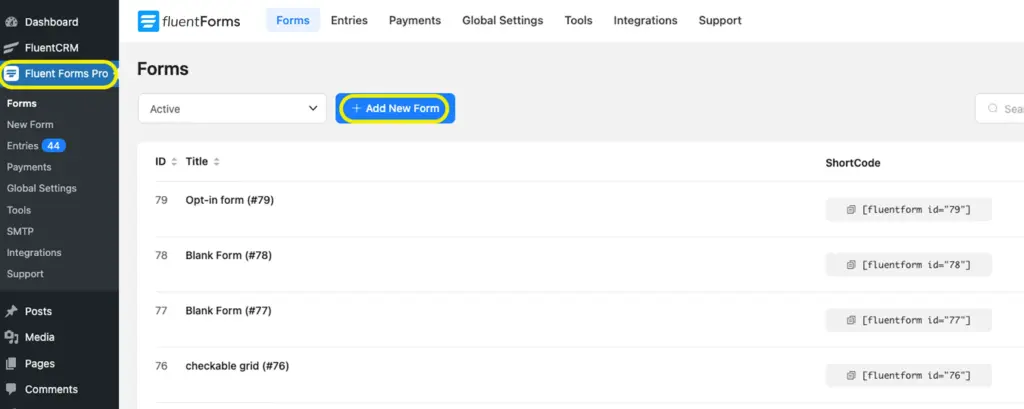
Go to your WordPress dashboard, and select Fluent Forms. Click on the Add a New Form button.
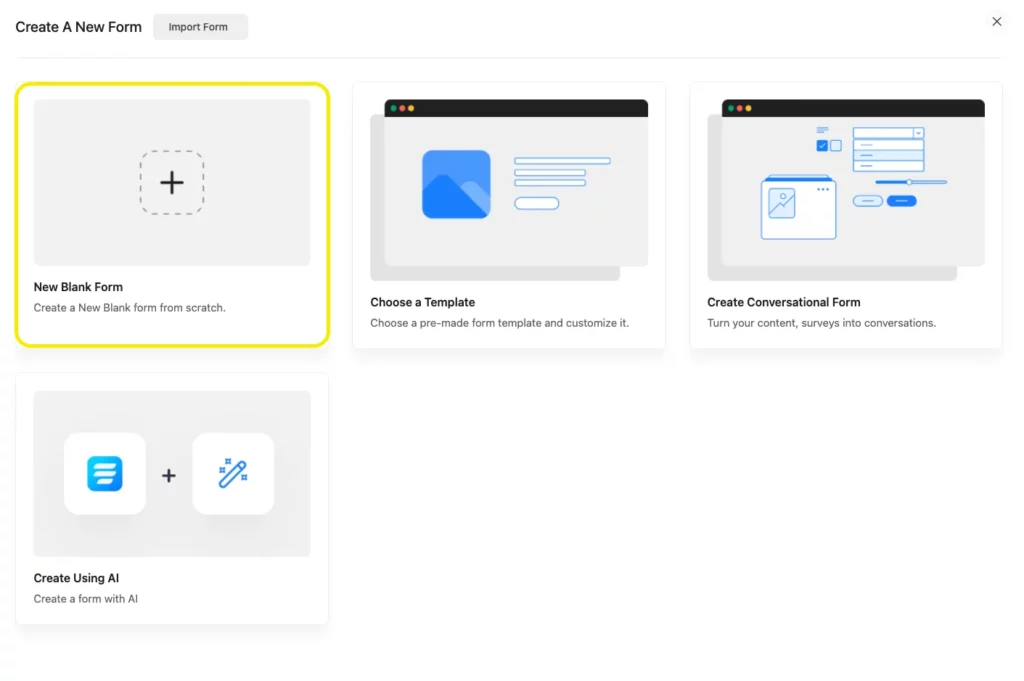
Now, select any ready form template or start with a blank form to customize your form.
Once inside the form editor, you can add fields by dragging and dropping them or by clicking the plus sign to search for the blocks you need.
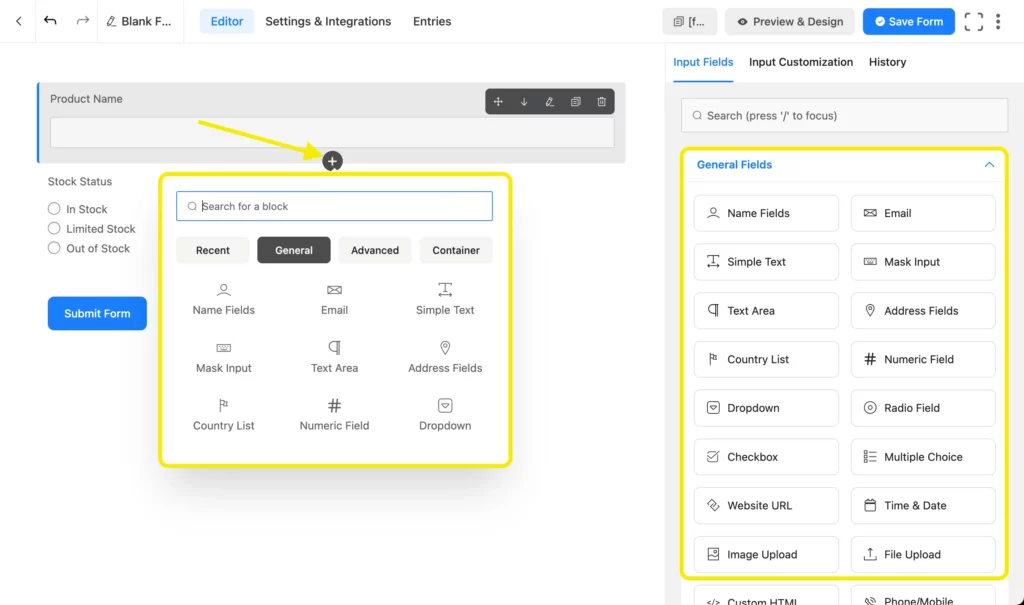
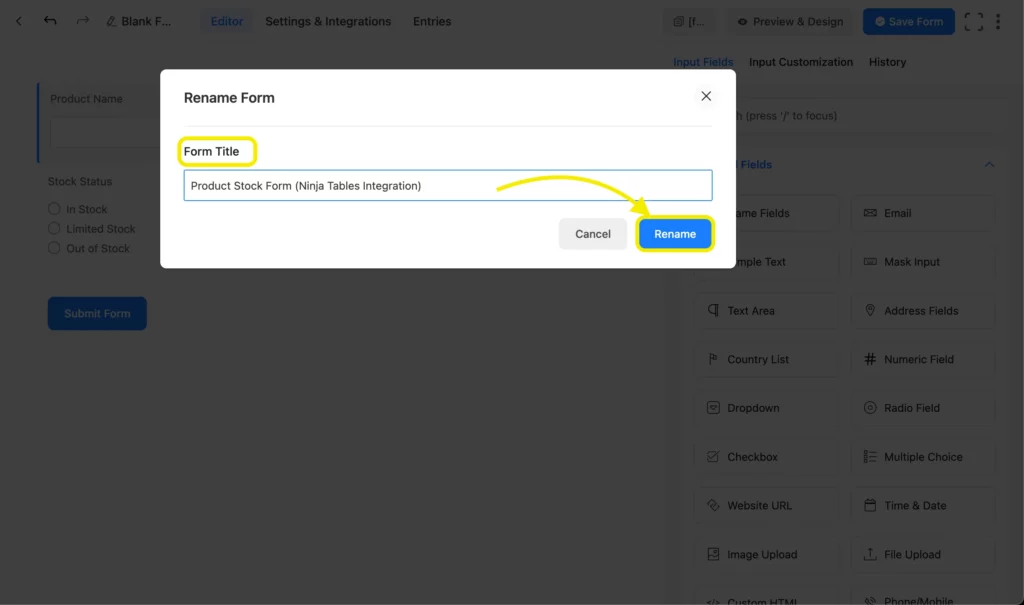
Change the form name if you want, and customize the input fields as required.
Step 2: Save, preview, and submit
Once your form is designed, click on the Save Form button at the top right.
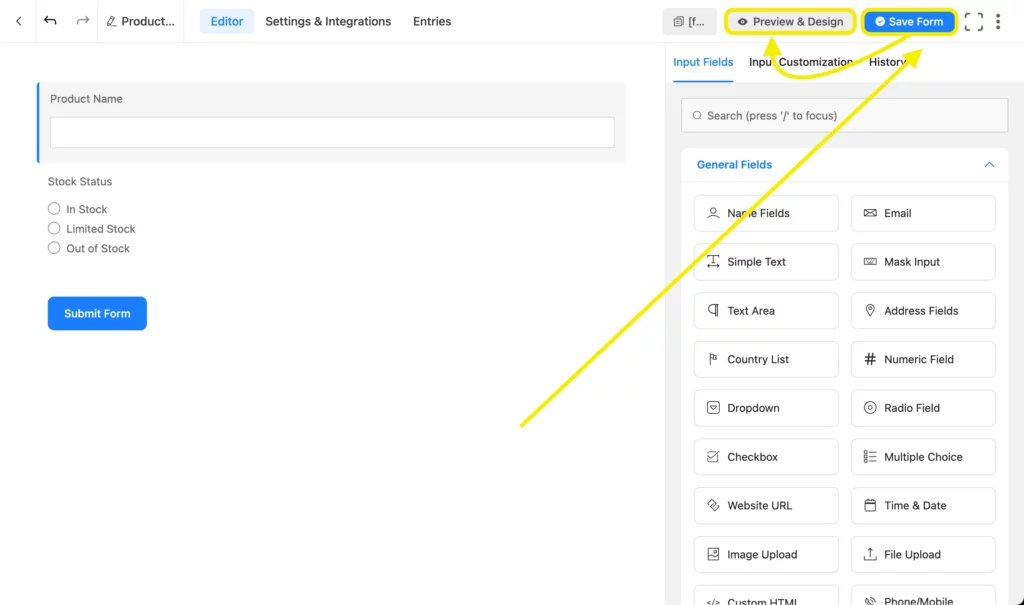
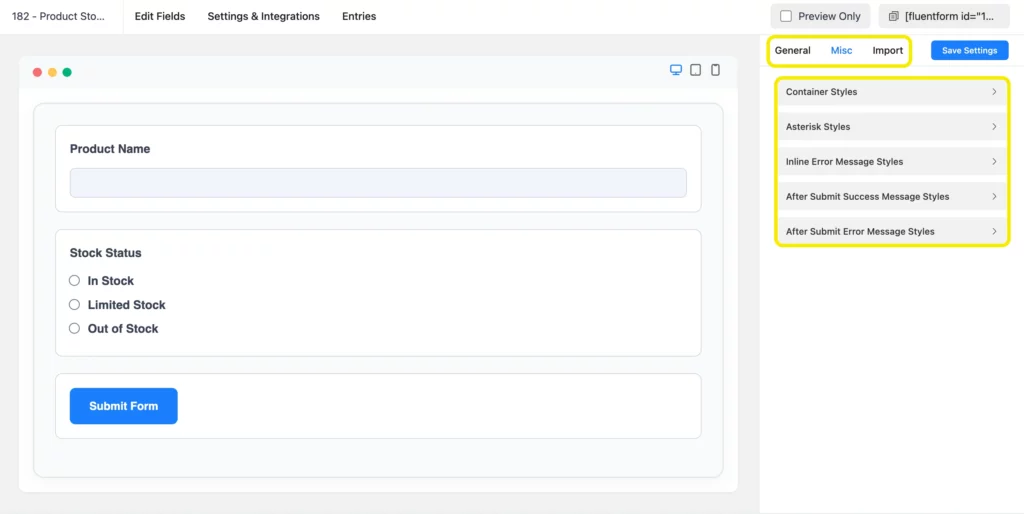
Go to the Preview & Design section to style your form – from container design to error messages. Once you are happy with the look, save the settings.
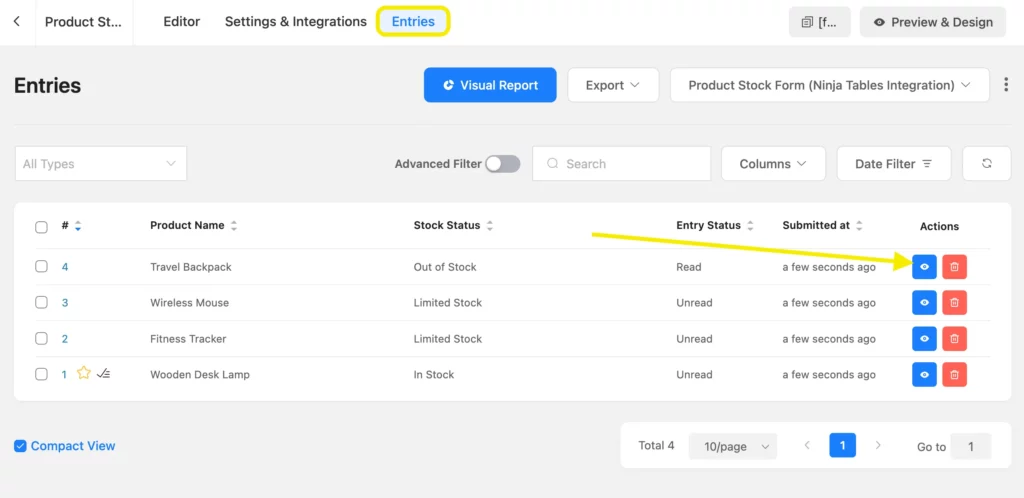
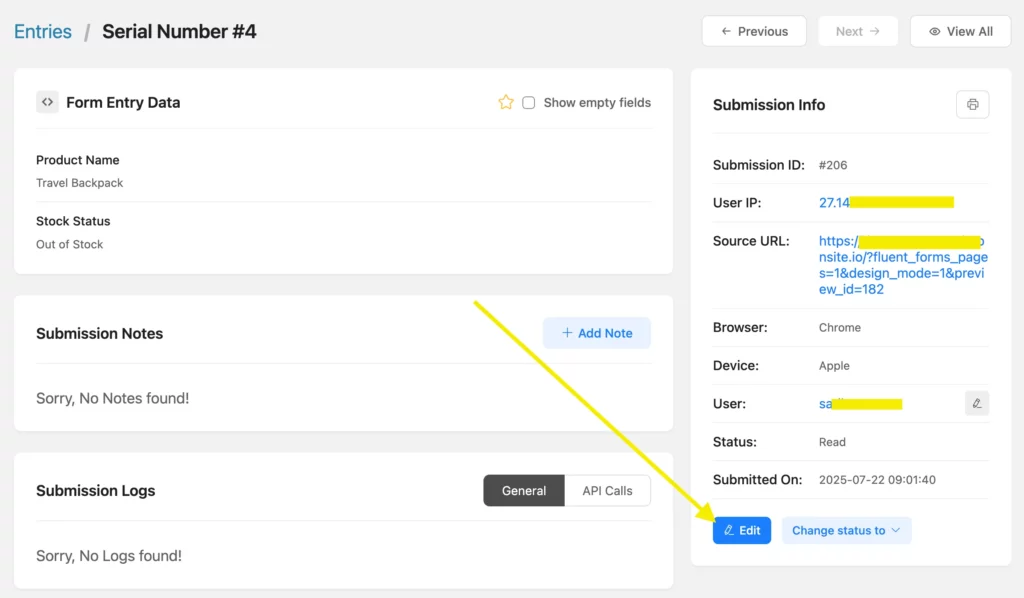
Submit the form once to create your first entry. This ensures the data pipeline is ready before you link it to a table. You can also edit entries if you want. Go to Entries and click on the blue-colored eye icon button in the entries section.
You will get detailed information about that particular entry you want to edit.
Step 3: Connect Ninja Tables integration with Fluent Forms
Now, go to Ninja Tables from your WordPress dashboard and click on Create New Table.
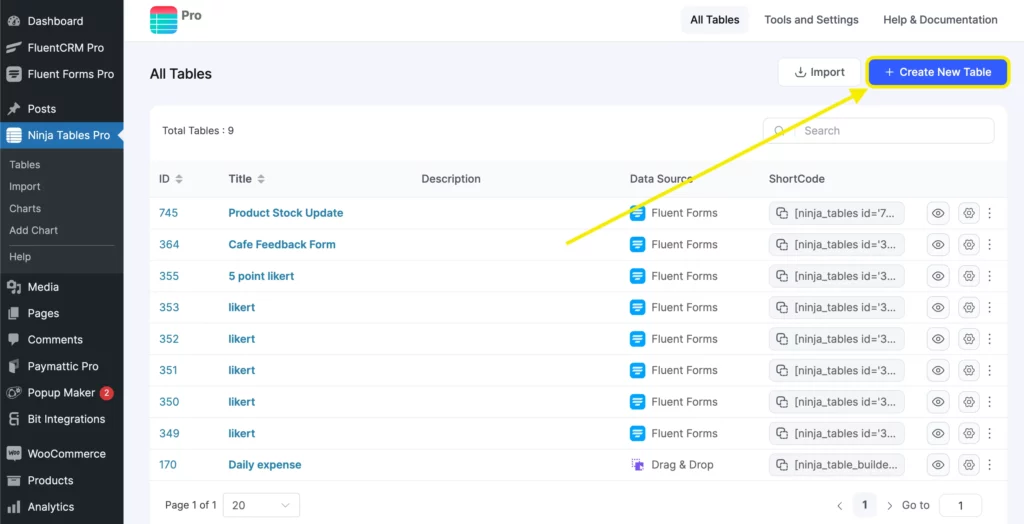
Next, click Connect Fluent Form from the sidebar. Select the form you just created, choose the entry fields you want to display, set the maximum number of records, and then save.
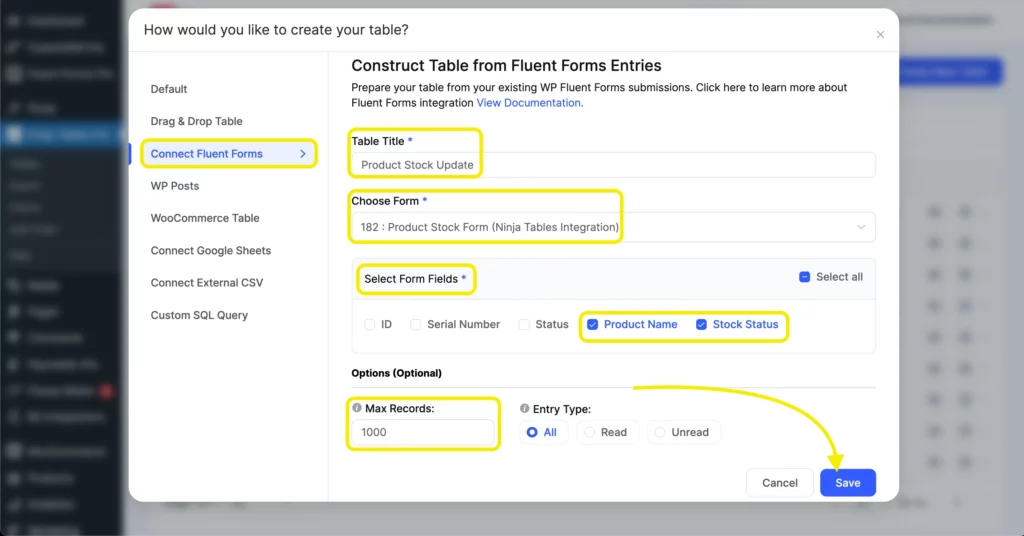
Once saved, your table will automatically populate with form entries. You can customize it further- design, edit rows, import-export data, and more.
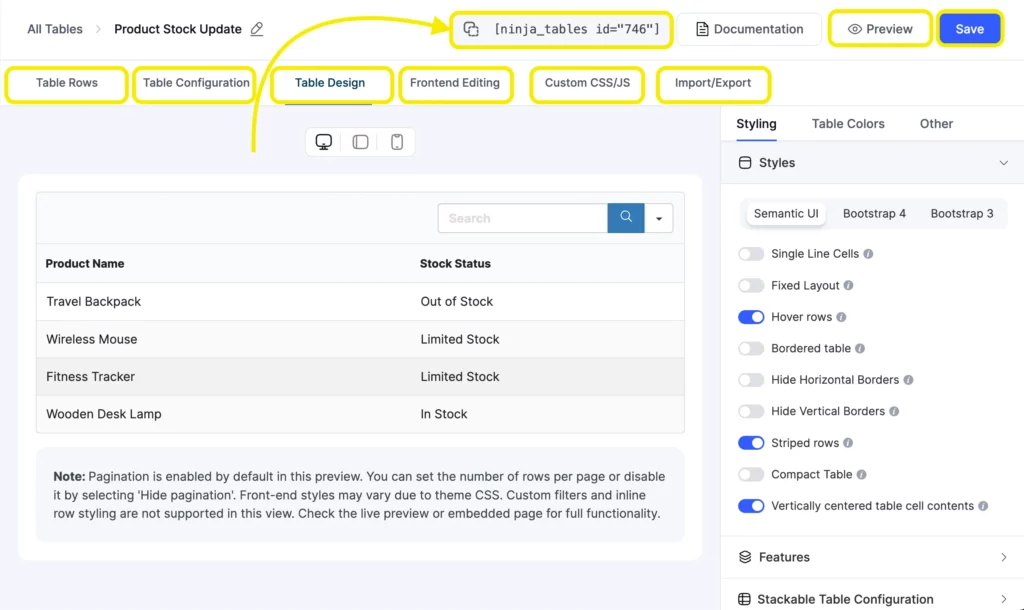
Lastly, copy the table’s shortcode and paste it anywhere on your WordPress posts or pages to display it.

That’s it. Design forms and tables as you like, and connect them seamlessly with this integration.
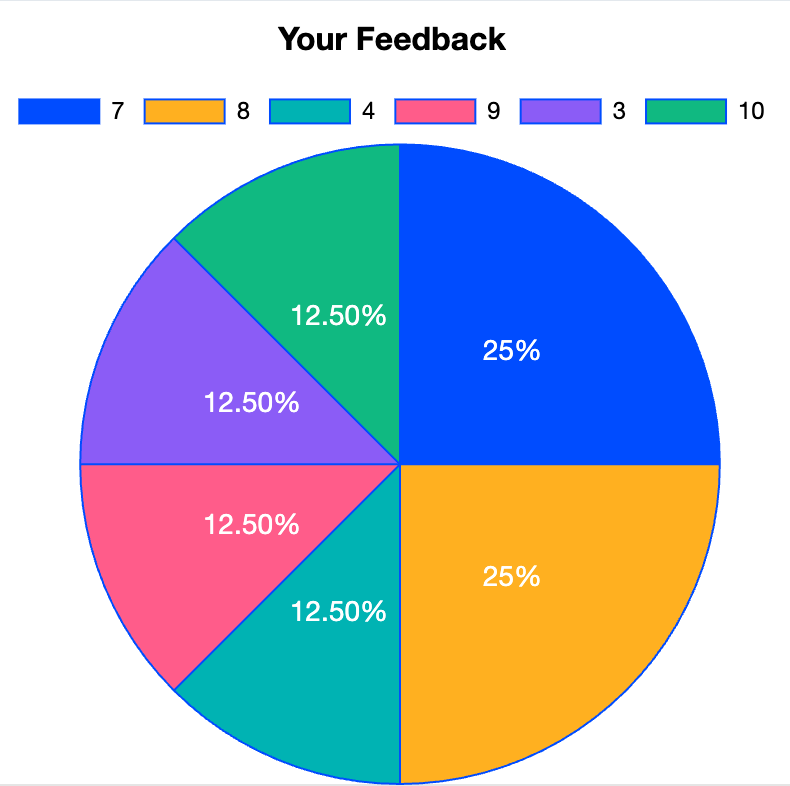
Turn form data into charts
Go beyond tables. Convert Fluent Forms submissions into live charts so users can scan results at a glance.
Make the most of your form‑to‑table setup
By connecting Ninja Tables to Fluent Forms, you remove the tedious steps of manual data entry and table management. Once a submission is made, your table updates instantly and automatically.
But don’t stop there. Explore table styling options to improve readability and visual appeal. Add filters to make it easier for users to find what they need. Fine‑tune your display for better user experience. And always remember that automation is powerful, but it needs oversight to stay effective.
Want to go a step further? You can even turn form submissions into charts to give users a visual summary of the data they’ve entered.
Have questions about this integration? Want to share how Ninja Tables is working on your site? Drop a comment below. We’re always happy to chat.

This is Sumit. He’s a physics major who’s trying to understand both the physical as well as the WordPress worlds. Whenever he’s not busy, plays fifa or spends time with his family.


Leave a Reply