
Lead Forms vs Conversational Forms: Which One Fits Your Needs
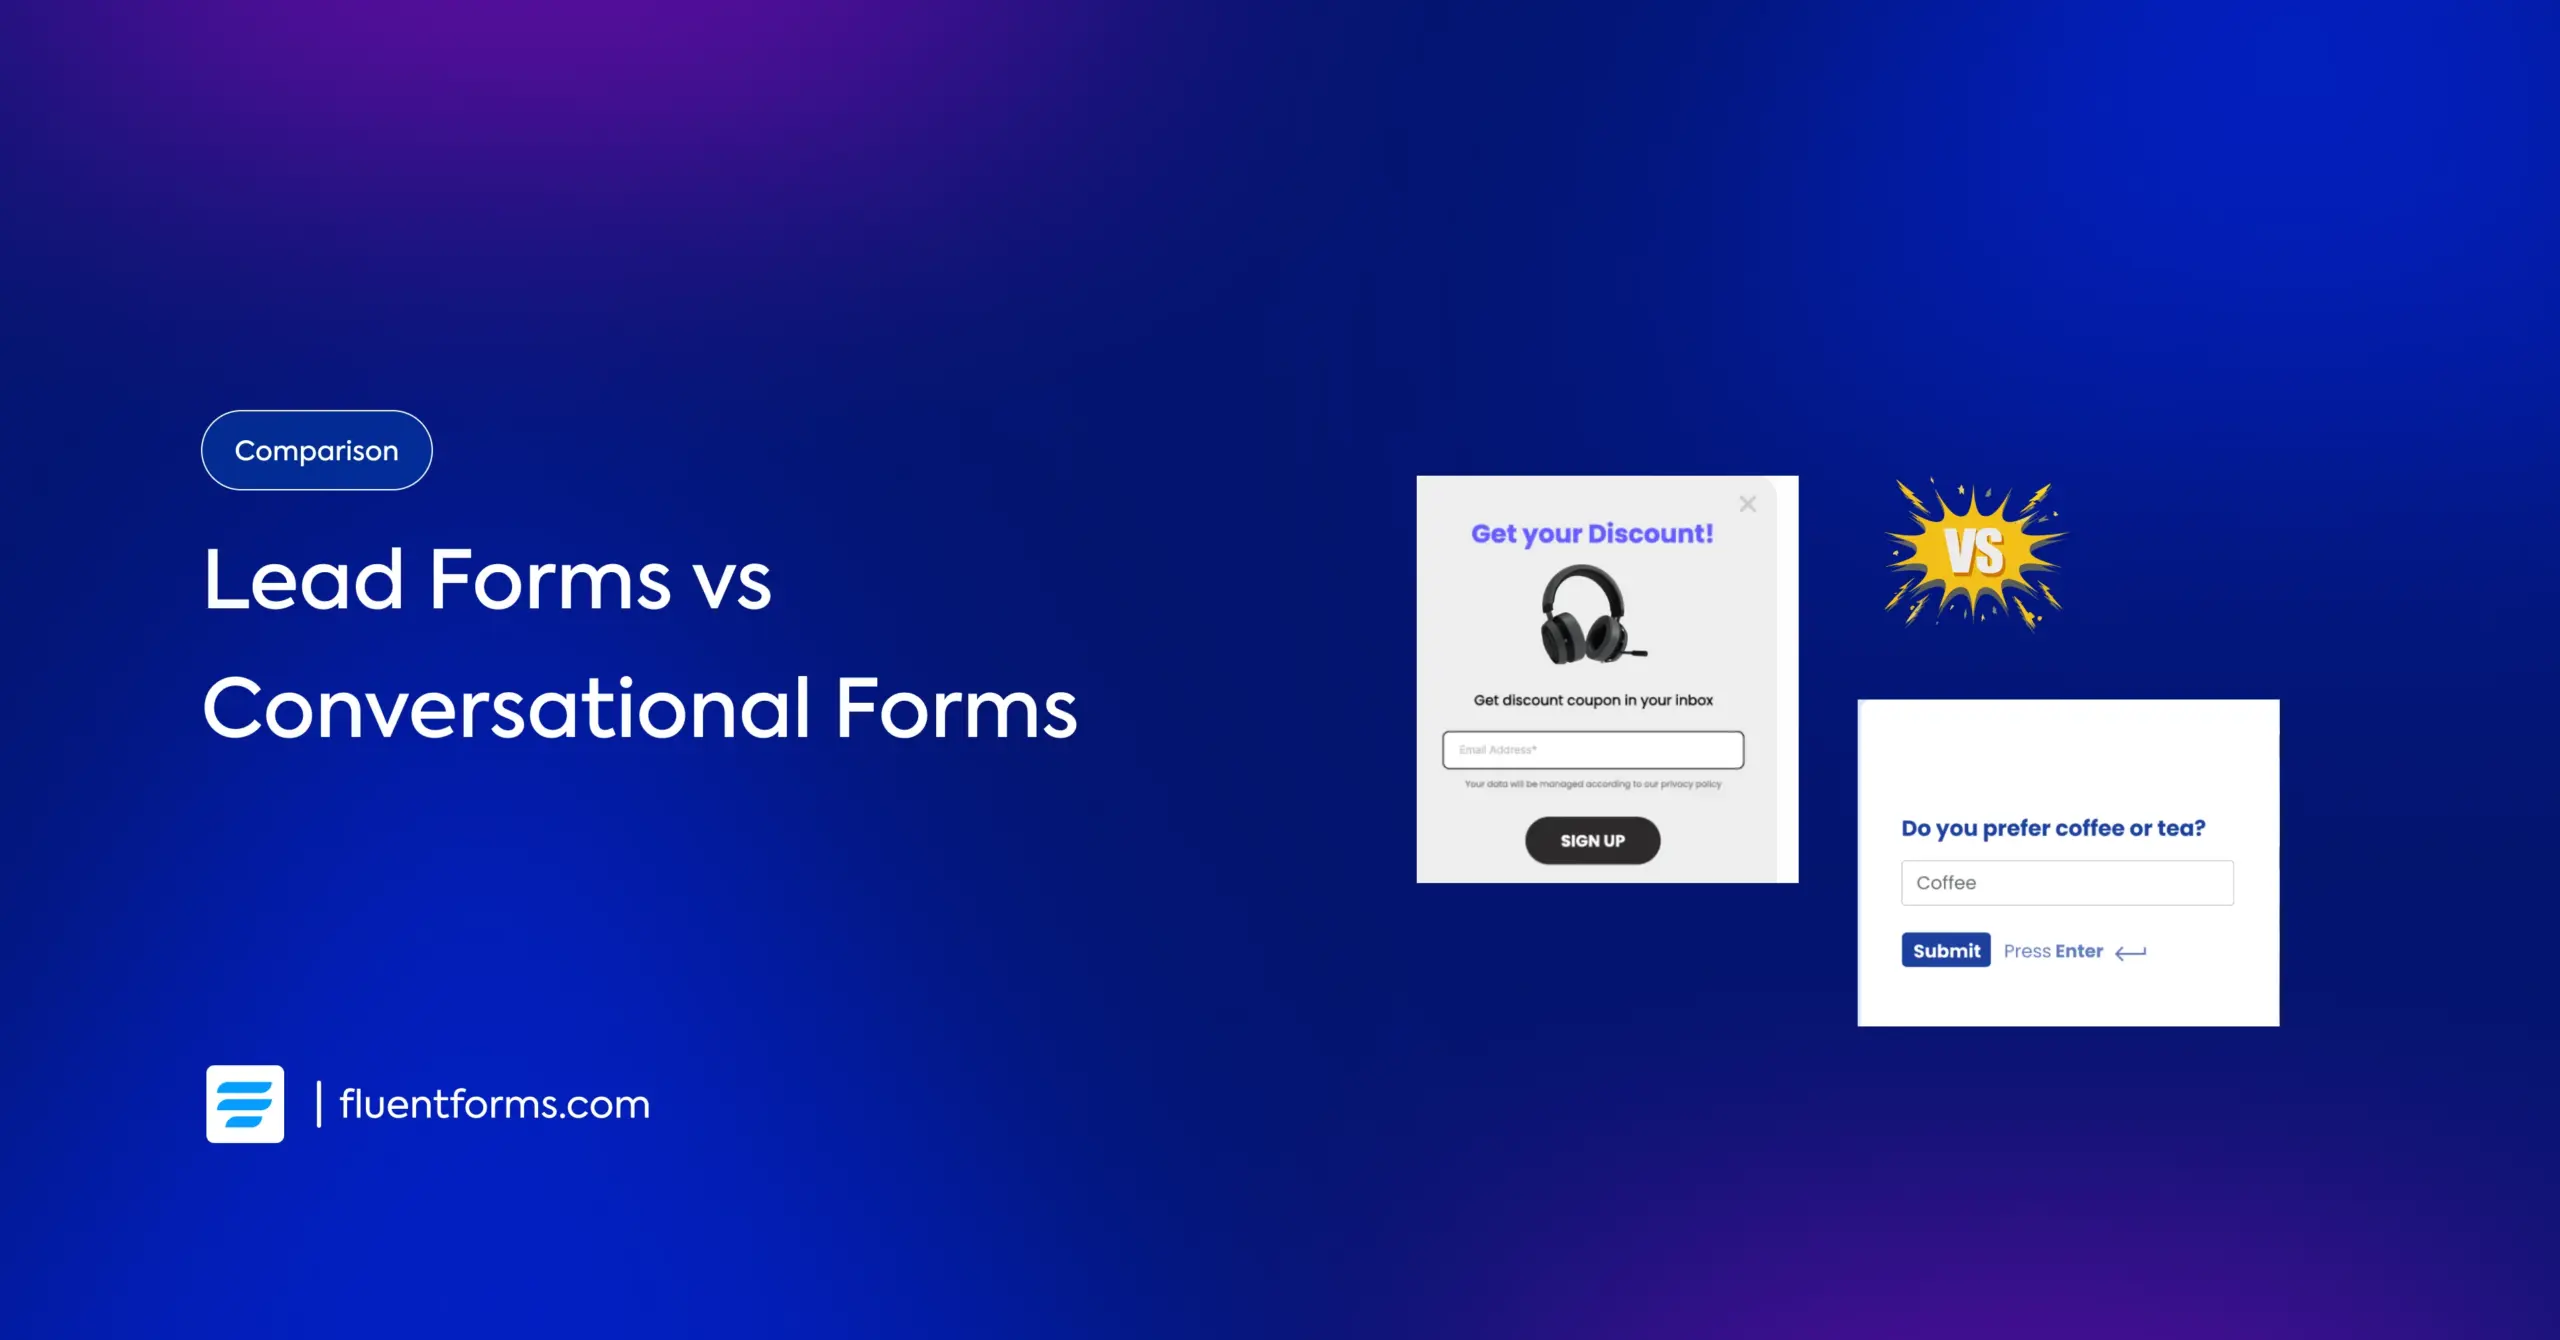
You want more leads from your WordPress site. You know, forms are how you get them. But there are two types worth knowing: lead forms and conversational forms. Choosing the wrong one for the job quietly kills conversions. This article explains both, compares them directly, and shows you how to build either one with Fluent Forms.
TL;DR
- Lead forms show all fields at once and work best for short, high-intent captures
- Conversational forms show one question at a time, reducing abandonment on longer forms
- The right choice depends on how many fields you need and how warm your audience is
- Fluent Forms supports both form types with ready-made templates and a dedicated conversational forms feature
- In many setups, using both strategically gives you better overall results
What Are Lead Forms
A lead form is a standard web form that collects contact information from potential customers. All fields are visible at once, and the user fills them in and hits submit.
Lead forms examples
Lead forms appear across almost every type of website:
- Newsletter signup forms (name and email)
- Free trial or demo request forms
- Quote or inquiry forms
- Webinar registration forms
- Gated content download forms
- Forms offering a lead magnet
Use cases
Lead forms work well any time your visitor has already made a decision and just needs a fast way to act on it. They are common on landing pages, in sidebars, inside blog posts, and at the bottom of product pages.
Why they work
Lead forms are familiar. Users know how they work and what to expect. When the form is short and the offer is clear, a motivated visitor converts with minimal effort. They are also straightforward to connect with CRMs, email marketing tools, and automation platforms.
What Are Conversational Forms
A conversational form presents questions one at a time, in sequence. Instead of a full form, the user sees a single field, answers it, then moves to the next. The experience feels like a guided dialogue rather than a form to fill out.
Examples
Conversational forms suit any situation where the interaction itself matters:
- Multi-step lead qualification forms
- Onboarding questionnaires
- Feedback and survey forms
- Booking and consultation request forms
- Job application forms
- Recommendation or personalization quizzes
Use cases
Conversational forms are the right move when you need to ask five or more questions and still want people to finish. They also work well when the audience needs guidance through a process rather than being handed a form and left to figure it out.
Why they work
The main reason people abandon forms is that they look longer than expected. When a user sees ten fields stacked on a page, the default reaction is to leave. A conversational form removes that visual overload by showing only one question at a time. The form feels manageable, no matter how many steps it has, and completion rates reflect that.
Lead Forms vs Conversational Forms: Key Differences
The features of lead forms and conversations typically vary depending on the form builder you are using. Anyway, the basic dimensions are common in most plugins. I’ve made this comparison table based on the user experience of Fluent Forms.
Aspect | Lead Forms | Conversational Forms |
|---|---|---|
| Layout | All fields visible at once | One question per step |
| User experience | Familiar, traditional form | Chat-like, guided interaction |
| Best form length | 2 to 4 fields | 5 or more fields |
| Abandonment risk | Higher for longer forms | Lower due to sequential flow |
| Completion rate | High for short forms | Consistently higher for long forms |
| Personalization feel | Low | High |
| Page integration | Embeds anywhere | Works best as a focused or full-screen page |
| Welcome screen | Not Applicable | Customizable welcome screen available |
| Progress indicator | Optional (multi-step) | Built-in per step |
| Branding flexibility | Better with advanced form styling | Custom colors, fonts, and backgrounds |
| Mobile experience | Standard responsive layout | Scroll-friendly, one-at-a-time flow |
| Setup complexity | Simple | Slightly more, still no-code |
| Typical use case | Signups, lead magnets, contact | Surveys, applications, onboarding |
How to Decide Between Conversational Forms and Lead Forms
When lead forms are more suitable
Use a lead form when your audience is already primed, and the ask is simple. A short form with a clear offer and a strong CTA is all you need.
Lead forms also make more sense when:
- The form has four fields or fewer
- Users are returning visitors who already trust your brand
- Speed of conversion matters more than lead qualification
- You are running paid ads and want a frictionless post-click experience
When conversational forms are more suitable
Use a conversational form when your form is long, your audience needs warming up, or you want better quality submissions alongside higher volume.
Conversational forms also make more sense when:
- Your form has five or more fields
- You are collecting subtle information like budgets, goals, or pain points
- The form is part of a branded experience, not just a utility
- You want to reduce drop-offs without shortening the form
Can you use both
Yes, and many sites do. A short lead form in the header or sidebar handles quick email signups. A conversational form on a dedicated page handles consultation requests, applications, or multi-step qualification flows. Each does its job without overlapping.
How to Create Lead Forms and Conversational Forms in Fluent Forms
Fluent Forms lets you build both form types from a drag-and-drop editor with no code required. You can start from a pre-built template or build from scratch.
Guide to build a lead form
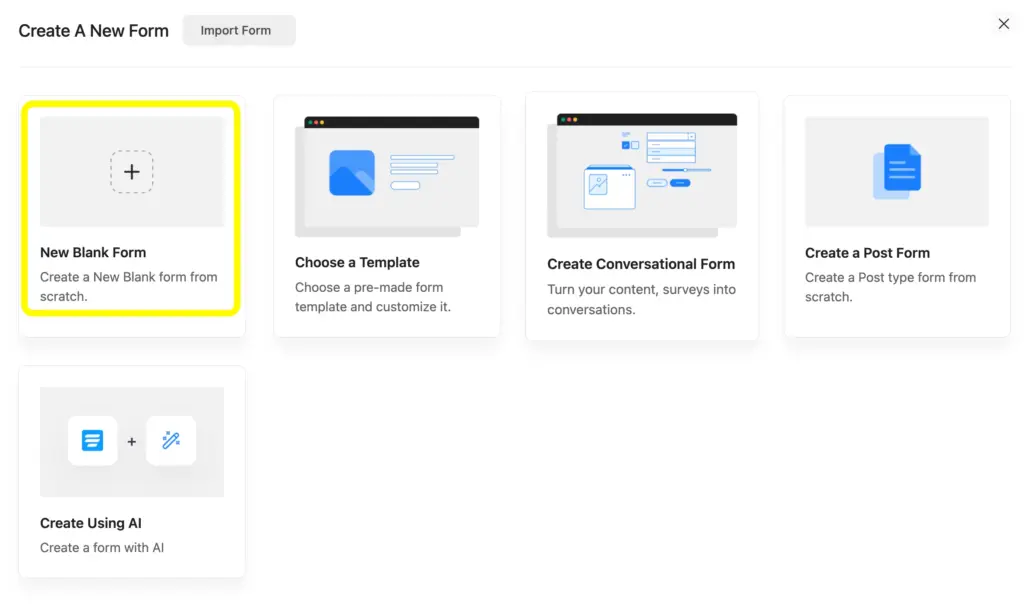
Step 1: Open Fluent Forms and create a new form
From your WordPress dashboard, go to Fluent Forms and click Add New Form. You’ll get options to start from a New Blank Form or Choose a Template.
Here I’m starting from the New Blank Form.
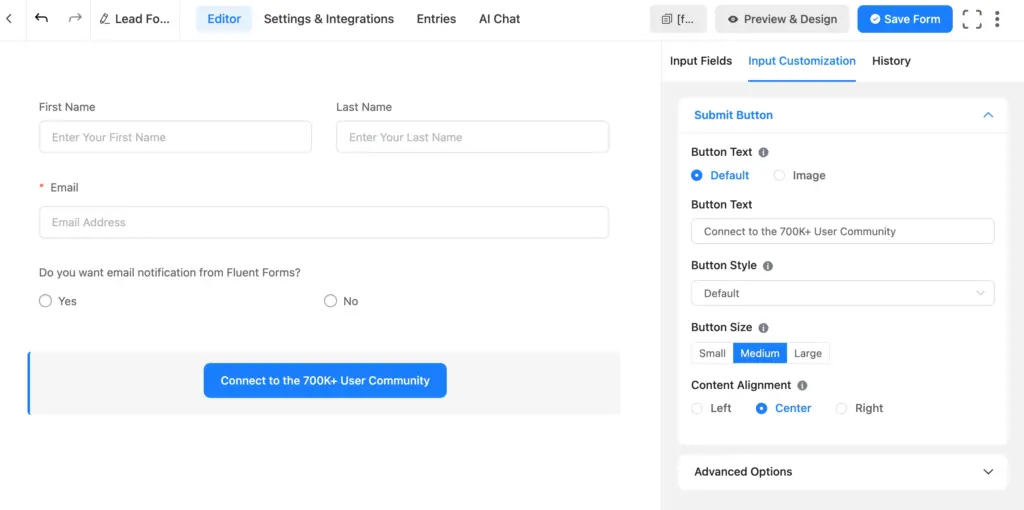
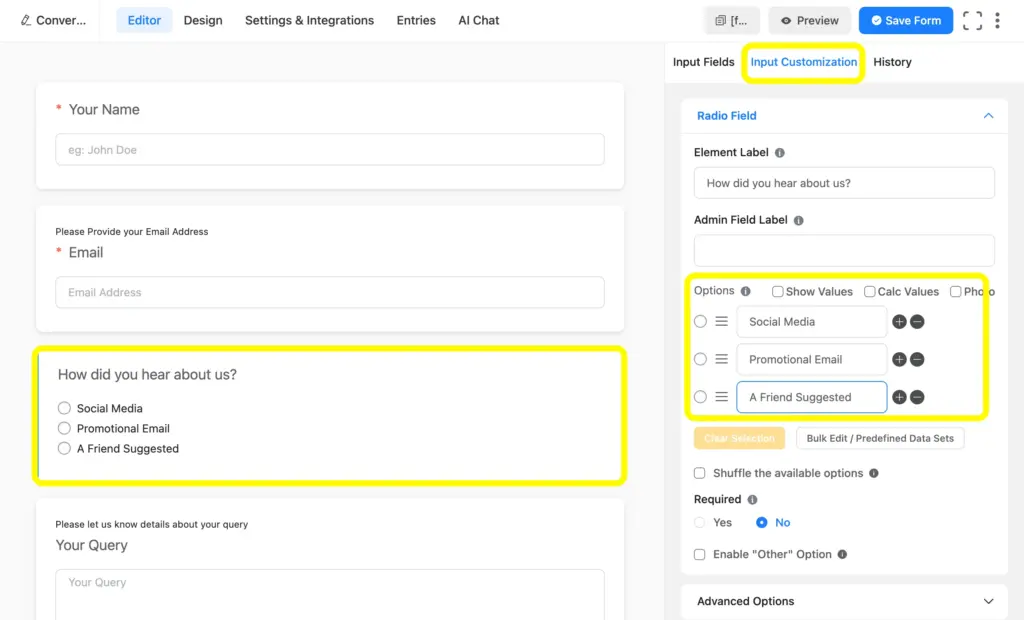
Step 2: Add and customize the fields
Drag the fields you need into the editor. For a standard lead form: a Name field, an Email Address field, and optionally one qualification question. Keep it short. Customize if you need to; use Input Customization to make the changes quickly.
Step 3: Check the preview and put styling in the form
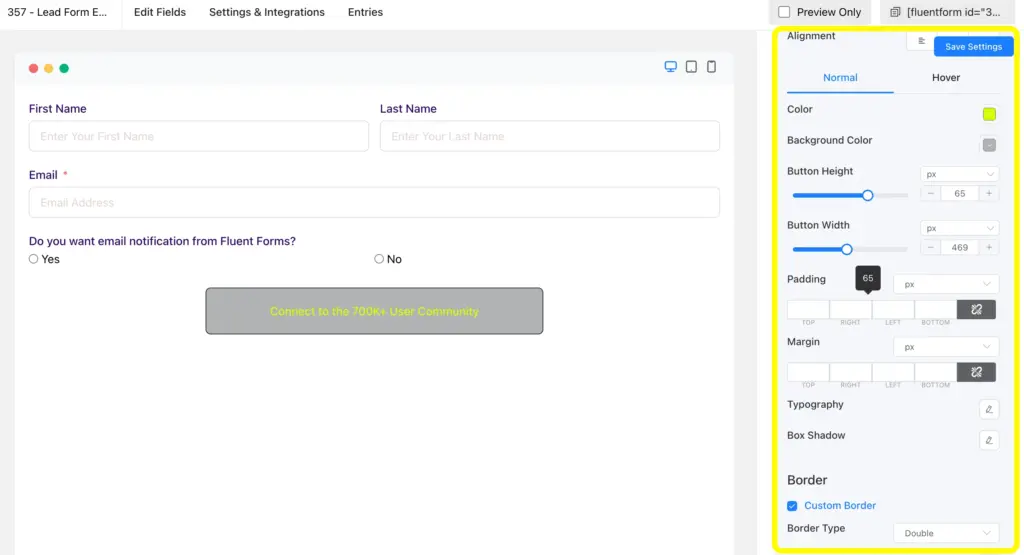
Once done with the customization, save the form and check the preview.
While seeing the form output in the preview page, you can use the Advanced Form Styler to match your brand’s style. Adjust field spacing, label color, button style, and typography. Changes are previewed in real time.
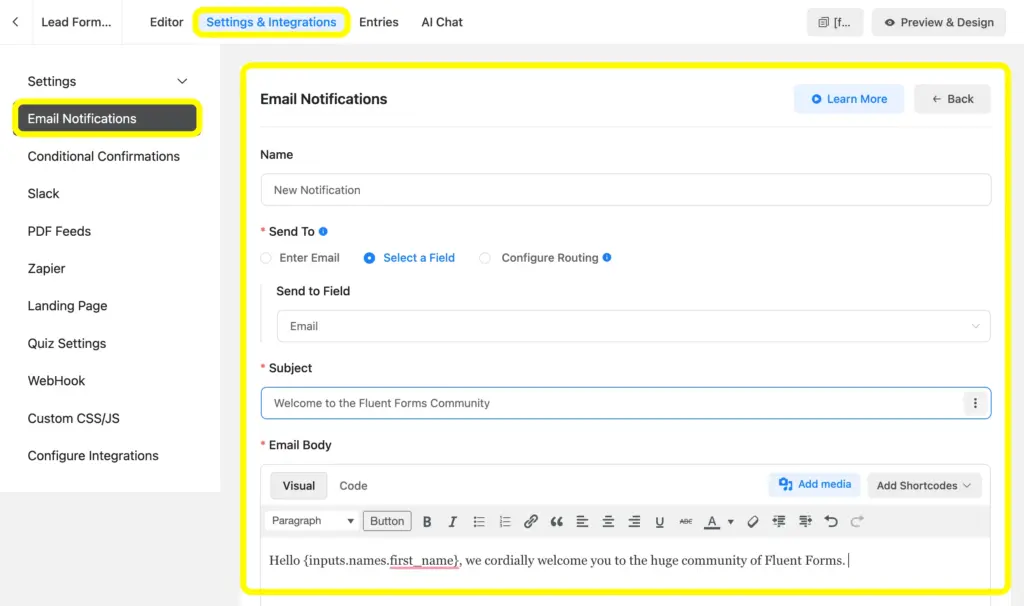
Step 4: Configure notifications and integrations
Set up email notifications and connect the form to your CRM or email marketing tool from the integration settings. You can easily send an email notification to the users by selecting Settings & Integration and then customizing the Email Notifications.
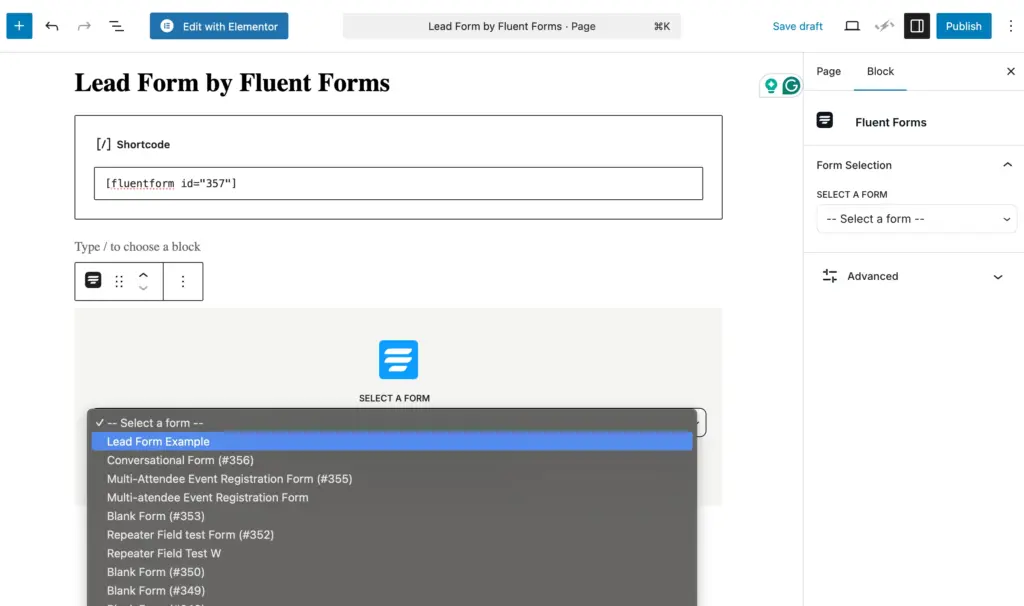
Step 5: Embed or publish
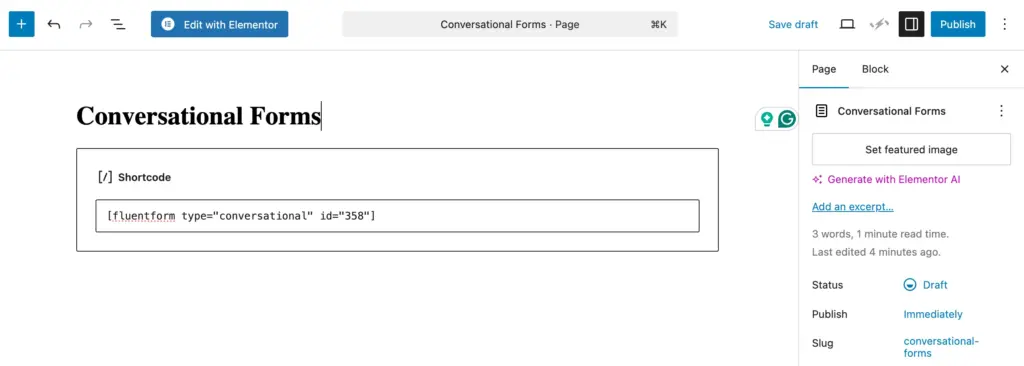
Once the form building is done, copy the shortcode and paste it into any page, post, or choose the Fluent Forms block. For a distraction-free capture, publish the form as a standalone page using the Landing Page module.
Steps to build a conversational form
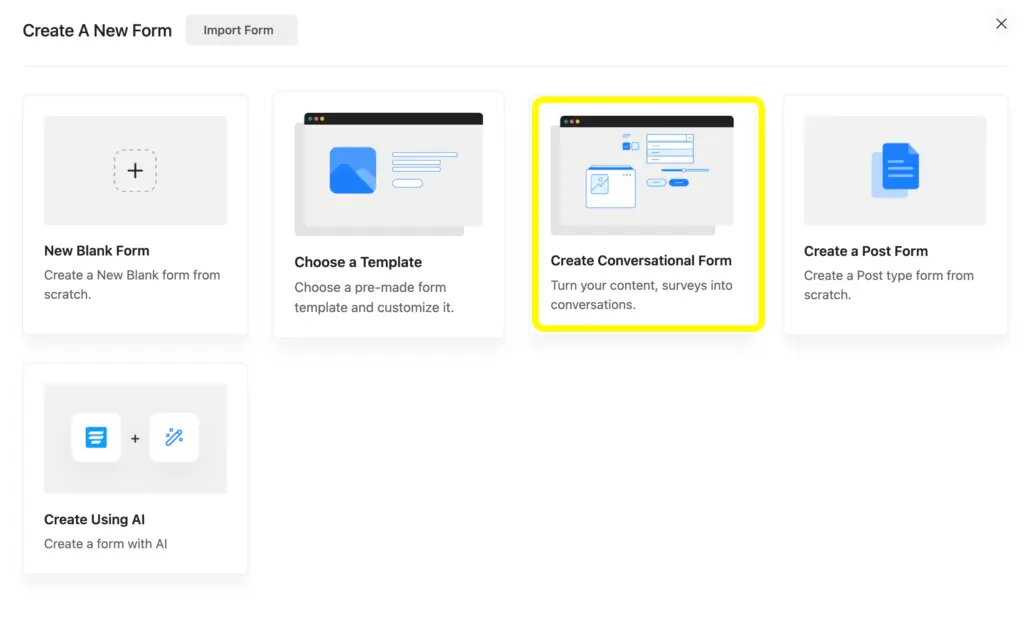
Step 1: Create a new form in Fluent Forms
Go to Fluent Forms, click Add New Form, and add your fields as normal using the drag-and-drop editor. Click on Choose Create Conversational Form to make it a conversational form from the very start..
You can also convert any form into a conversational form.
In the editor, find the option to enable conversational forms. This converts the standard layout into a step-by-step interface where each field becomes its own screen.
Step 2: Add and customize the fields
Each field is now a standalone question. Write labels as natural prompts. “What is your name?” works better than “Full Name.” This small change makes a big difference in how the form feels.
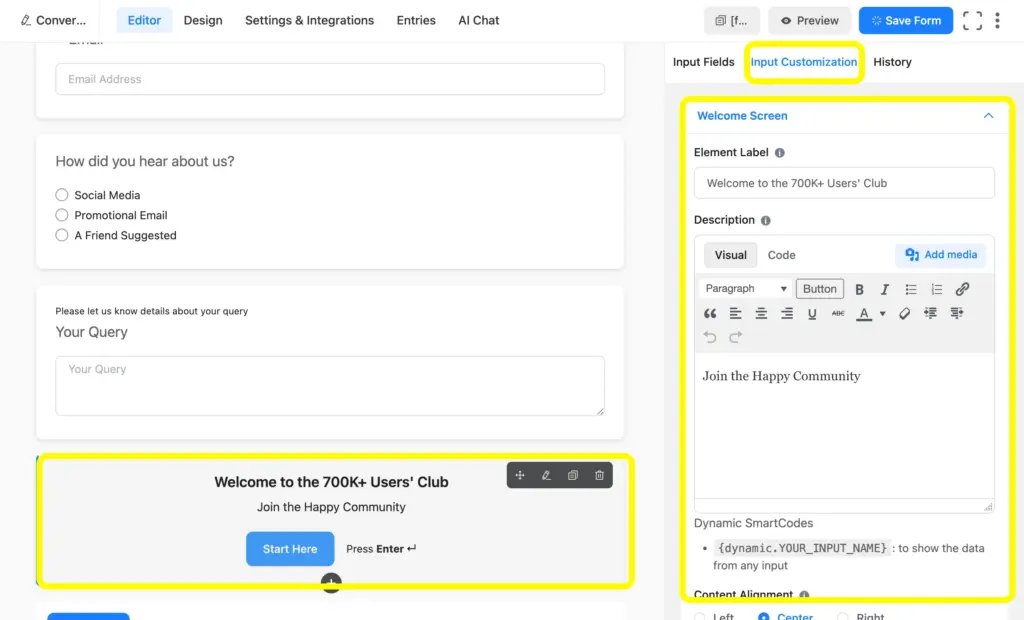
Step 3: Set up the welcome screen
From the Input Fields, you can add a welcome screen to introduce the form, set expectations, and invite users to begin. Fluent Forms lets you customize the headline, subtext, and start button.
Step 4: Check the preview and publish the form
Once you are done with the fields, check the preview and publish the form as you do with other forms.
You can use Fluent Forms Gutenberg Block Styler to make the appearance more tailored.
Lead Forms vs Conversational Forms: Final Verdict
Lead forms win on speed and simplicity. Conversational forms win on engagement and completion for longer flows. Neither is universally better. The right pick depends on how many questions you need to ask and how ready your visitor is to answer them.
If you are unsure, start with a lead form. Watch where people drop off. If abandonment is high on longer forms, that is your signal to test the conversational approach.
Relevant Features in Fluent Forms
Multi-step form
The multi-step form feature splits a longer form into pages with a progress bar. It is a middle ground between a traditional lead form and a full conversational experience. Users see a subset of fields per step, which reduces visual overload without requiring the full conversational interface.
Advanced Form Styler
The Advanced Form Styler gives you design control over any form type. Match any form to your site’s look and brand guidelines without writing CSS. It works on both lead forms and conversational forms.
Landing Page module
The Landing Page module lets you publish any Fluent Forms form as a standalone, distraction-free page. No navigation, no sidebar, no competing links. This setup works especially well for lead forms on paid traffic campaigns and for conversational forms where a focused environment improves completion.
Both form types are built into Fluent Forms. You can explore all Fluent Forms features or go straight to the template library and build your first form today.

Hi, this is Aparup. I am a Literature postgraduate, mixing my creative thoughts with my experience in the tech industry to surpass AI. Professionally, I am a content marketer seeking solutions to users’ problems regarding WordPress.


Leave a Reply