Limit and Schedule WordPress Forms with More Control
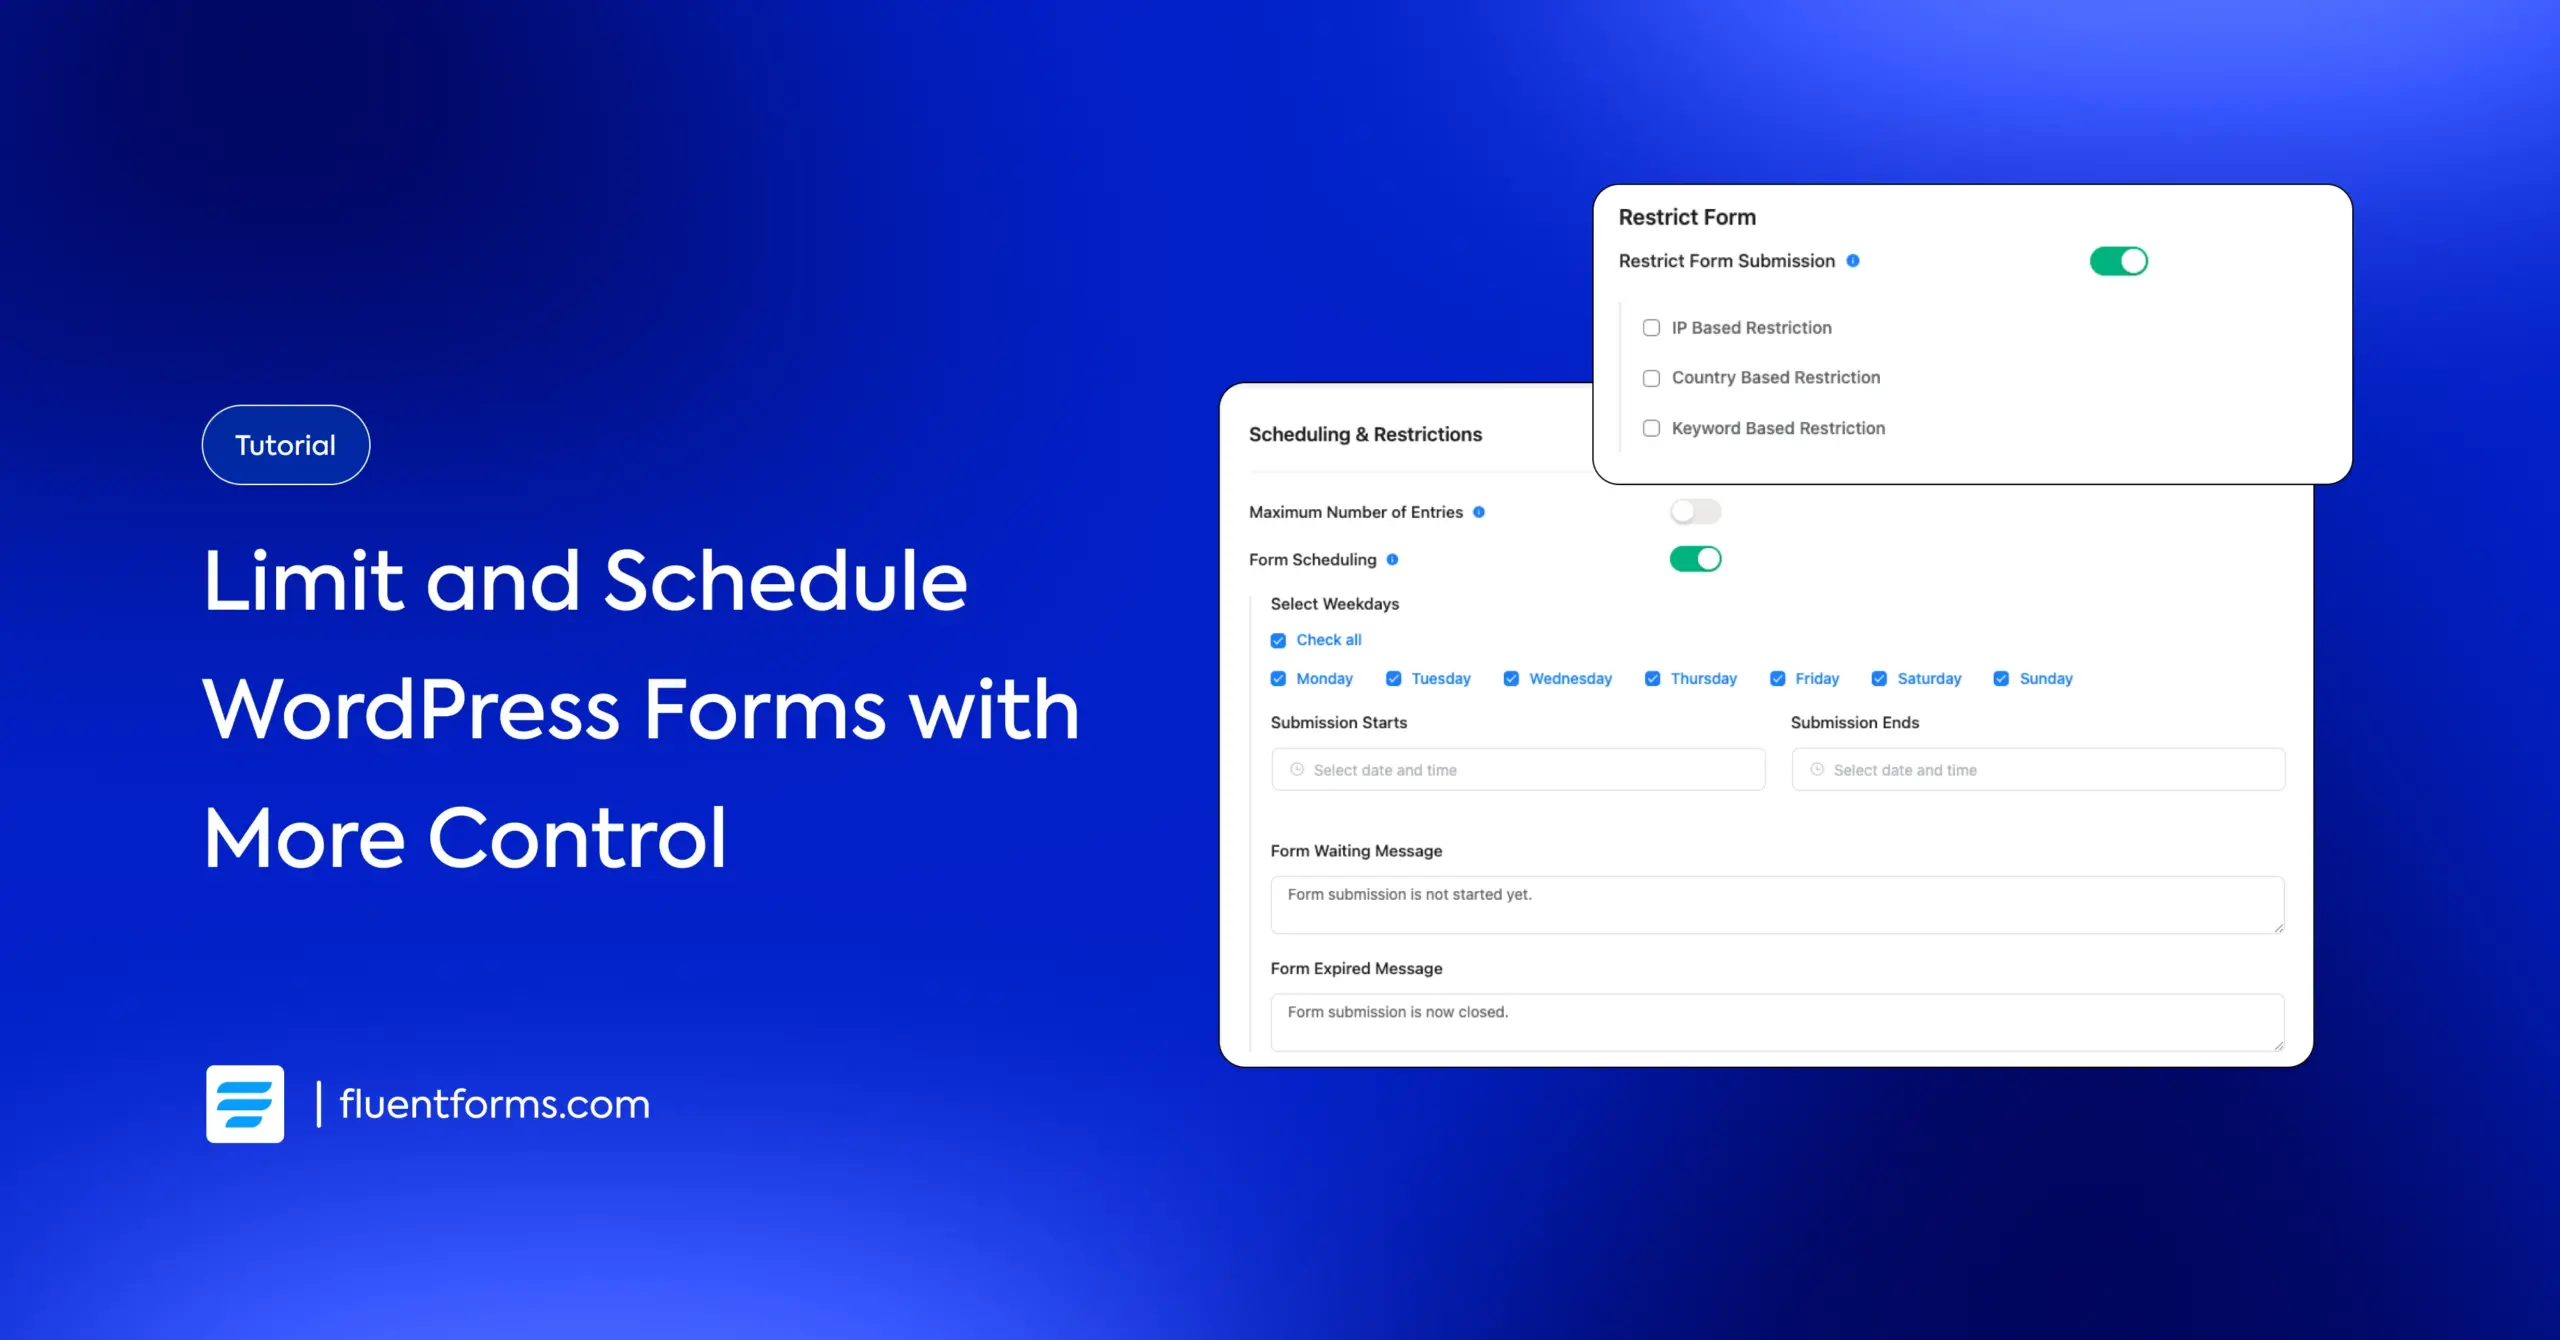
If your form should be available only for a certain time, audience, or submission limit, there’s no need to keep it open 24/7. Maybe you’re collecting event registrations with a deadline or hiring while expecting 200 applications at most, or want your course enrollment to be accessible for a week. Under these conditions, limiting and scheduling your WordPress forms will make it easy to achieve your purpose.
In this blog, I’ll show you a way to control the submission time and number of submissions in WordPress, with a code-free solution powered by Fluent Forms, without custom code.
TL;DR
- You can limit and schedule WordPress forms in Fluent Forms by using the built-in Scheduling & Restrictions settings.
- Set a start and end date for form availability
- Limit total entries per day/month/year/user
- Restrict users based on login status or conditions
- Add stronger rules with advanced validation
- Auto-delete old entries for cleaner data management
If you want a quick setup, this tutorial will show you the way to do it on a single settings page.
Why limit and schedule a WordPress form
Form scheduling and restrictions help you control quality, timing, and workload. Without limits, forms often collect extra entries you don’t want. Here are common use cases:
- E-learning: open course registration for a limited window
- Employment: stop applications after the target number is reached
- Event management: close registration at the deadline
- Campaigns: run time-limited lead collection
- File submissions: accept uploads only during active submission periods
If your process depends on timing, you should never leave forms unrestricted. —
How to limit and schedule WordPress forms (step-by-step)
Step 1: Open Scheduling & Restrictions in Fluent Forms
- Go to your WordPress dashboard
- Navigate to Fluent Forms
- Open the form you want to control
- Click Settings & Integrations
- Go to Scheduling & Restrictions
From here, you can define exactly who can submit and when. I
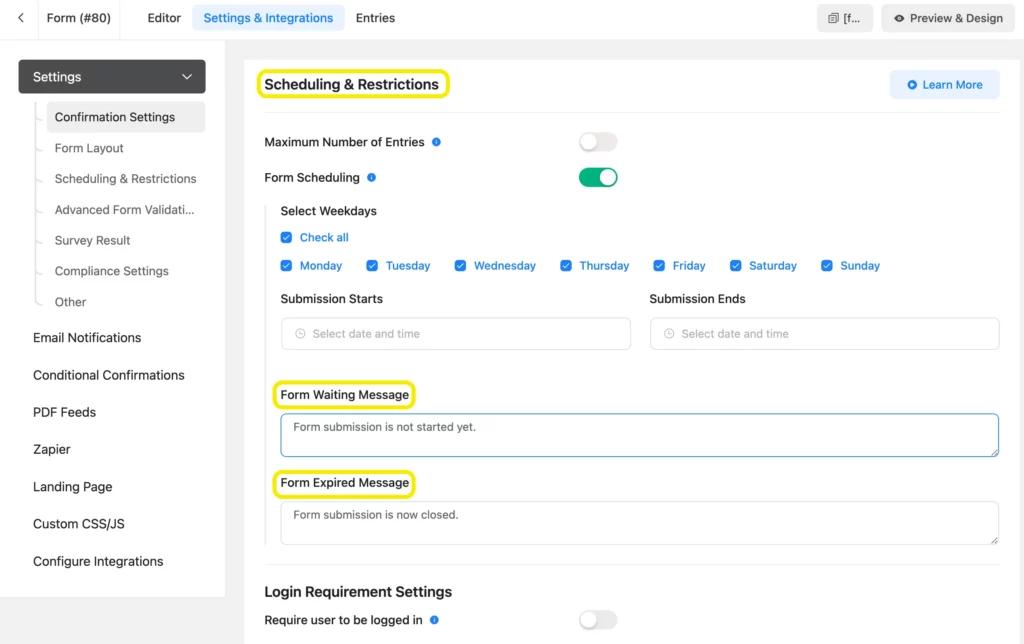
Step 2: Enable and customize form scheduling
Inside Scheduling & Restrictions, turn on the settings you need.
Set the start and end date/time. Use this when submissions should open and close automatically.
Outside this time range, users won’t be able to submit.
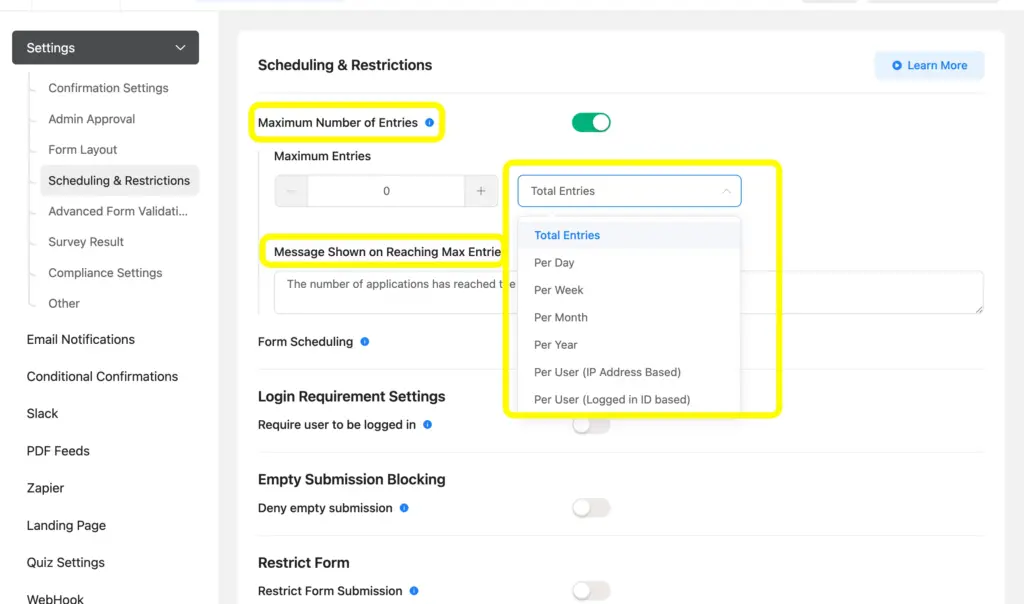
You can also limit the total number of submissions. If you only need a fixed number of responses, set a maximum number of entries.
Once the limit is reached, the form can automatically stop accepting entries.
You can also add a custom pending/closed message.
Instead of showing a confusing error, show a useful message such as:
- “Registration opens on April 10.”
- “Sorry, applications are now closed.”
This improves user experience and cuts support questions.
Here, you can check this form‘s scheduling to get a real-life experience on how it works.
Related features
Form restriction
You can restrict the form submissions on your WordPress site using Fluent Forms. Restrict the form entries based on IP, country, and keywords. This way, you can control spammy or irrelevant submissions without checking them once; the whole thing will be done automatically.
Advanced form validation
Use Fluent Forms’ advanced form validation based on the users’ inputs. You can set up the validation type and error message to produce a more tailored experience.
Auto-delete form entries
Fluent Forms comes with its compliance settings to implement entries to be deleted automatically. You can apply settings to make the entries get deleted instantly, or you can set a timeline to automatically delete old entries.
Final thoughts
If your form has deadlines, limited seats, or controlled access, you should absolutely limit and schedule WordPress forms from day one. With Fluent Forms, you don’t need extra plugins or custom code to do it. Everything is already built in and beginner-friendly.
Enjoying this article?
We regularly publish actionable content on our blog. Subscribe to get them delivered straight to your inbox.
We won’t spam you. You can unsubscribe whenever you want.

Hi, this is Aparup. I am a Literature postgraduate, mixing my creative thoughts with my experience in the tech industry to surpass AI. Professionally, I am a content marketer seeking solutions to users’ problems regarding WordPress.


Leave a Reply