Connect MailPoet to your WordPress and Get More Subscribers

If you are starting your very own business, you need to know how you can create an email list from scratch and the best practices to sustain them.
And while you are at it, know your two best friends in the process – email plugins and form builders. Together they will help you collect leads and nurture them into customers. Keeping this in mind, we will be introducing you to two such tools – MailPoet and Fluent Forms, and we will show you how you can integrate MailPoet with WordPress form builder.
MailPoet

If you are looking for the best email plugin, then MailPoet is the way to go. It is very straightforward to use, and you can connect MailPoet with your favorite tools to make the most of it.
Some of the features that MailPoet offers are:
- Email newsletters
- Last post notifications
- WordPress email templates
- Inactive subscribers
- WooCommerce customers list
- Abandoned cart emails
- WooCommerce email customizer, etc.
Why Fluent Forms
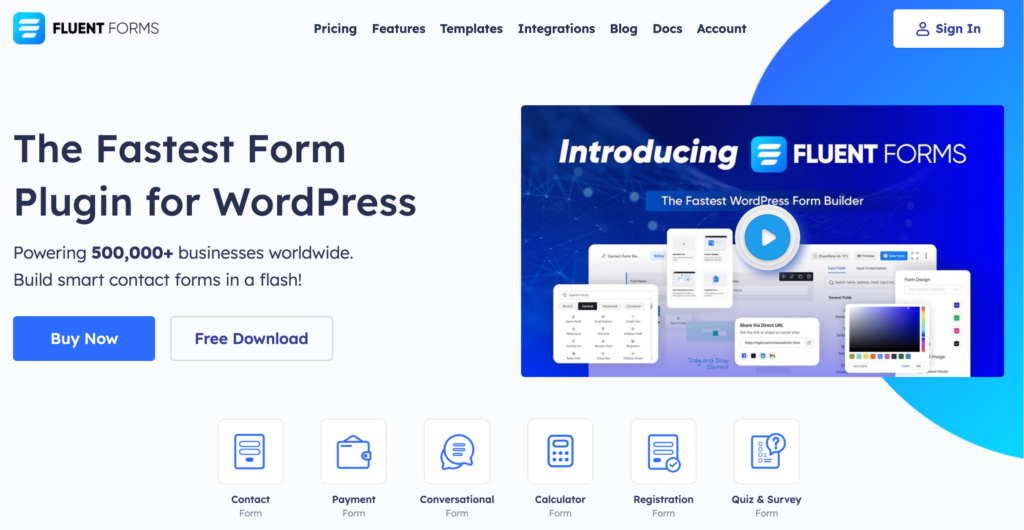
Fluent Forms is one of the fastest contact form plugins for WordPress. It lets you create excellent forms for your WordPress website. It provides a ton of fantastic features to meet your data collection and lead generation requirements.
Fluent Forms allows you to design a wide range of forms, from simple contact forms to more advanced payment forms.
The key features of Fluent Forms are –
- 60+ input fields to collect any type of information
- Numeric calculation to create forms with calculators
- Multi-step forms to break long forms into multiple steps
- Conversational forms to provide a better form-filling experience
- Advanced post creation to collect user-generated content
- Conditional logic to show/hide input fields based on user behavior
- Integration with popular payment gateways to collect payments and donations
- Spam protection using hCaptcha, reCAPTCHA, Turnstile, Honeypot, Akismet
- Quiz and survey with advanced scoring
- Advanced form styler to align form with your brand identity
- Custom CSS and JS to create more advanced forms
- Export entries in CSV, Excel, ODS and JSON format
- PDF add-on to turn form submissions into PDF files
- Form scheduling and restriction based on different rules
- Double opt-in confirmation to ensure efficient data collection
- Email notification after form submission
- Conditional confirmation to show confirmation messages based on predefined conditions
- Advanced form validation to accept eligible submissions
- Fully responsive and accessible to ensure inclusivity
- 55+ integrations to expand core functionalities
Currently, more than 500K websites use this form builder plugin, and the number is constantly growing. Although the free version of Fluent Forms can handle most of your basic needs, the Pro edition further pushes the limit.
Integrate Mailpoet with Fluent Forms in 4 steps
To integrate Mailpoet with Fluent Forms, you have to follow the steps below –
- Install Mailpoet and Fluent Forms Pro
- Download Fluent Forms Connector for MailPoet
- Enable Mailpoet integration module
- Create Mailpoet feed
These steps are elaborated for you below.
Step 1: Install MailPoet and Fluent Forms Pro
The very first step is obviously to install the plugins. So just head over to the WordPress repository, and download your plugins. For your convenience, we have linked the plugins below.
- Download MailPoet for free
- Download Fluent Forms for free below
Build Smarter Forms for Free

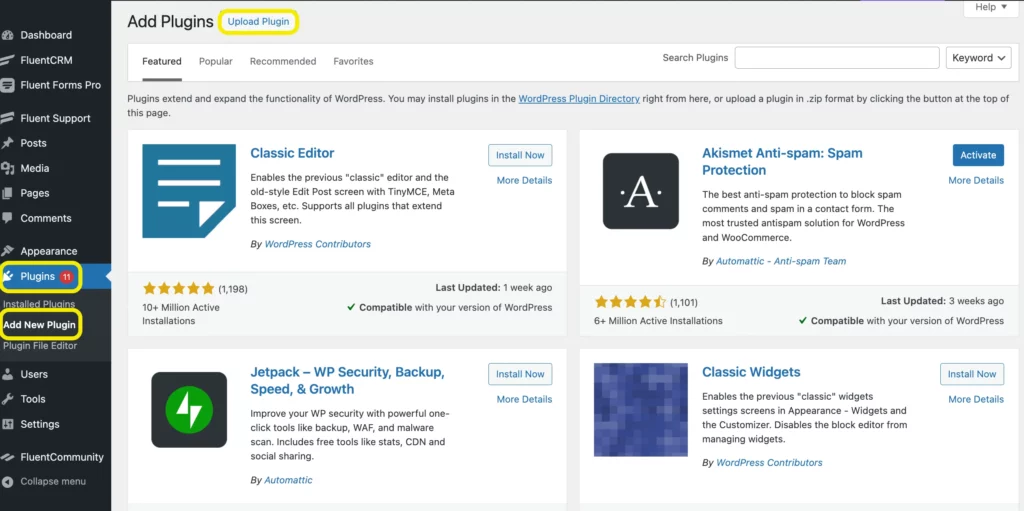
Now, go to your WordPress dashboard, and locate Plugins from the sidebar. Now click on the Add New Plugin button and upload the zip file by clicking on Upload Plugin. Then Install and Activate.
Follow this quick video tutorial to easily install WordPress plugins.
Step 2: Download Fluent Forms Connector for MailPoet
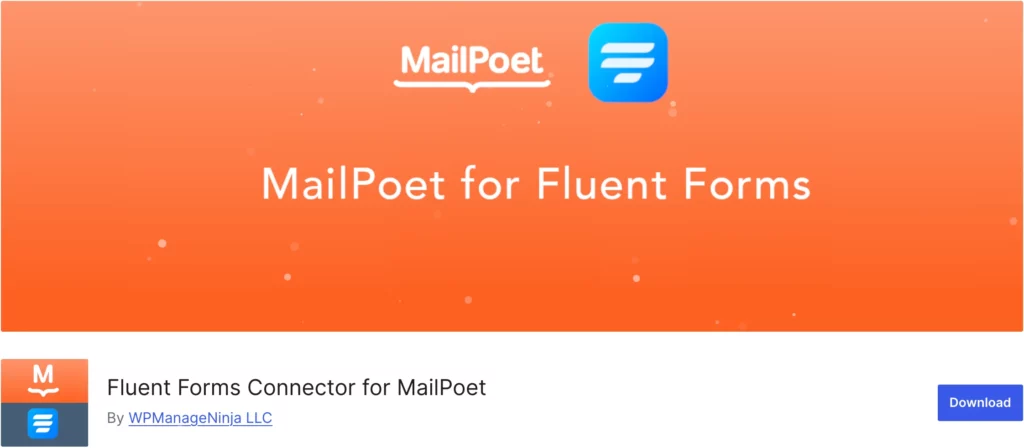
Now that you have installed MailPoet and Fluent Forms on your WordPress website, it’s time to get the MailPoet add-on. You will notice, Fluent Forms already includes the Slack and MailChimp integration modules. However, due to a great many requests for MailPoet, a separate add-on was later introduced.
To get the MailPoet module, you will need to download a separate MailPoet add-on from the WordPress repository.
After successfully downloading the add-on, follow the steps in the previous section, and you will see a MailPoet module appear among the integration modules.
Step 3: Enable Mailpoet integration module
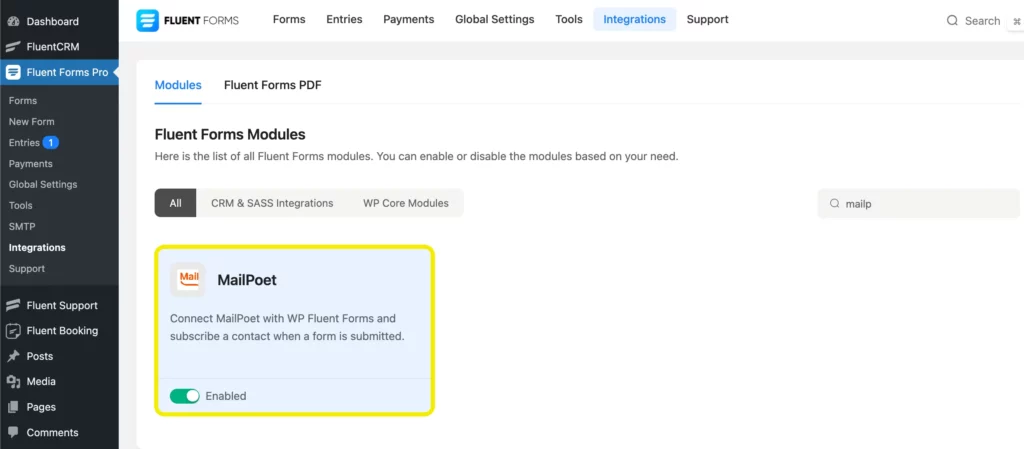
Once you see your MailPoet integration module, toggle on to enable it.
Step 4: Create MailPoet feed
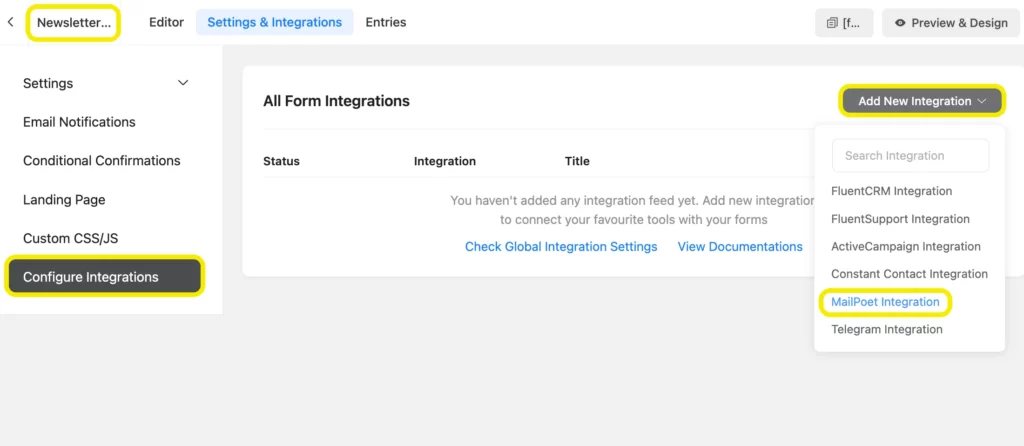
Now open the form in which you want to connect MailPoet. Go to the Settings & Integrations, and from there, select Configure Integrations. On the top-right corner, you will notice an Add New Integration button. Select the MailPoet integration from the dropdown menu, and configure the feed. Don’t forget to Save Settings.
Related resource: MailPoet integration with Fluent Forms documentation.
Last words
MailPoet is a fantastic email plugin. And pairing it up with Fluent Forms, you can send smooth emails for your business. And all that for free.
But if you are up for more, you can try a premium for the plugins and unlock possibilities.
60+ Third-party Integrations
Expand your form functionality with seamless integrations.





Leave a Reply