Fluent Forms allows you to show or hide content dynamically based on user selections using conditional shortcodes. These shortcodes can be applied in Form Confirmations, Email Notifications, and PDF Documents, making your forms more interactive and personalized.
This article explains each available conditional shortcode and how they function within Fluent Forms.
You need the Fluent Forms Pro version to use conditional shortcodes.
How to use Conditional Shortcode #
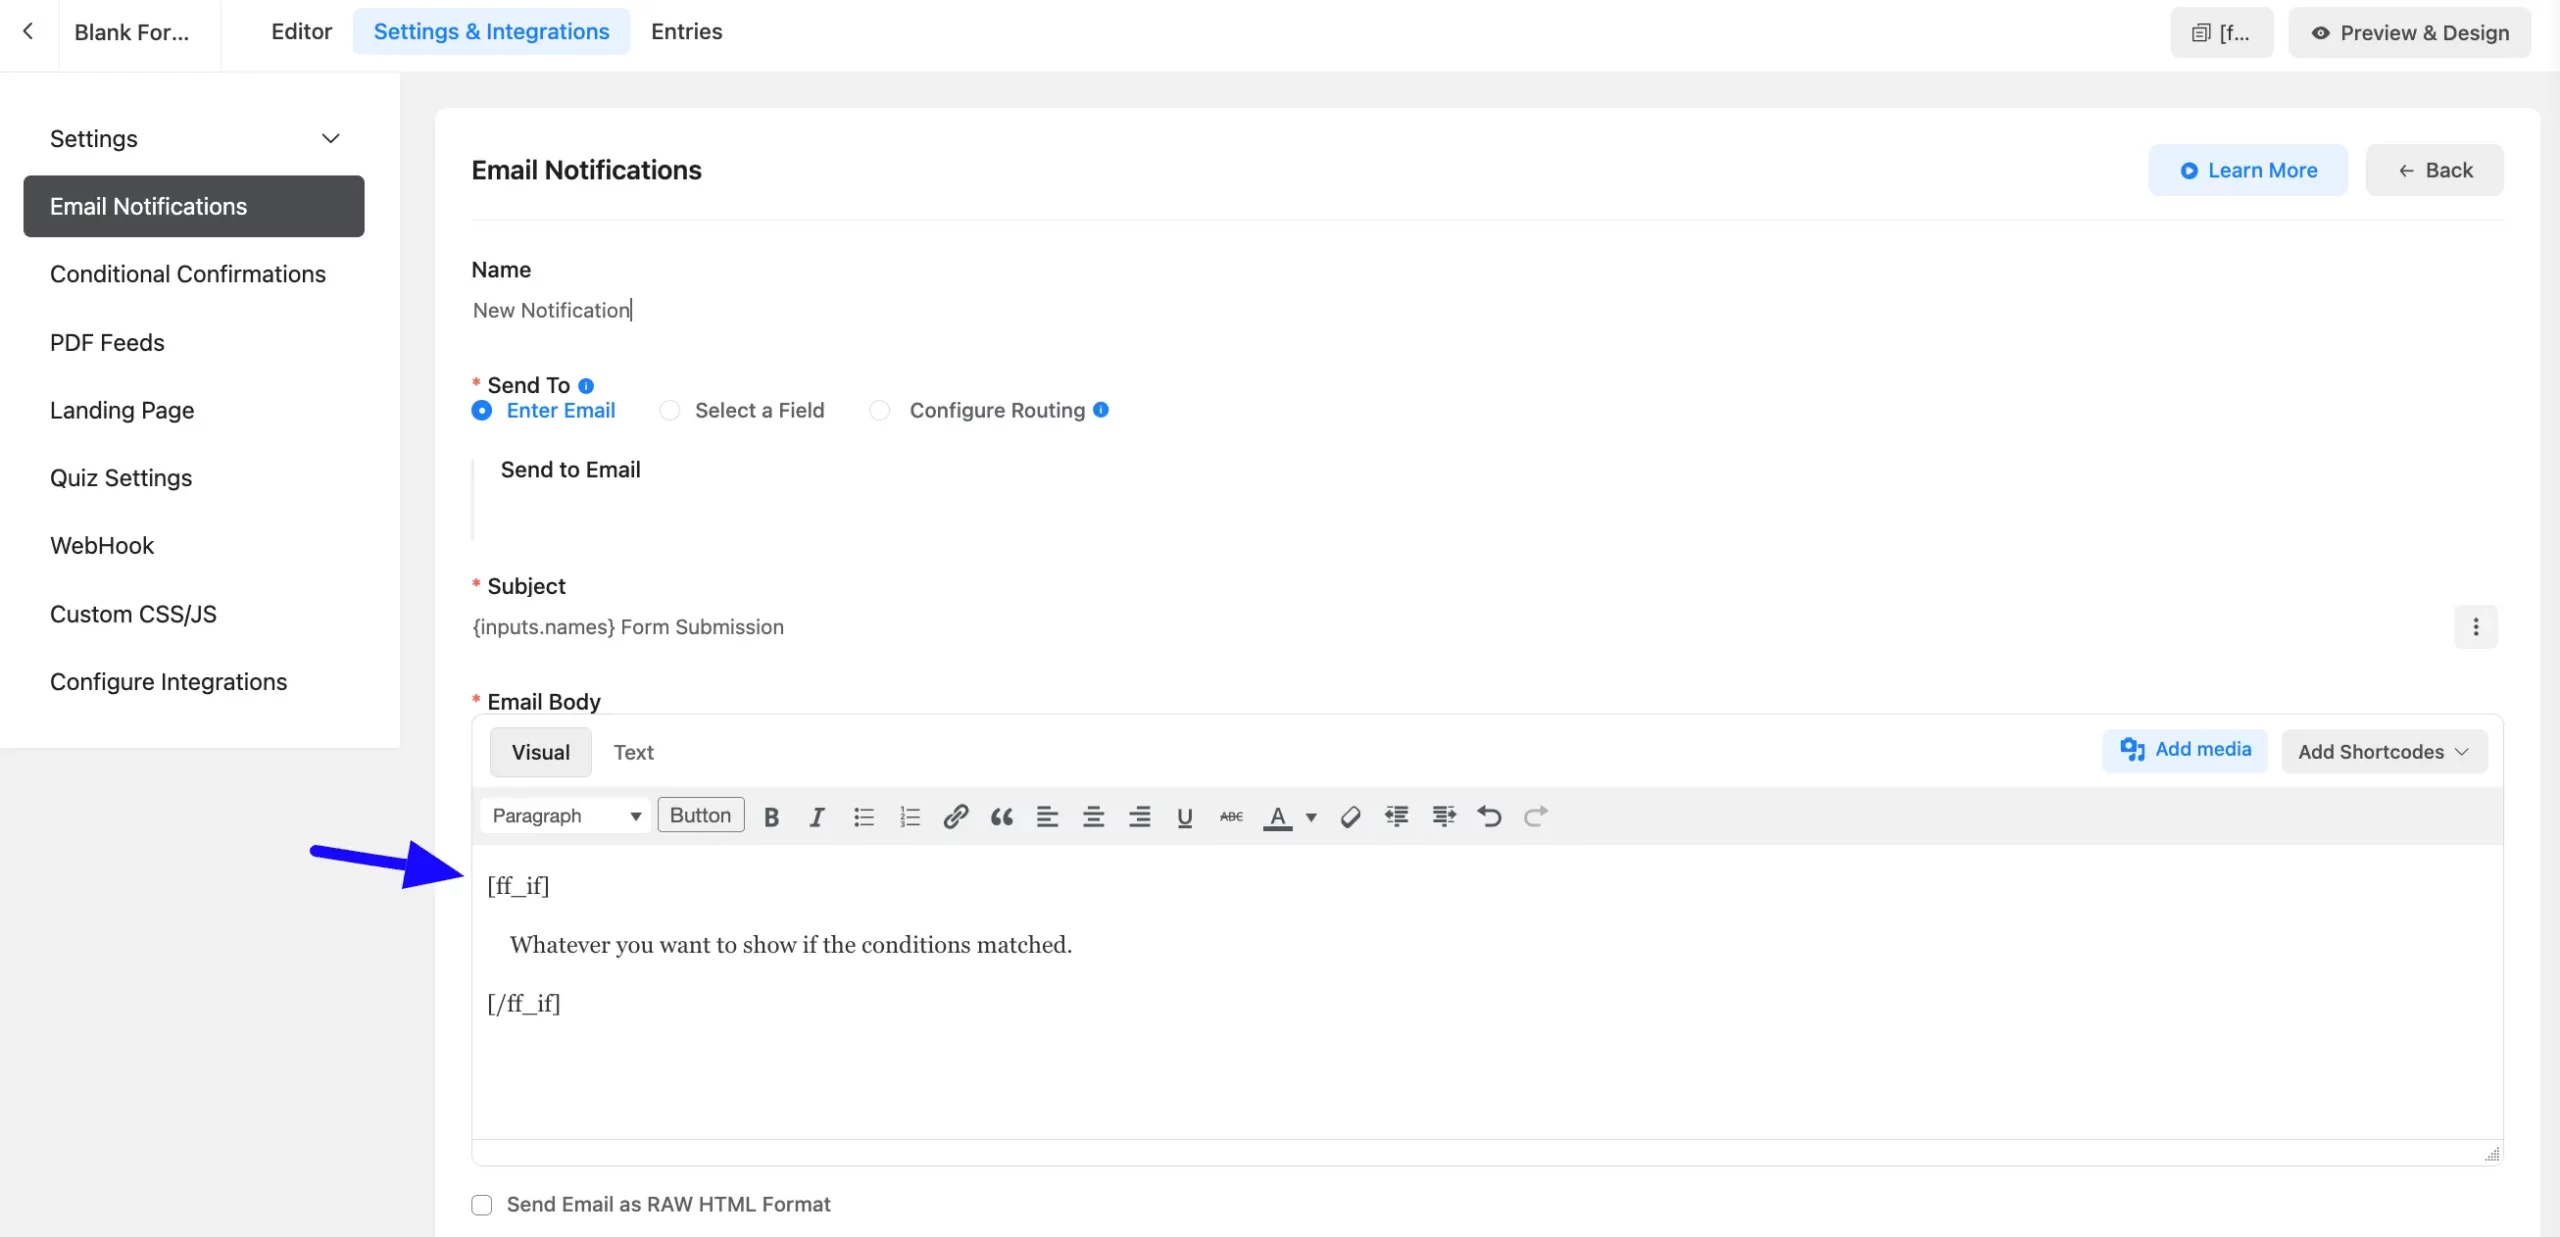
If you want to show a message based on user input, you can use a simple shortcode like this:
[ff_if]

    Whatever you want to show if the conditions matched.

[/ff_if]
There are three key parameters when using conditional shortcodes-
- Field
- Condition
- Value
Field #
The field parameter is required to define which form input should be checked. You need to grab the field name and include it in the shortcode like this:
[ff_if field="input_radio"]

    Whatever you want to show if the conditions matched.

[/ff_if]
For example, you have a radio button field and want to show a message only when the user selects “Yes”, you can write-
[ff_if field="input_radio" is="equal" to="yes"]
    Glad to hear that you loved our product!
[/ff_if]
If the user selects “No”, a different message will appear:
[ff_if field="input_radio" is="equal" to="no"]
    Thanks for using our product. We are working on improvement.
[/ff_if]
Conditions #
The second parameter is Condition. You can set different types of conditions such as-
| Condition | Description |
| equal | Matches exactly |
| not_equal | Does not match |
| greater_than | Checks if the value is more than given number |
| less_than | Checks if the value is less than given number |
| greater_or_equal | Checks if the value is more than or equal to given number |
| less_or_equal | Checks if the value is less than or equal to given numbe |
| starts_with | Checks if text starts with a certain word |
| ends_with | Checks if text ends with a certain word |
| contains | Checks if text includes a word or phrase |
| not_contains | Checks if text does NOT include a word |
You need to use is=”Your Condition Here”, let’s take the first one as an example; at this stage, our shortcodes will be:
[ff_if field="input_radio" is="equal"]

    Whatever you want to show if the conditions matched.

[/ff_if]
Value #
The value parameter defines what the field should be compared against. Add it using to=”Your Value Here”.
The value needs to be added like this to=”Your Value Here”.
Suppose our radio field has two values, which is ‘ABC’ and ‘XYZ’. Suppose I want to take the value if the user has selected ‘ABC’, we have to write the shortcode value in small letters so the final shortcode will be-
[ff_if field="input_radio" is="equal" to="abc"]

    Whatever you want to show if the conditions matched.

[/ff_if]

You can use as many conditions as you want. For example, if you want to show different messages based on user feedback:
[ff_if field="feedback" is="equal" to="great"]
    Thank you for your positive feedback!
[/ff_if]
[ff_if field="feedback" is="equal" to="okay"]
    Thanks for your response! Let us know how we can improve.
[/ff_if]
[ff_if field="feedback" is="equal" to="bad"]
    We're sorry to hear that. We'll work to improve!
[/ff_if]
Nested Condition #
Sometimes, you may want to check two conditions at the same time. You can do this using nested shortcodes.
You need to use the other 3 parameters (field, is, to) as mentioned earlier.
An example of a nested conditional shortcode is below –
Suppose, in addition to our earlier logic, if the user selected ‘yes’, and if he/she gave us a review greater than 2, we want to show a text to that user.
So after using the field name field=”ratings”, conditions is=”greater_than” and value to=”2″ to our nested conditional shortcode, the final shortcode will be –
[ff_if]

    You can also show something if the first conditions matched.

    [ff_sub_if]

        Whatever you want to show if both conditions match.

    [/ff_sub_if]

[/ff_if]
[ff_if field="input_radio" is="equal" to="yes"]

    Glad to hear that you loved our product.

    [ff_sub_if field="ratings" is="greater_than" to="2"]

        Also, we want to Thank You for your valuable Ratings.

    [/ff_sub_if]

[/ff_if]


[ff_if field="input_radio" is="equal" to="no"]

    Thanks for using our product. We are working on improvement.

[/ff_if]
That’s all about Conditional Shortcodes in Fluent Forms! These shortcodes help you personalize messages and make your forms more interactive.
If you have any further questions, concerns, or suggestions, please do not hesitate to contact our support team. Thank you.


