Want to add a clean, horizontal email opt-in form to your WordPress site? Fluent Forms makes it quick and easy.
This guide shows you how to build a horizontal Email Opt-in Form with Fluent Forms.
Import the Pre-built Opt-in Form #
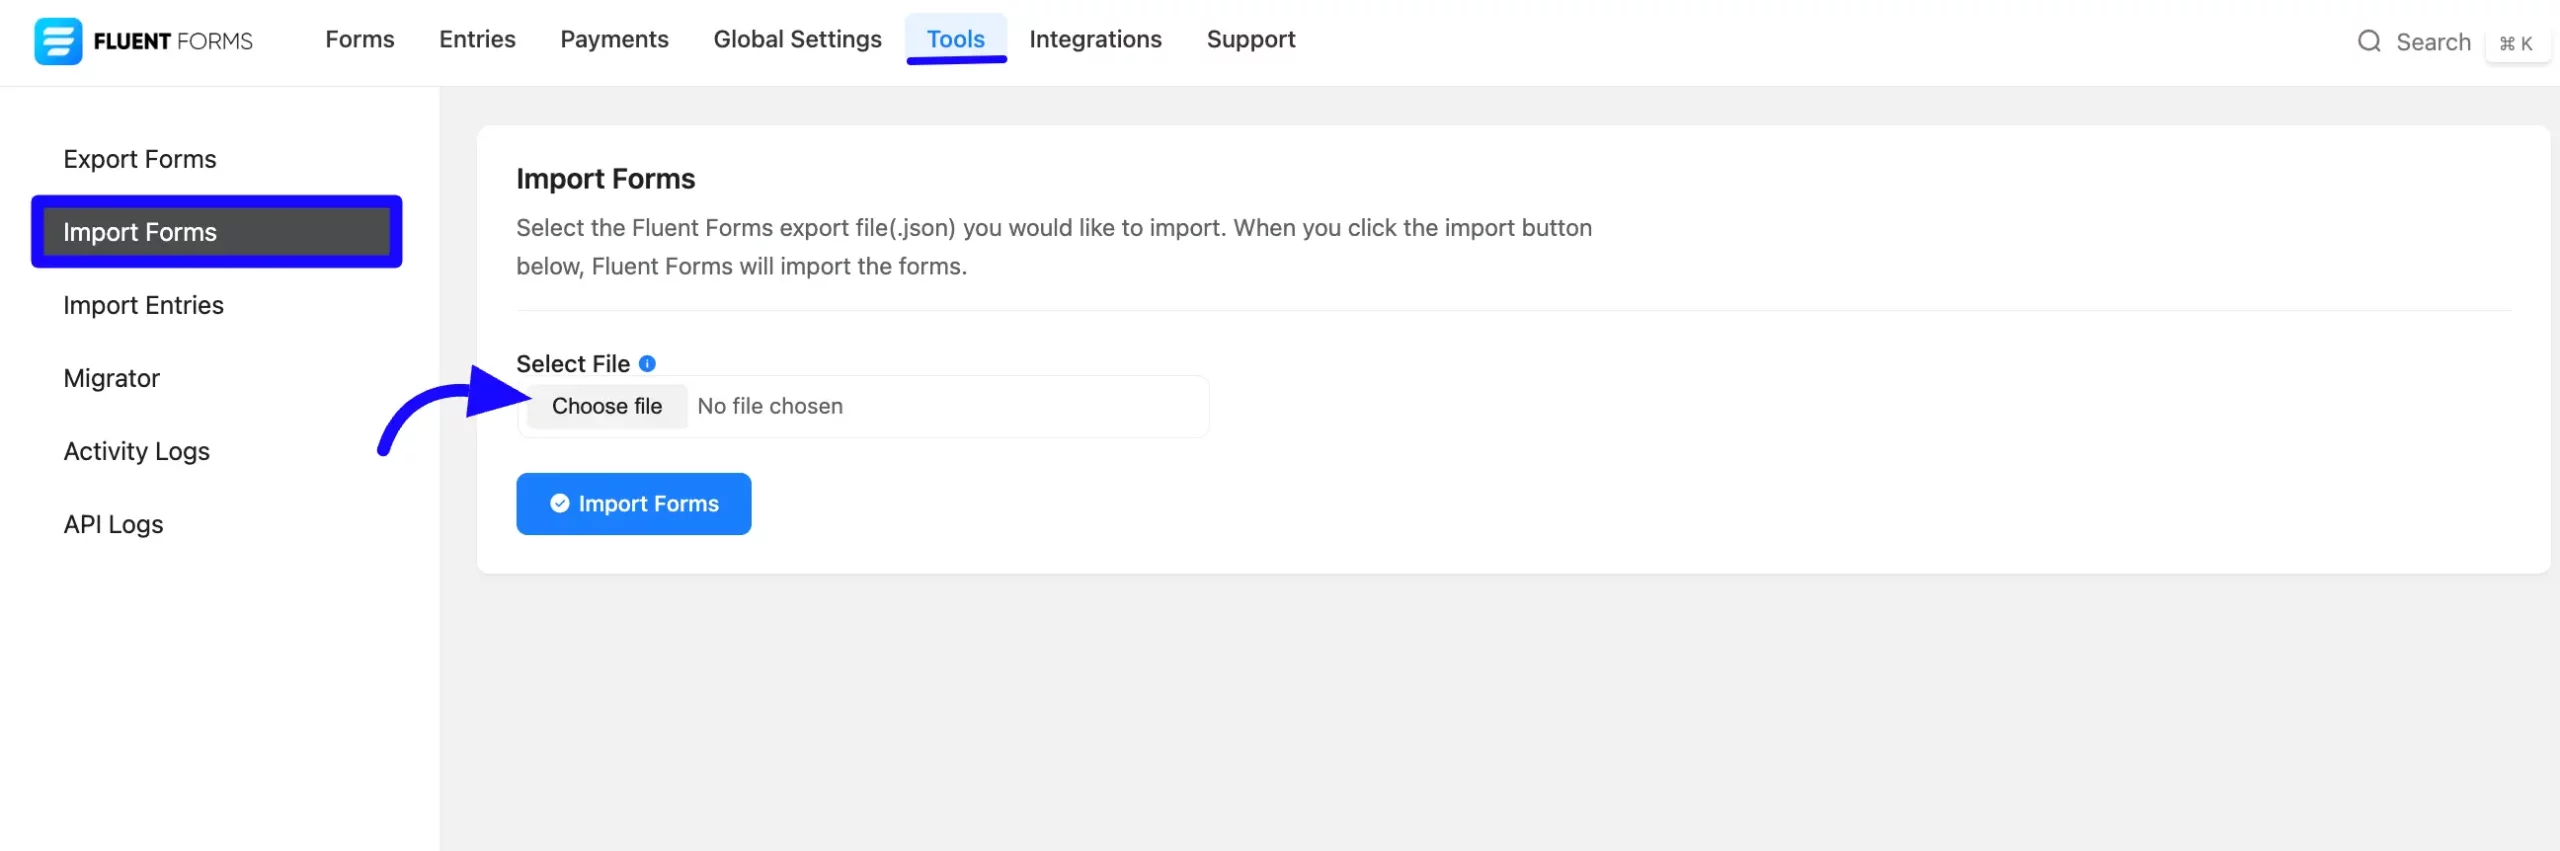
First, download the Opt-in Form JSON file from the provided link. Then, navigate to Fluent Forms dashboards Tools section in your WordPress site.
Then, click the Import Forms button from the left side bar. Now, click the Choose File to upload the import form under the Select File options. After that, click the Import Forms button to import your downloaded form.
Connect to Your Email Service #
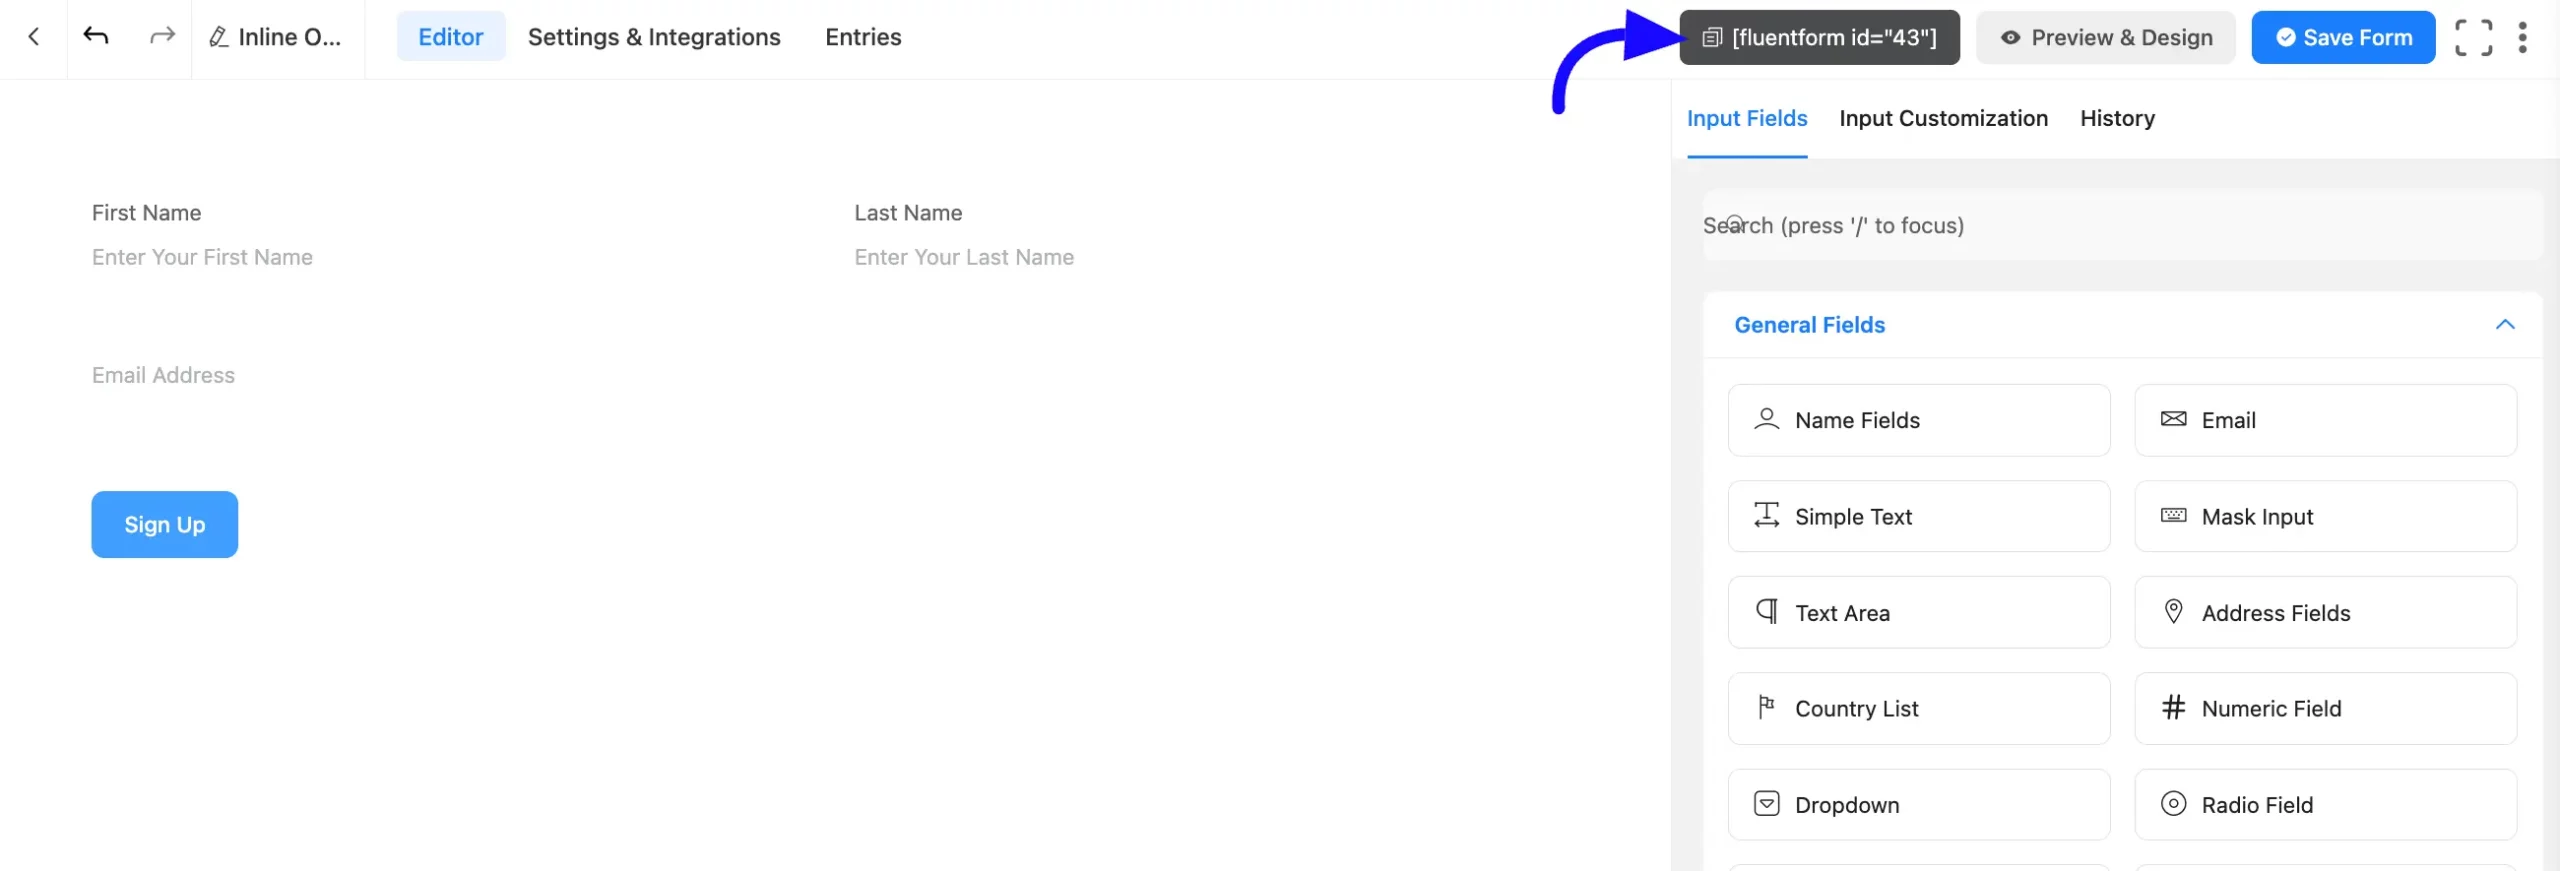
Open the imported form in the Form Editor. Go to the Settings & Integrations tab. Choose your preferred email marketing platform, such as Mailchimp, ConvertKit, FluentCRM, or others. Complete the integration process with your account details.
After saving, copy the form shortcode from the top-right corner of the editor.
Add the Form to Your Page or Template #
After that, open the Page Editor (or Template Editor) where you’d like to display the form.
Add a Section #
Insert a new section into your layout and use the following CSS styles to give it a clean background and center alignment-
.section {
background-color: #f0f0f0;
align-items: center;
}
Add a Heading #
Now it’s time to add a Heading. ou can use an <h2> or <h3> tag styled like this:
.heading {
color: #566d8f;
font-size: 20px;
}
Insert the Form Shortcode #
Now add a shortcode block or component to the section. Paste the shortcode you copied earlier. Style the container for better layout control-
.shortcode {
margin-top: 20px;
width: 100%;
max-width: 600px;
}
Once you’re done, save your page to apply the changes. Your horizontal opt-in form should now be live and styled to fit your page.
That’s it! You now have a stylish, horizontal email opt-in form. If you have any further questions, contact our support team.


