Fluent Forms offers you to built-in popup feature makes displaying forms in a modal, popup, or lightbox easily. It also offers a button-based popup trigger for forms.
In this documentation you will learn how to create and customize a popup form using Fluent Forms.
This is a Pro feature of Fluent Forms. To use it, you’ll need to have Fluent Forms Pro installed and activated.
Displaying the Popup Form #
To display a form in a popup, first, you must use a unique shortcode that is different from the usual one. The basic shortcode format is:
[ fluentform_modal form_id= "228" ] Remember to replace the form ID by your form ID.
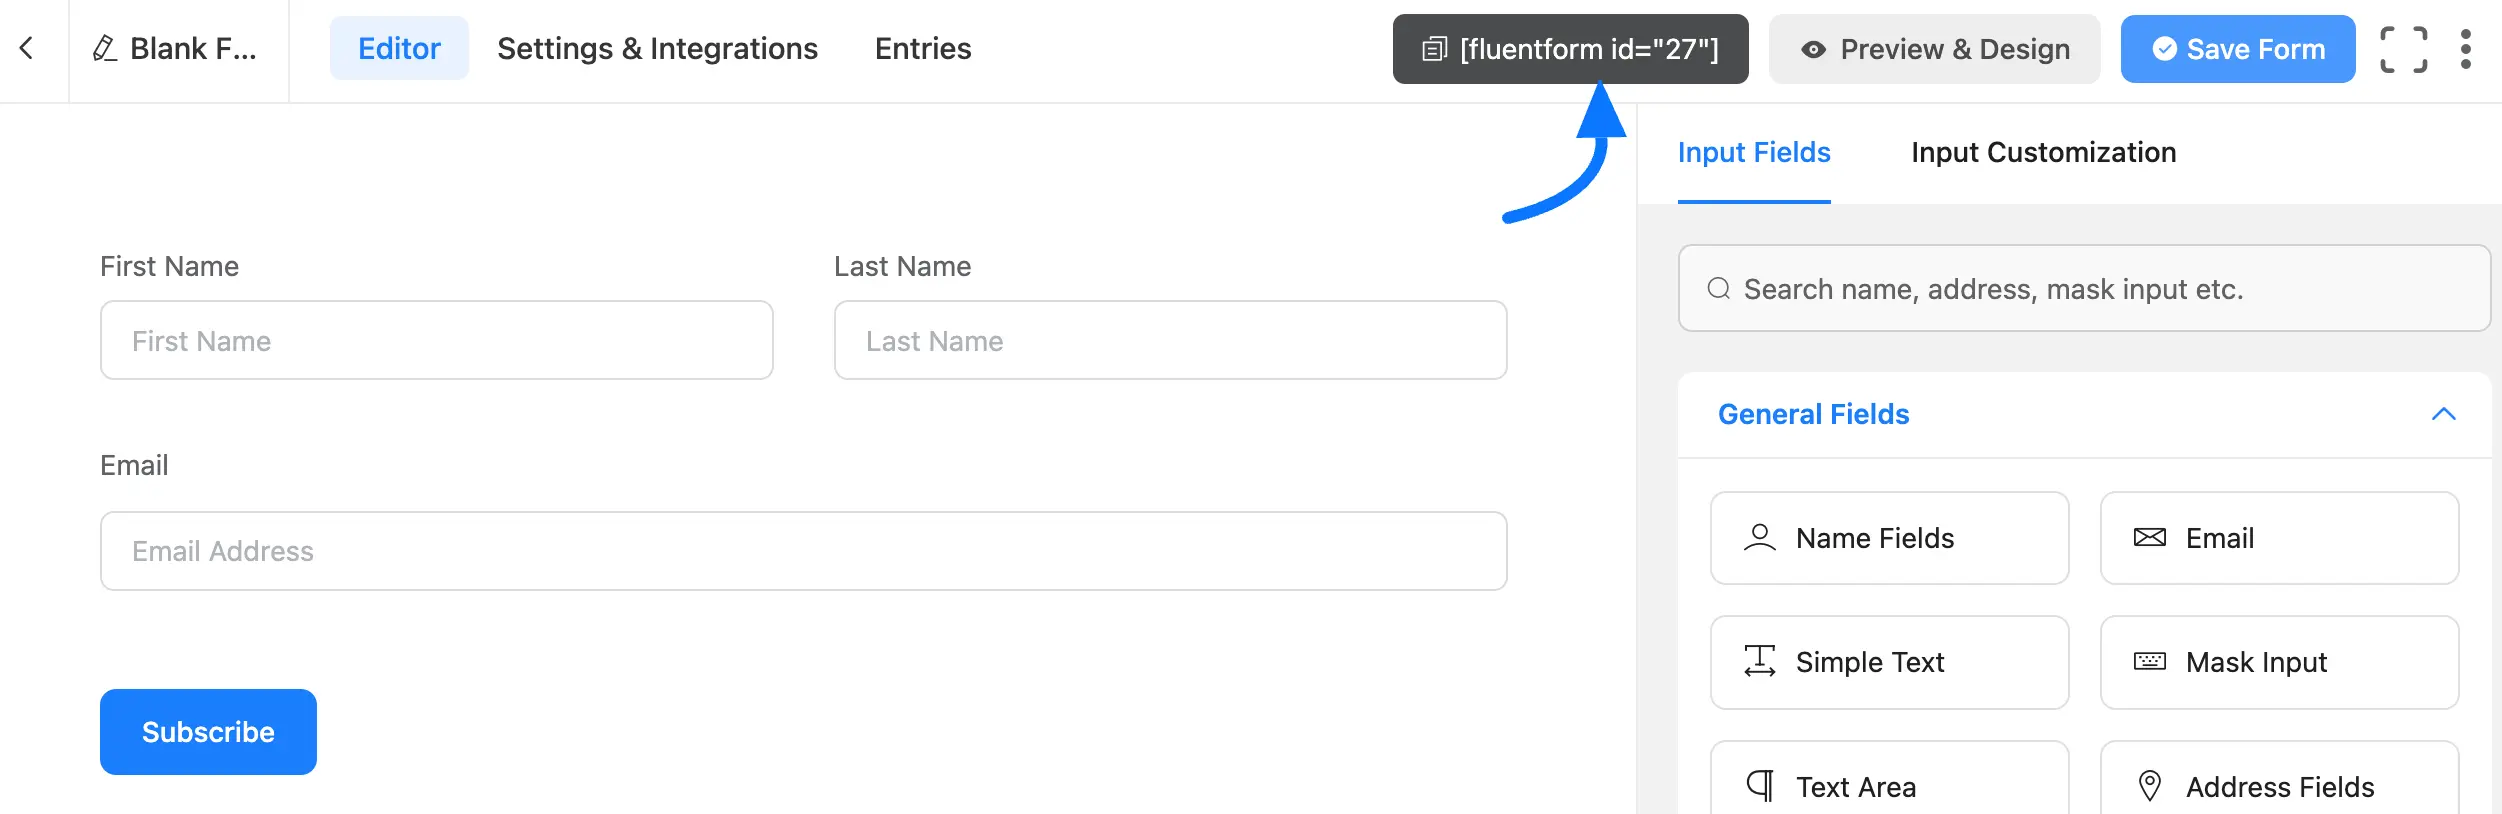
Now, Replace “228” with the actual form ID of your form. You can find the form ID by navigating Fluent Forms and clicking All Forms.
Then click the fluent form ID you want to replace and copy it.
Now paste it into the page or post where you want the popup to appear.
Then customize the text displayed on the popup trigger button and add btn_text=”Click Me” to your shortcode:
[ fluentform_modal form_id="228" btn_text="Click Me" ]Now, you will change the Background Color. To change the background color of the popup, add bg_color=”red” (or your preferred color):
[ fluentform_modal form_id="27" btn_text="Subscribe" bg_color="green" ]Next, add custom CSS classes to your popup. If you want to style the button with custom CSS, use the css_class parameter:
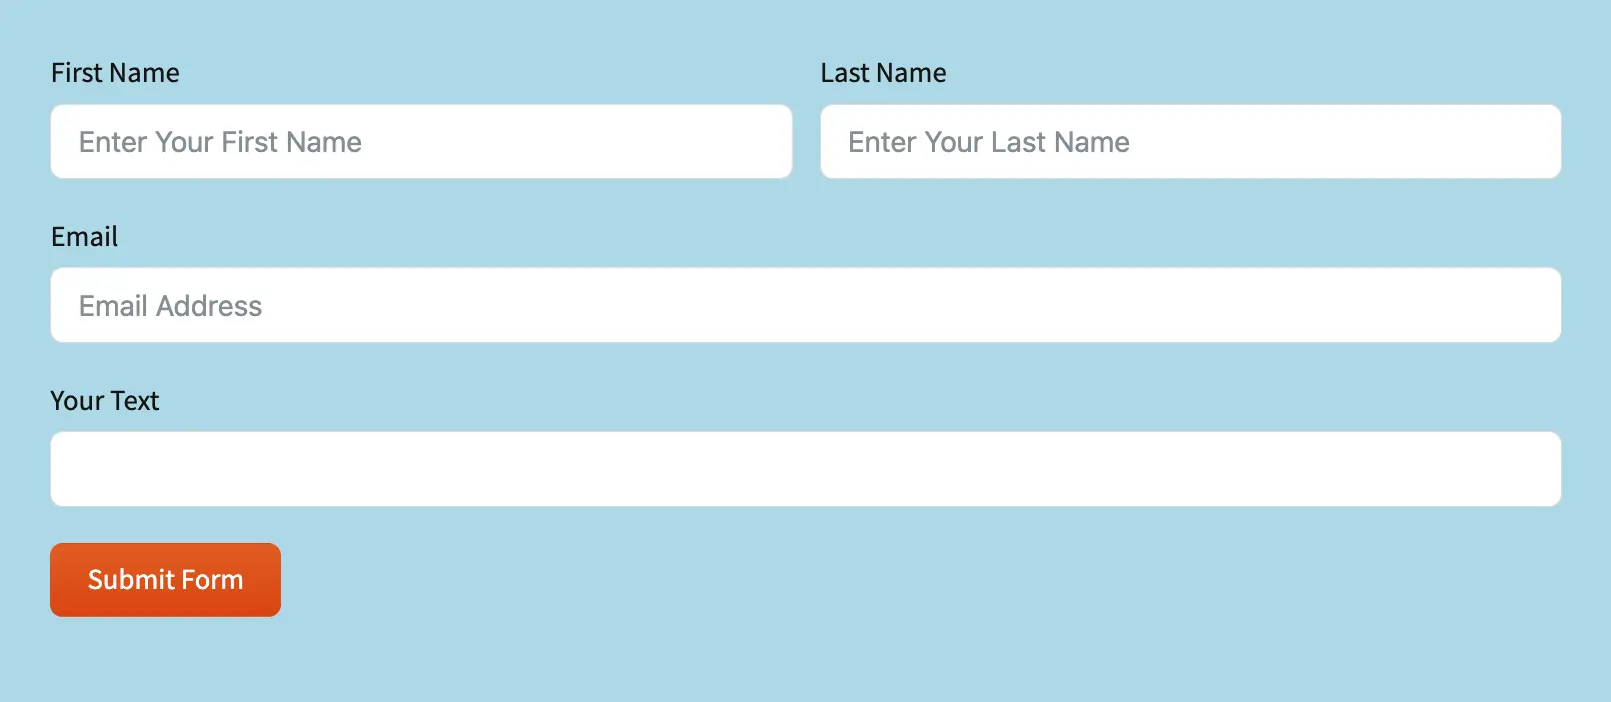
[ fluentform_modal form_id="228" btn_text="Subscribe" css_class="myClass myClassAgain" bg_color="red" ]These will add the CSS class to the button, as shown in the screenshot below, so you can customize your button to your style.
You can use any popup builder, such as Popup Maker or Elementor Popup. You need to add the Fluent Forms shortcode inside the Popup builder.
Congratulations on creating your Popup with Fluent Forms. If you have any further questions, don’t hesitate to contact us.


