
Fluent Forms offers Honeypot Security and reCAPTCHA to protect your form entries from spambots and keep your contact lists spam-free. This article will guide you through the process of Spam Protection using Honeypot Security and reCAPTCHA.
Spam Protection using Honeypot #
Honeypot is a clever cybersecurity strategy that acts like a digital decoy, designed to lure cybercriminals into a trap and keep them away from legitimate targets. Enable this setting if you want Fluent Forms to verify honeypot security for all Fluent Forms.
Basically, it prevents spam bots by incorporating a hidden field into your contact form. This field is invisible to genuine users, but bots lacking intelligence will still fill it out. By doing so, the honeypot can identify these bots and block their submissions.
To learn how to protect your forms using HoneyPot Security, follow the steps below –
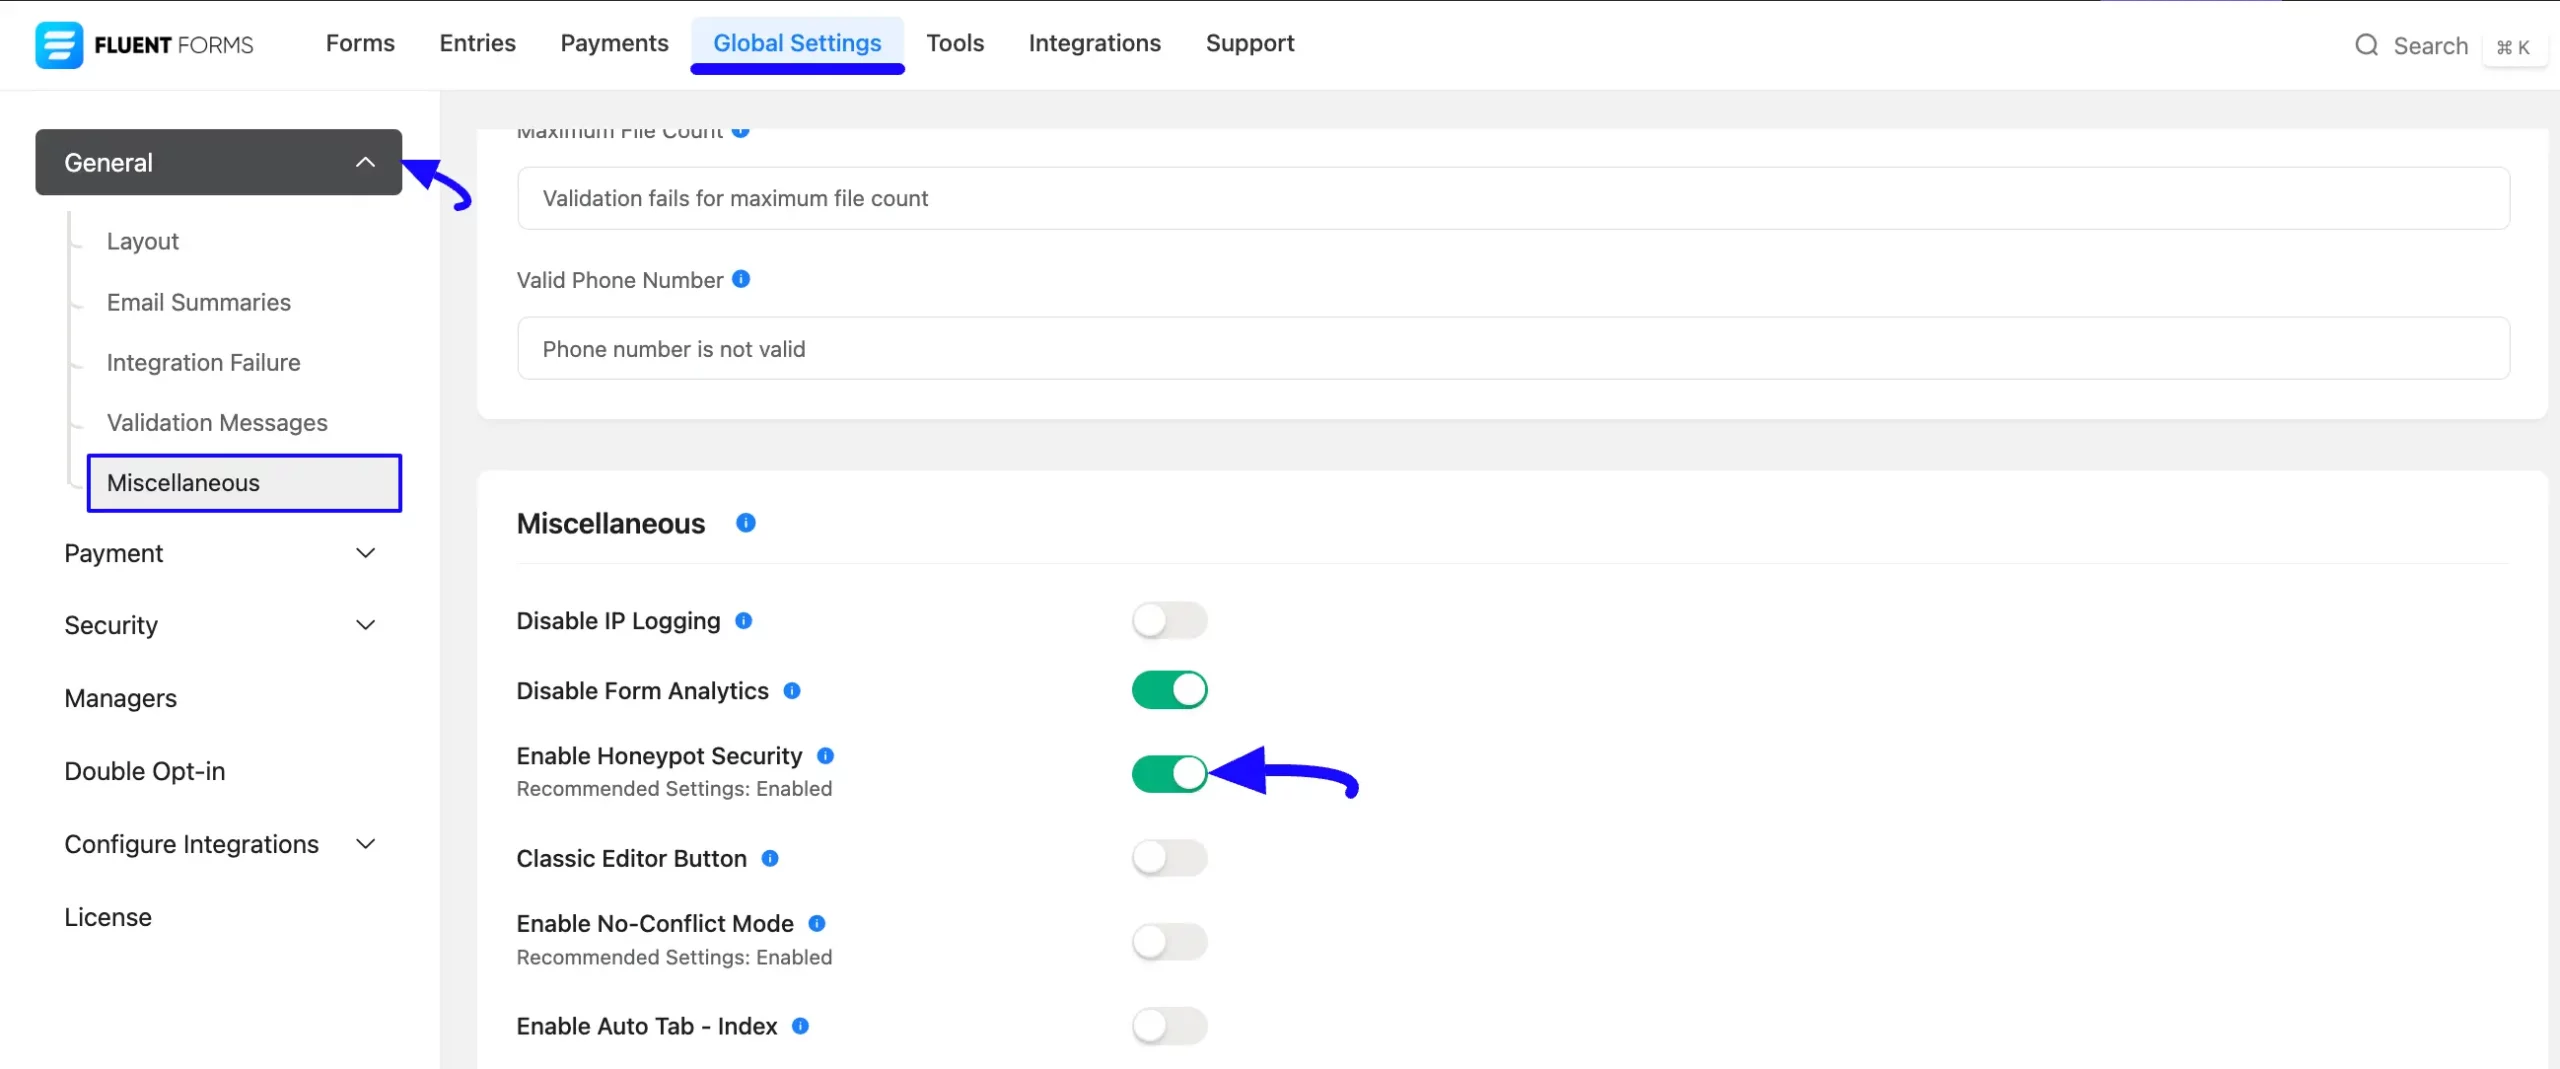
First, go to Global Settings from the FluentForms Navbar, open the General tab from the left sidebar, and click the Miscellaneous option.
Now, turn on the Enable Honeypot Security toggle, and the security will be enabled to protect your forms from spambots.
Don’t forget to click the Save Settings button to make all the setup functional.
Remember, Honeypot Security does not protect your forms against manually submitted human spam. In this case, you need to use Google reCAPTCHA to catch spam.
Spam Protection using reCAPTCHA #
reCAPTCHA is a CAPTCHA system designed by Google to protect websites from bots by ensuring that a computer user is human with the power of machine learning.
To learn how to protect your forms using reCAPTCHA, follow the steps below –
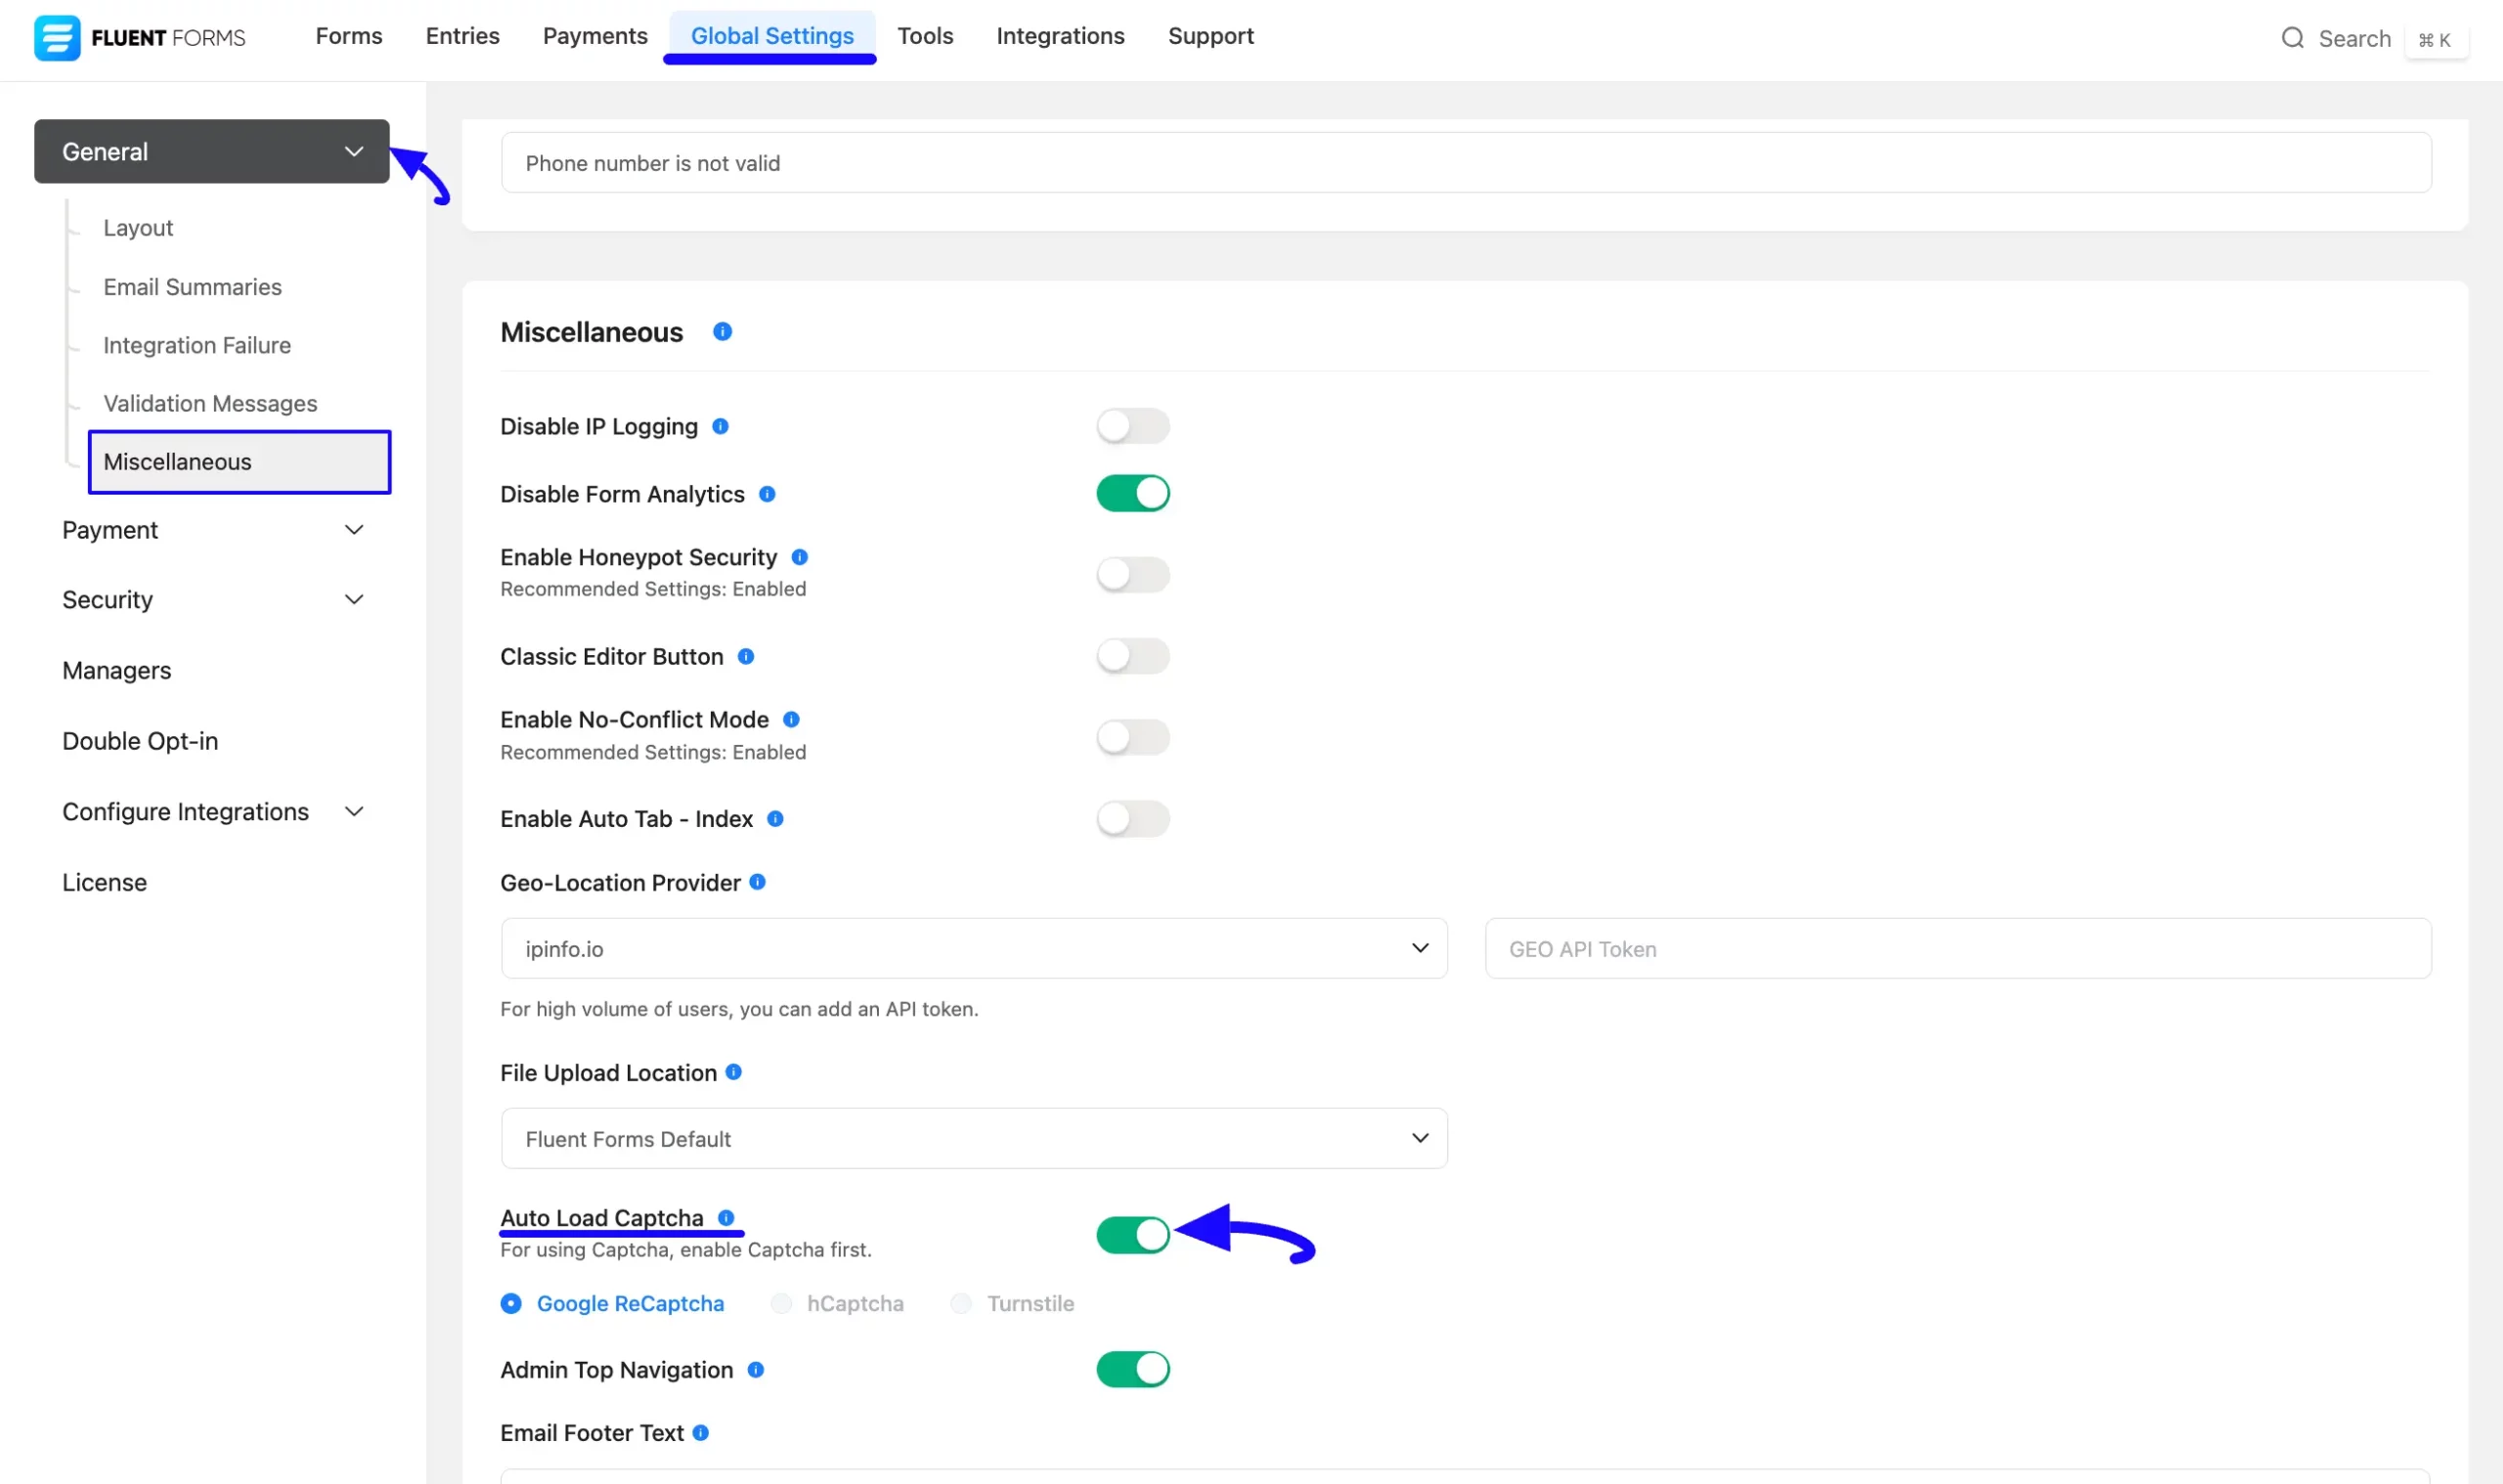
First, go to Global Settings from the FluentForms Navbar, open the General tab from the left sidebar, and click the Miscellaneous option.
Now, scroll down to Auto Load CAPTCHA, turn on the toggle, select the Google reCAPTCHA option, and the reCAPTCHA will automatically load in all fluent forms to protect them from spam.
Don’t forget to click the Save Settings button to make all the setup functional.
But, to enable this option, you need to integrate the Google reCAPTCHA with your Fluent Forms first.
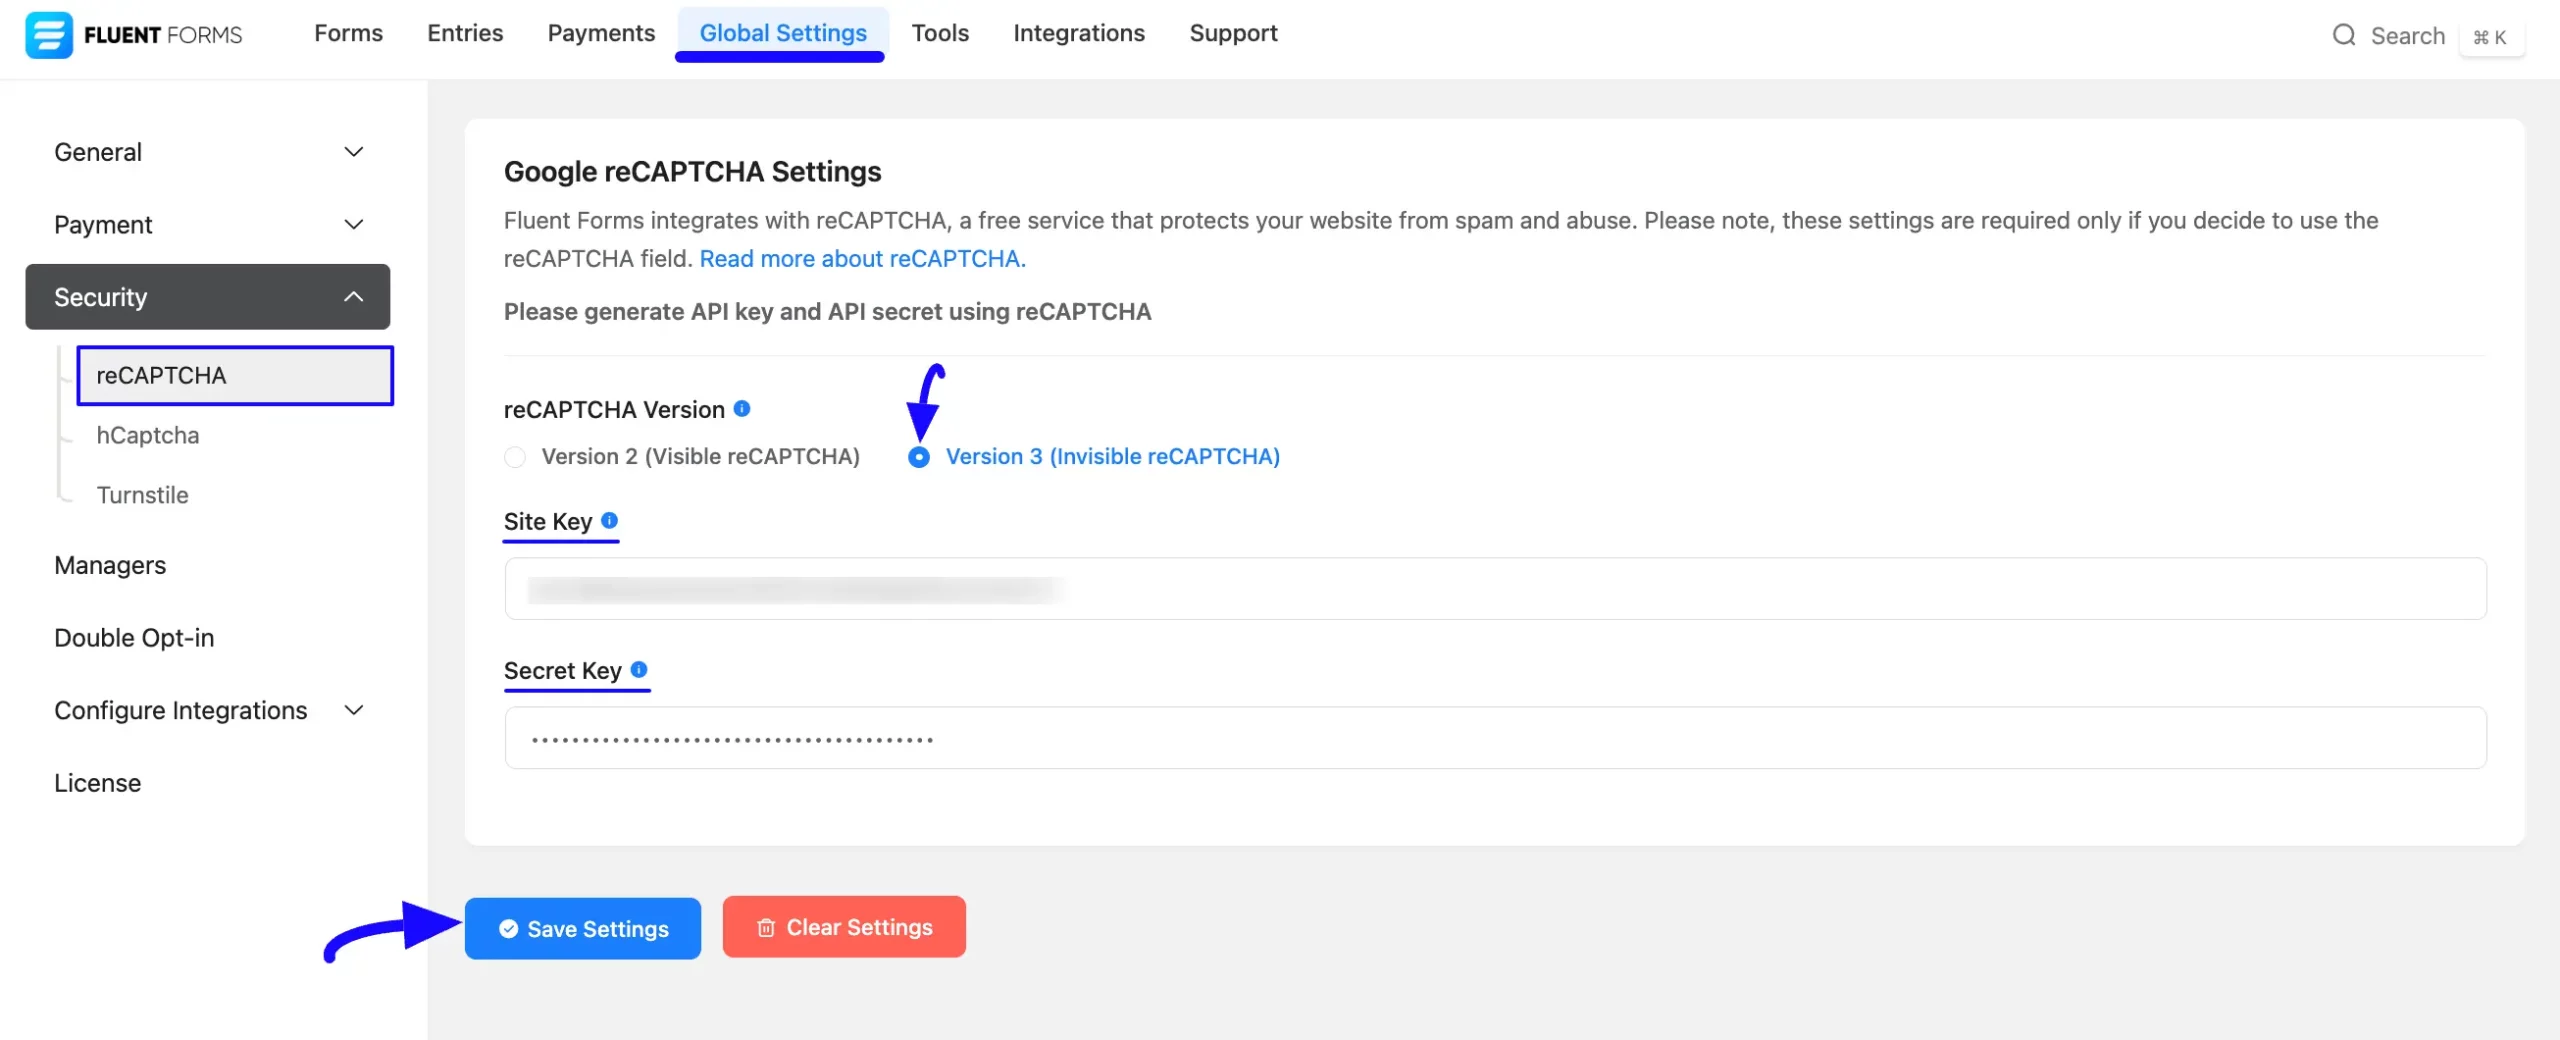
To do this, go to Global Settings from the FluentForms Navbar, open the Security tab from the left sidebar, and click the reCAPTCHA option.
Now, select the desired Version of reCAPTCHA, provide the Site & Secret Keys, and click the Save Settings button.
To learn the detailed process of collecting Site & Secret Keys to integrate reCAPTCHA with Fluent Forms, read this Documentation.
Spam protection in a specific Form #
You can also add an extra layer of spam protection by enabling the settings option below inside any particular form.
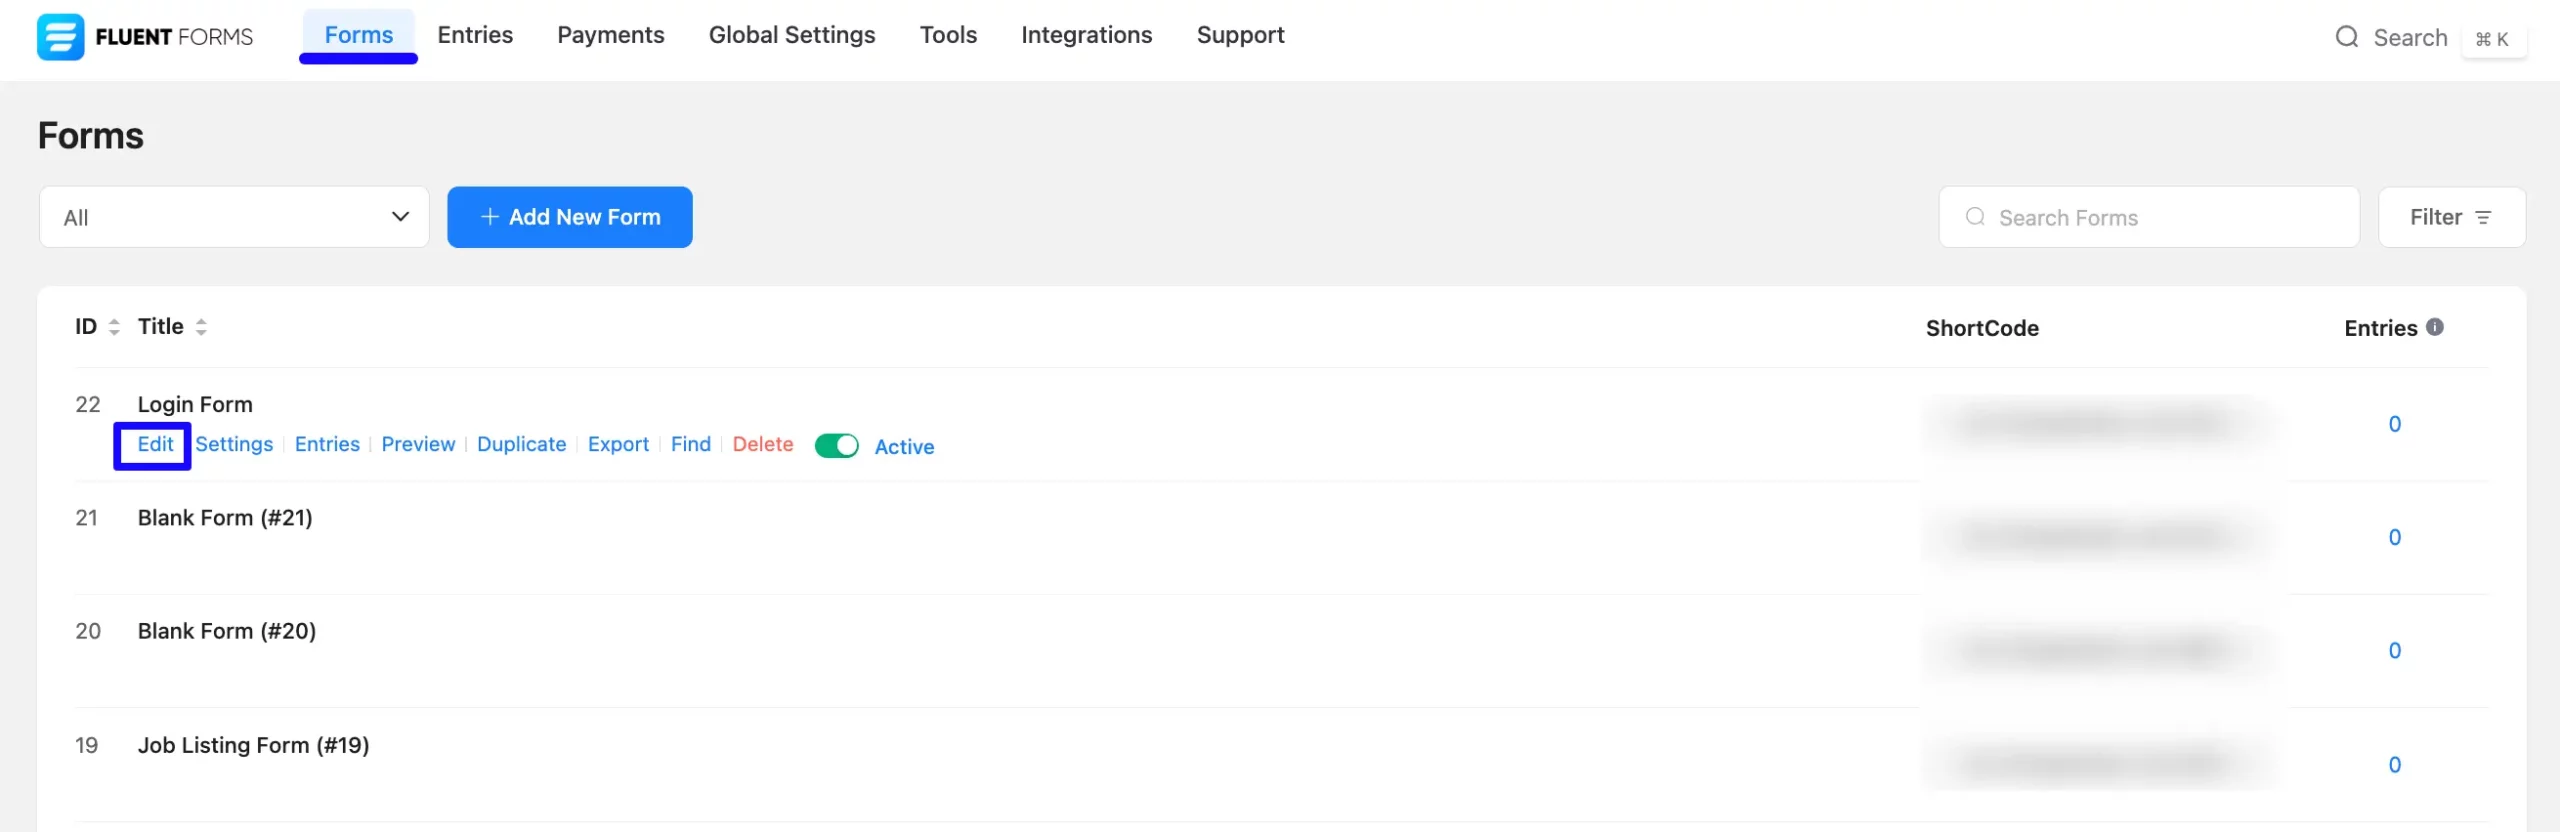
To do this, go to Forms from the top navbar, and open the Editor page of your desired form by clicking the Edit button where you want to set this protection.
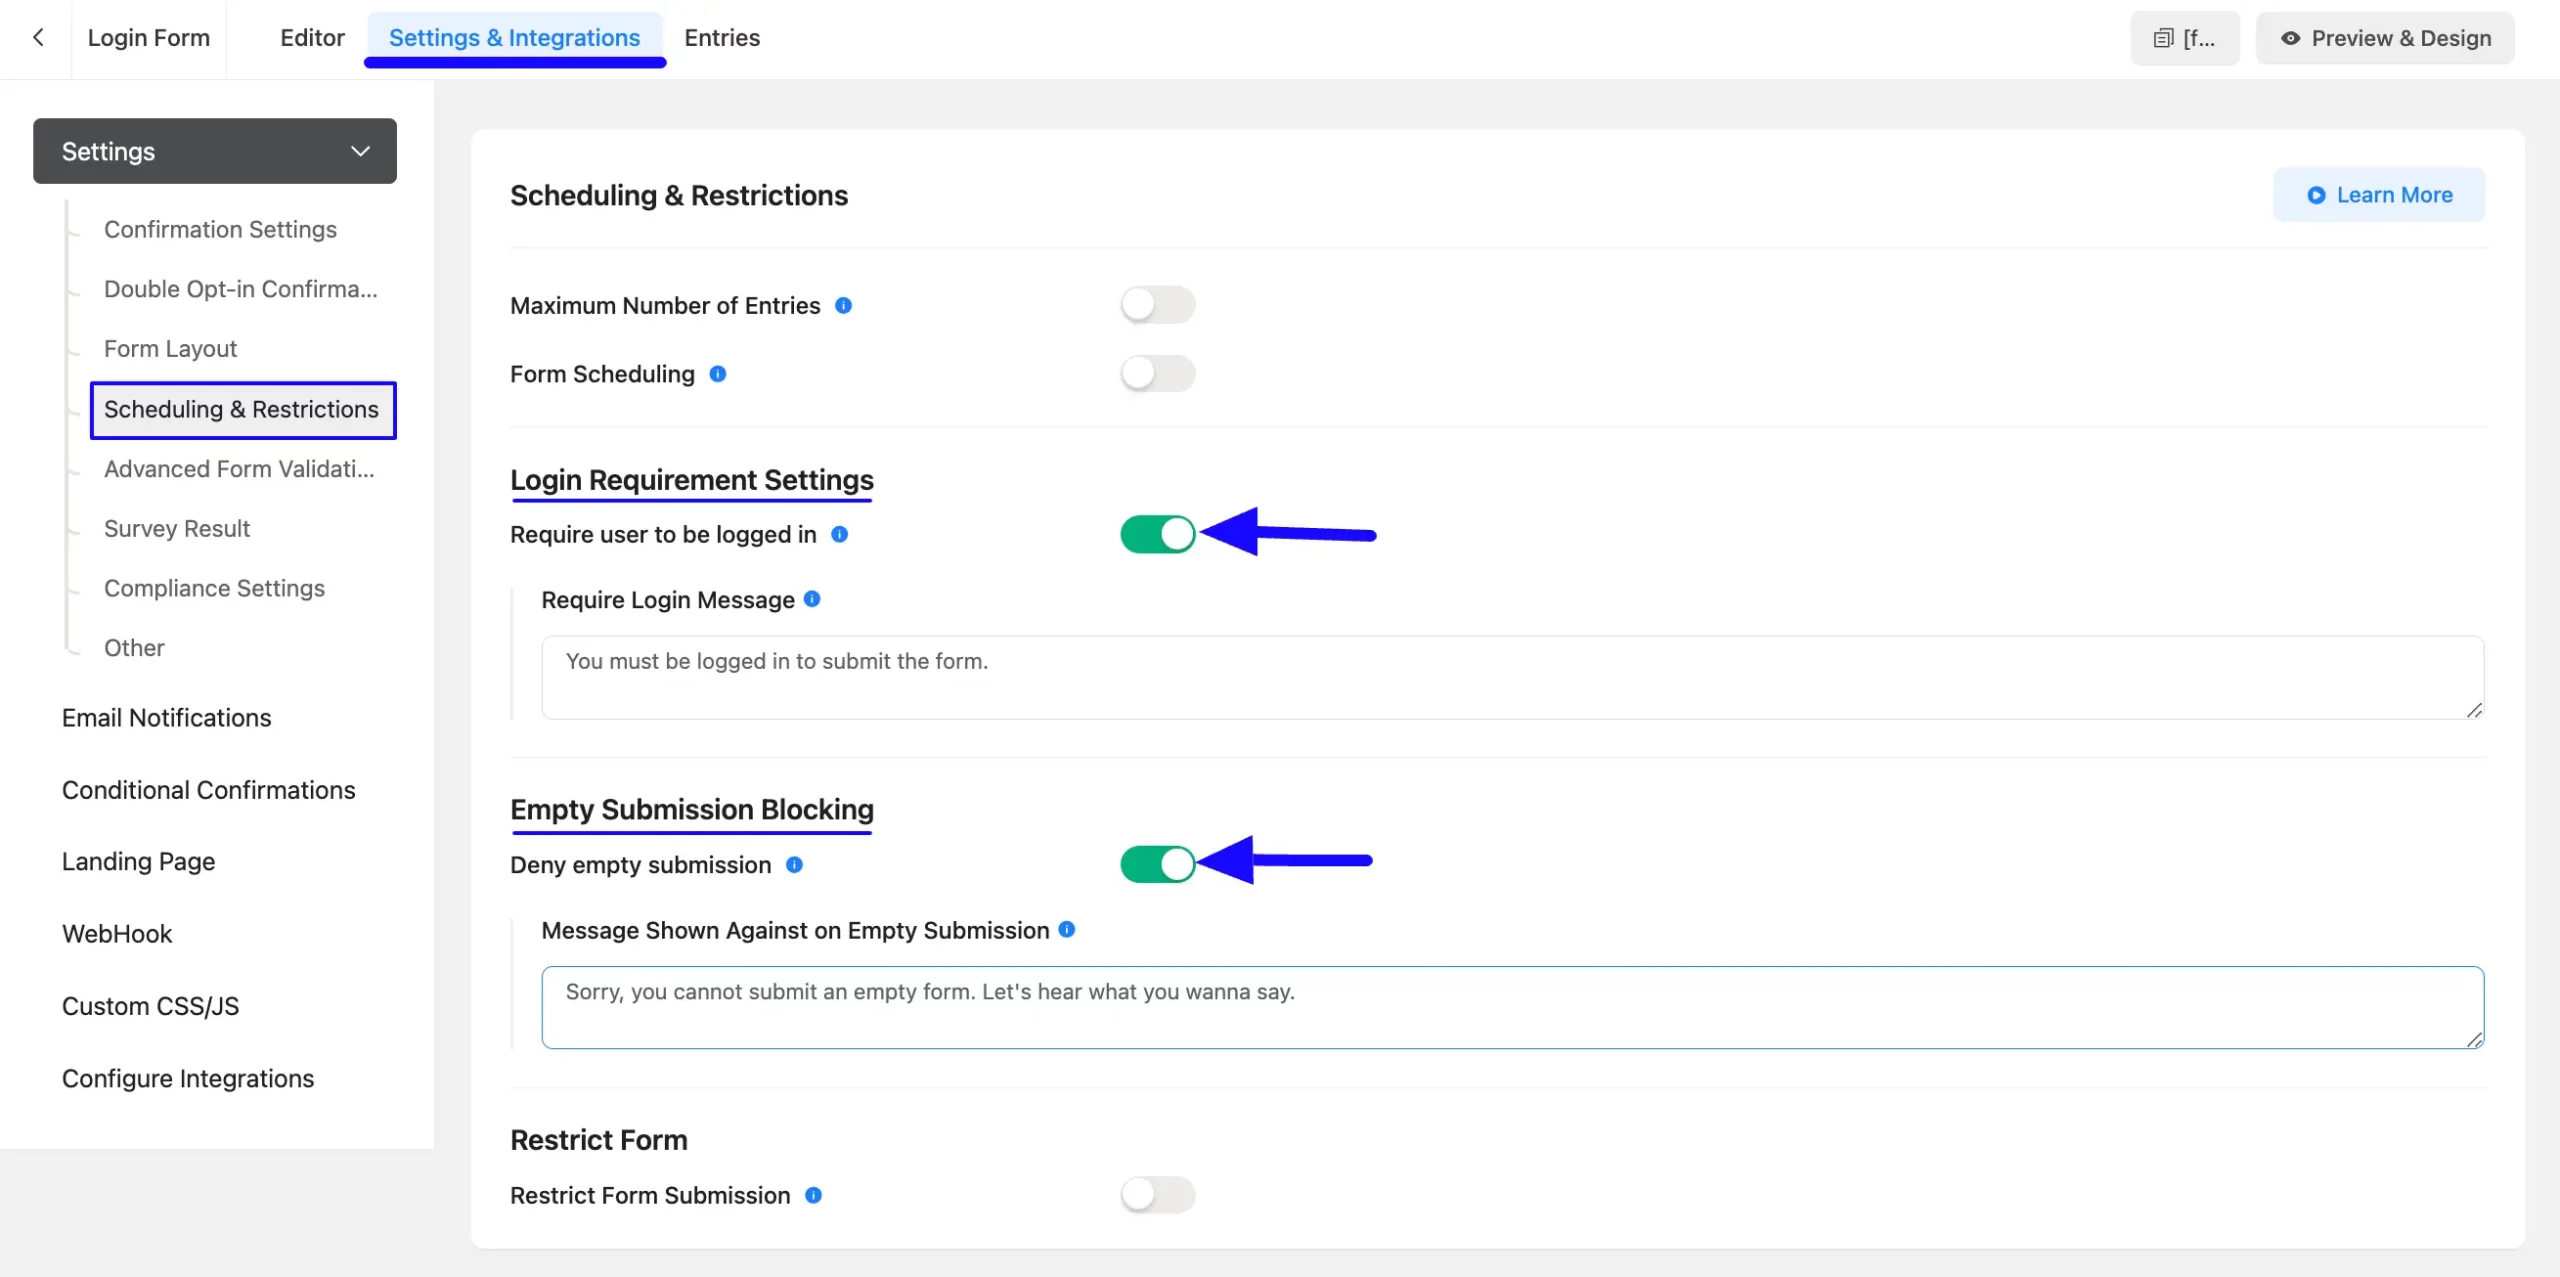
Now, go to Settings & Integrations from the top navbar, open the Scheduling & Restrictions tab, and turn on the Login Requirement Settings and Empty Submission Blocking toggle.
- Login Requirement Settings: Once you enable this option, it will stop non-logged users from submitting the form.
- Empty Submission Blocking: Once you enable this option, it will prevent the form from empty submissions.
Don’t forget to click the Save Settings button to make all the setup functional.
If you have any further questions, concerns, or suggestions, please do not hesitate to contact our @support team.


