
The integration between Twilio and Fluent Forms allows you to send SMS notifications when a form is submitted in real time. It’s easy and hassle-free. This article will guide you through integrating Twilio with Fluent Forms on your WordPress Site.
Remember, Twilio is a Premium Feature of the Fluent Forms Plugin. So, to integrate it, you need the Fluent Forms Pro plugin.
Enabling the Twilio Module #
To learn how to enable Twilio integration, follow the steps with the screenshots below –
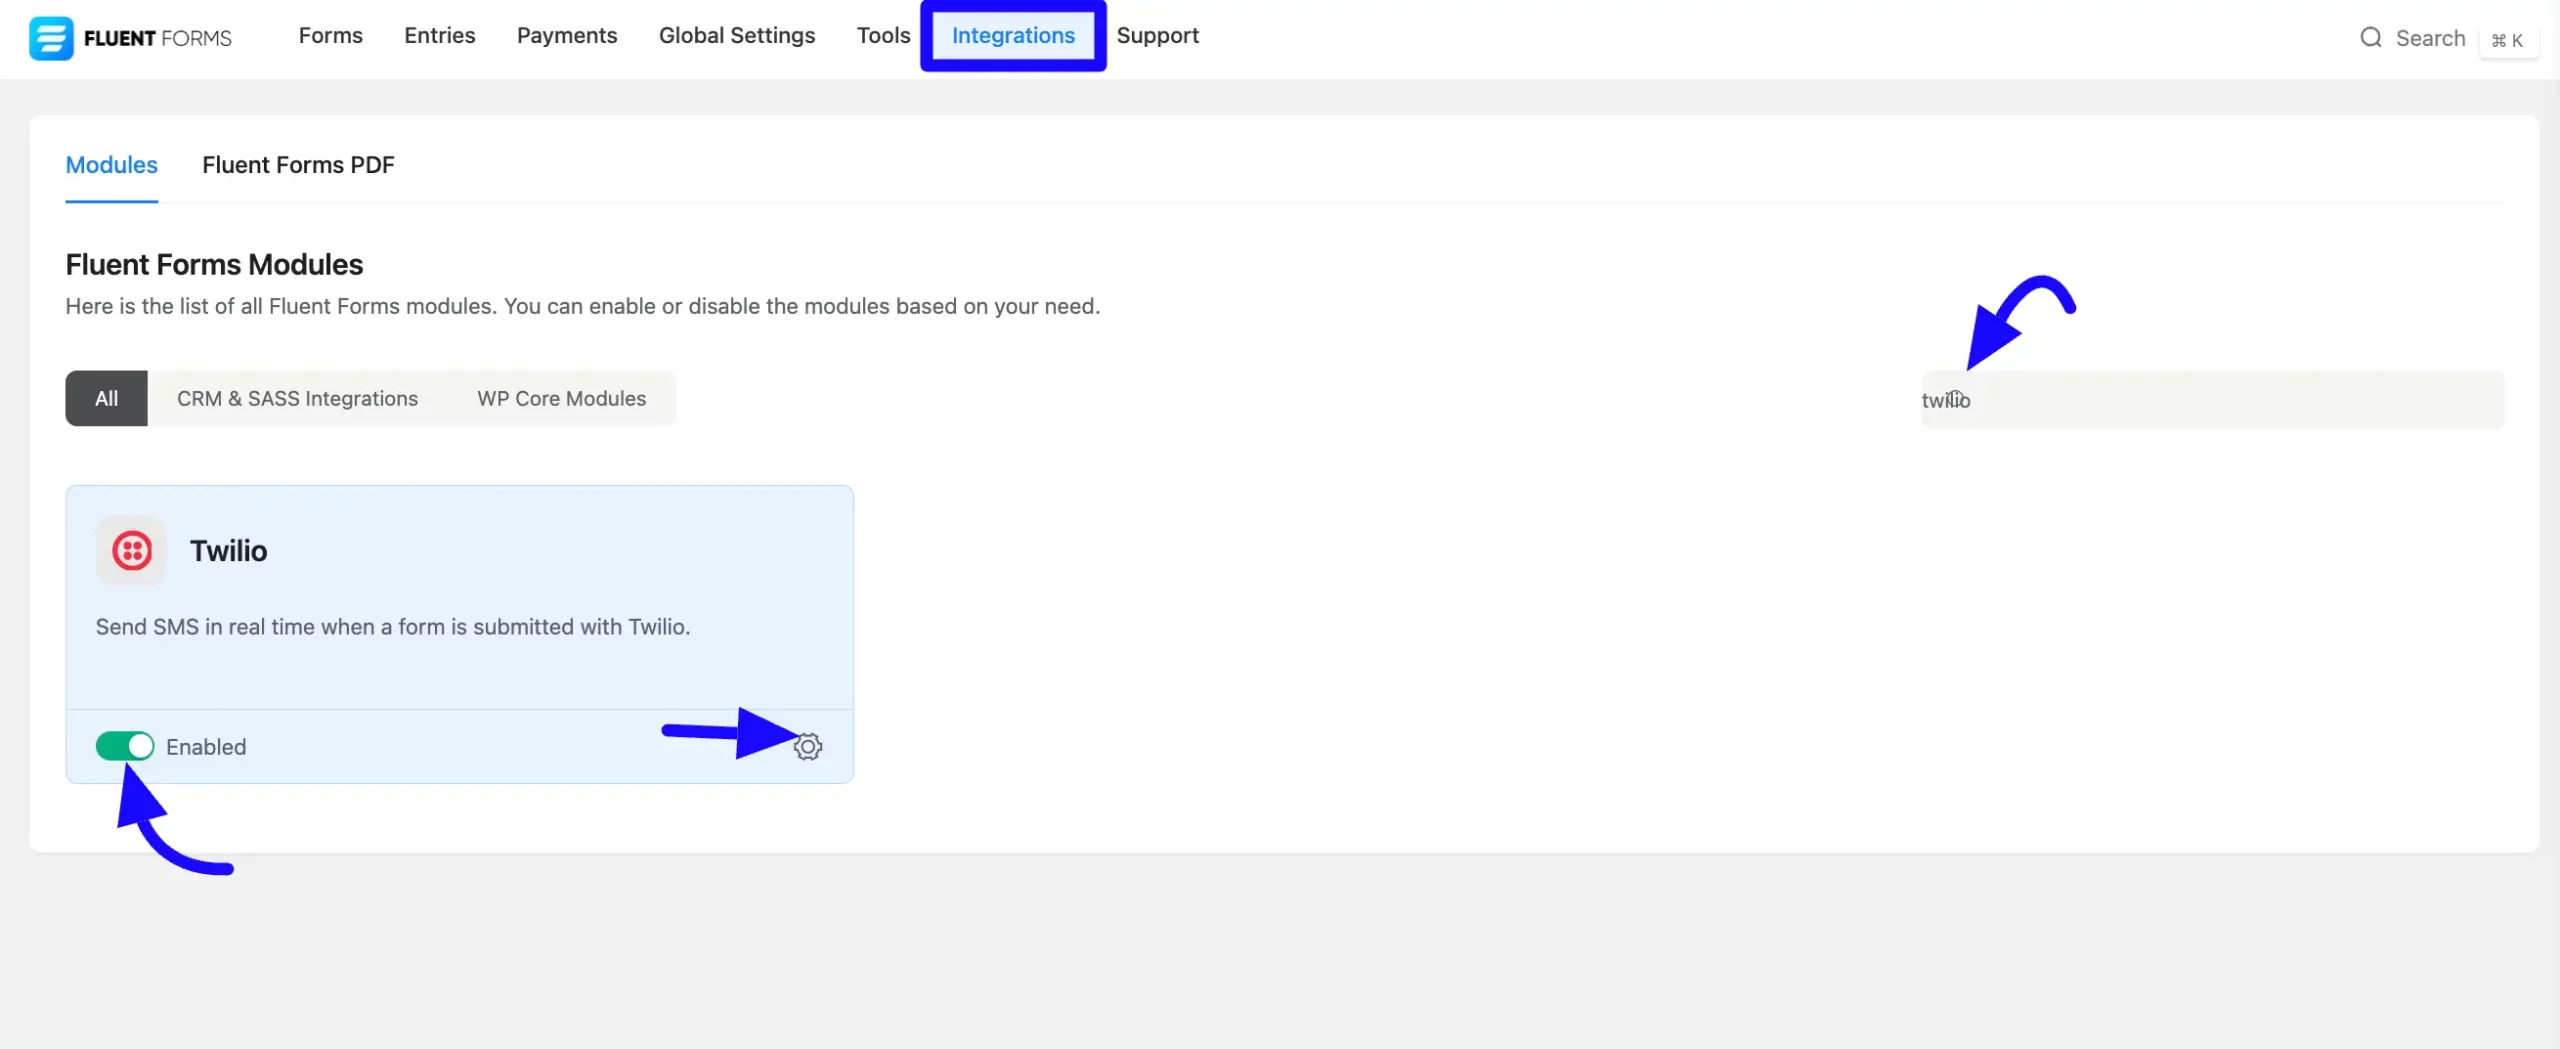
First, go to Integrations from the Fluent Forms Navbar, search for Twilio through the search bar, and get the Twilio integration module.
Now, turn on the Toggle button to enable Twilio. Then, you will see the Settings Icon on the right side, click on it.
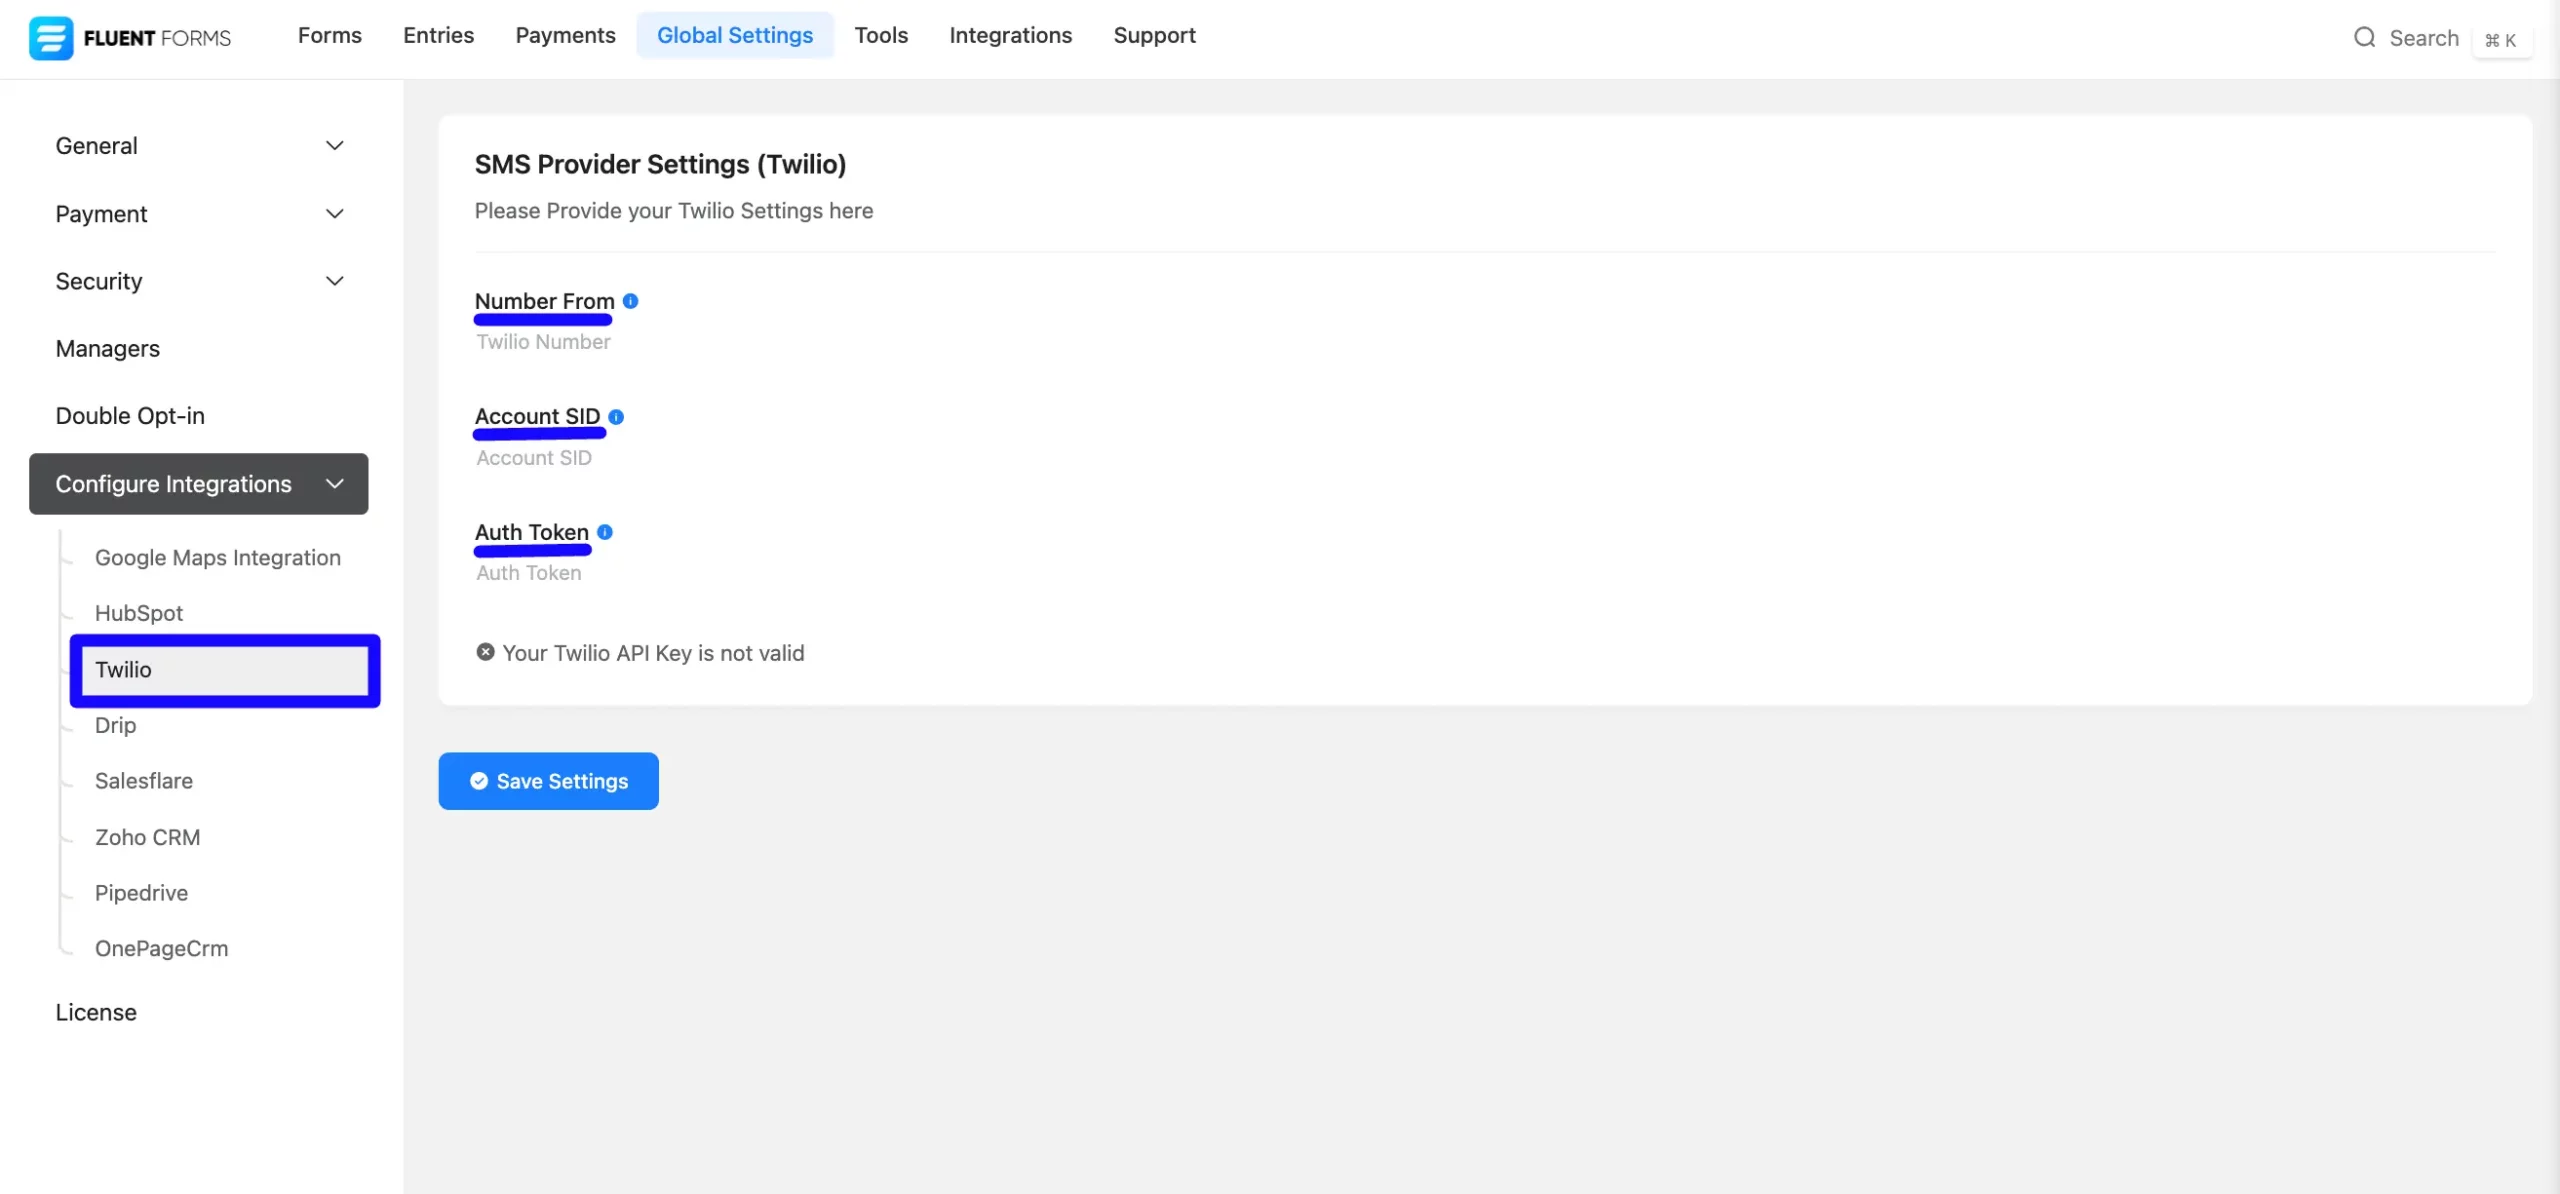
Once you enable Twilio, you will be asked for the Twilio Credentials.
Getting the Twilio Credentials #
To learn how to get the Account SID and Auth Token from Twilio, follow the steps with screenshots below –
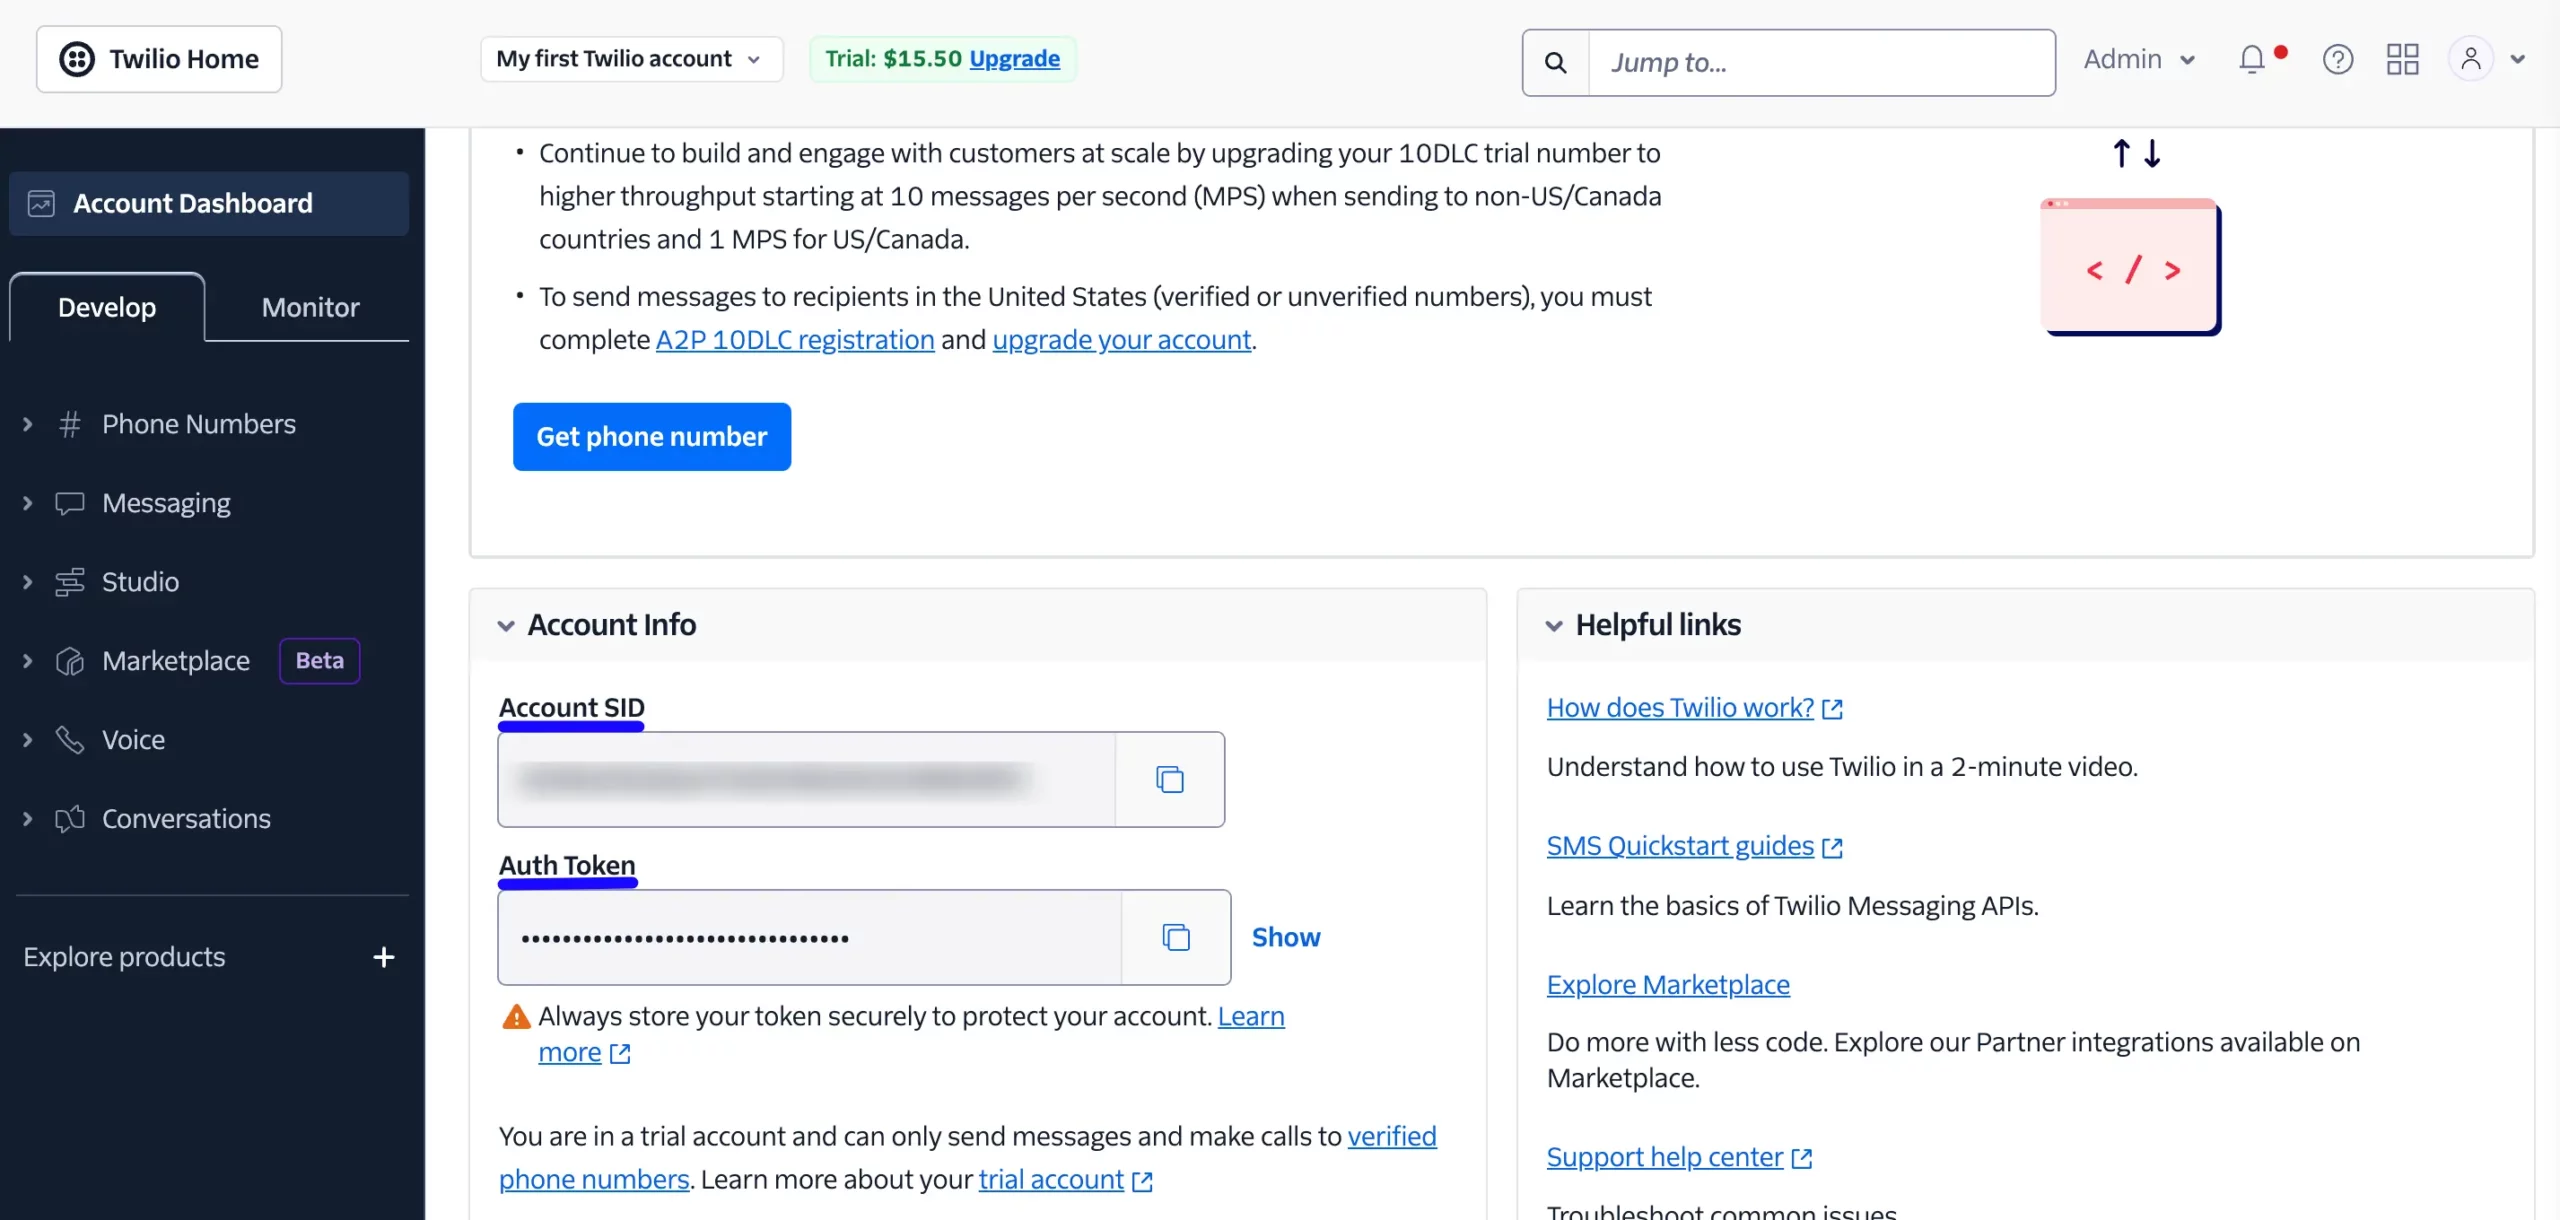
Log in to your Twilio account dashboard to access the Account SID and Auth Token.
If you don’t have an existing account or application registered, click Twilio to register your application.
Now, copy the Account SID and Auth Token to use them later.
Connecting Twilio with Fluent Forms #
Then, return to the Twilio Settings page under the Configure Integration tab of the Global Settings from the Fluent Forms Navbar.
Now, paste the Twilio Access SID and Auth Token I copied. Click on the Save Settings button.
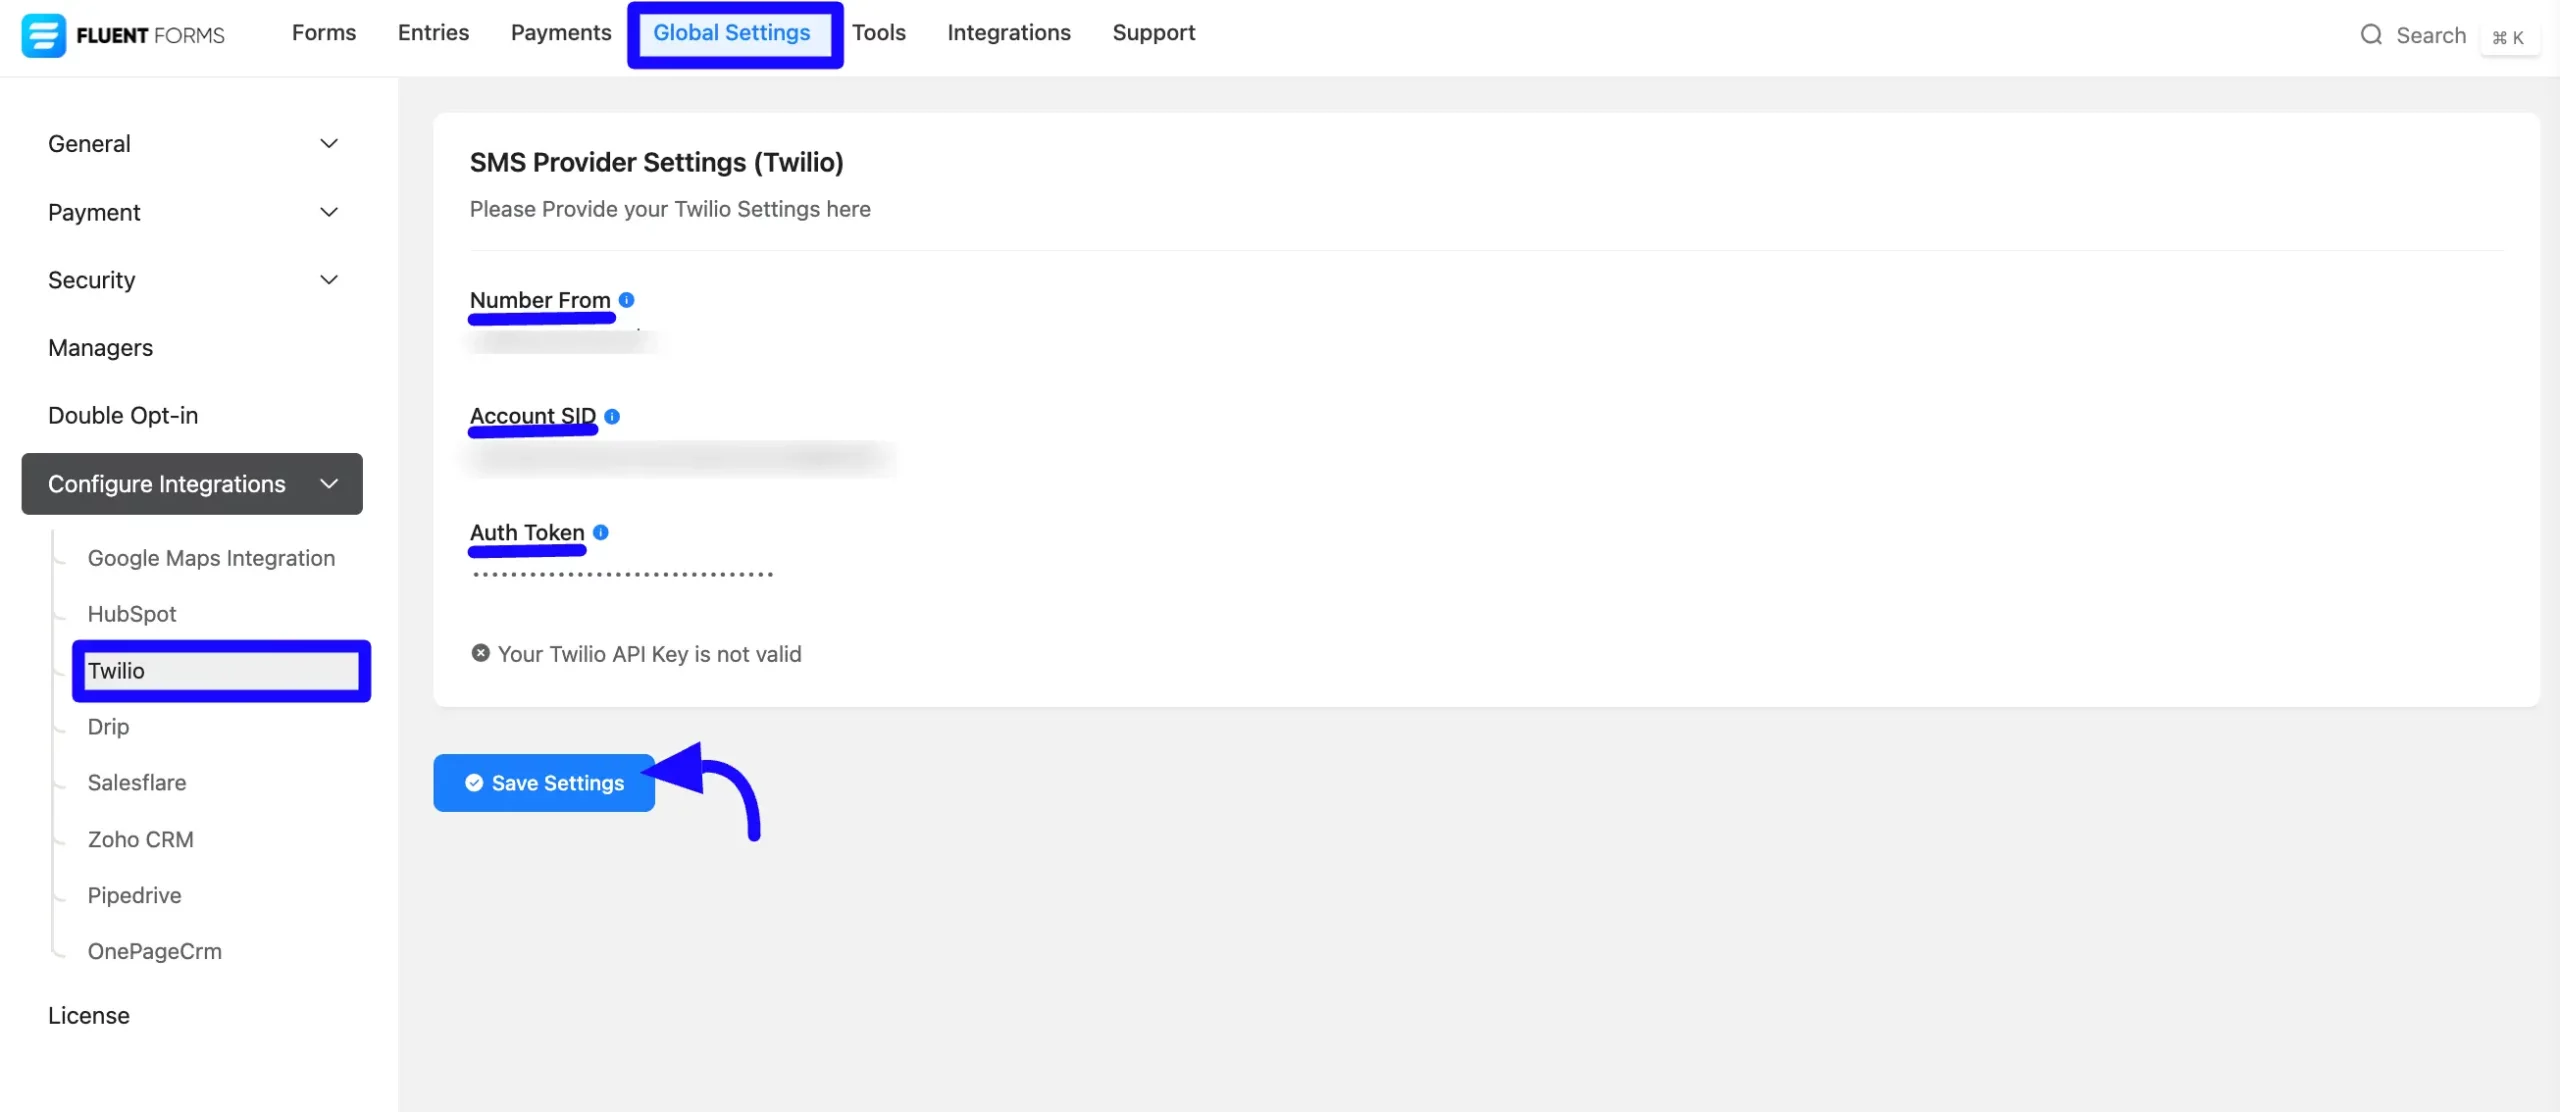
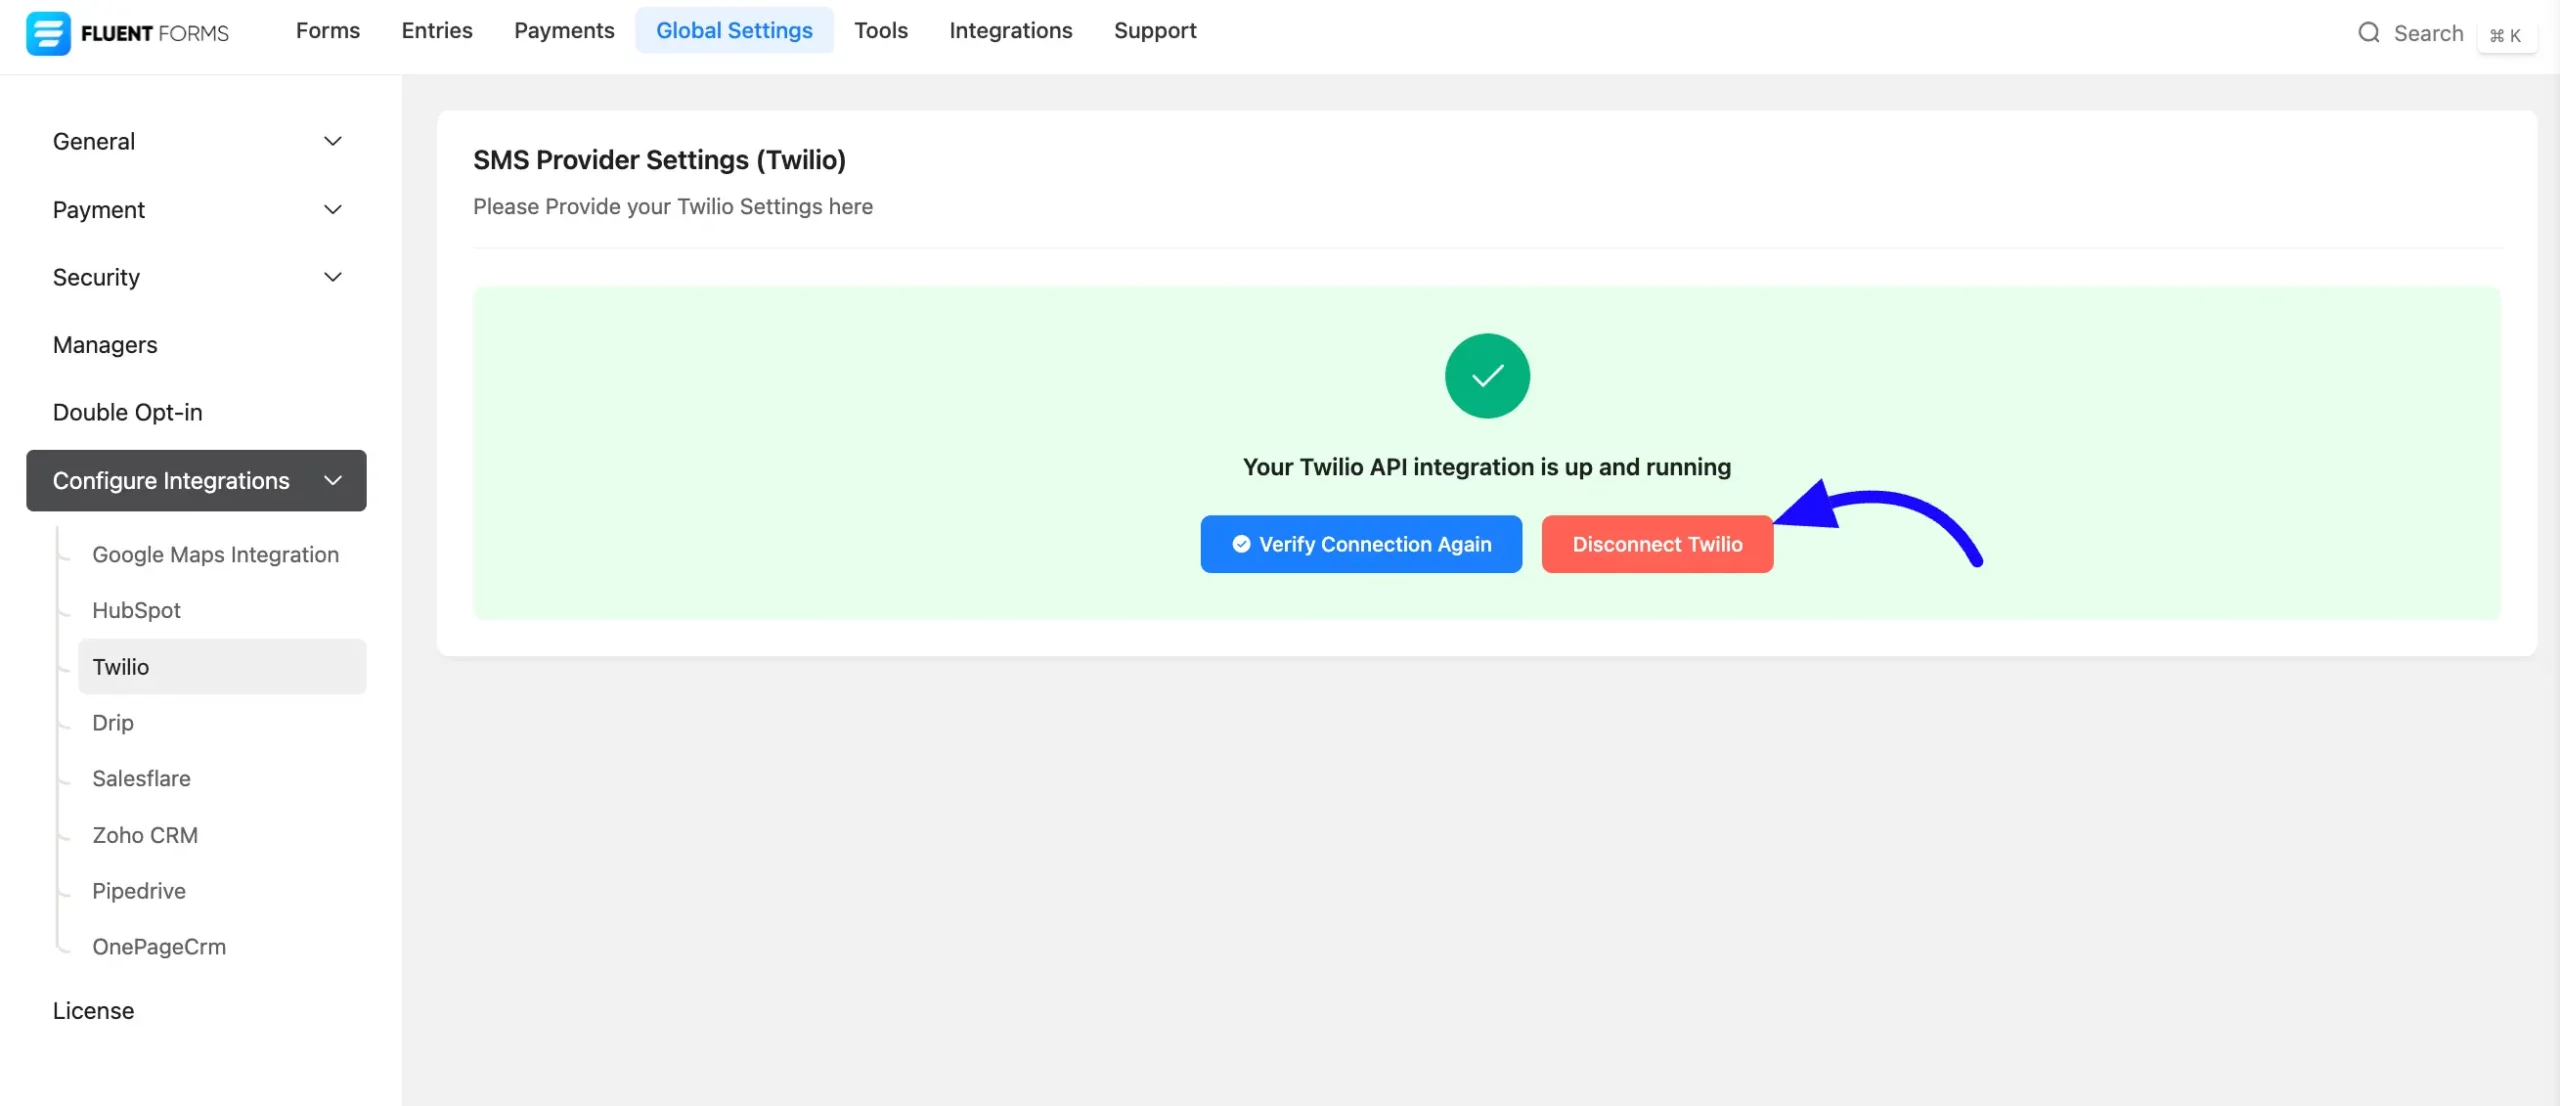
Here, you will see a success notice that the Twilio Access Token has been verified successfully.
You can also disconnect the Twilio API here by clicking the Disconnect Twilio button.
Integrating the Form with Twilio #
After setting up the Credentials, go to All Forms and select the form you want to integrate with the Twilio account or create a new one.
If you do not have any existing forms, read the Create a Form from Scratch or Create a Form using Templates documentation to create a new one.
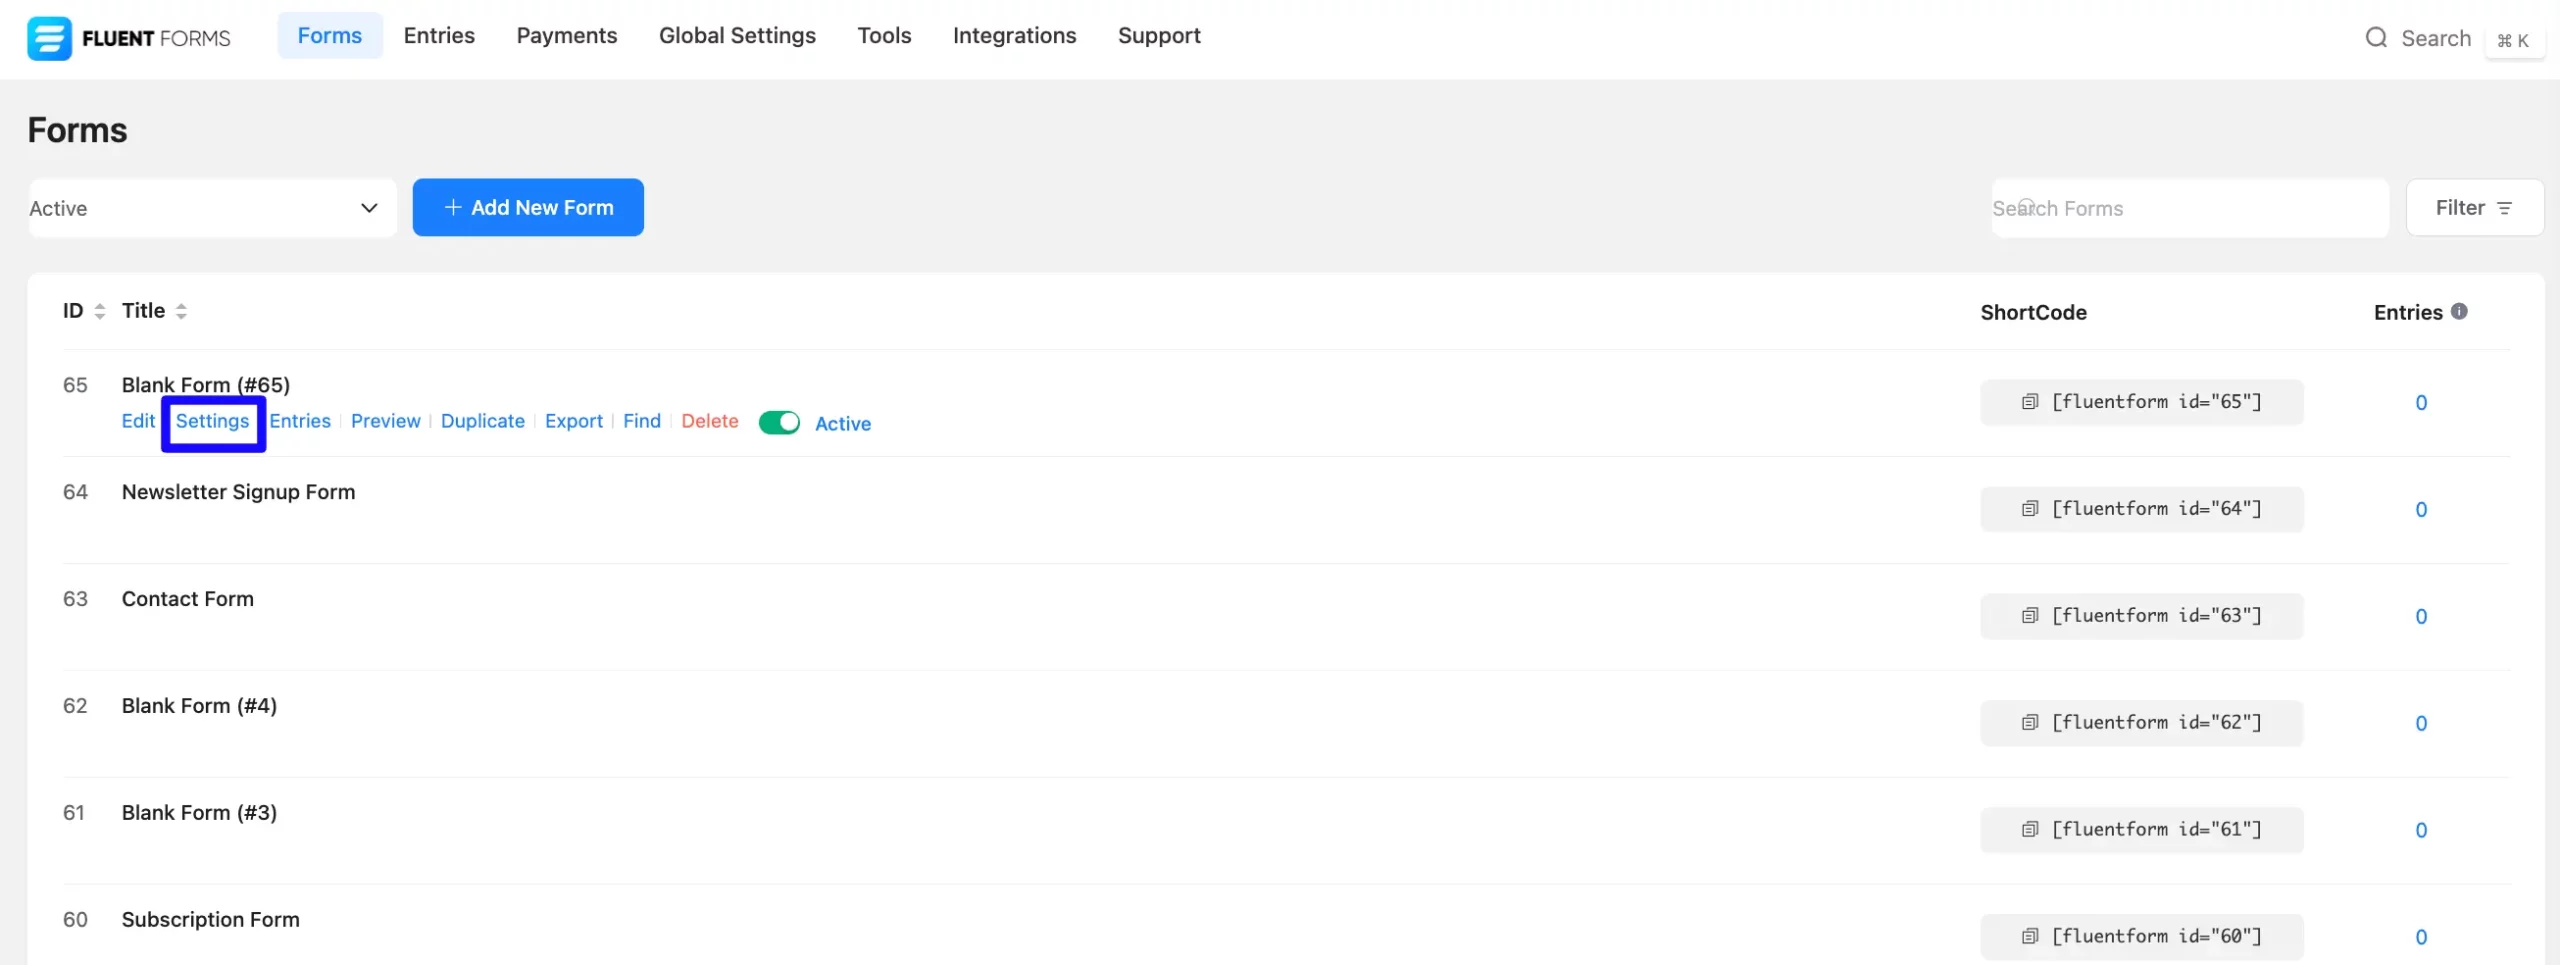
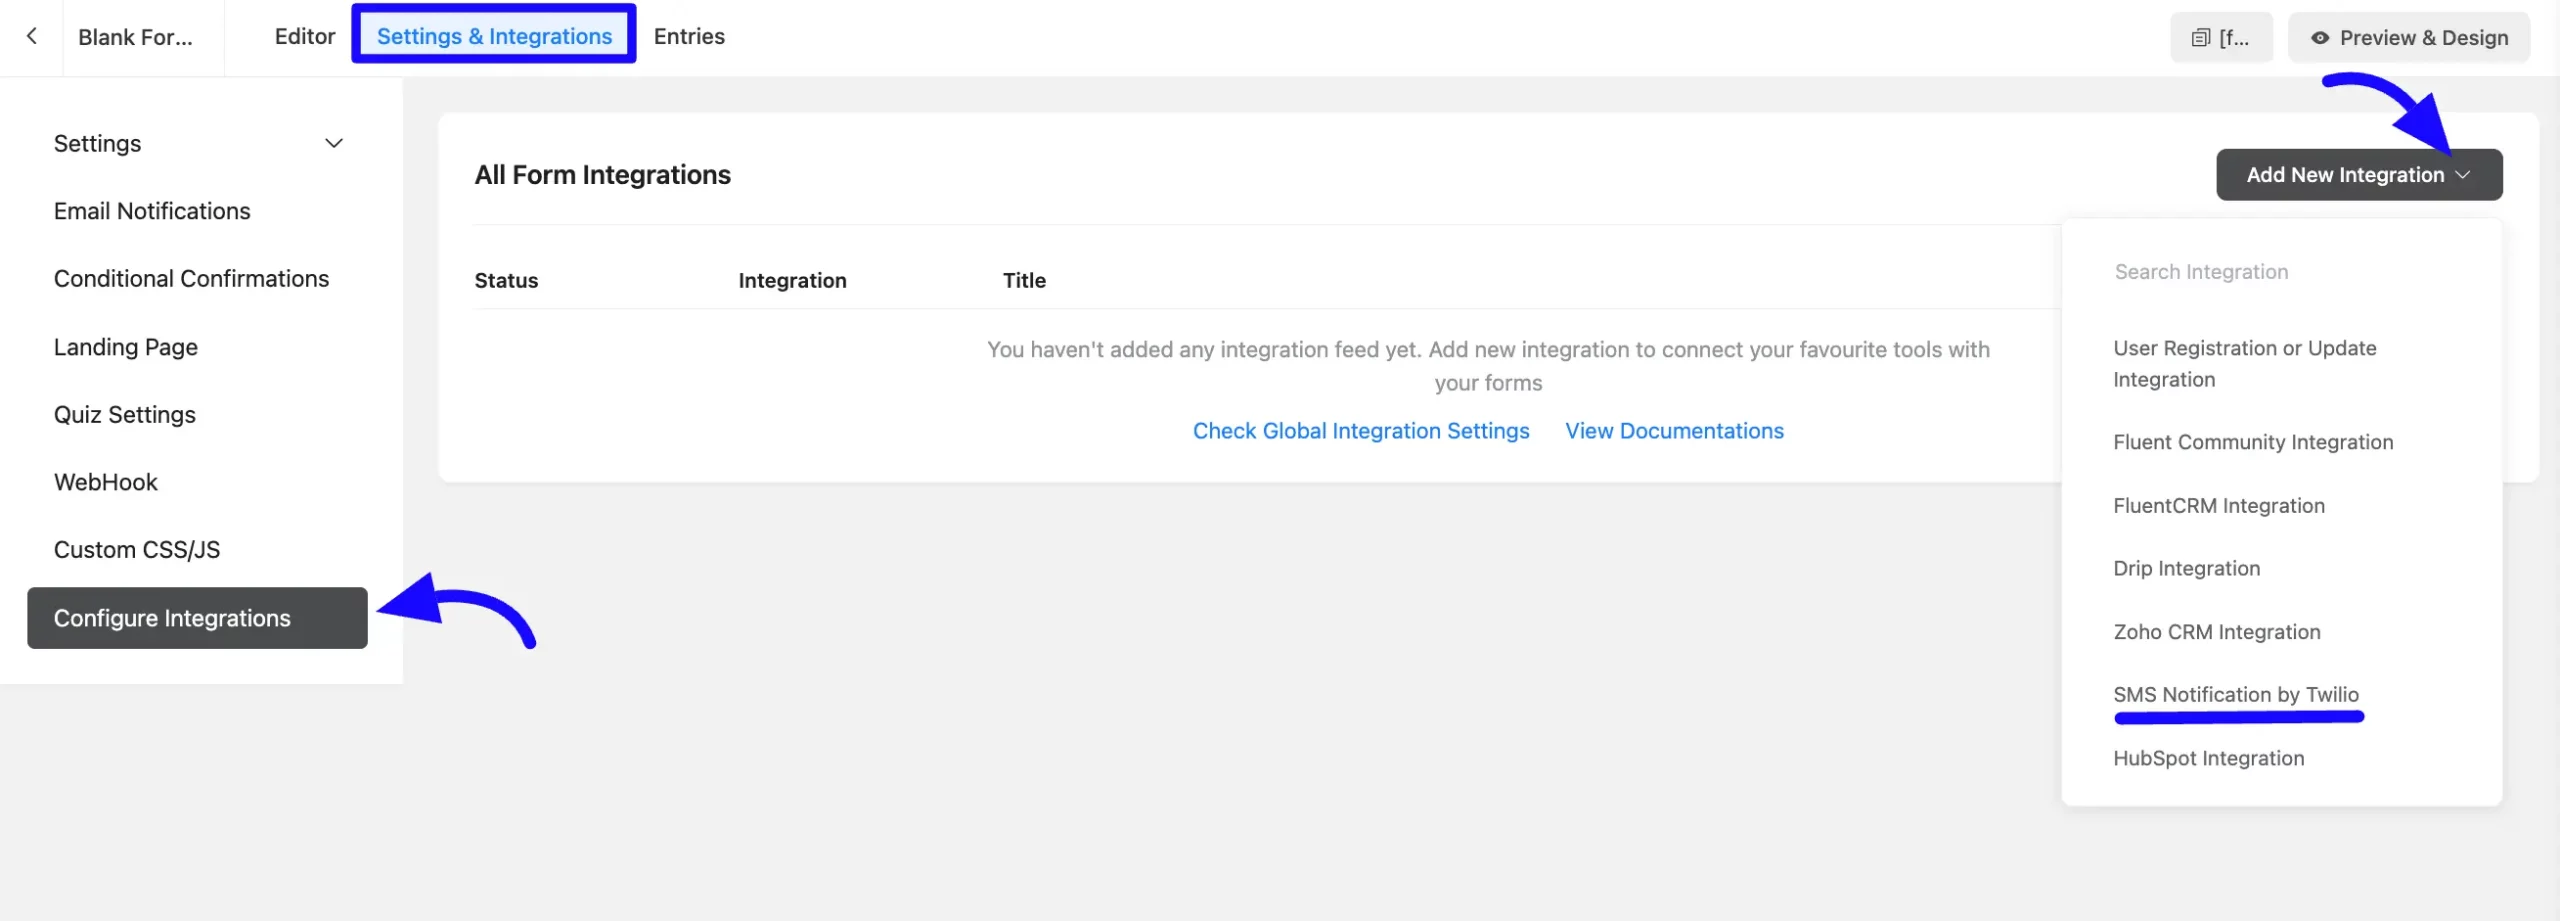
Now, go to the particular form’s settings for the entries you want listed in Twilio. Click on Add New Integration and select SMS Notification by Twilio from the dropdown.
Configuring Twilio with Fluent Form #
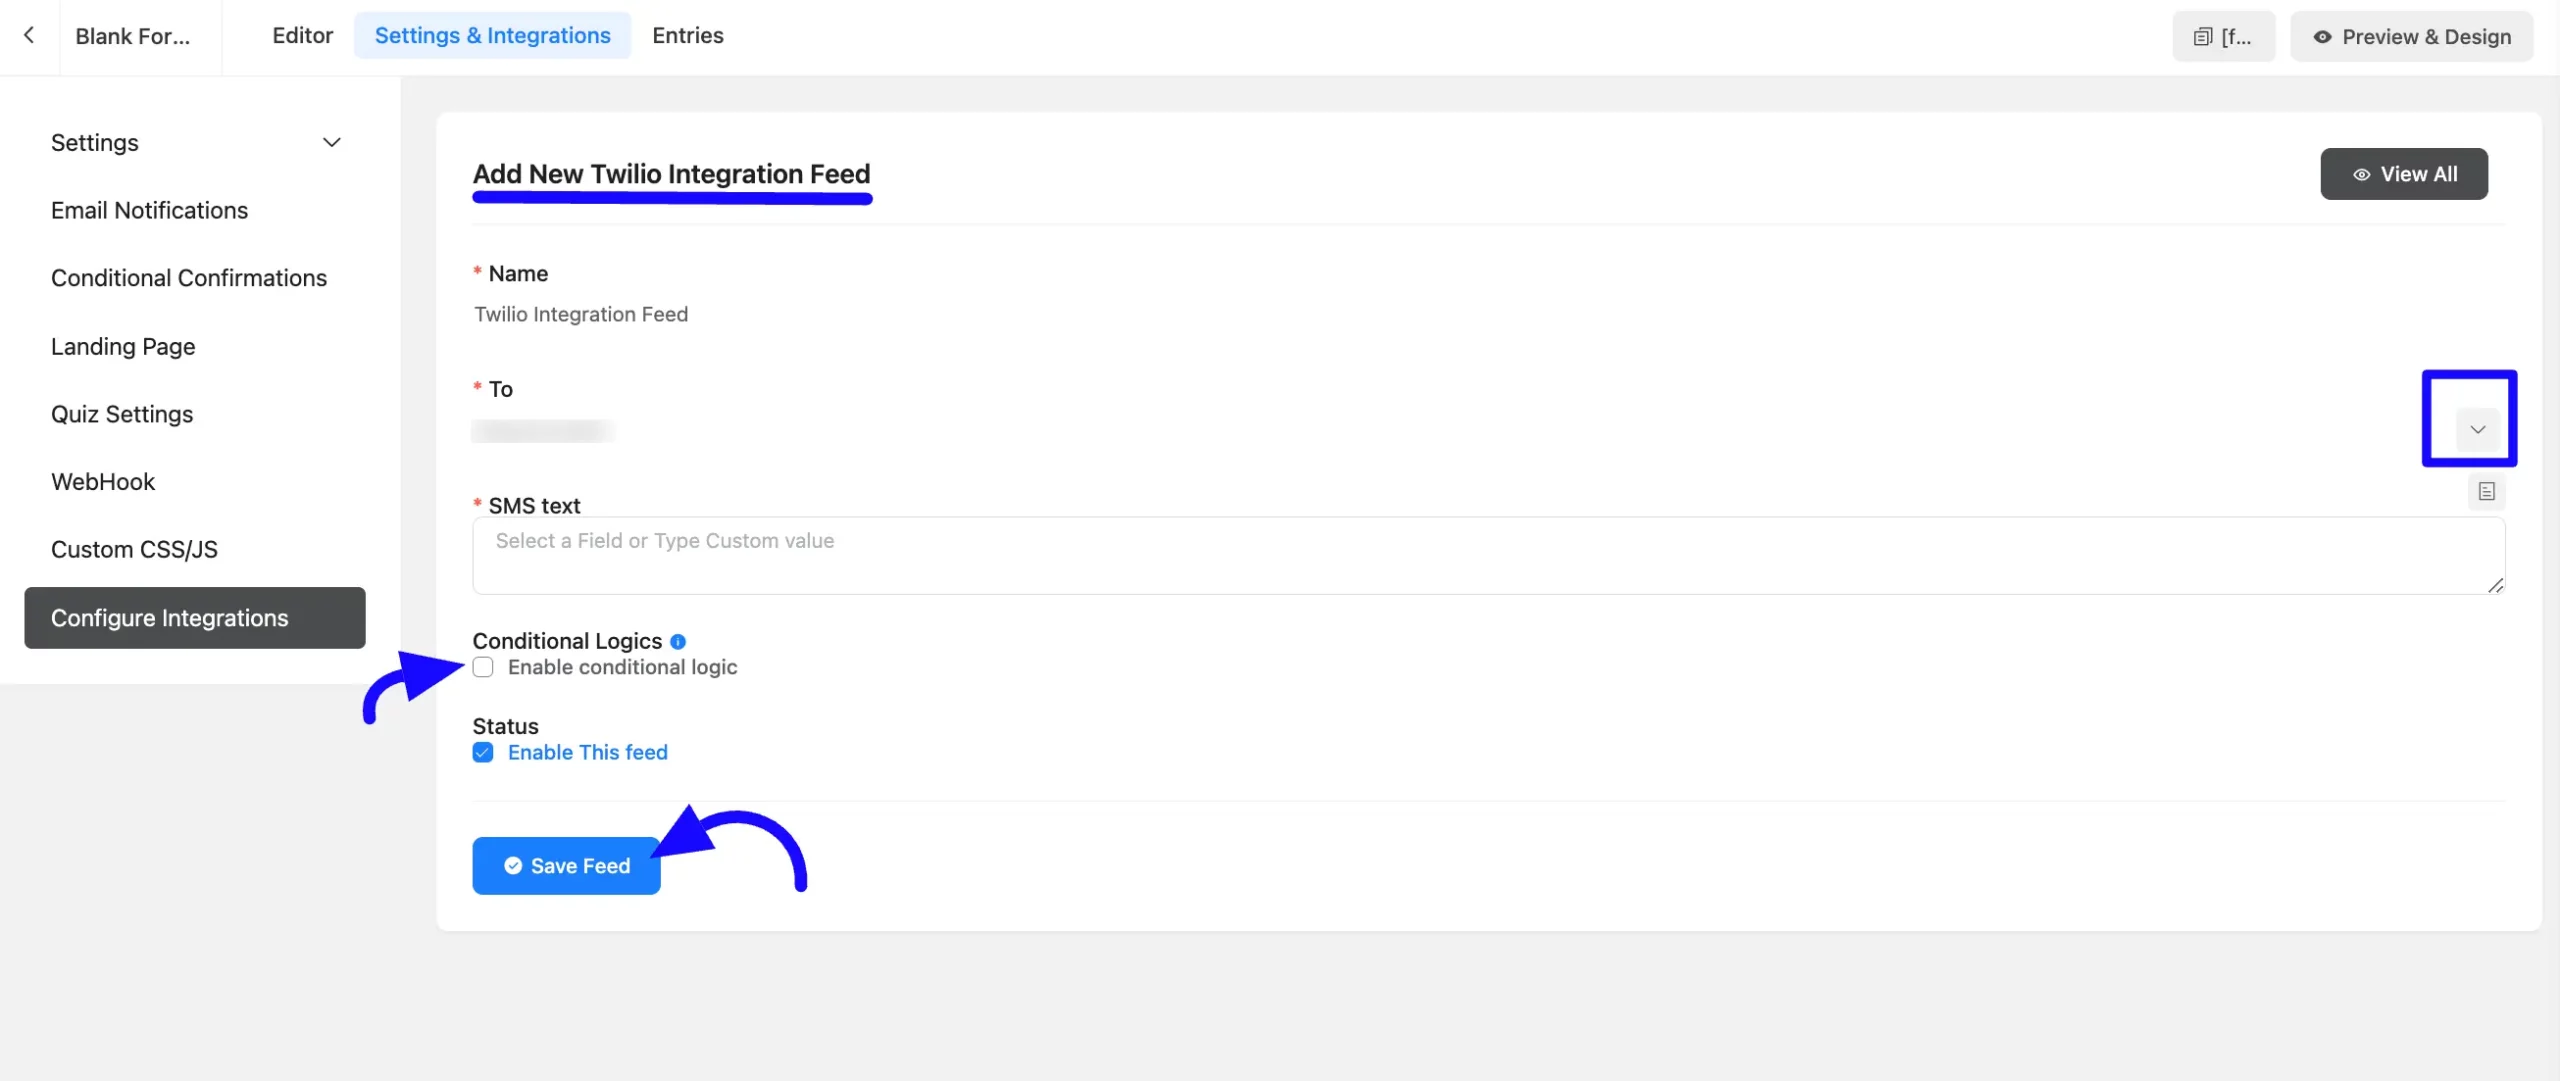
Name: Enter the Field that specifies the name of the Twilio integration Feed.
To: Enter the recipient’s phone number ( the user who submitted the form or a team member).
SMS Text: Write the message you want to send. Use dynamic fields to personalize the SMS.
Conditional Logic: If you want to allow Twilio integration conditionally based on your submission values, then Enable Conditional Logic options. To learn more about this conditional logic, read the Documentation.
Status: Enable this feed option to activate the integration.
Once the setup is done, finally, click the Save Feed button. Your Twilio will be integrated into this specific form!
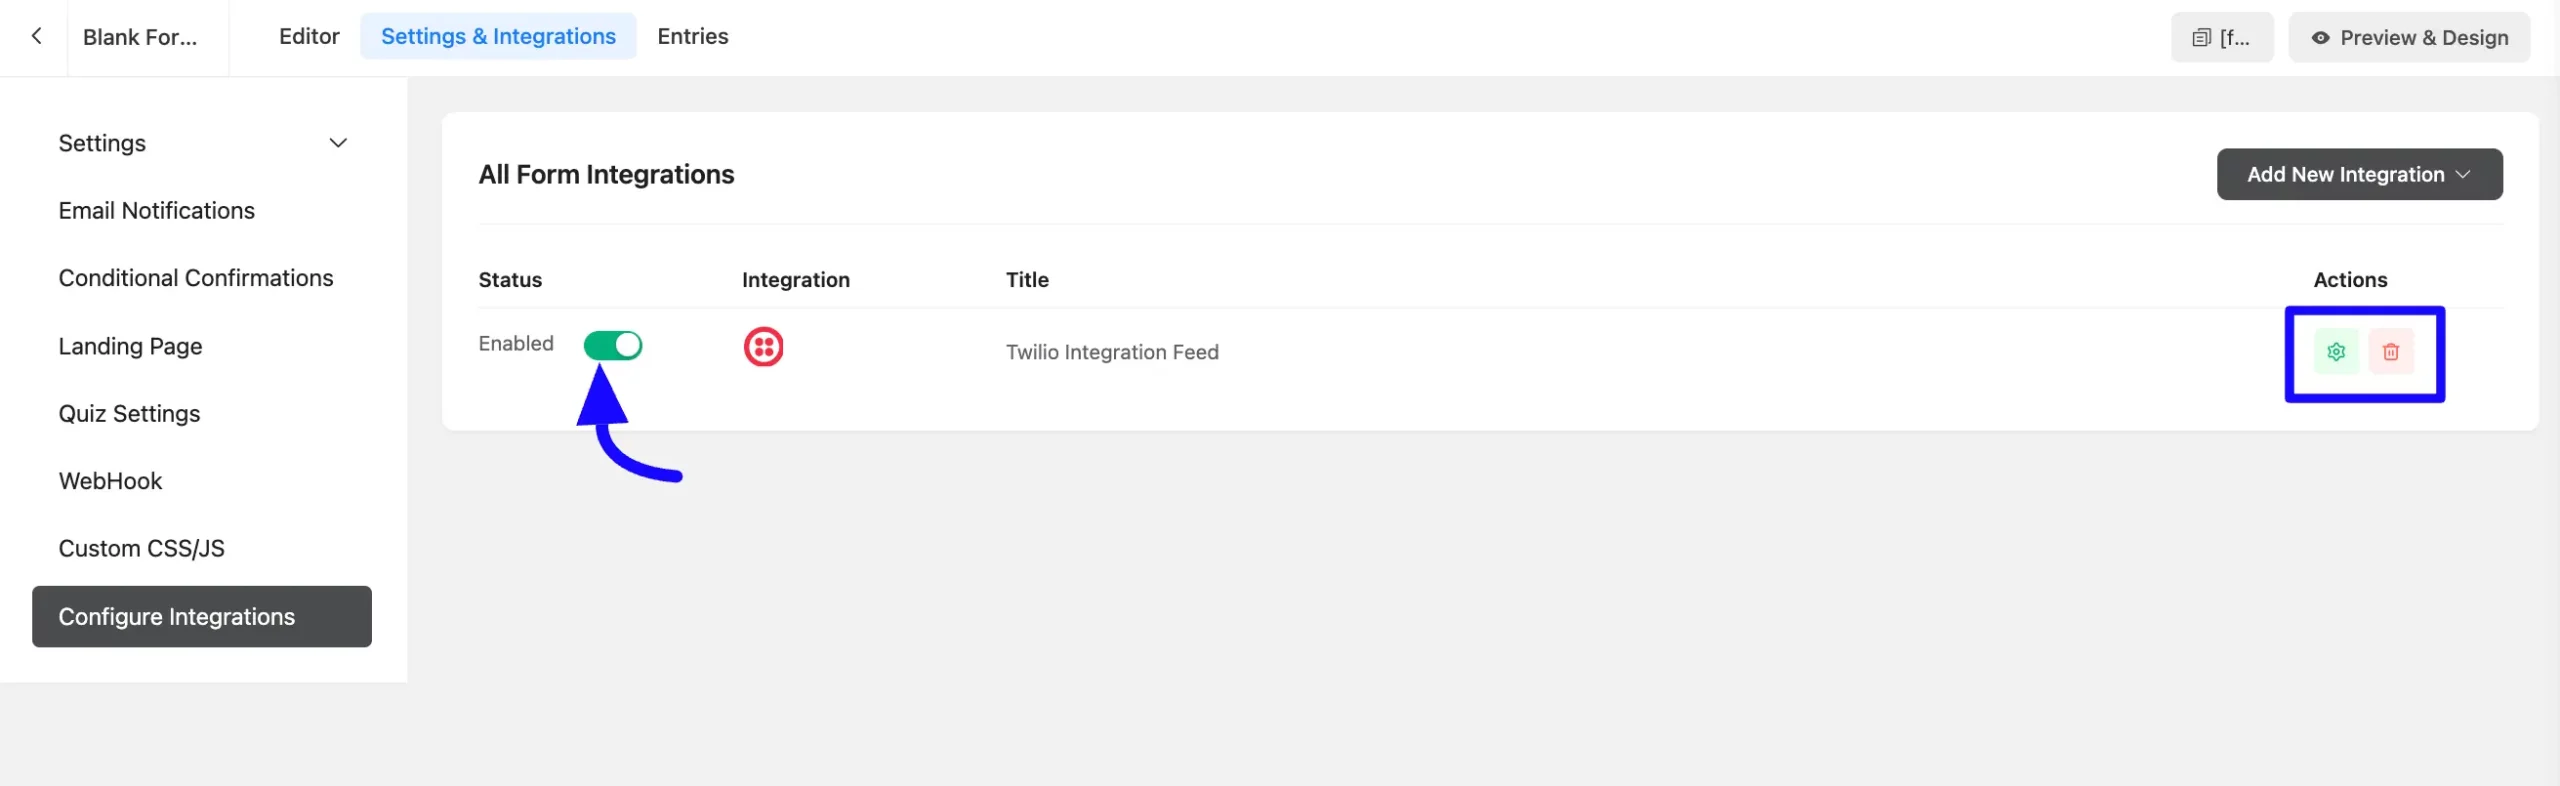
After successful Integration, you will see that your Twilio integration Feed has been added here.
You can modify your feed anytime by clicking the Settings Icon and Delete it by clicking the Trash Icon. Also, you can disable or enable this feed anytime by turning off the Enable if needed.
Preview of Integrated Twilio #
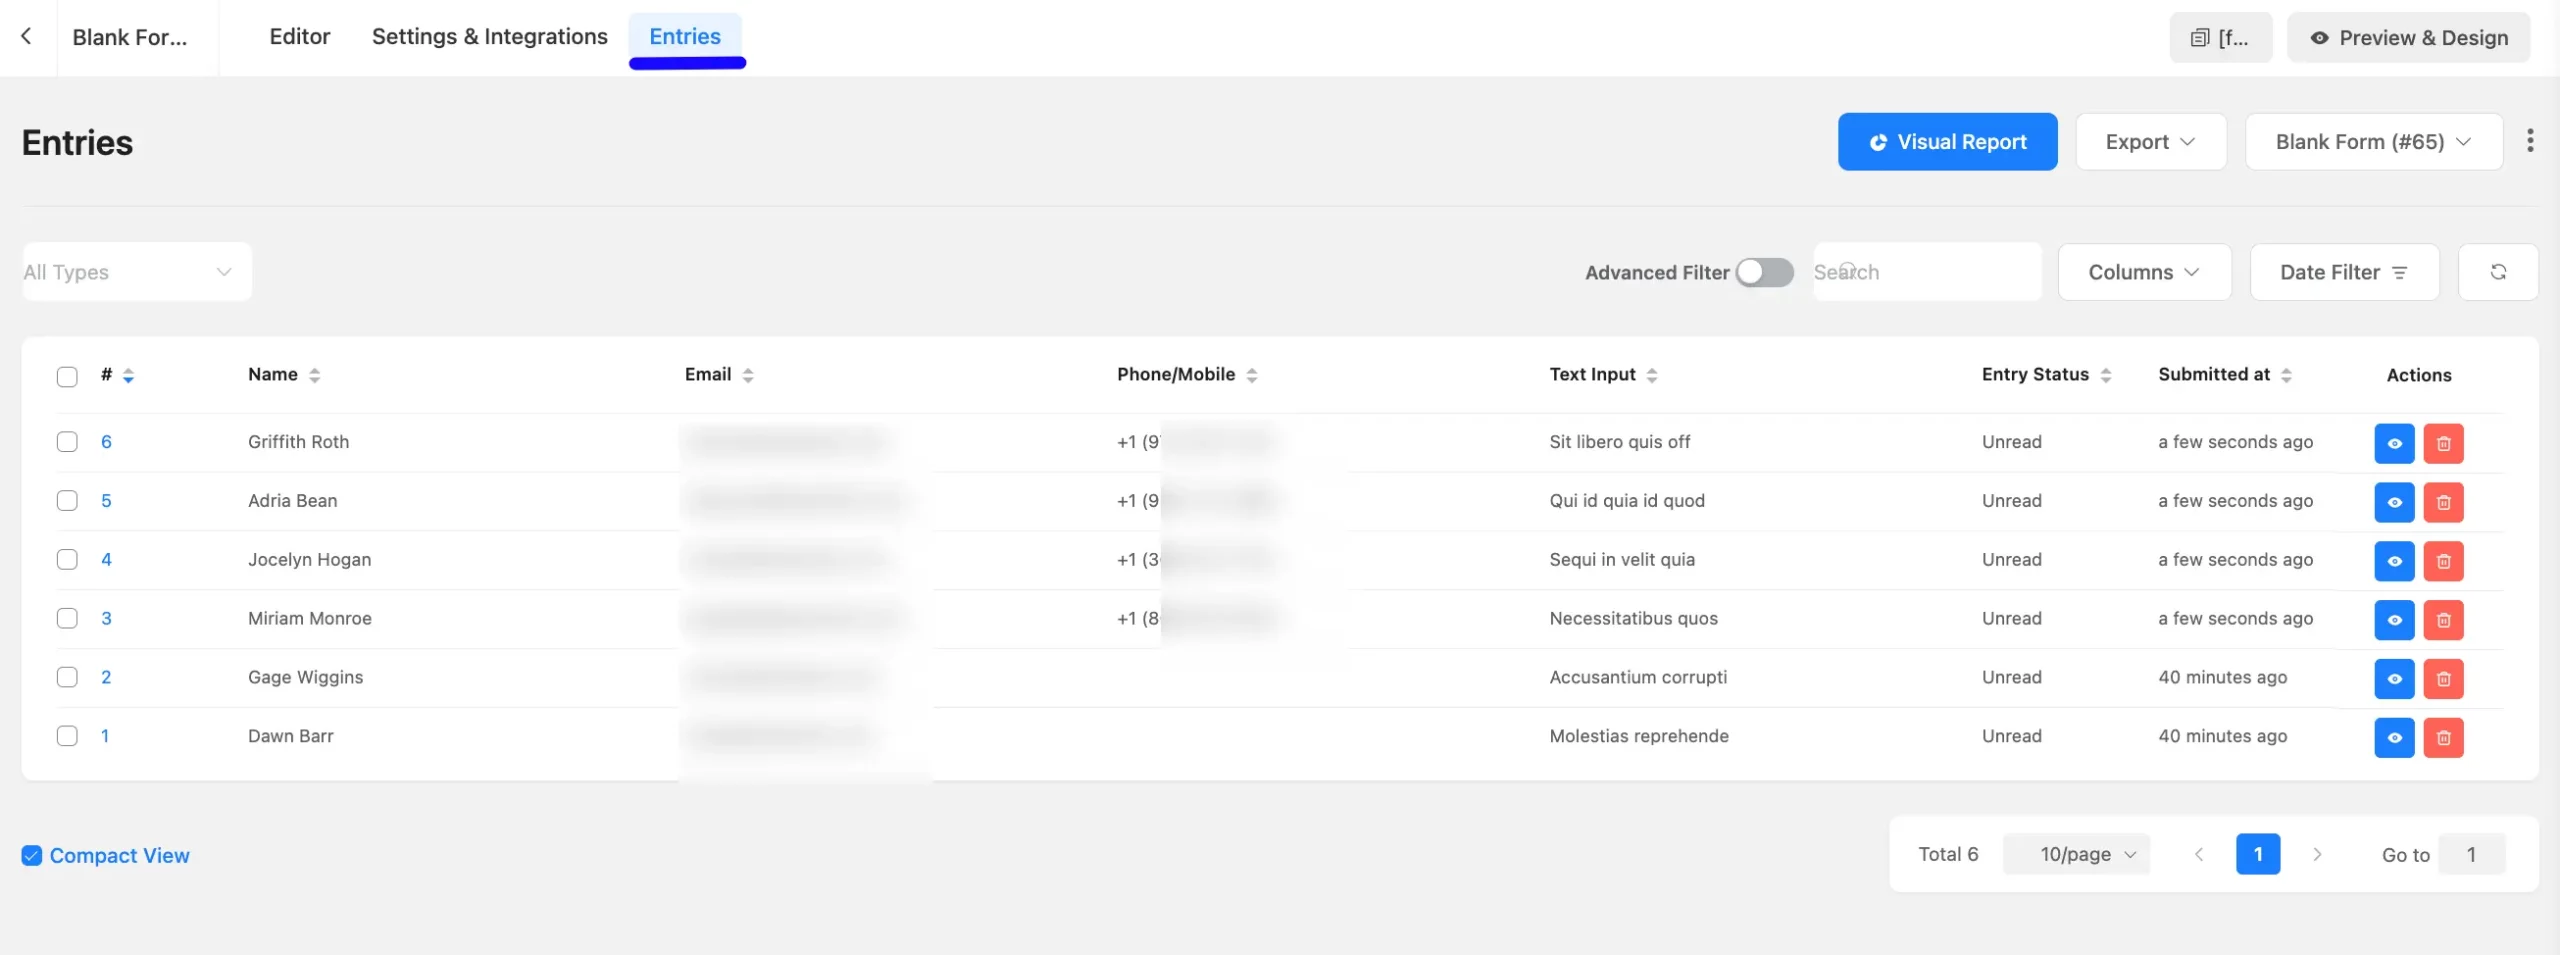
Here, you can preview the added Twilio contacts through the Form entries that I set up during the integration.
You can see form submissions from the Entries section of this particular form.
If you have a Trial account on Twilio, you must add and verify your phone number here before you can send a test SMS.
You can seamlessly send real-time SMS notifications for form submissions using Twilio by completing these steps.
If you have any further questions, concerns, or suggestions, please do not hesitate to contact our @support team. Thank you.


