
Fluent Forms offers a powerful Meta Fields Mapping feature that allows you to map post meta fields into your form. Post meta fields are WordPress objects that store additional data about a post.
This guide will walk you through mapping meta fields for both Post Forms and Product Forms in Fluent Forms.
Mapping Meta Fields with a Post Form #
Create or Use an Existing Post Form #
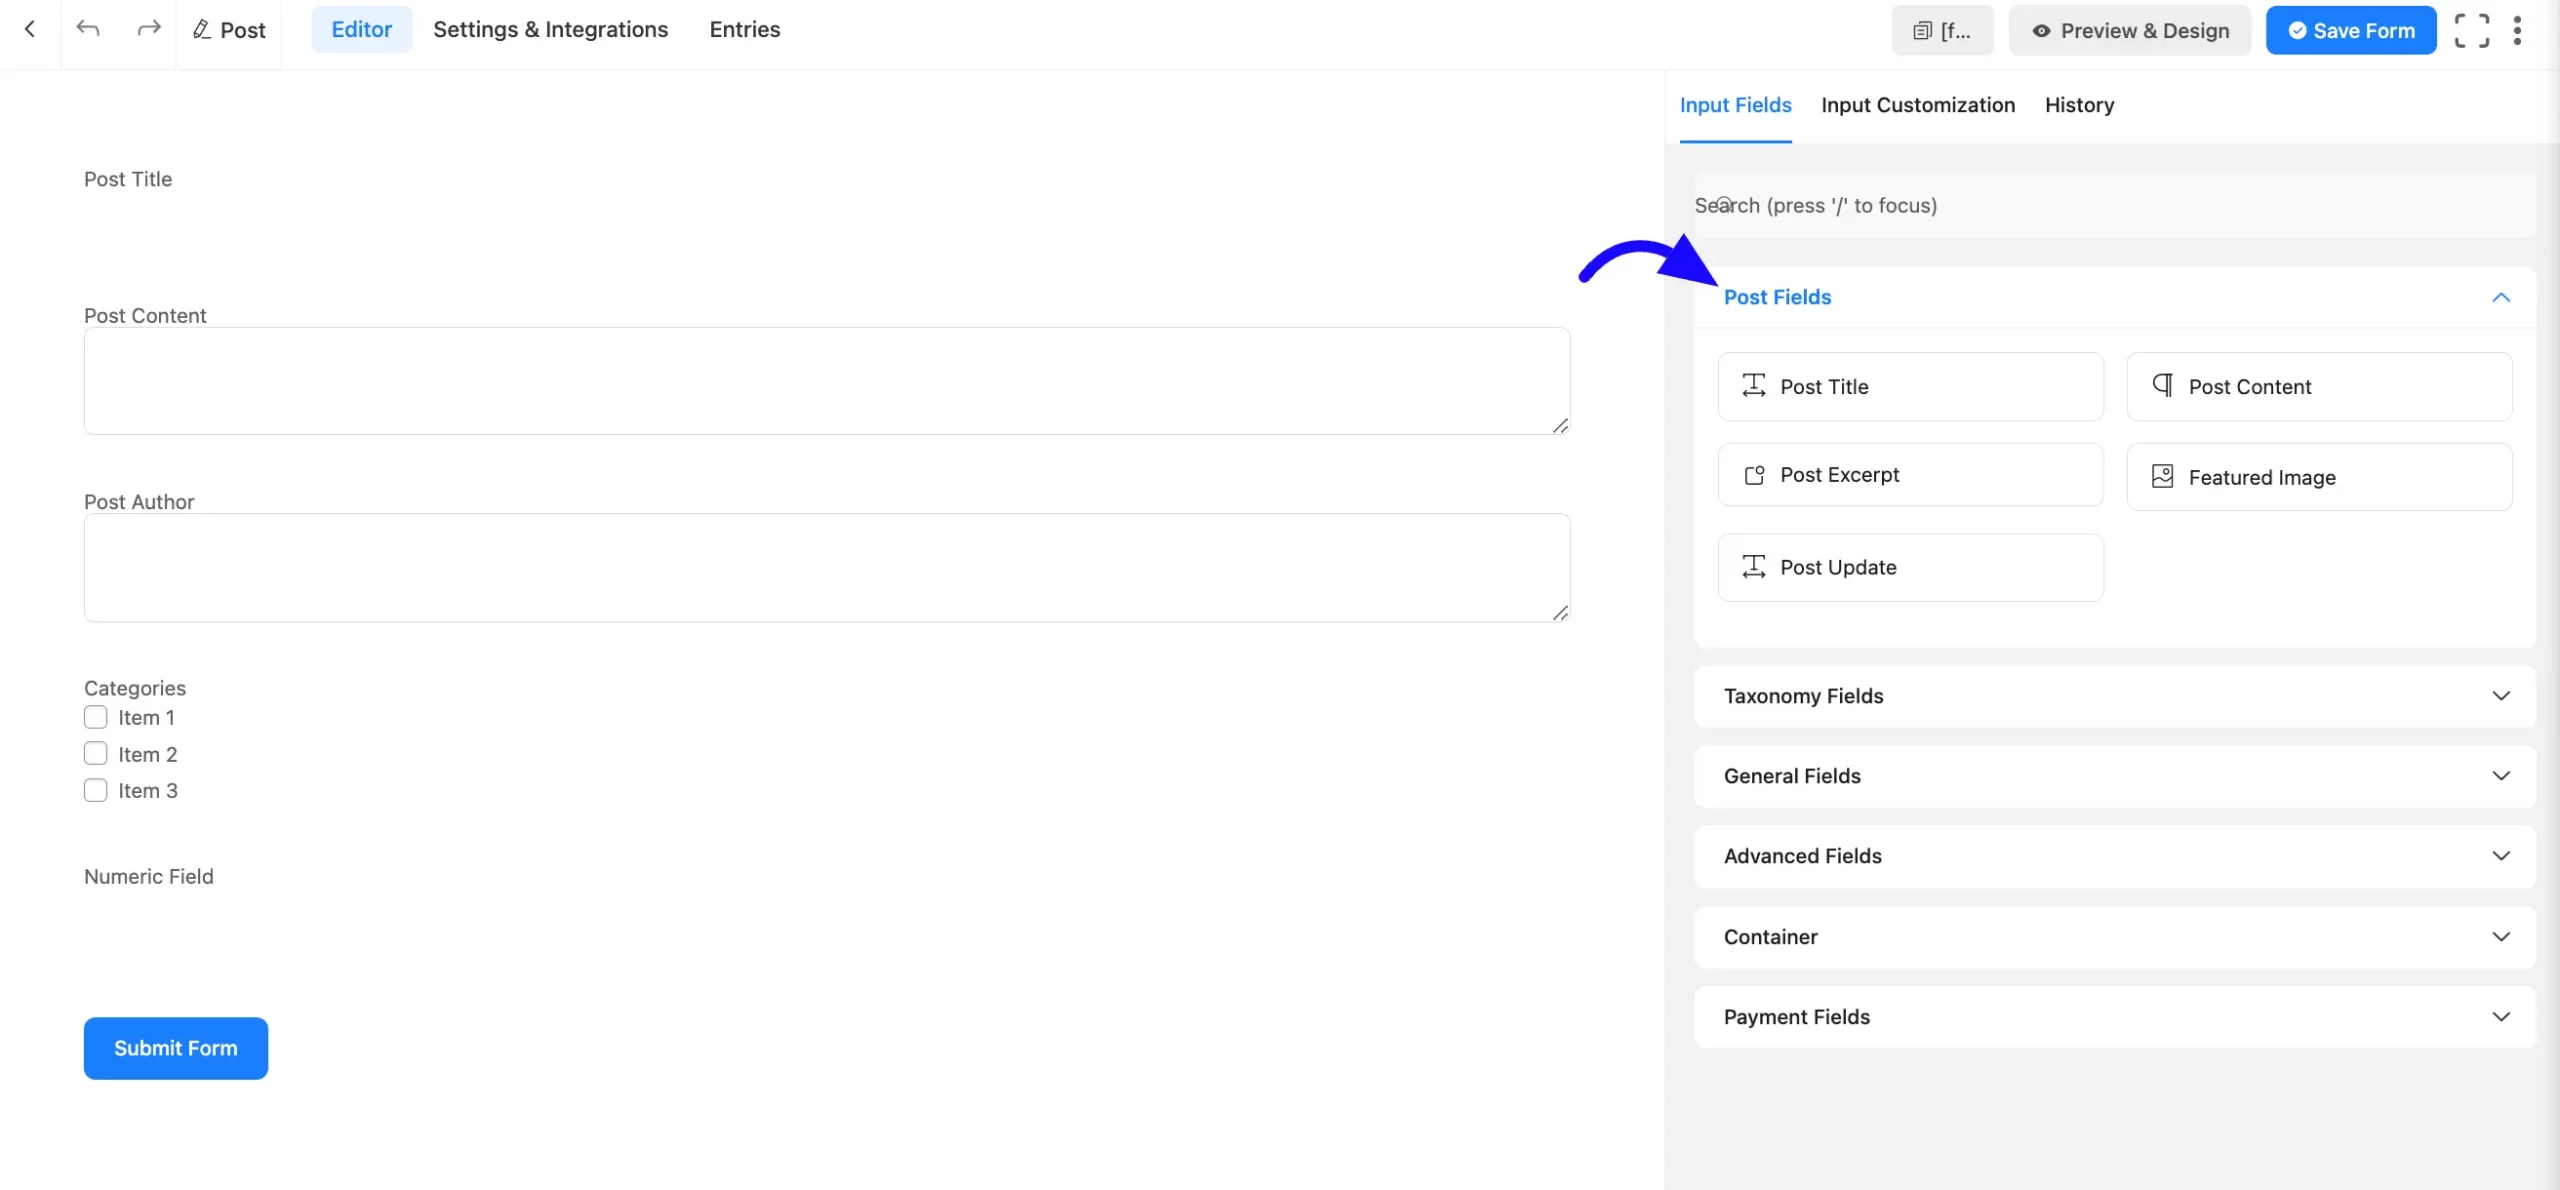
Start by creating a Custom Post Form or using an existing one. Ensure the Field Group is set to Post Type. To know more about creating post forms read this article.
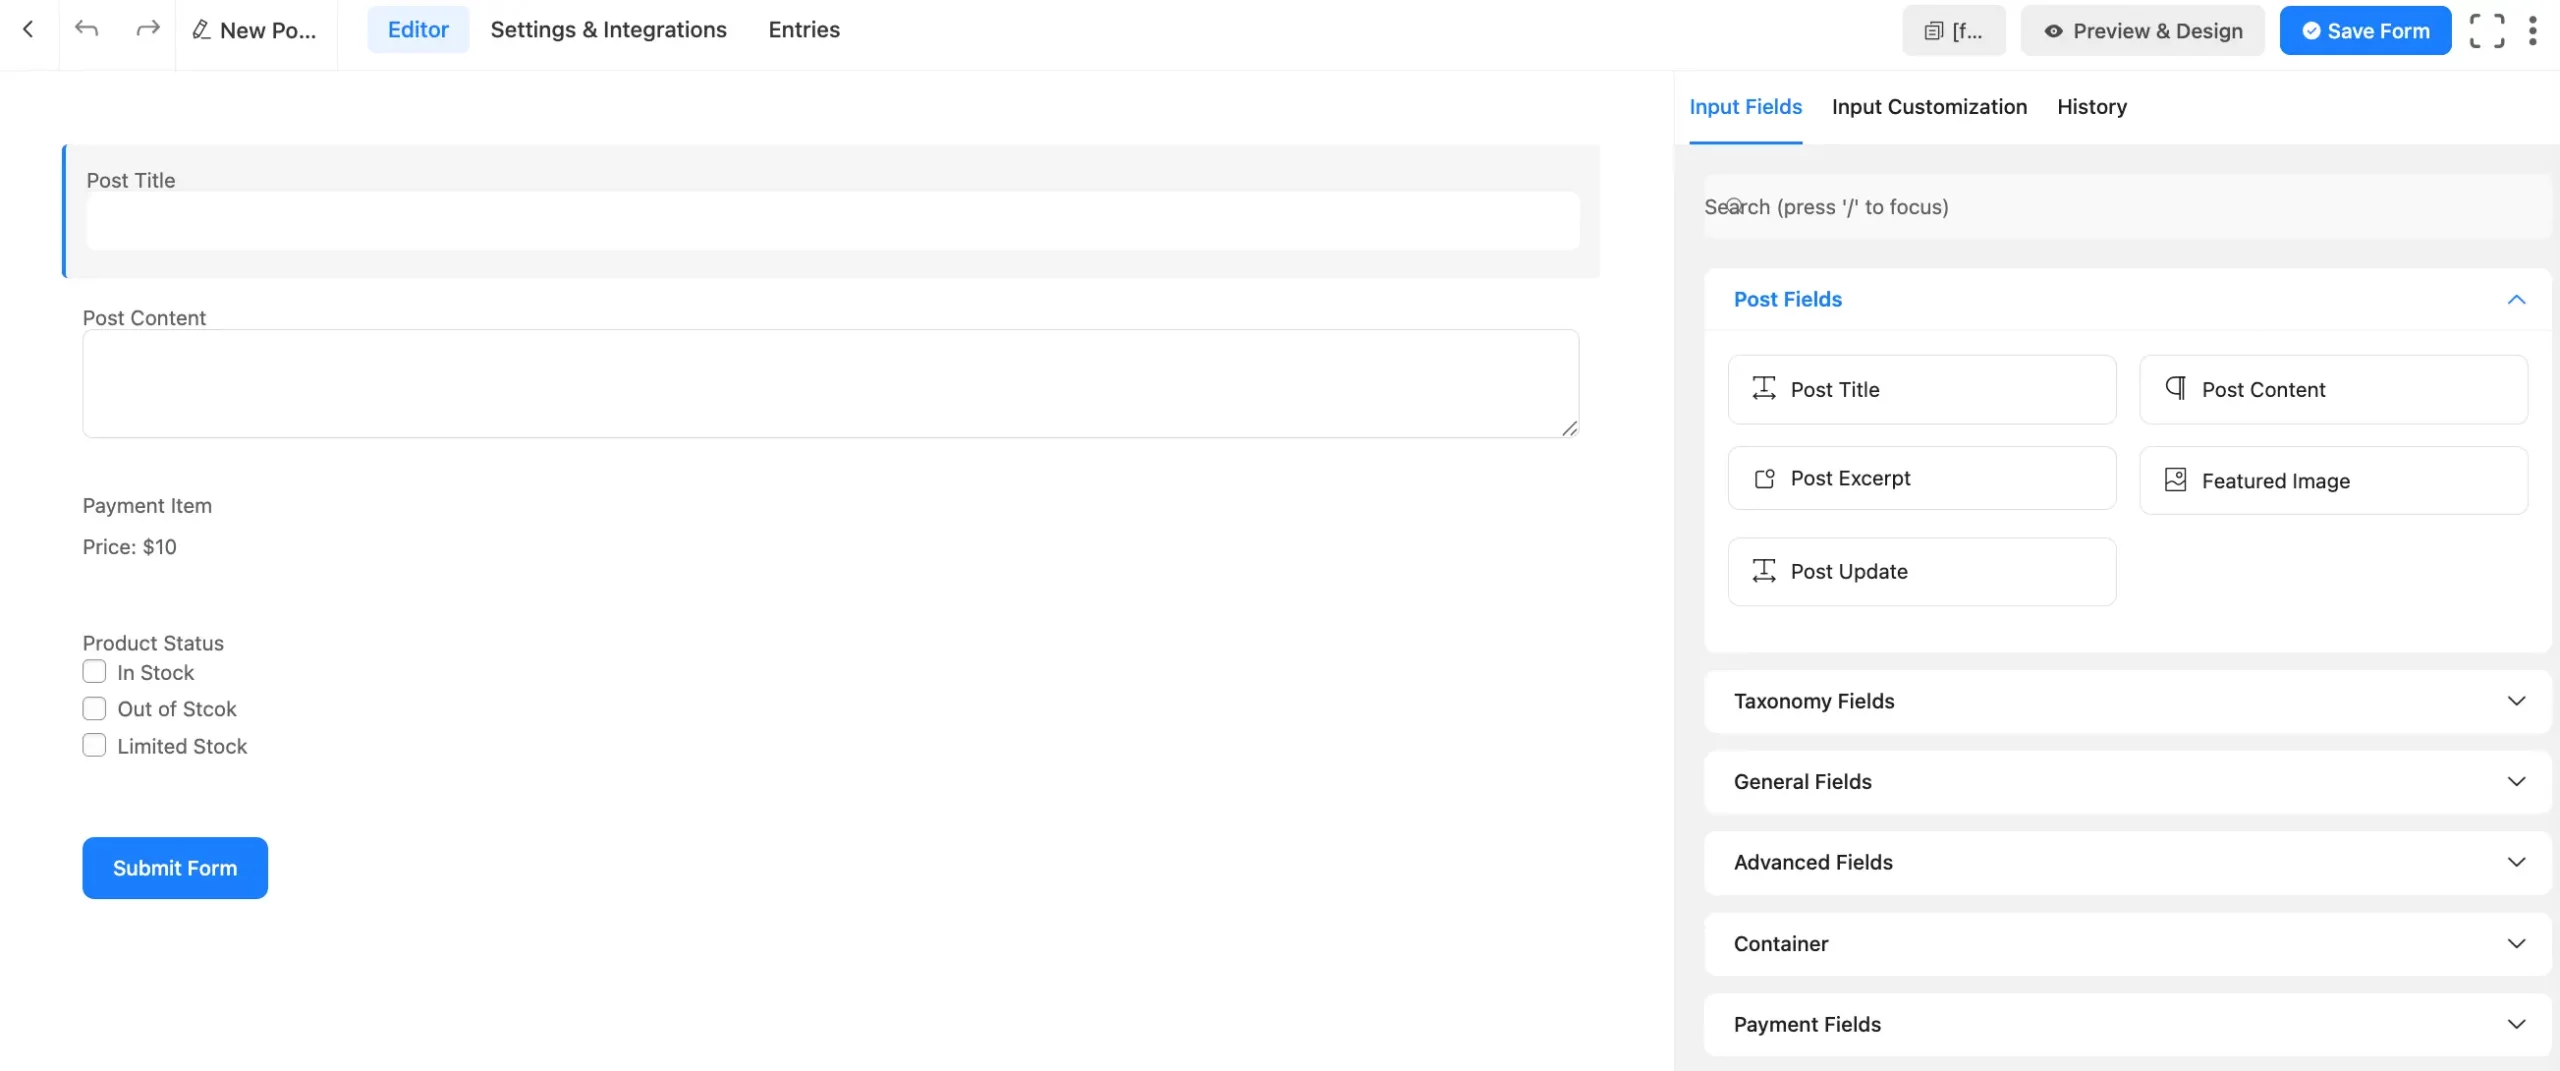
A post form might include fields like:
- Post Title
- Post Content
- Categories
- Simple Text
- Numeric Field
ACF (Advanced Custom Fields) mapping requires the use of mapped meta fields.
Setup Custom Meta Fields with ACF #
To map the meta field, follow the simple steps given below-
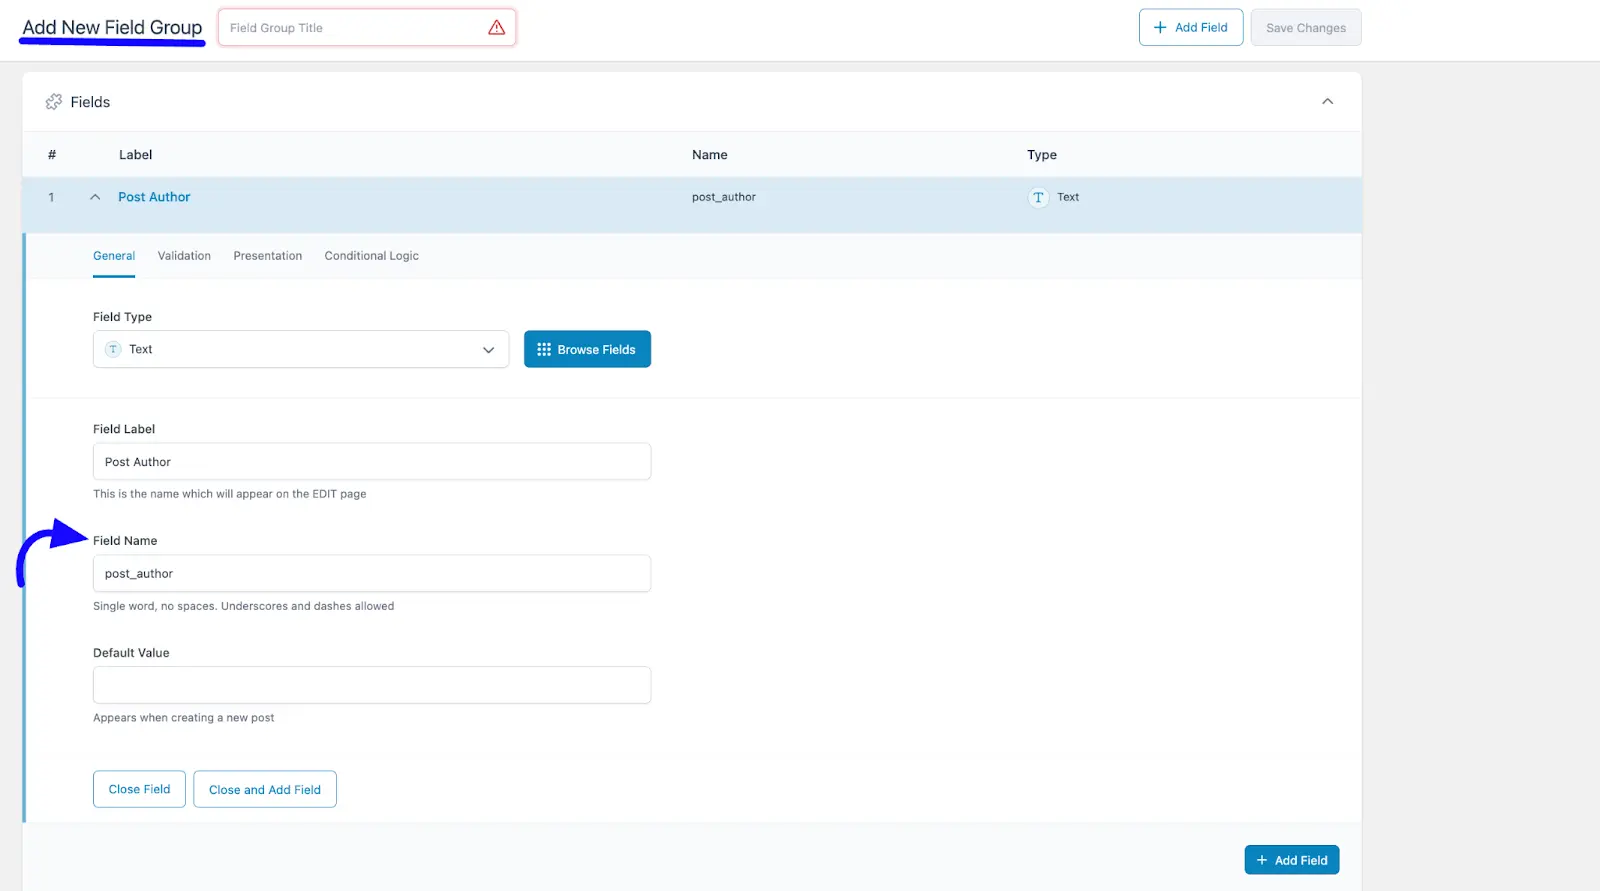
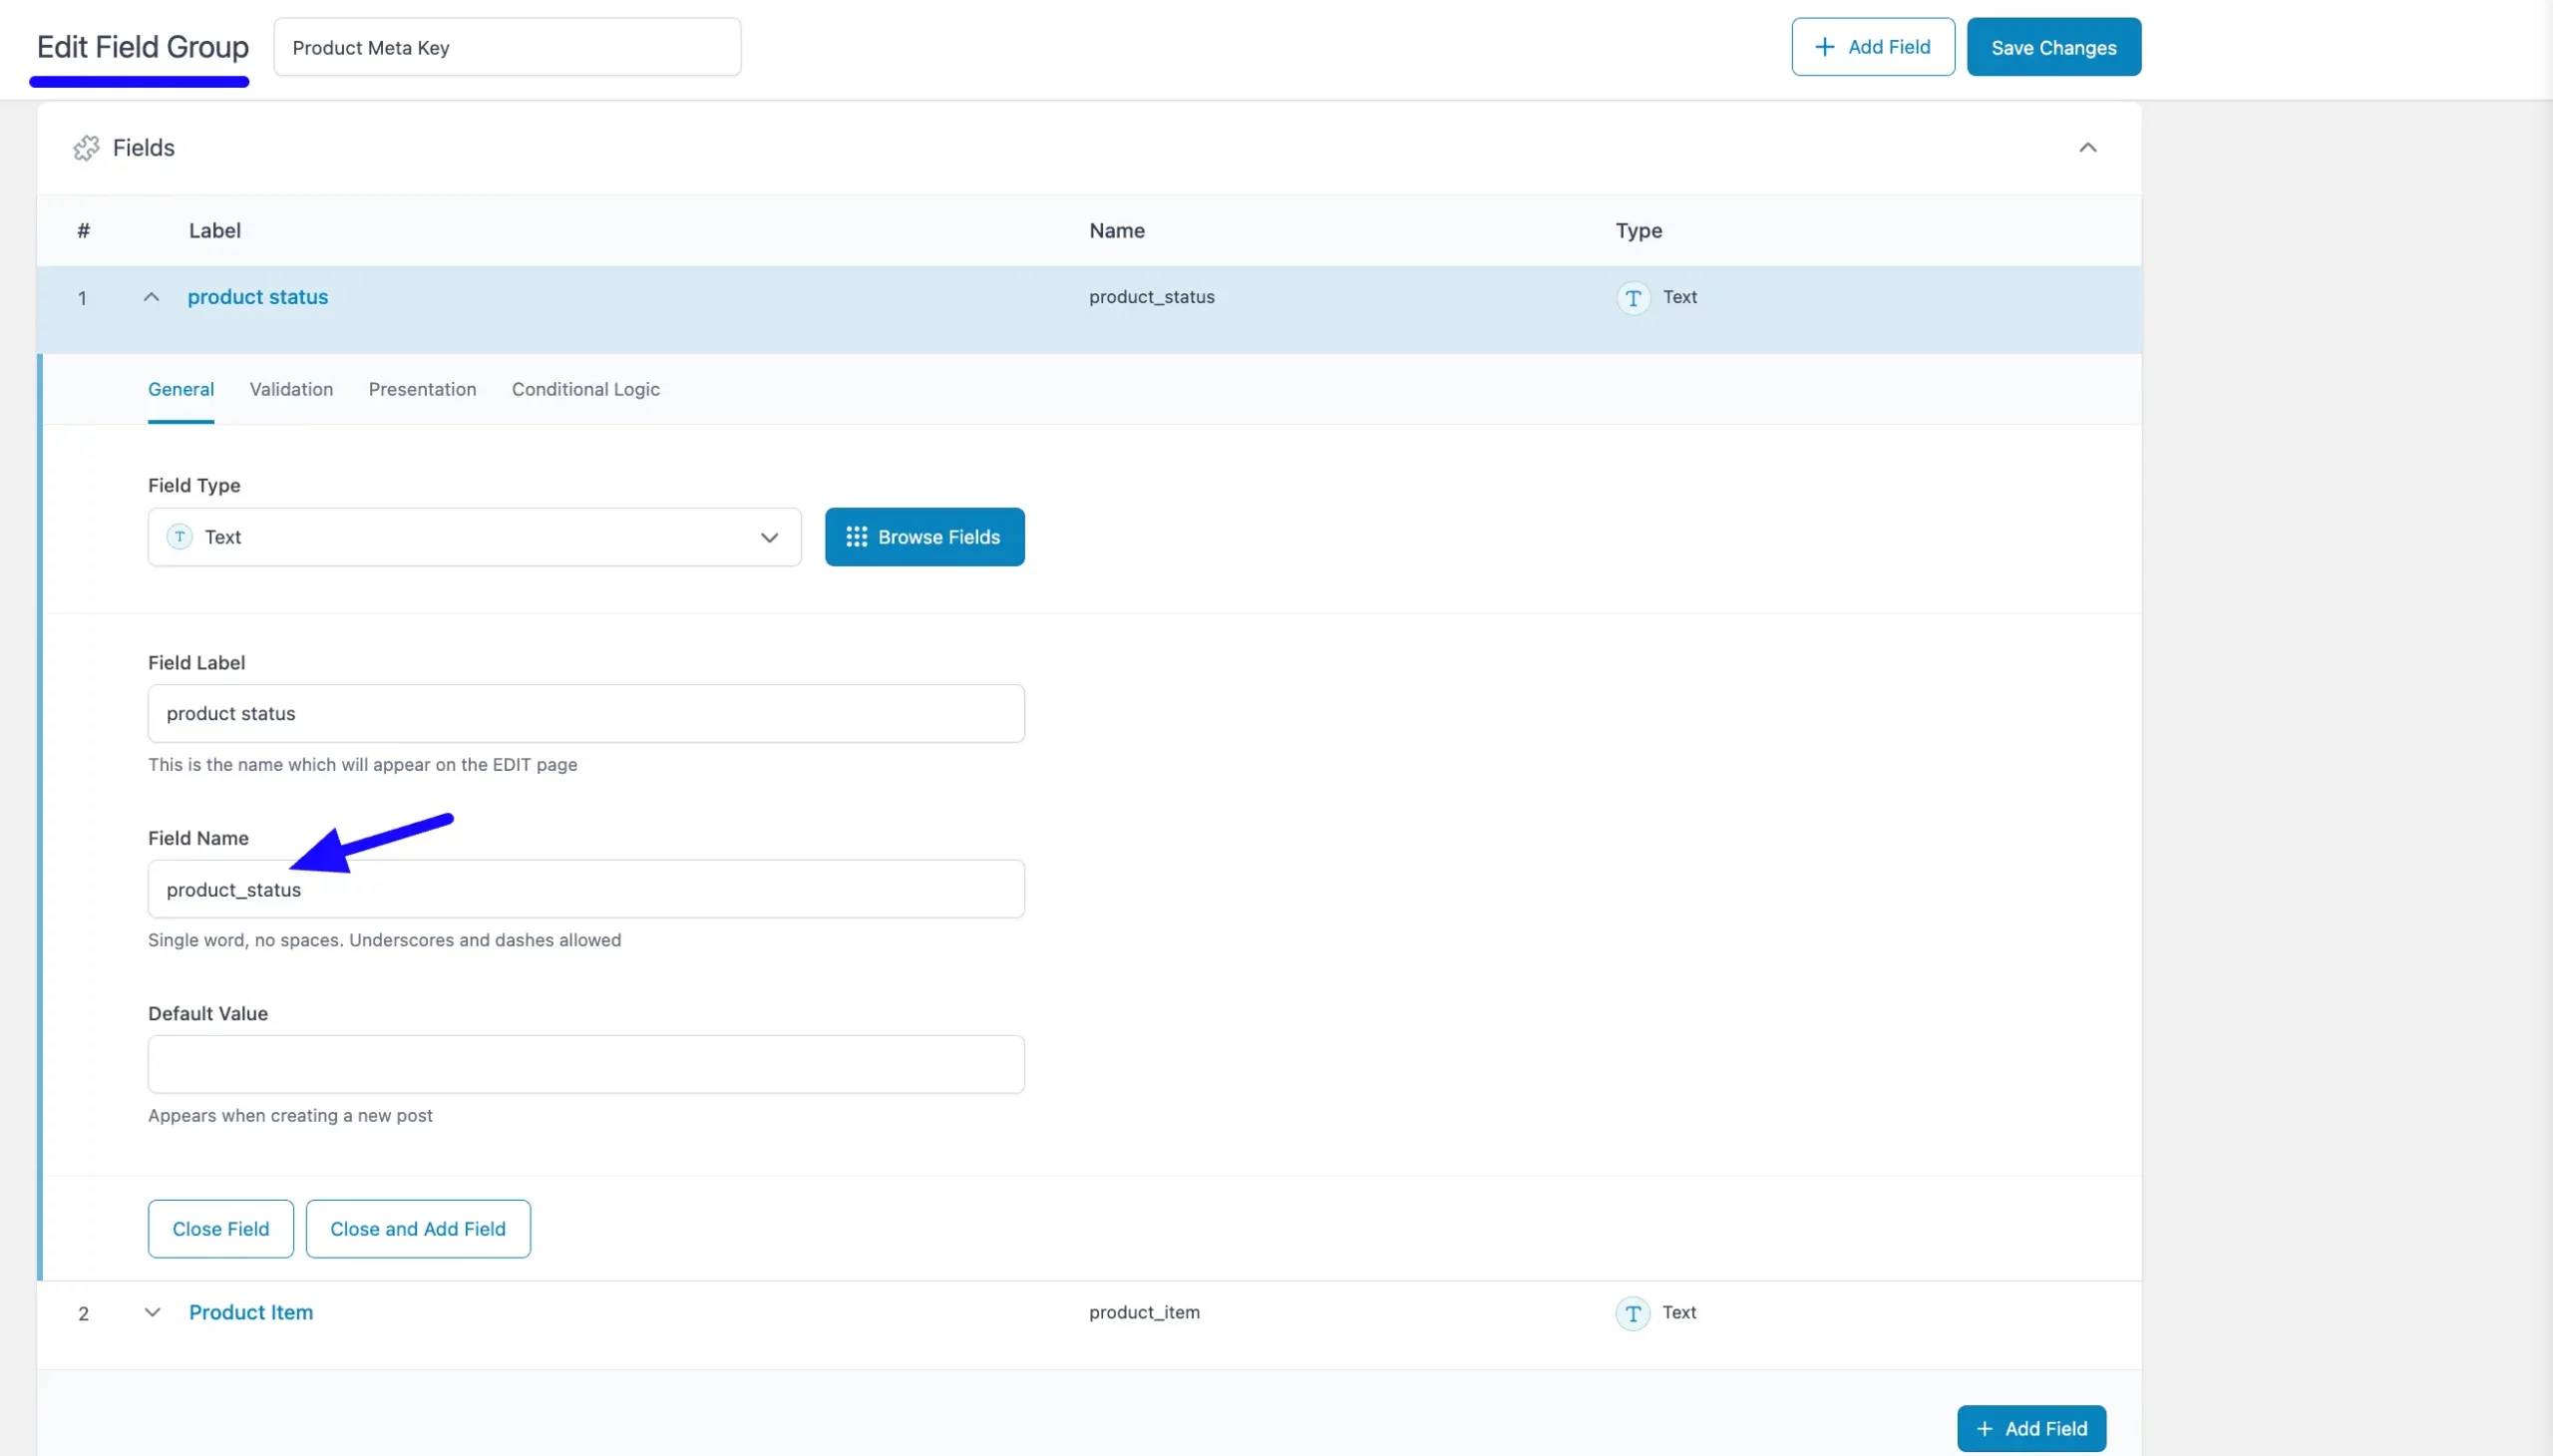
First, use a plugin like Advanced Custom Fields (ACF) to create a field group for your WordPress posts. Then, copy the Name Attributes of the fields from the Custom Fields plugin.
Map Meta Fields in Fluent Forms #
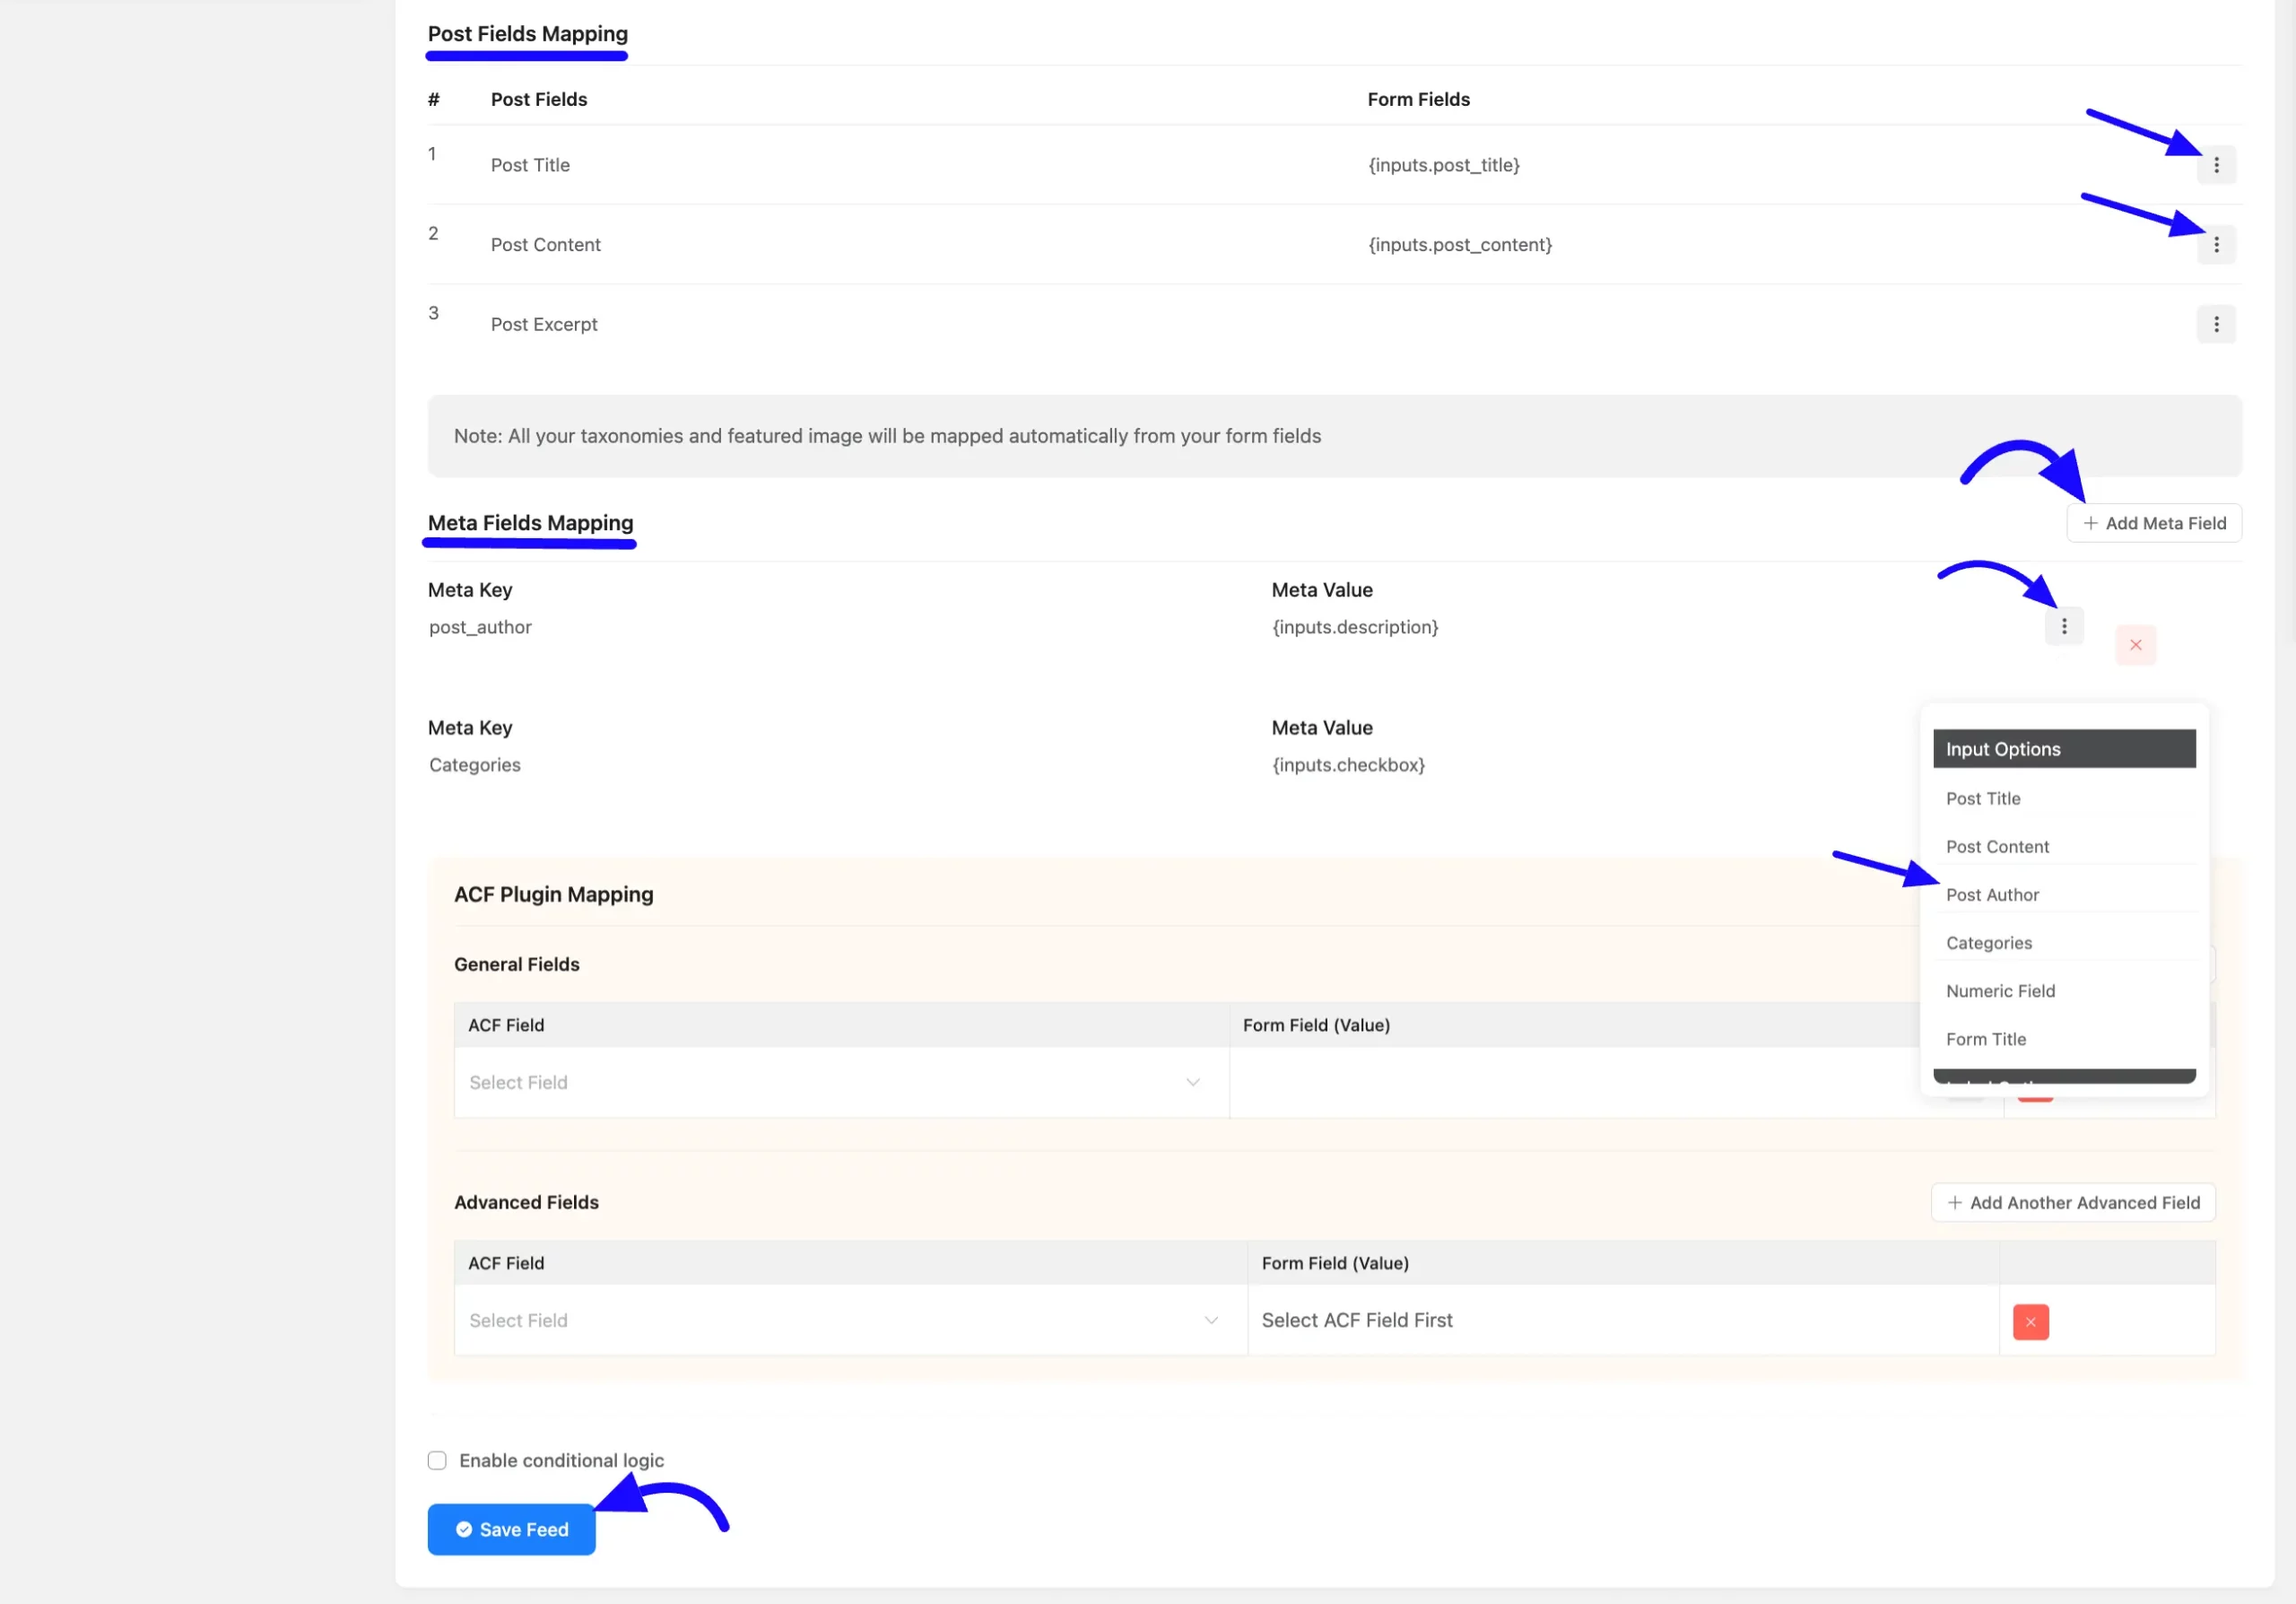
In your form, go to Settings & Integrations tab and navigate to the Post Creation Feed.
Now, Click +Add Meta Field button and paste the copied meta keys into the designated field. Ensure that standard post fields, such as Post Title and Post Content, are mapped in the form settings before adding custom meta fields.
After adding all the required meta keys, click the Save Feed button to save your configuration. Fill out and submit the form.
Verify Submission #
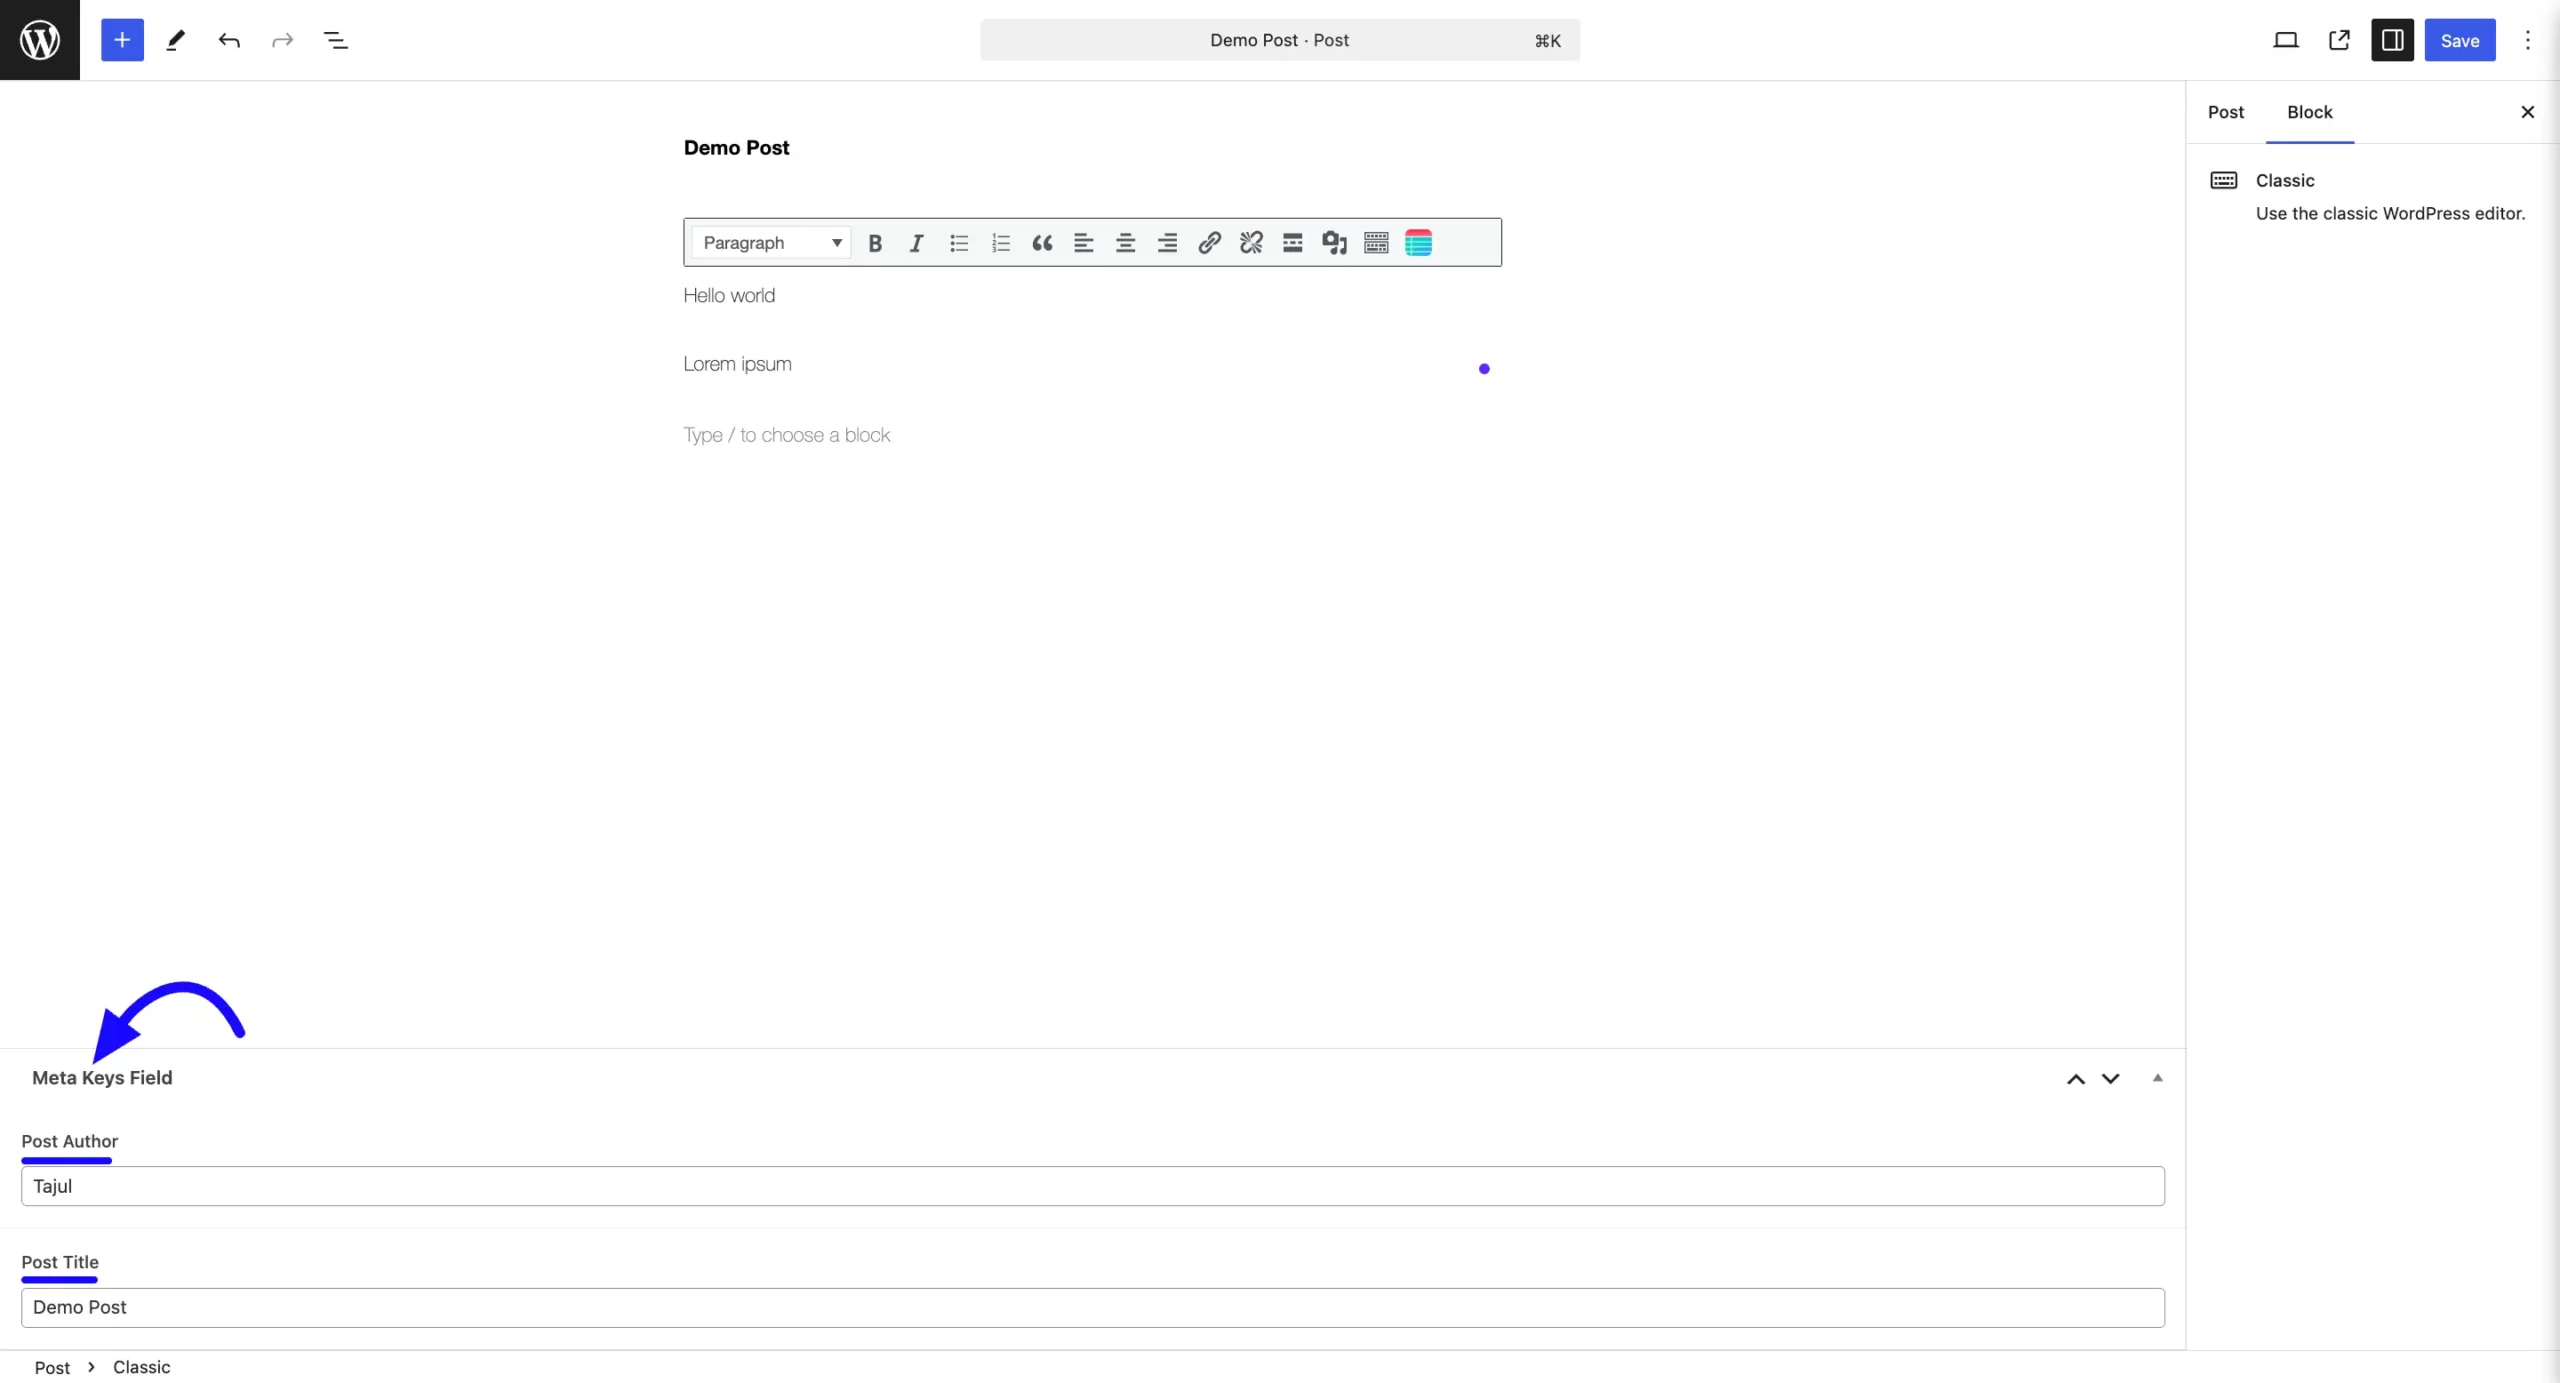
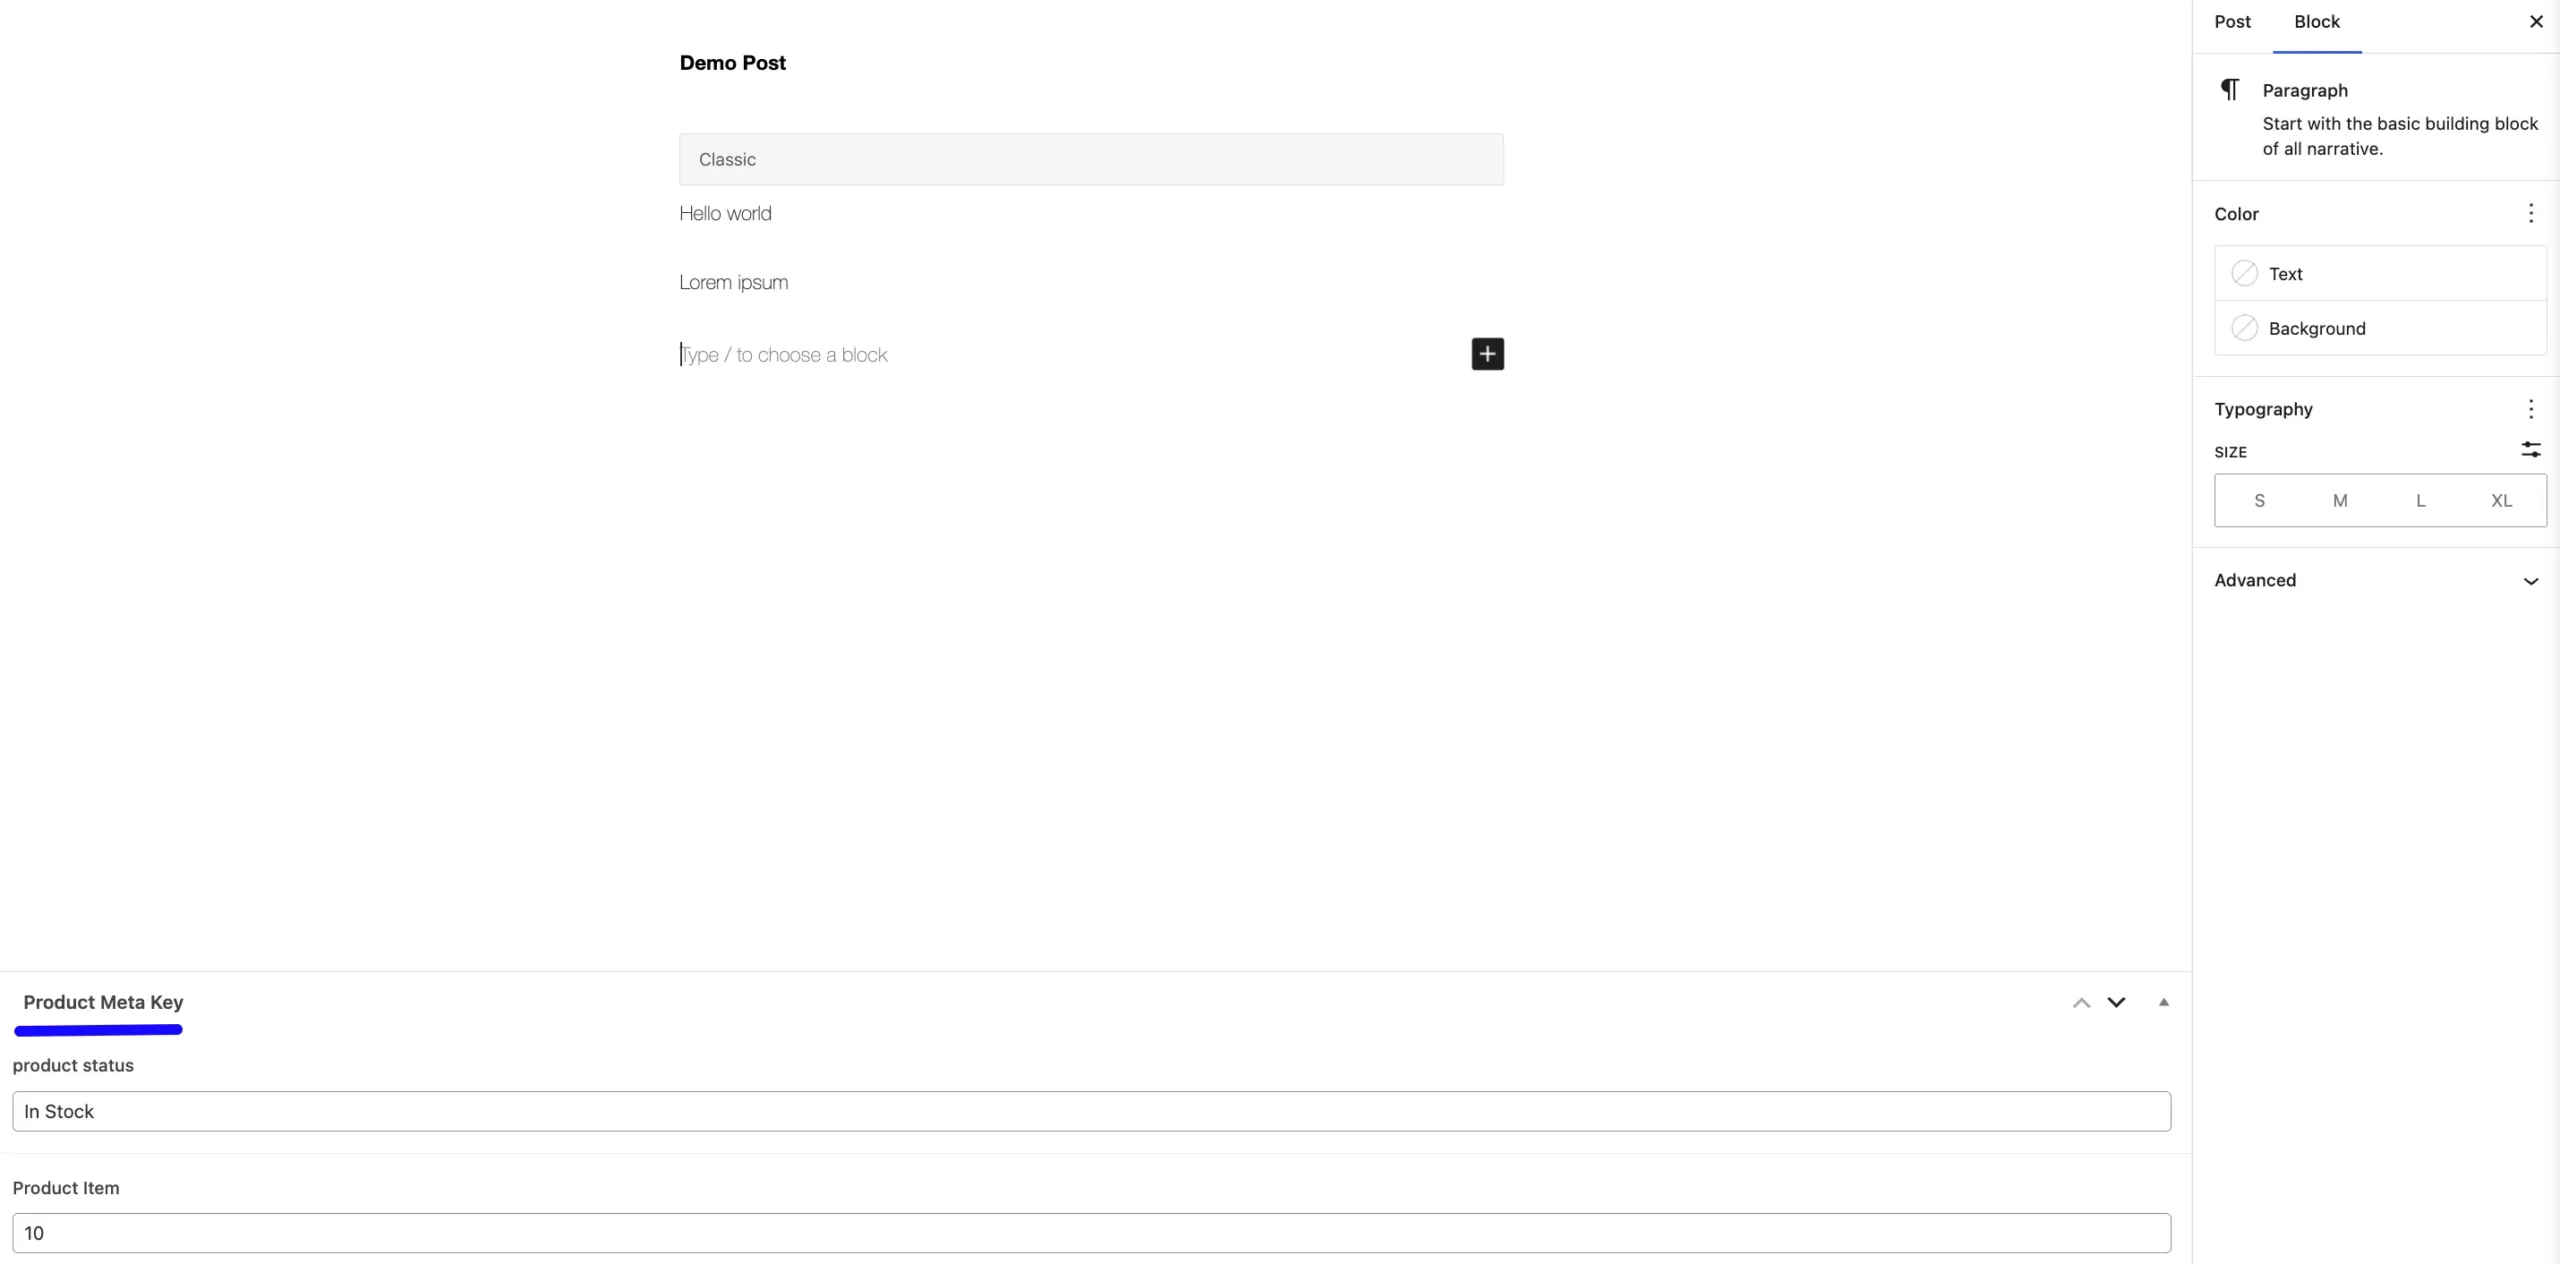
To verify, go to Posts in WordPress. Locate the newly created post (Demo Post).
Open the post and check if the Post Title, Post Author, and other values are mapped correctly.
Mapping Meta Fields with a Product Form #
To map a meta field with a product form, First, you need to create or use an Existing Product Form. For this, follow the previous similar to the post form, and create a Product Form with relevant fields.
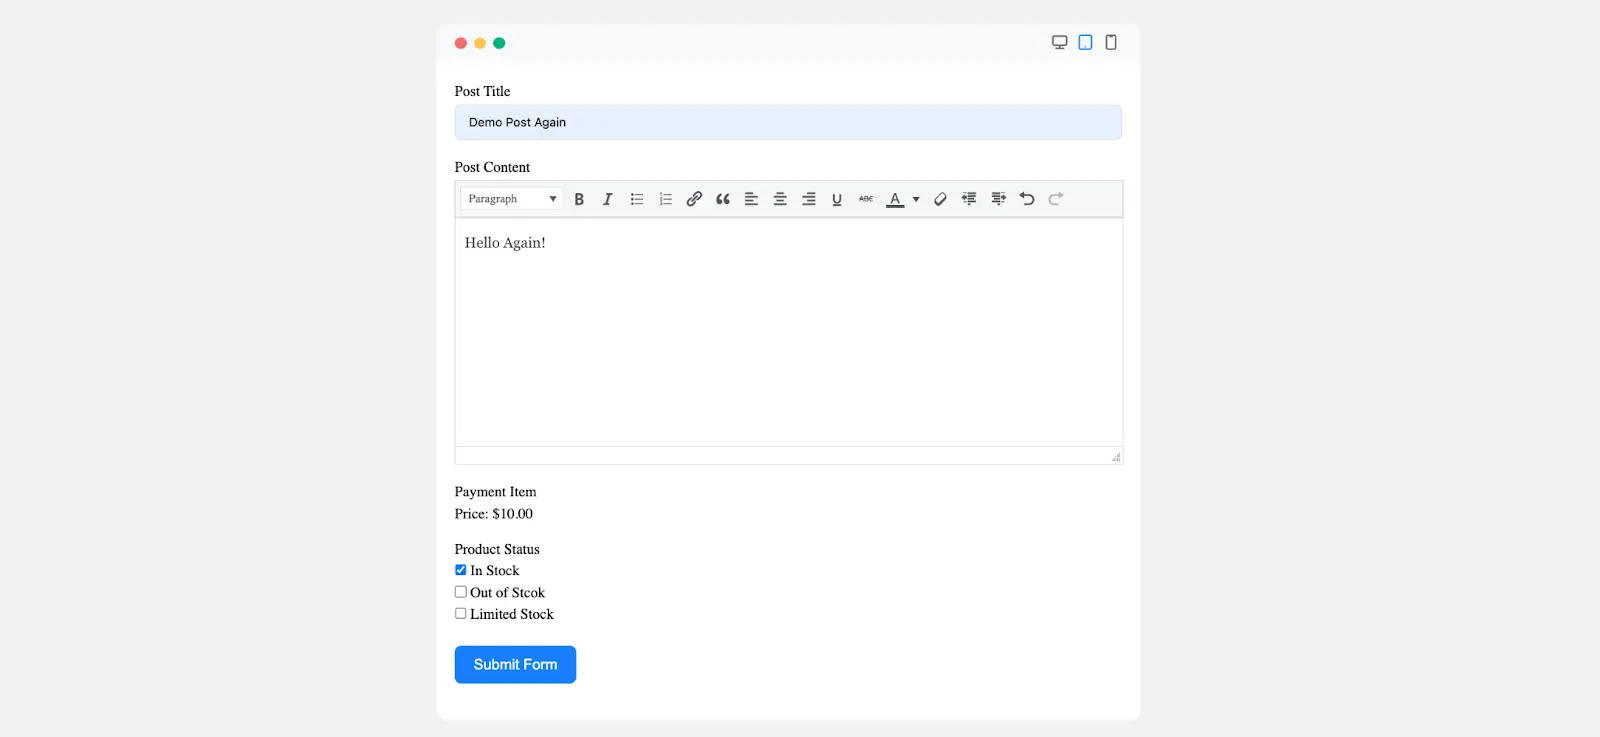
Now, add the Add Product-Specific Fields. Include fields such as:
- Post Title
- Post Content
- Price
- Product Status
Add Custom Fields with ACF #
To map the meta field, follow the simple steps given below-
First, use a plugin like Advanced Custom Fields (ACF) to create a field group for your WordPress posts. Then, copy the Name Attributes of the fields from the Custom Fields plugin. Navigate to the Post Creation Feed in your Fluent Form Settings & Integration tab.
Now, click the +Add Meta Field button and paste the copied meta keys into the designated field.
Before adding custom meta fields, ensure that default post fields, such as Post Title and Post Content, are mapped in the form settings.

After adding all the required meta keys, click the Save Feed button to save your configuration. Fill out and submit the form.
Verify Submission #
Go to Posts in the WordPress Dashboard. Then, check if the Product Title and Product Status appear correctly in the post entry.
Following these steps, you can easily map Meta Fields using Meta Keys in Fluent Forms.
If you have any further questions, concerns, or suggestions, please do not hesitate to contact our support team. Thank you.


