Double opt-in email is a dynamic feature of fluent forms. When users submit their email to your list, a double opt-in email is required to confirm their email.
When they subscribe to your newsletter, they have to click on an email with a confirmation link to confirm the validity of their email address.
This tutorial will guide you on how to set up double opt-in emails in Fluent Forms.
Enable Double Opt-in Options #
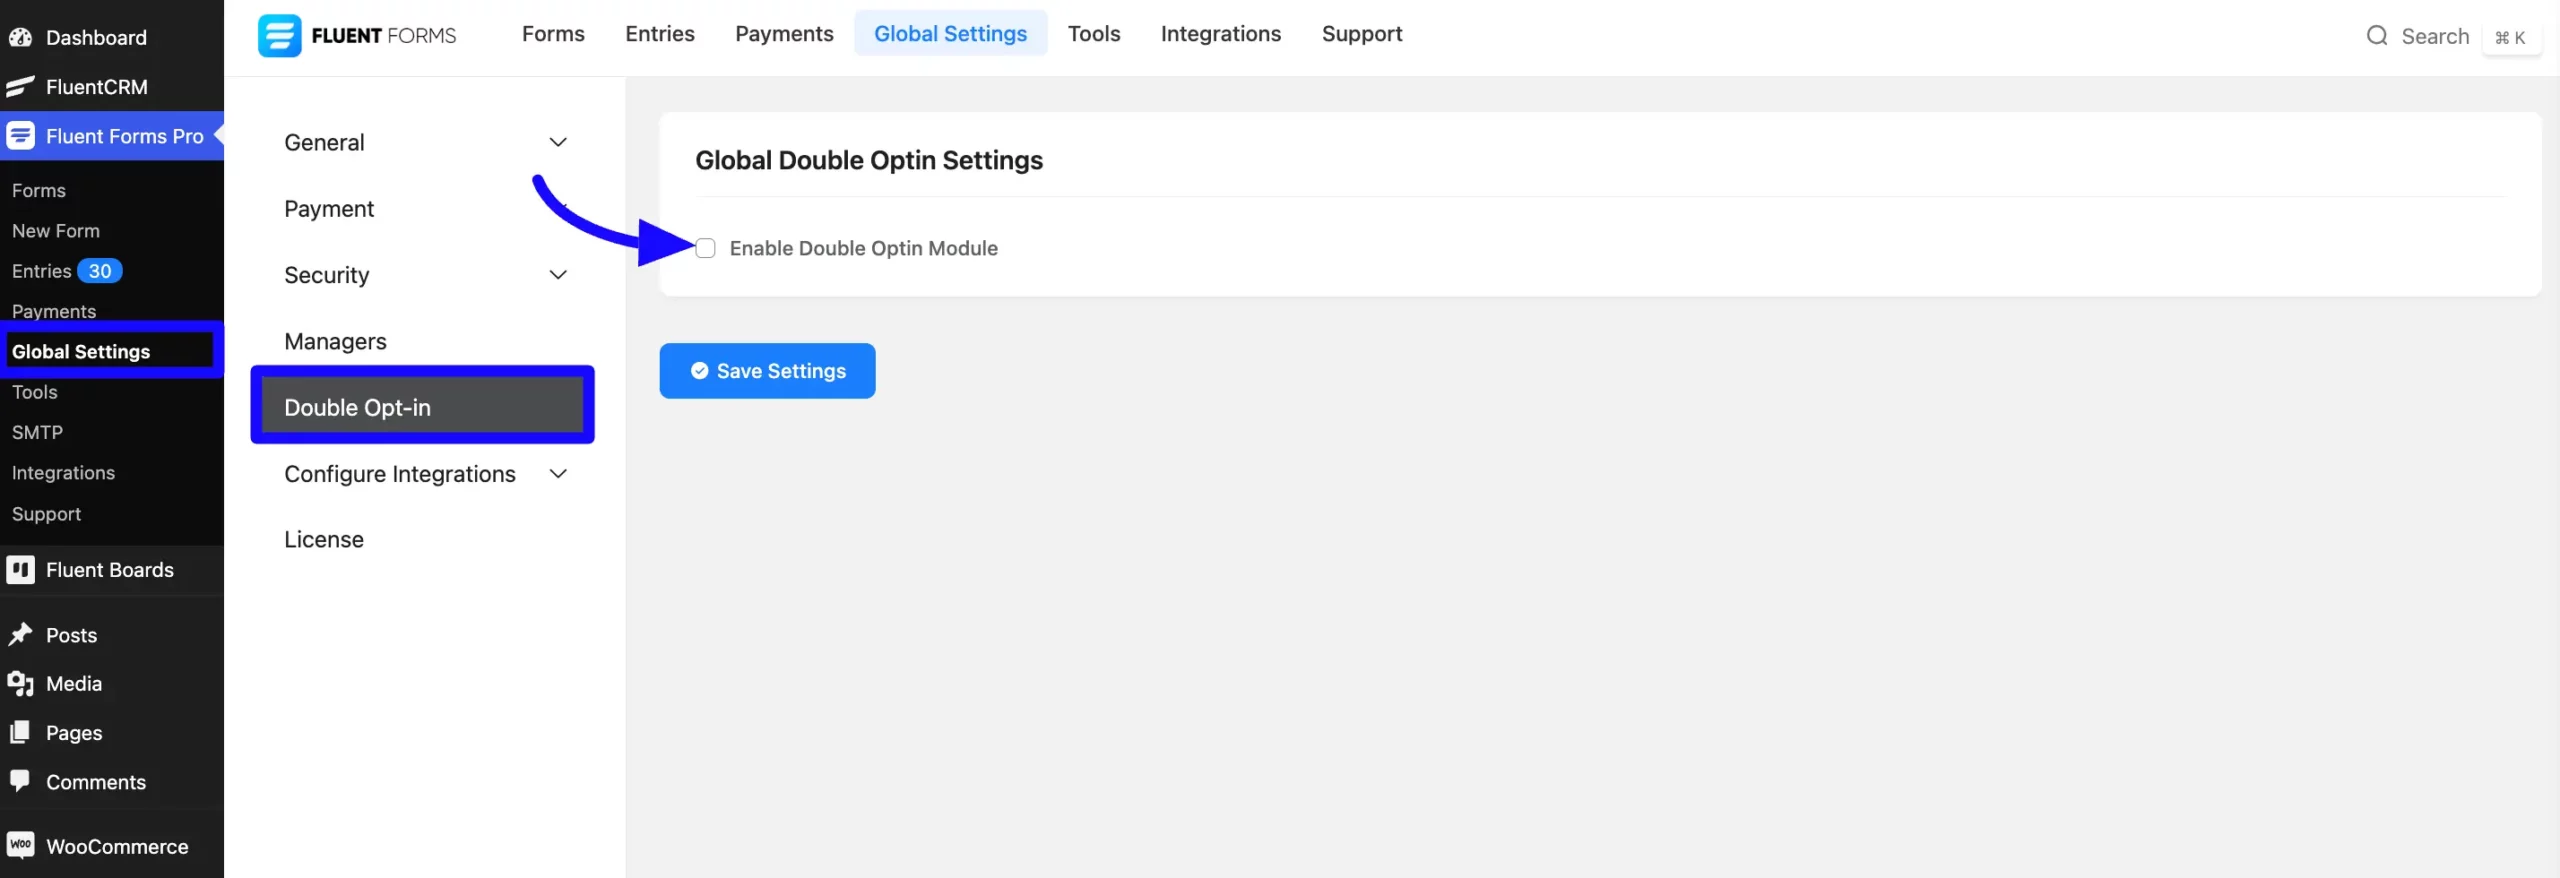
Navigate to Global Settings in Fluent Forms, accessible from the left sidebar of your WordPress dashboard. Under the Settings tab, locate and select the Double Opt-in Settings section.
Now, check the box to Enable Double Opt-In Module.
Configure Global Double Opt-In Settings #
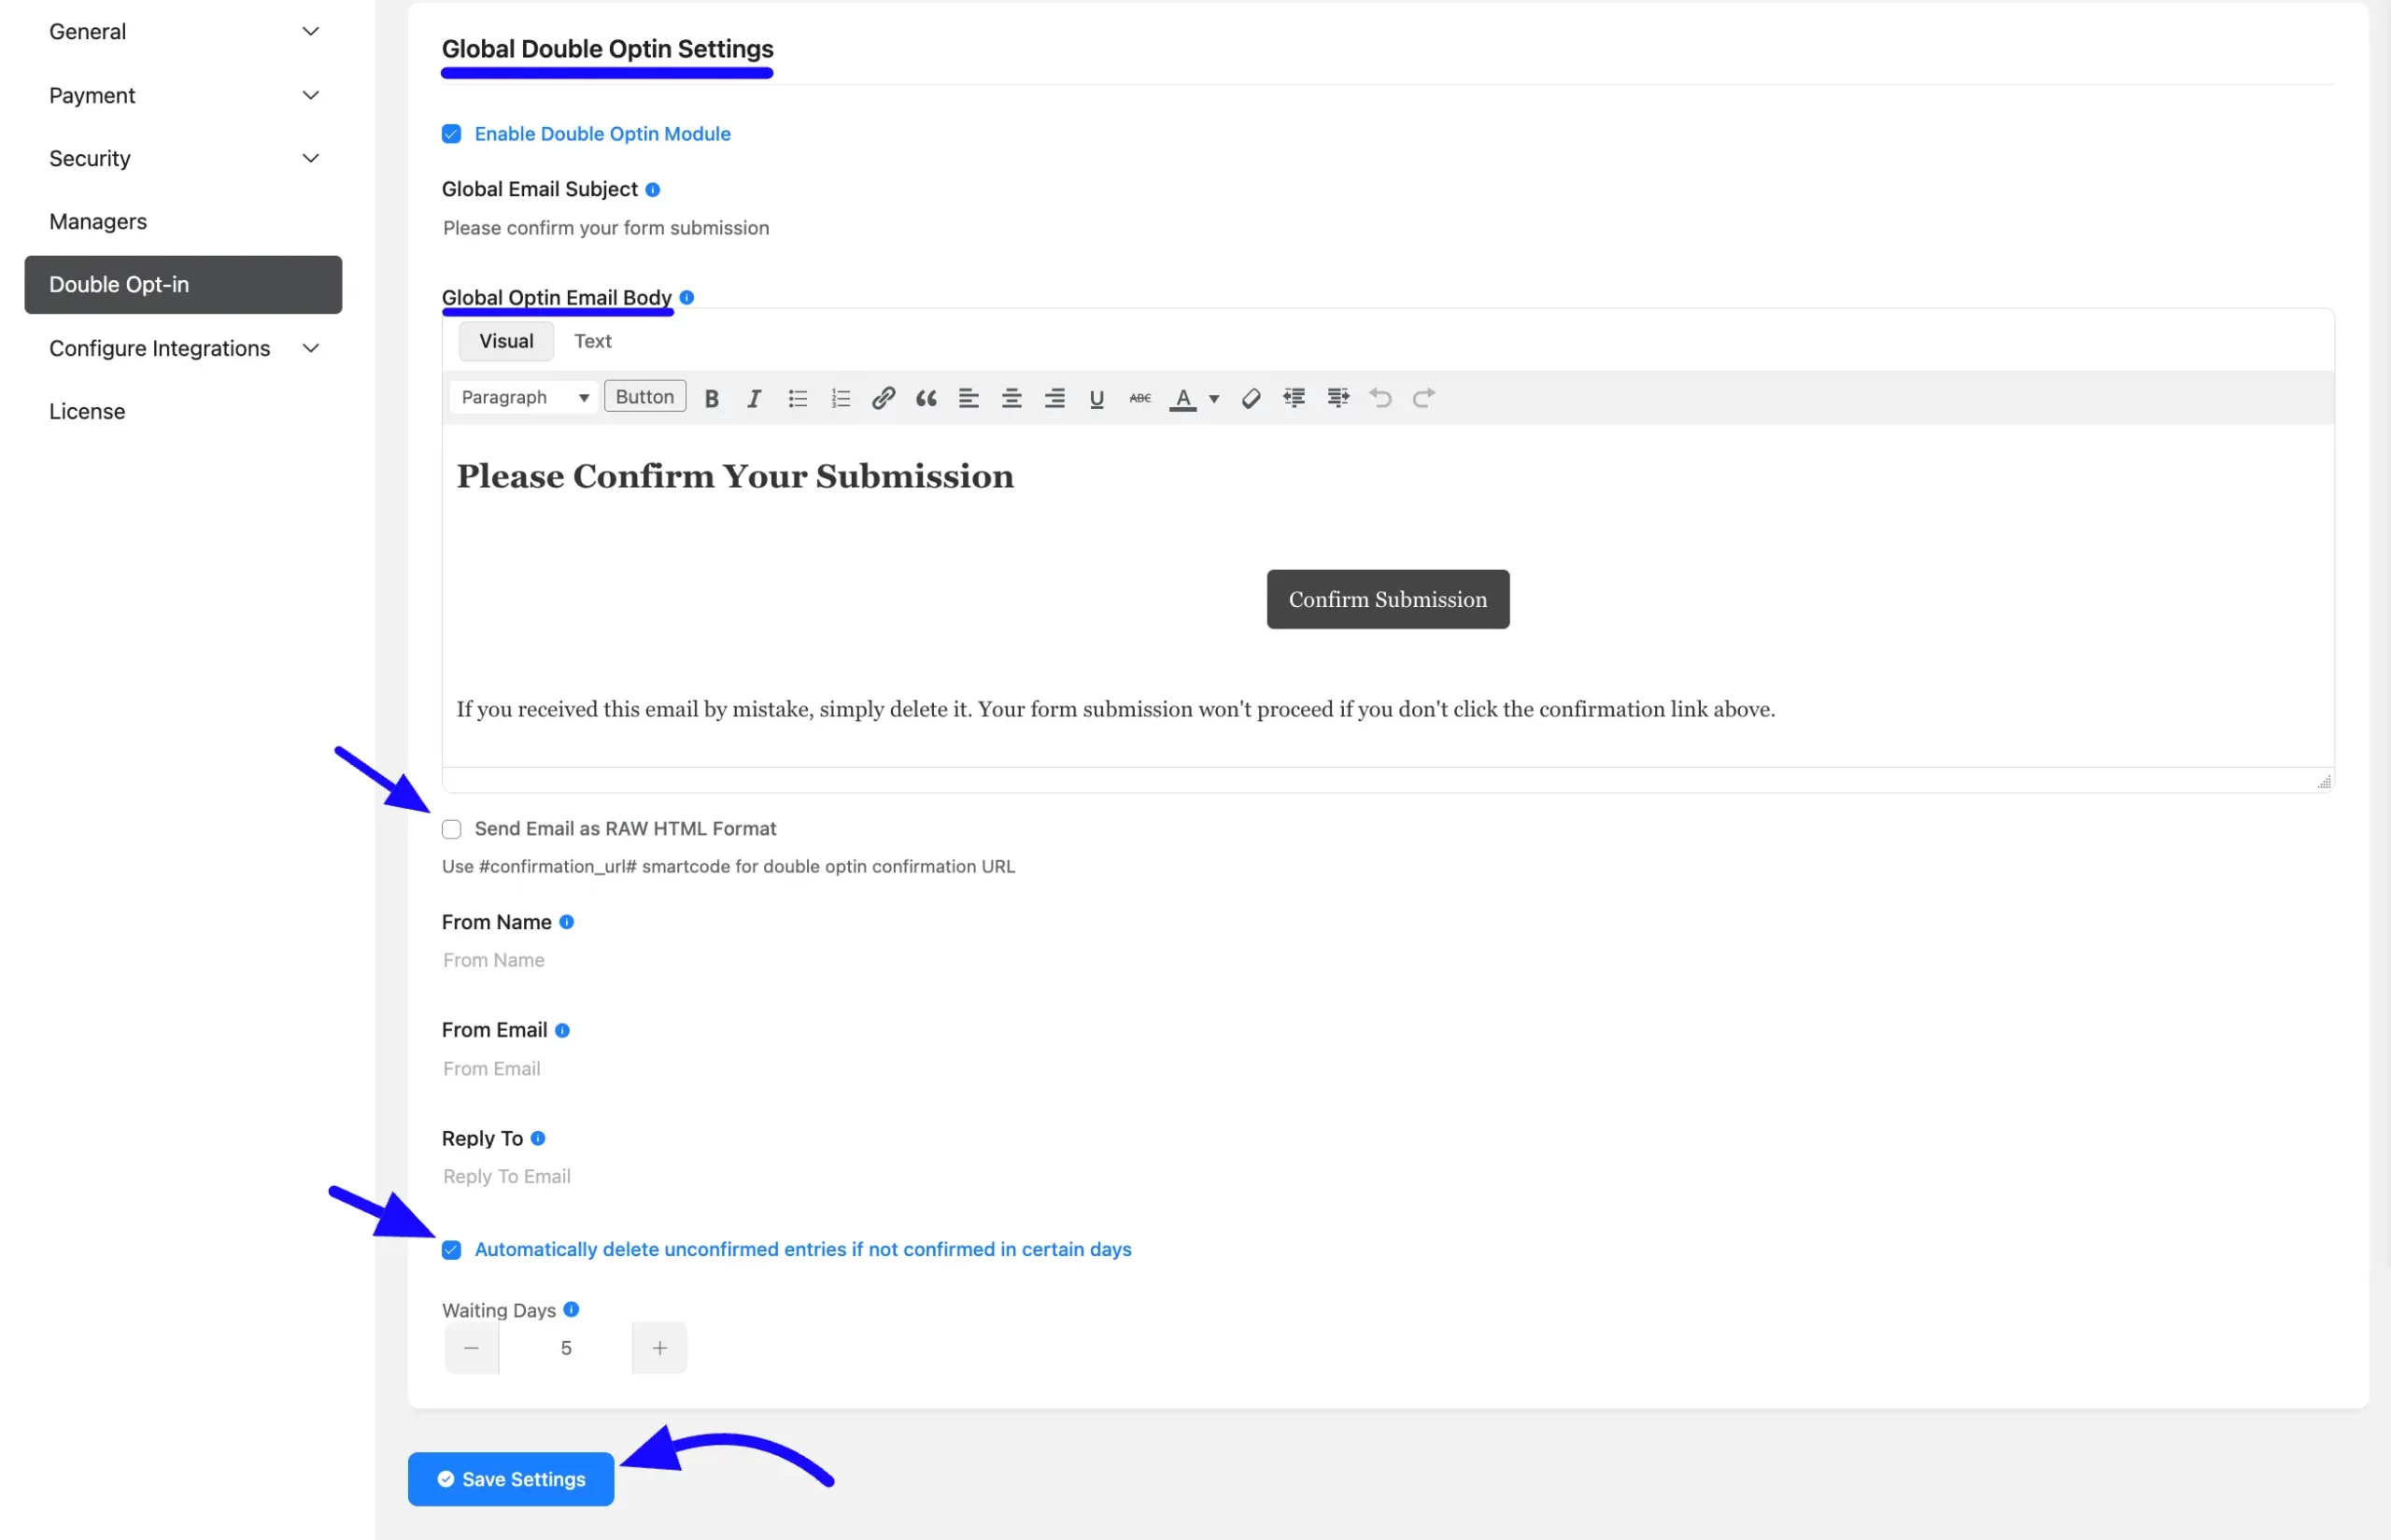
Now, you will configure the Email Subject for a double opt-in email with the Global Email Subject option.
Email Subject: Set the subject line for the double opt-in confirmation email.
Global Opt In Email Body: Enter the message content for the confirmation email. This can range from a simple message to a fully designed HTML email.
Send Email as RAW HTML Format: Enable this option to paste your custom HTML design, ensuring the email appears exactly as intended.
Sender and Reply-To Settings #
From Name: Enter the name you want the notification email sent.
From Email: Enter the email from which you would like the notification email sent.
Reply To: Enter the email that you would like to be used as the reply-to address for the notification email.
If the Reply to the field is empty, the email sent by your domain’s SMTP will work by default.
The confirmation message will not work if your outgoing email and reply to an email address are already set to a different one than the one you set in fluent forms. So make sure they match.
Enable Double Opt In Your Form #
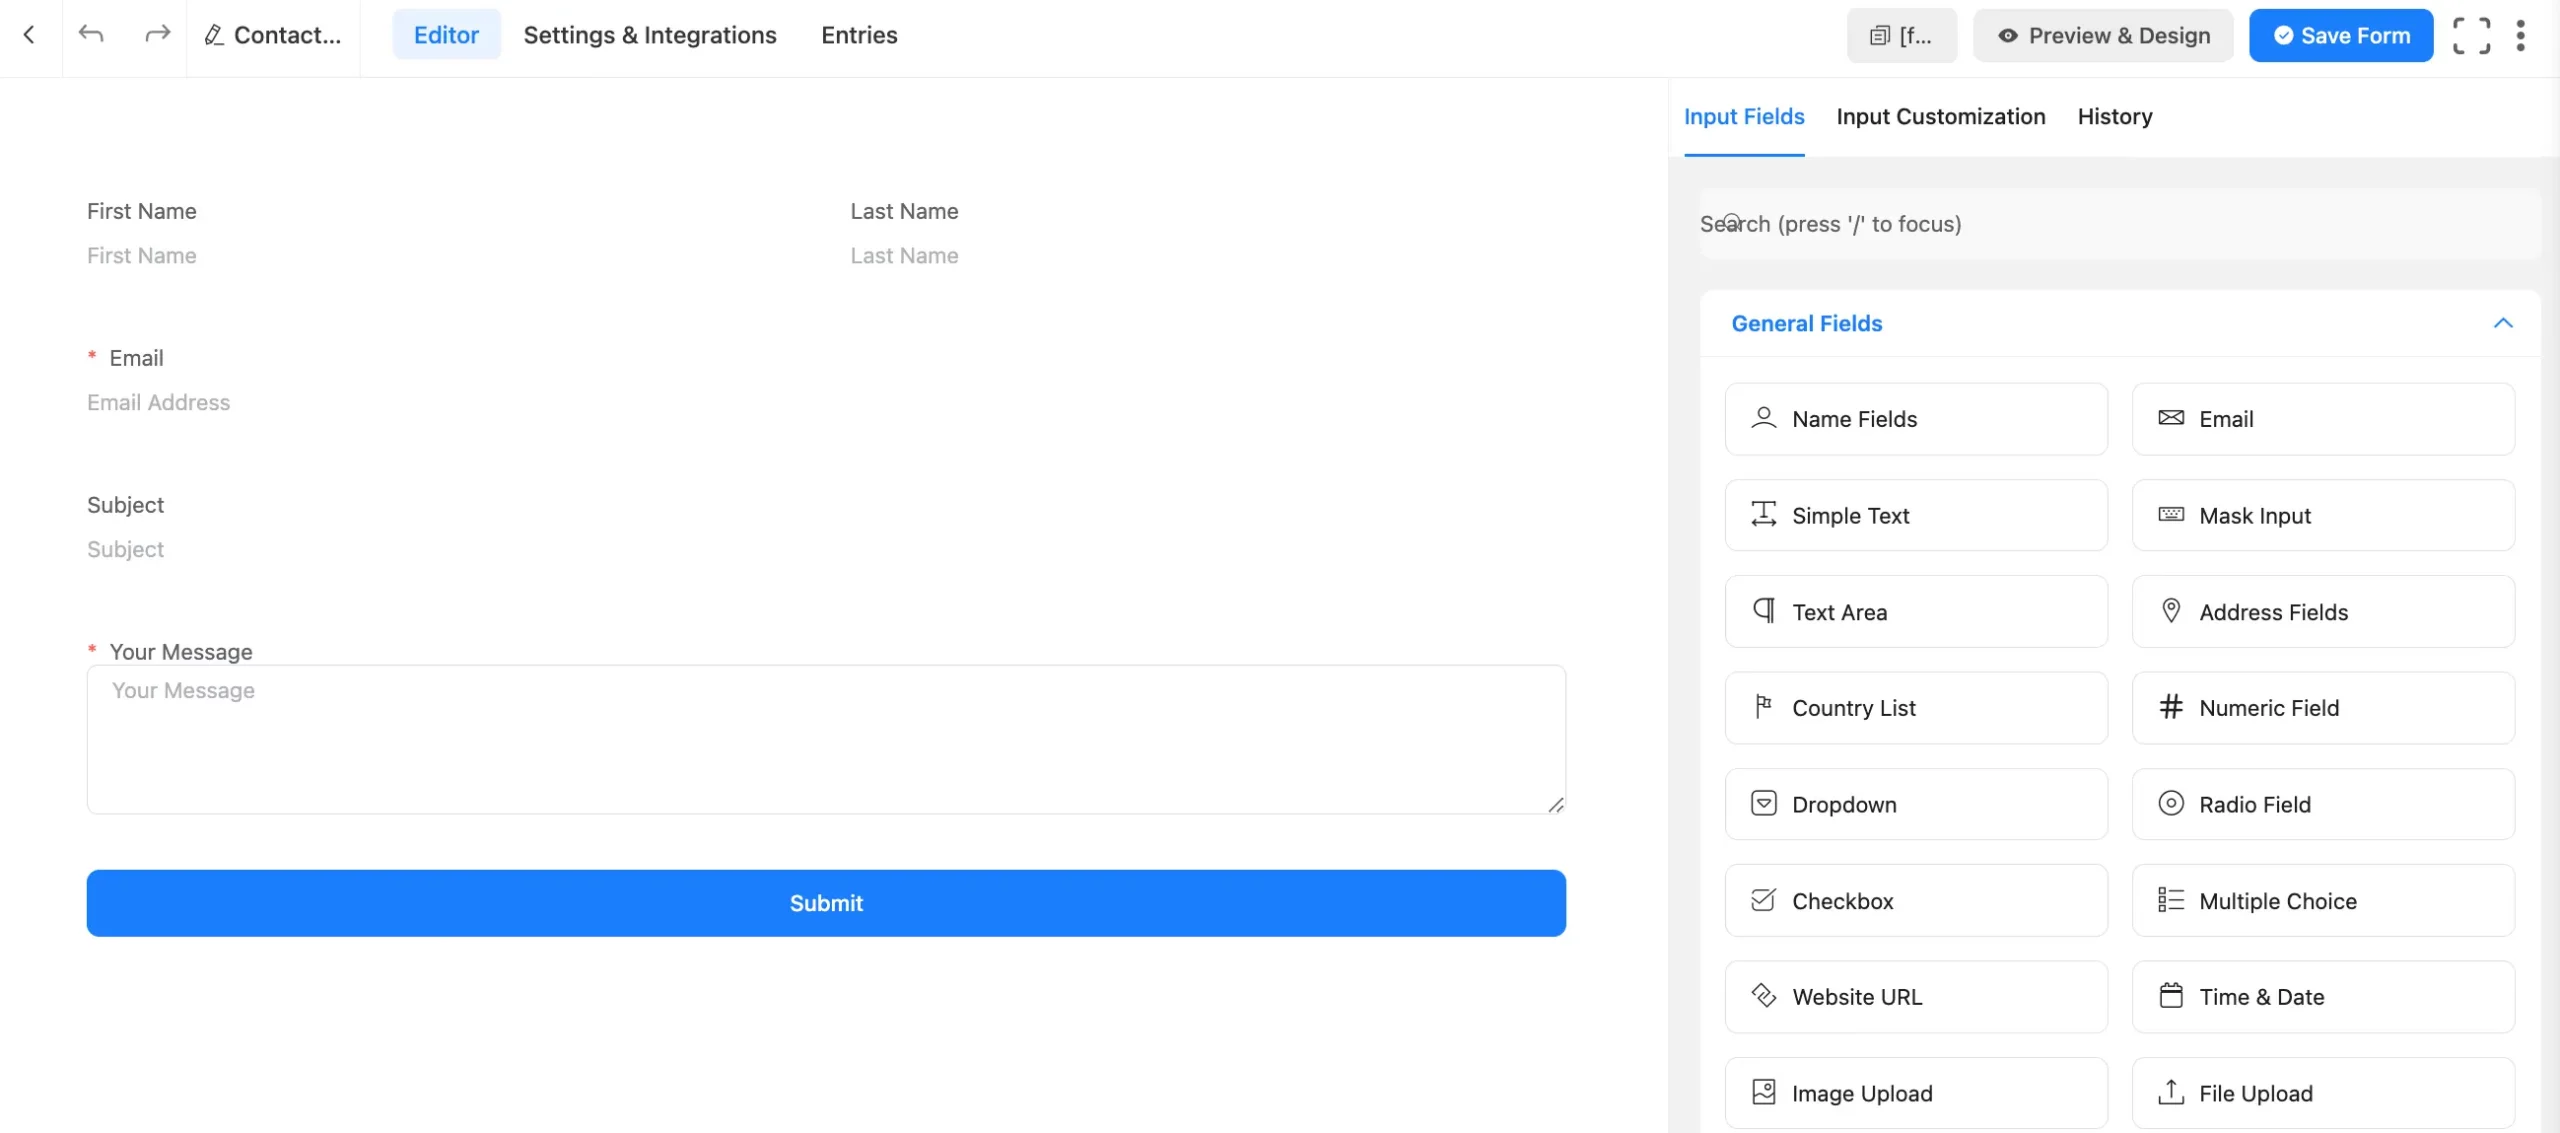
First, go to Forms from the top navbar. Create a new form or existing form.
“If you do not have any existing forms, read Create a Form from Scratch or Create a Form using Templates documentation to create a new one.”
For example, a contact form has been used here.
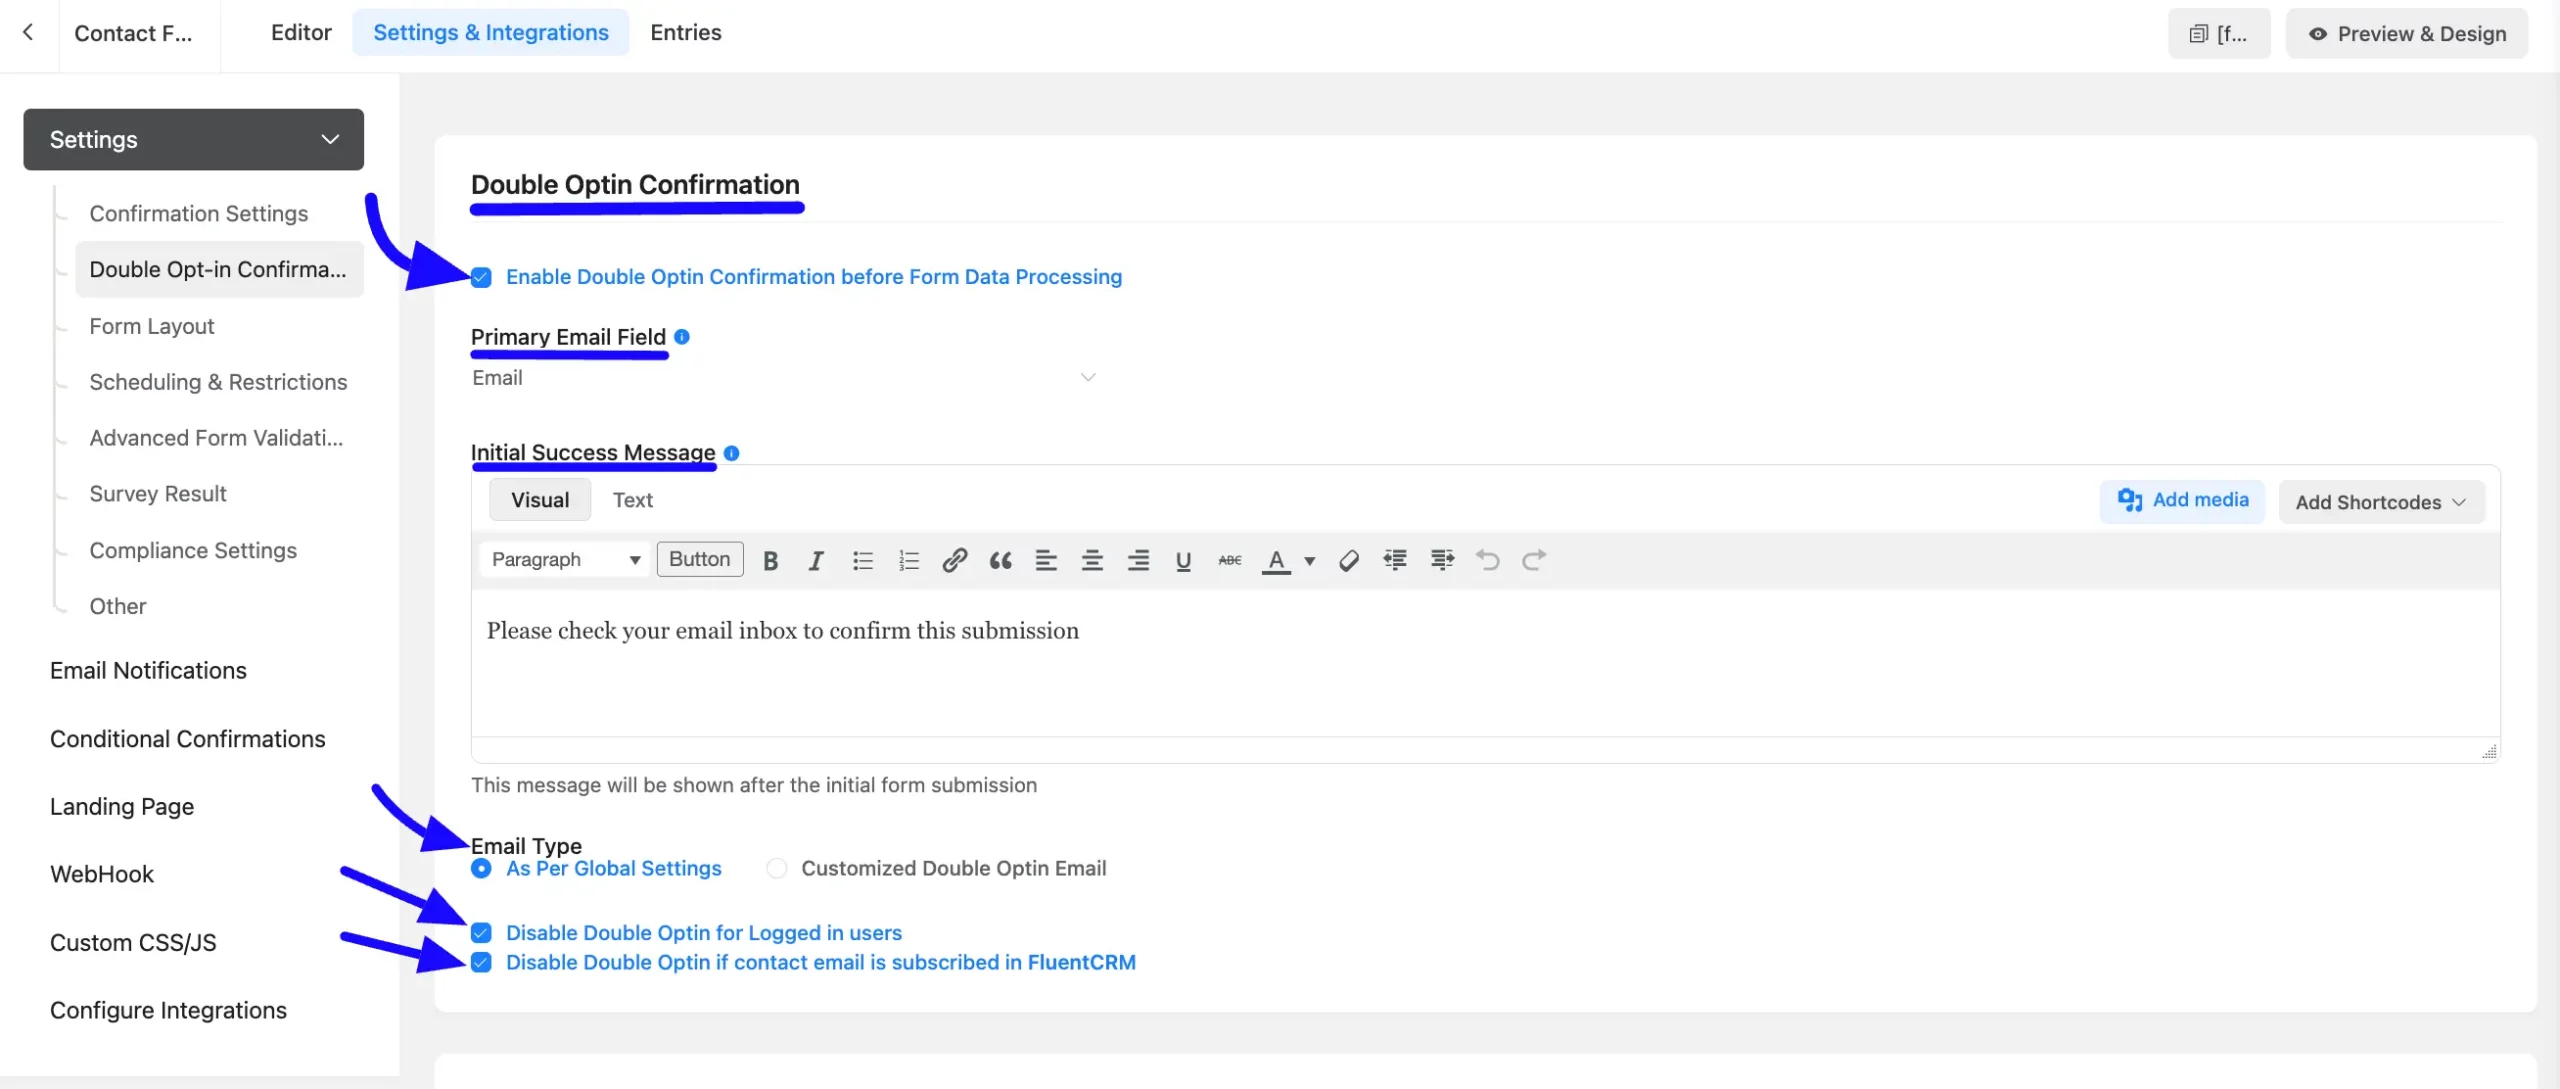
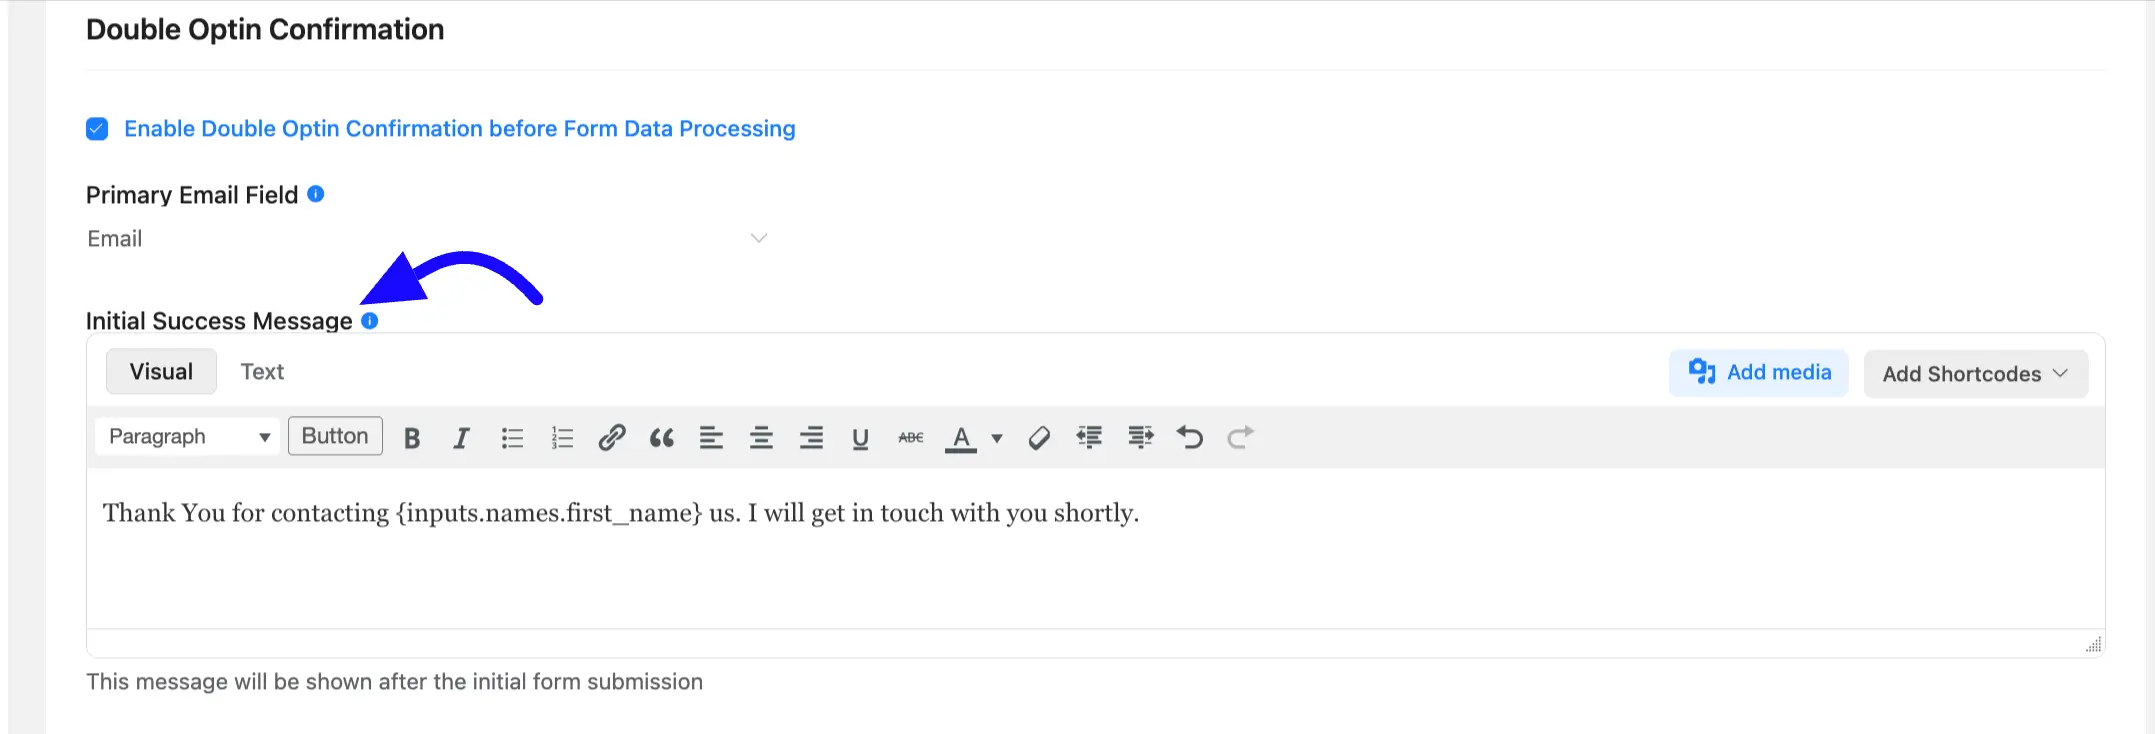
Now go to the Settings & Integrations tab. Scroll down and check the option to Enable Double Opt-In Confirmation before Form Data Processing.
Primary Email Field: After this, you will see a few options for setting up the Primary Email Field. The double opt-in email will be sent for verification in the selected email field.
Initial Success Message: In the Initial Success Message option, enter the text you want the user to see just after the initial form submission.
Also, you can enter the email body as you want.
Email Type: In the email type section, you can check the As Per Global Settings ( you set up before ) or choose the Customized Double Opt In Email option.
If you want to Disable Double Opt-In for the logged-in-user check the box.
And if you want to Disable Double Opt-in if the contact email is subscribed in FluentCRM, check the box.
After all settings are set, click the Save Settings button.
After the user confirms their subscription from email the form confirmation will be displayed; see the example below where you can edit the Confirmation Message.
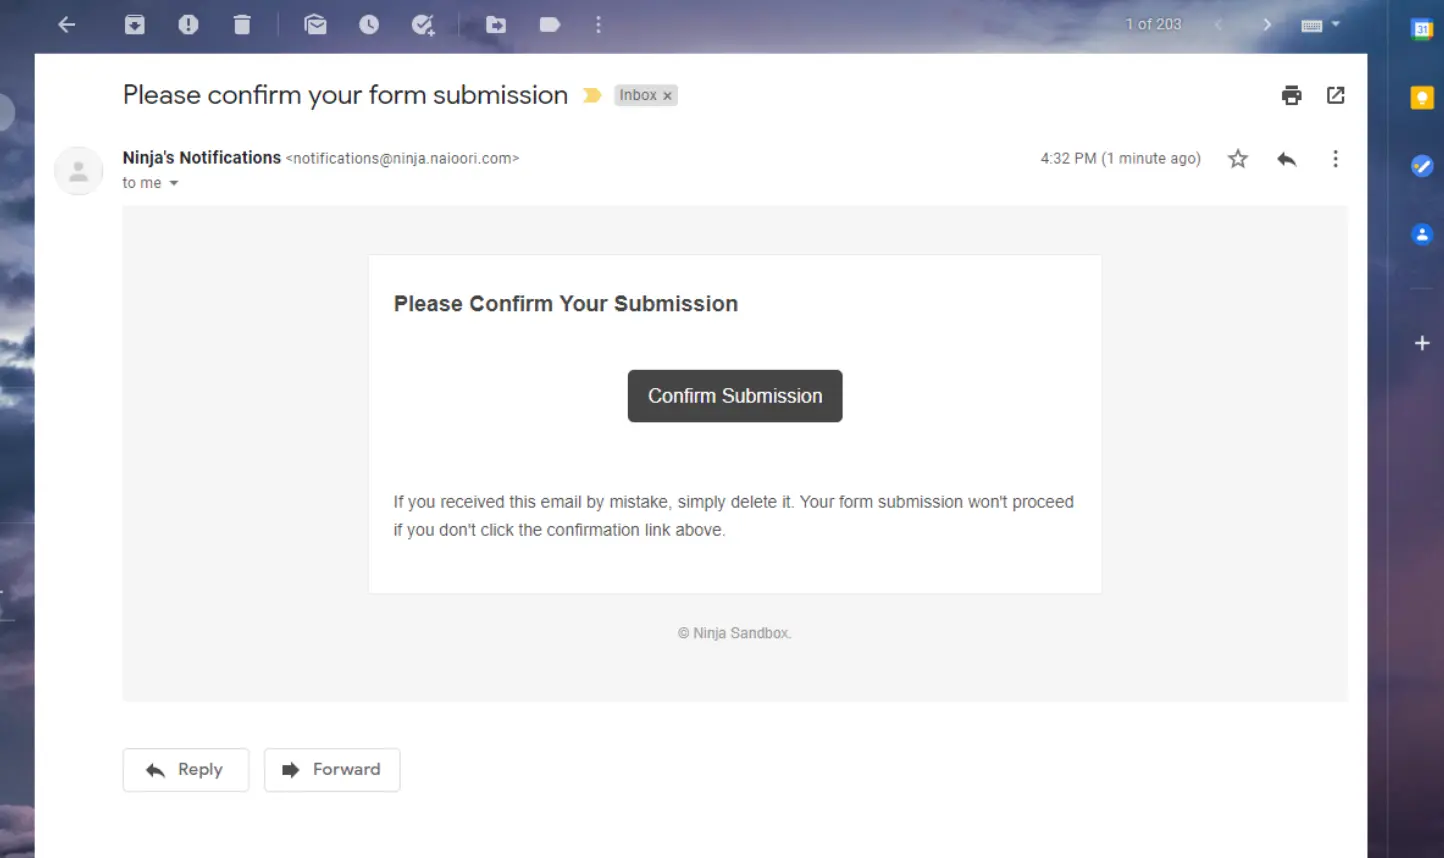
When the user confirms their subscription, an email notification will be triggered, completing the process.
So, this is the process to set up and customize Double Opt-In Emails in Fluent Forms.
If you have any further questions, concerns, or suggestions, please do not hesitate to contact our @support team.


