The Fluent Forms restriction feature allows you to control the number of entries in your forms, even at specific time intervals, such as daily, weekly, or annually.
This article will guide you on restricting form entries in Fluent Forms.
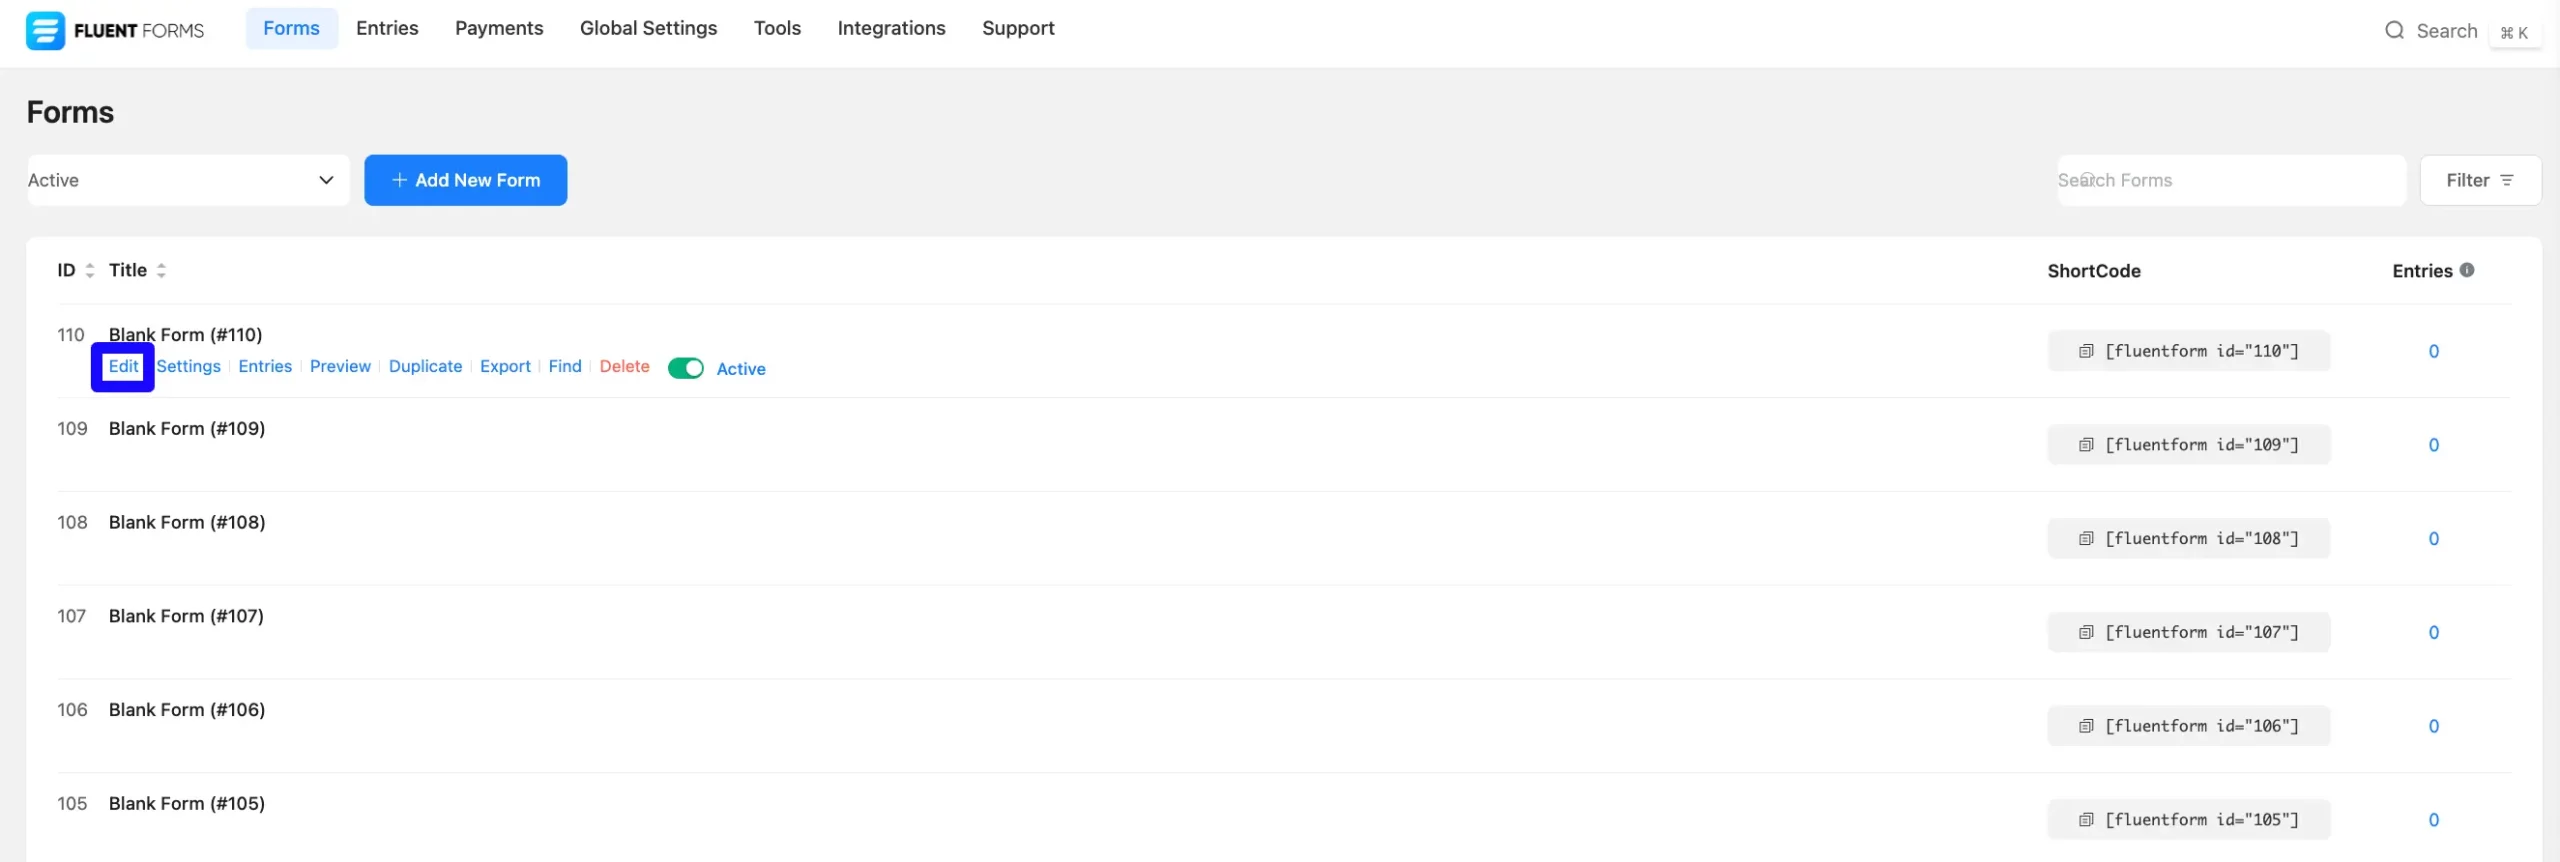
Access the Form Settings #
To access the settings, go to Forms from the top Navbar, and open the Editor page of your desired form by clicking the Edit button on which form you want to restrict to entries.
If you do not have any existing forms, read Create a Form from Scratch or Create a Form using Templates documentation to create a new one.
Enable Entry Restrictions #
Inside the form editor, click on the Settings & Integrations tab at the top menu bar. Stay in the Settings section and scroll down to find Scheduling and Restrictions option.
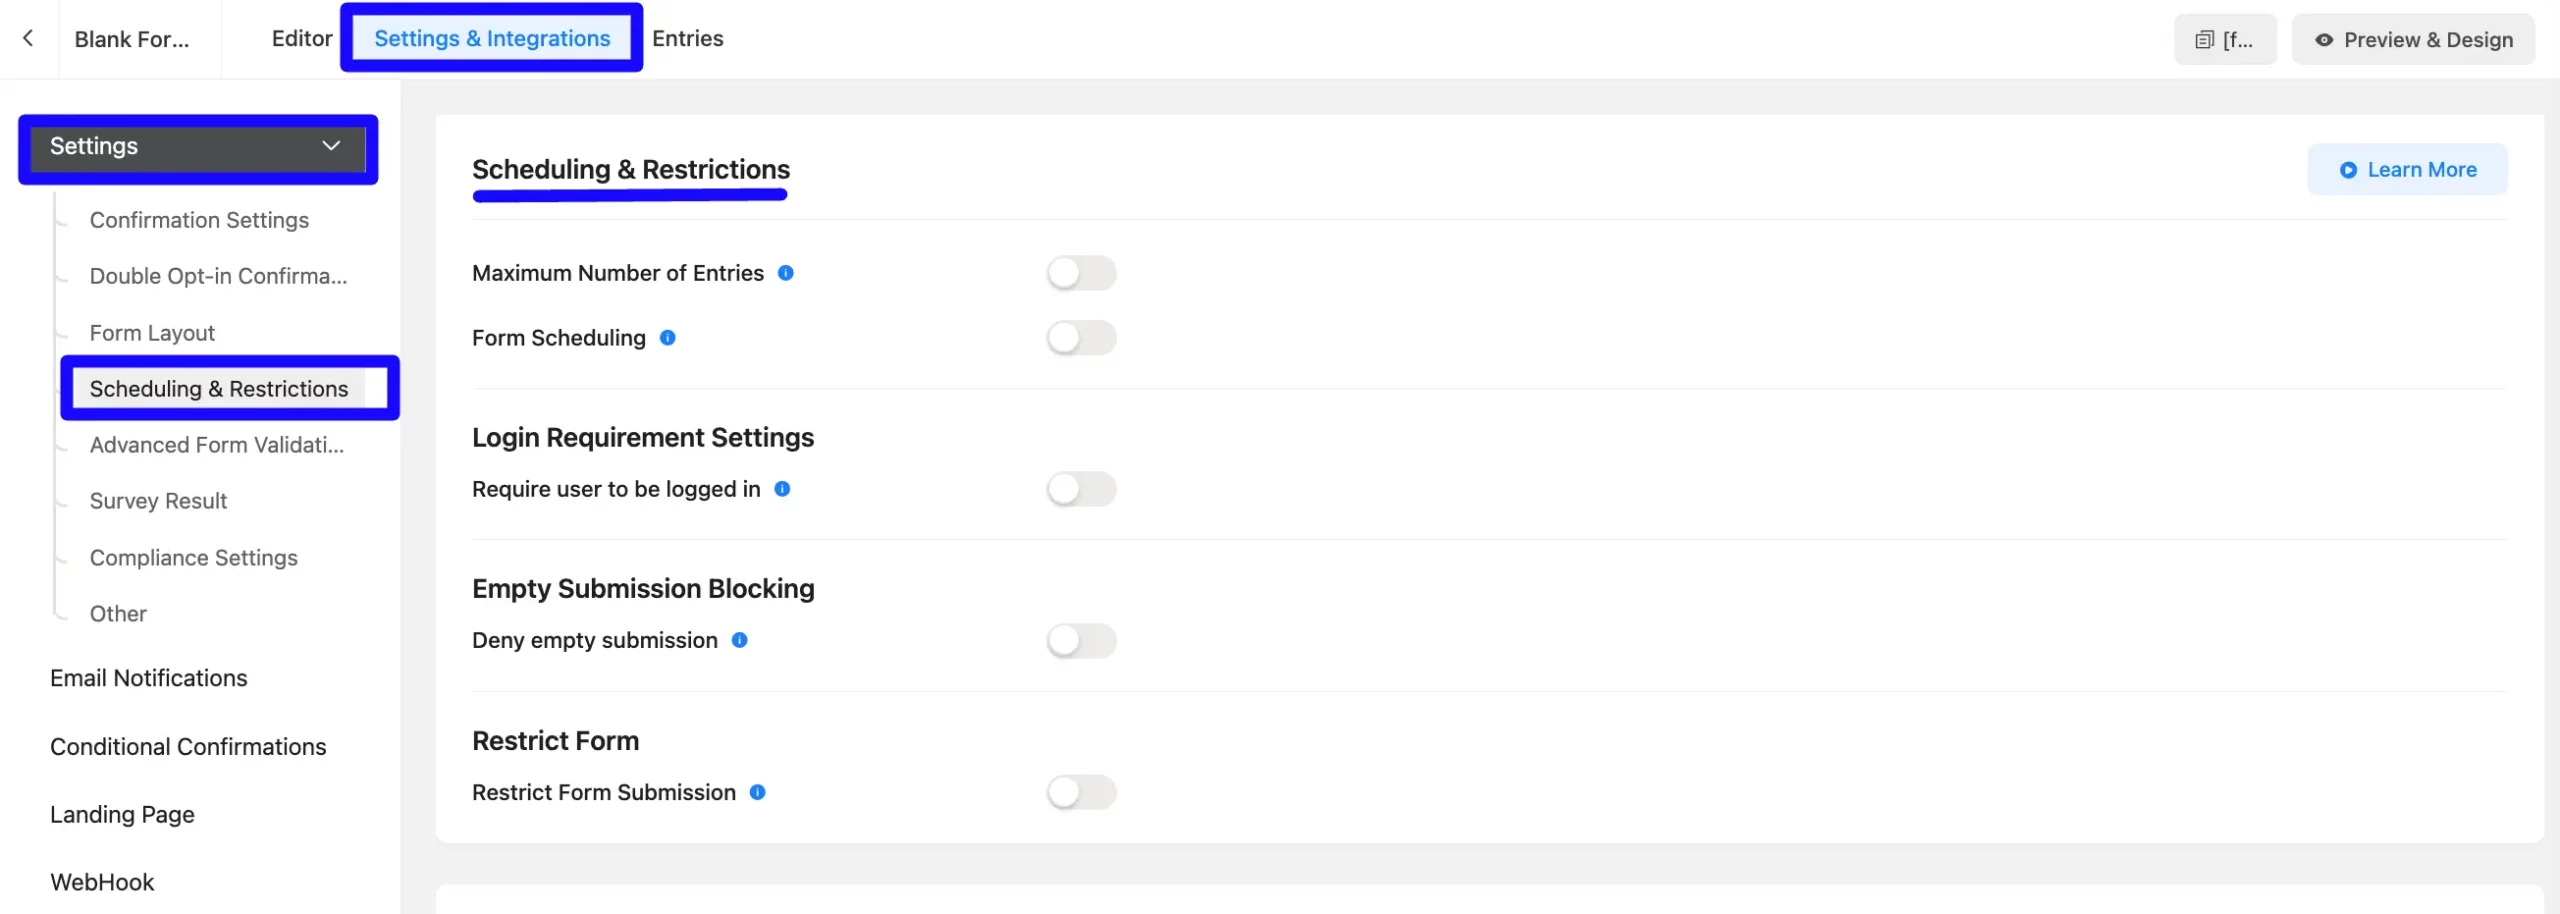
Configure Form Restrictions #
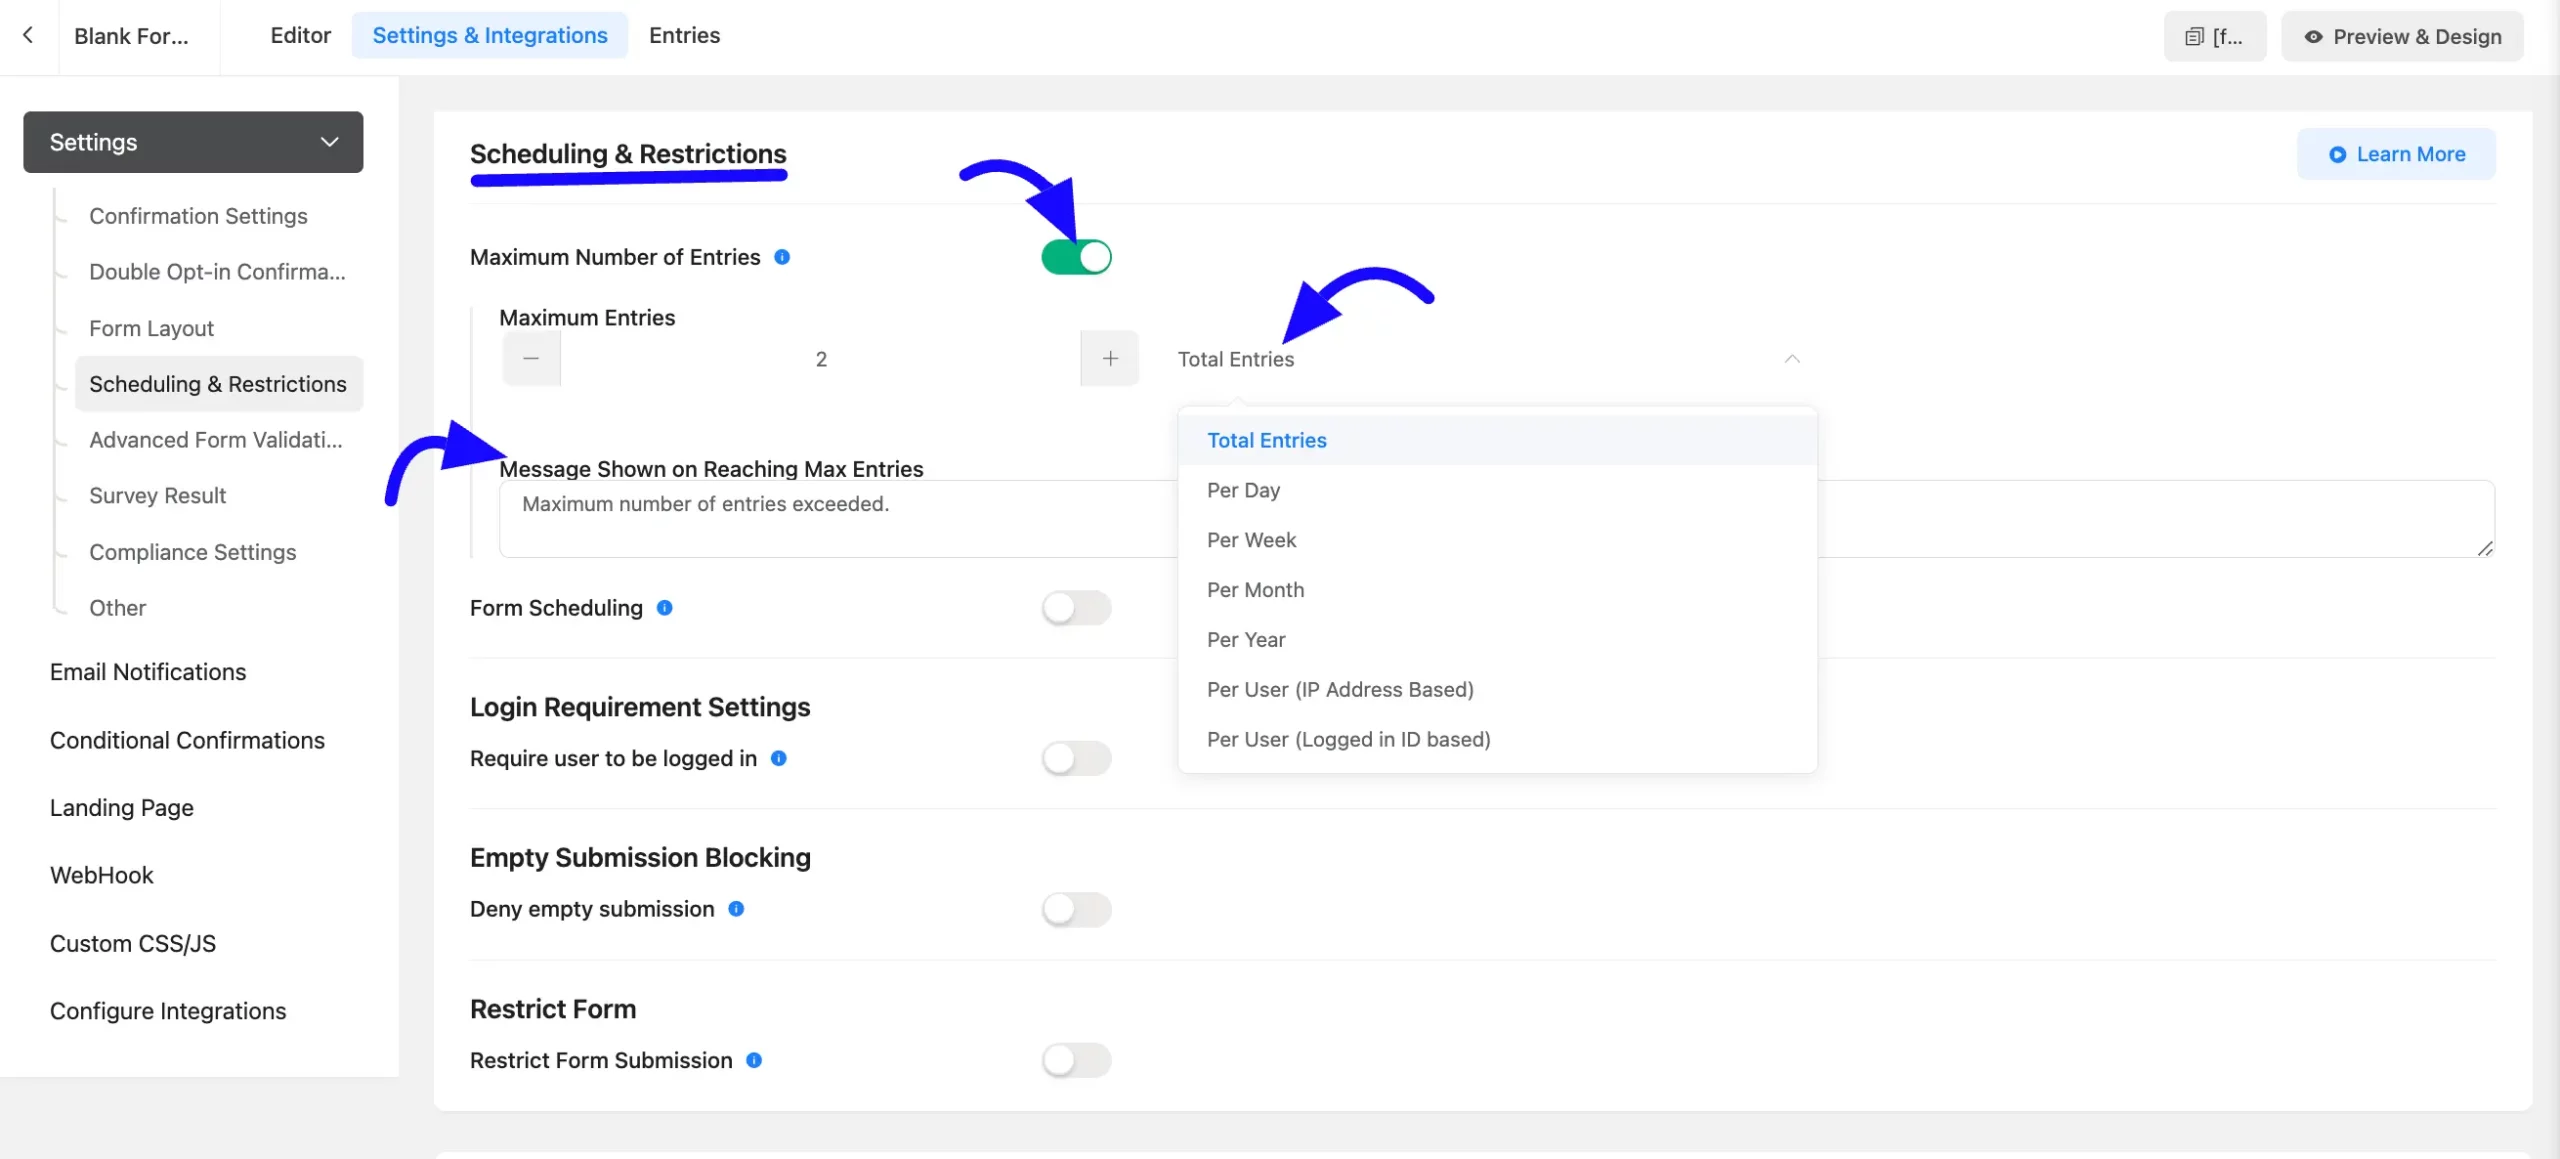
Maximum Number of Entries: Now enable the Maximum Number of Entries options. Then define the maximum number of entries allowed for that particular form by clicking the Plus (+) Icon or Minus (-) Icon.
Now, define the time interval by clicking the Total Entries section adjacent to the dropdown menu. The restrictions will be effective according to the specified time interval.
Here you can choose how frequently the entry limit applies. Options are included Per Day, Weekly, Monthly, Year, and Per User.
Message Shown on Reaching Max Entries: When the maximum number of entries is extended, the form user sees the message. Enter the message that you want to show off to your user here.
Once completed, all settings are Save Settings to apply changes. Otherwise, this will not work correctly.
These are all features of fluent form restrictions. If you have further questions, contact our support team.


