The Activity Logs feature keeps a record of actions performed in all your forms created through Fluent Forms in one place, making it easier to find information about specific actions without visiting each Form entry individually. This article will give you a quick overview of the Activity Logs in Fluent Forms.
Activity Logs #
To learn where you can find the Activity Logs and their functionalities, follow the steps with Screenshots and GIFs below —
Remember, here you can see only those form entries’ activities that have any Action occurred within them.
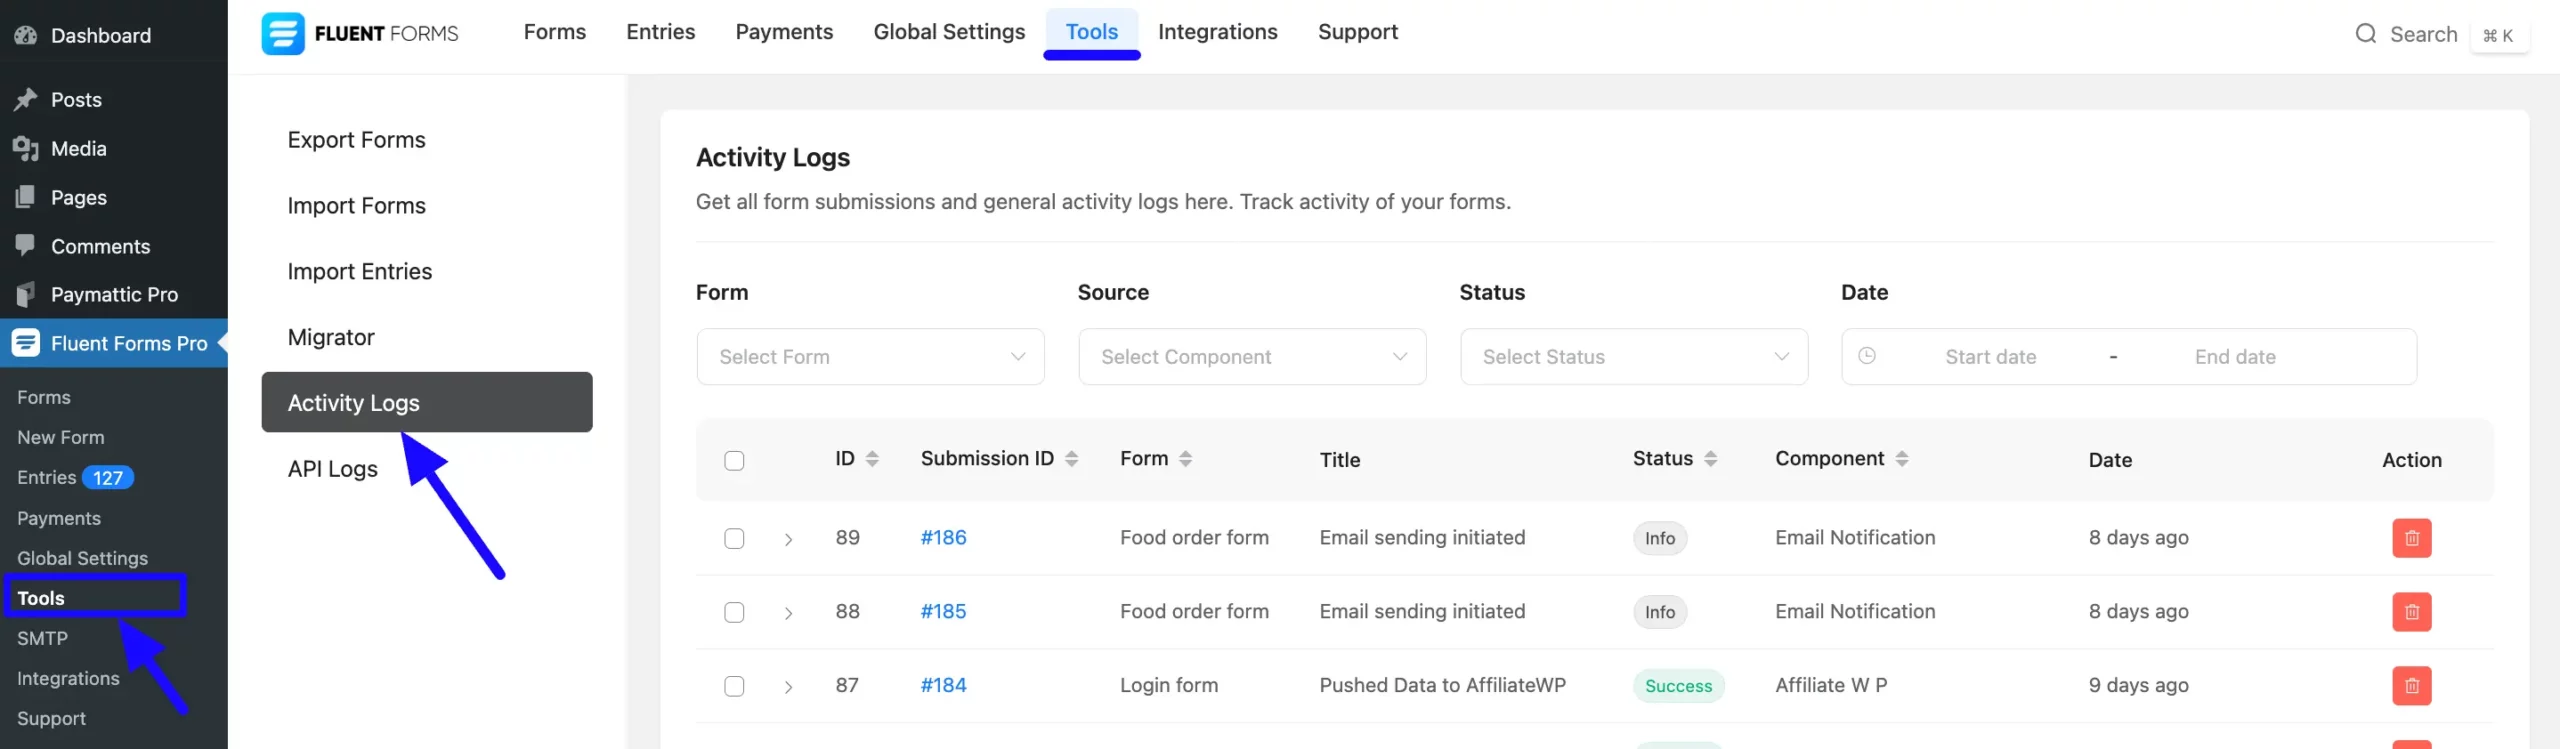
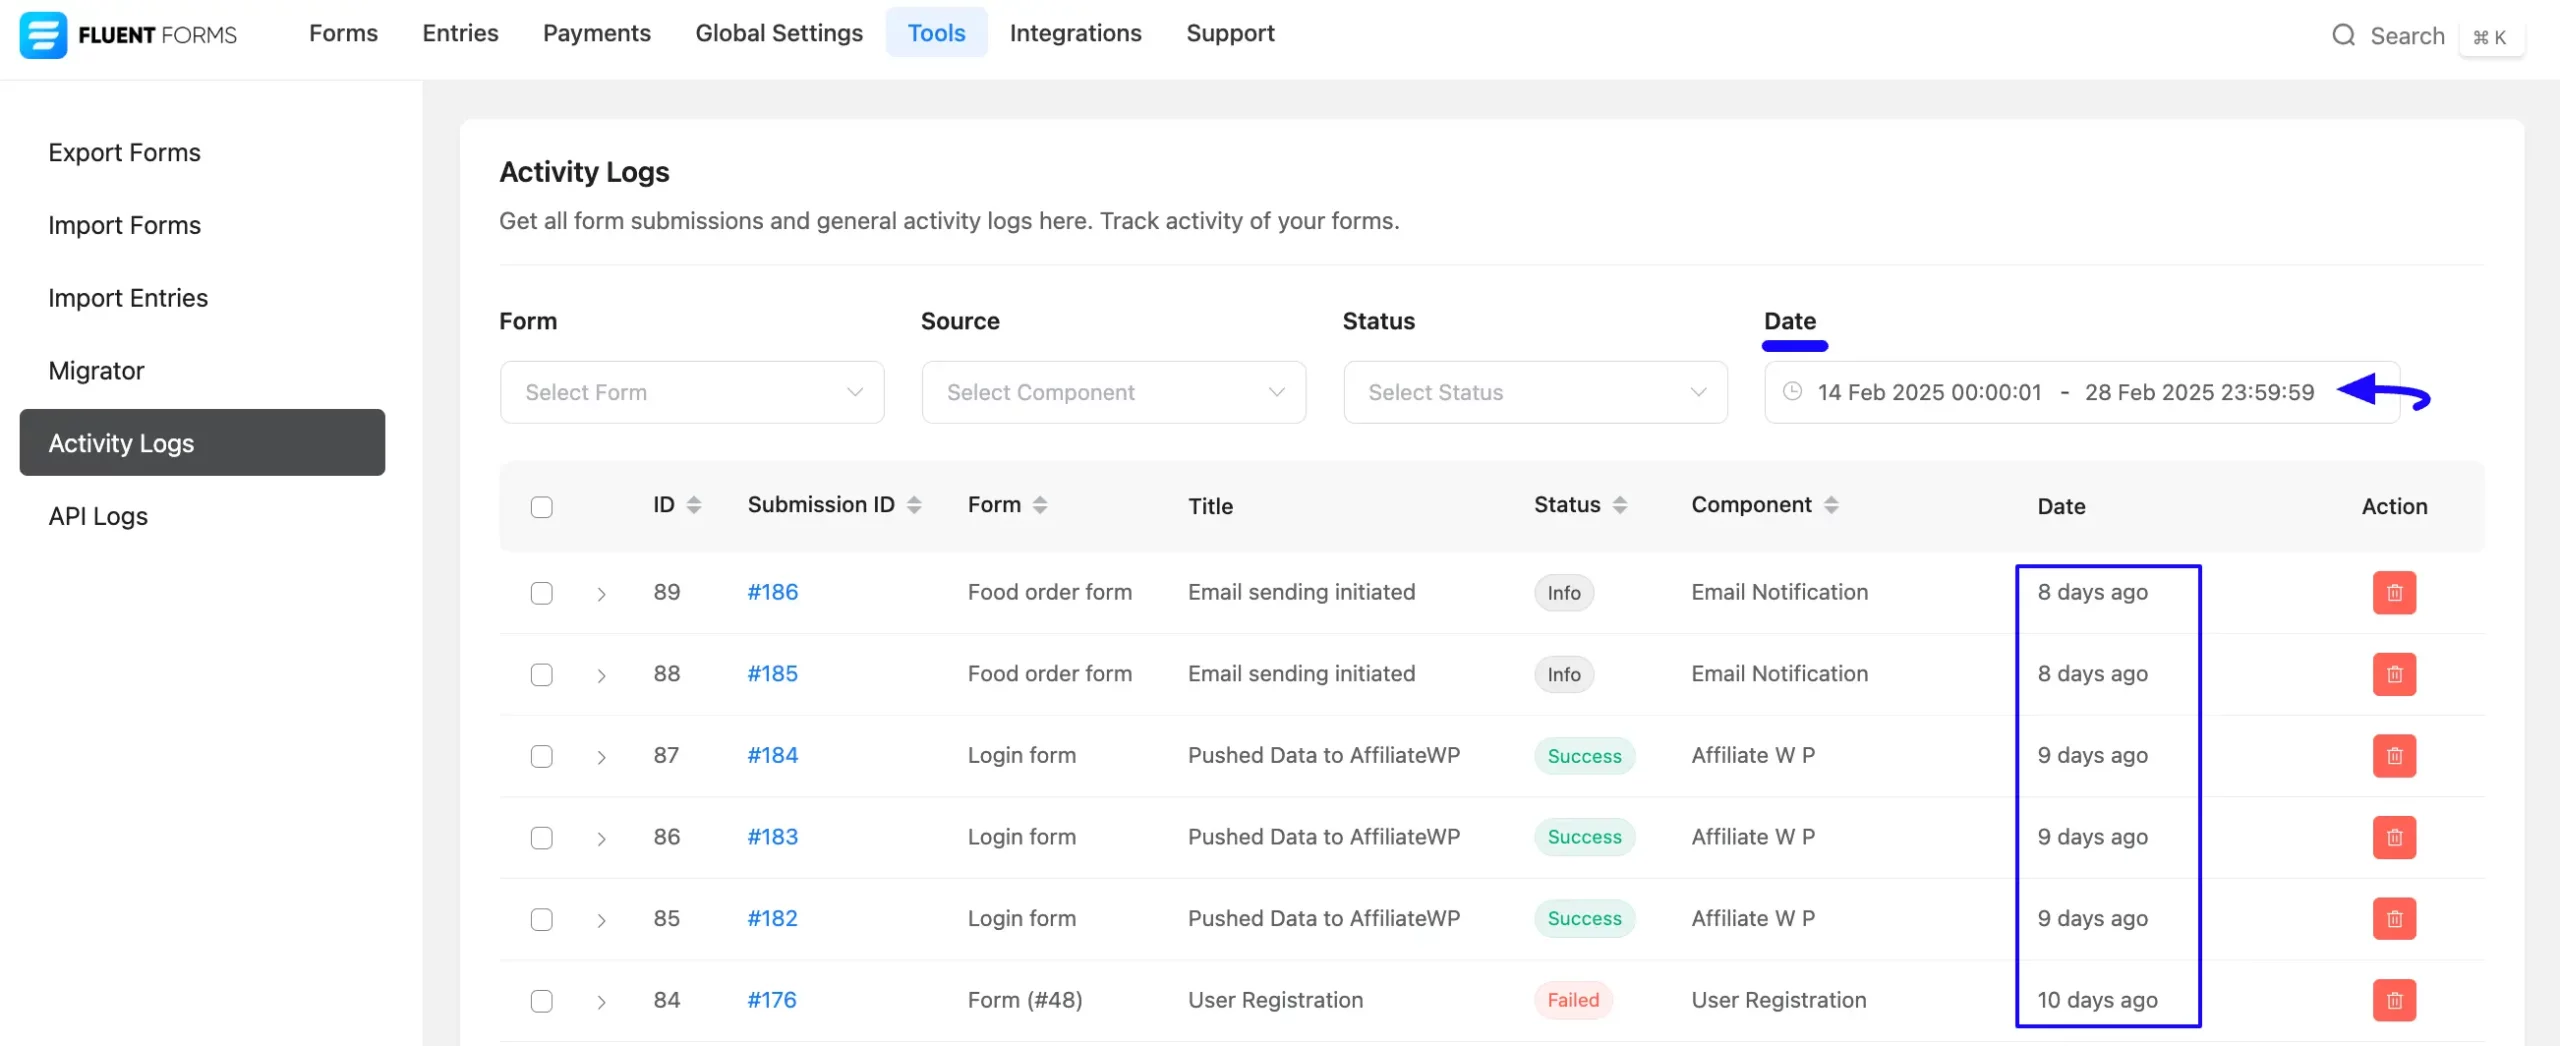
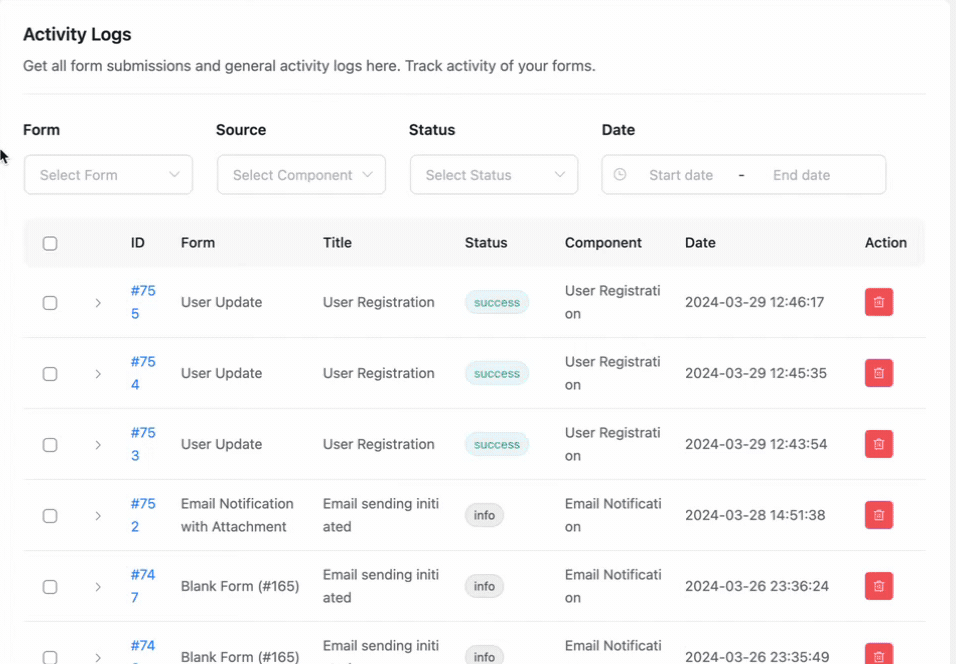
First, go to Tools from WordPress Left Sidebar or Fluent Forms Navbar, click the Activity Logs option in the left menu, and you can see all the activity logs of your forms on this page.
Filter Your Activity Logs #
However, if you want to see activities of a particular form or action, this page has four filtering options with dropdown lists to filter your forms. These are:
- Form
- Source
- Status
- Date
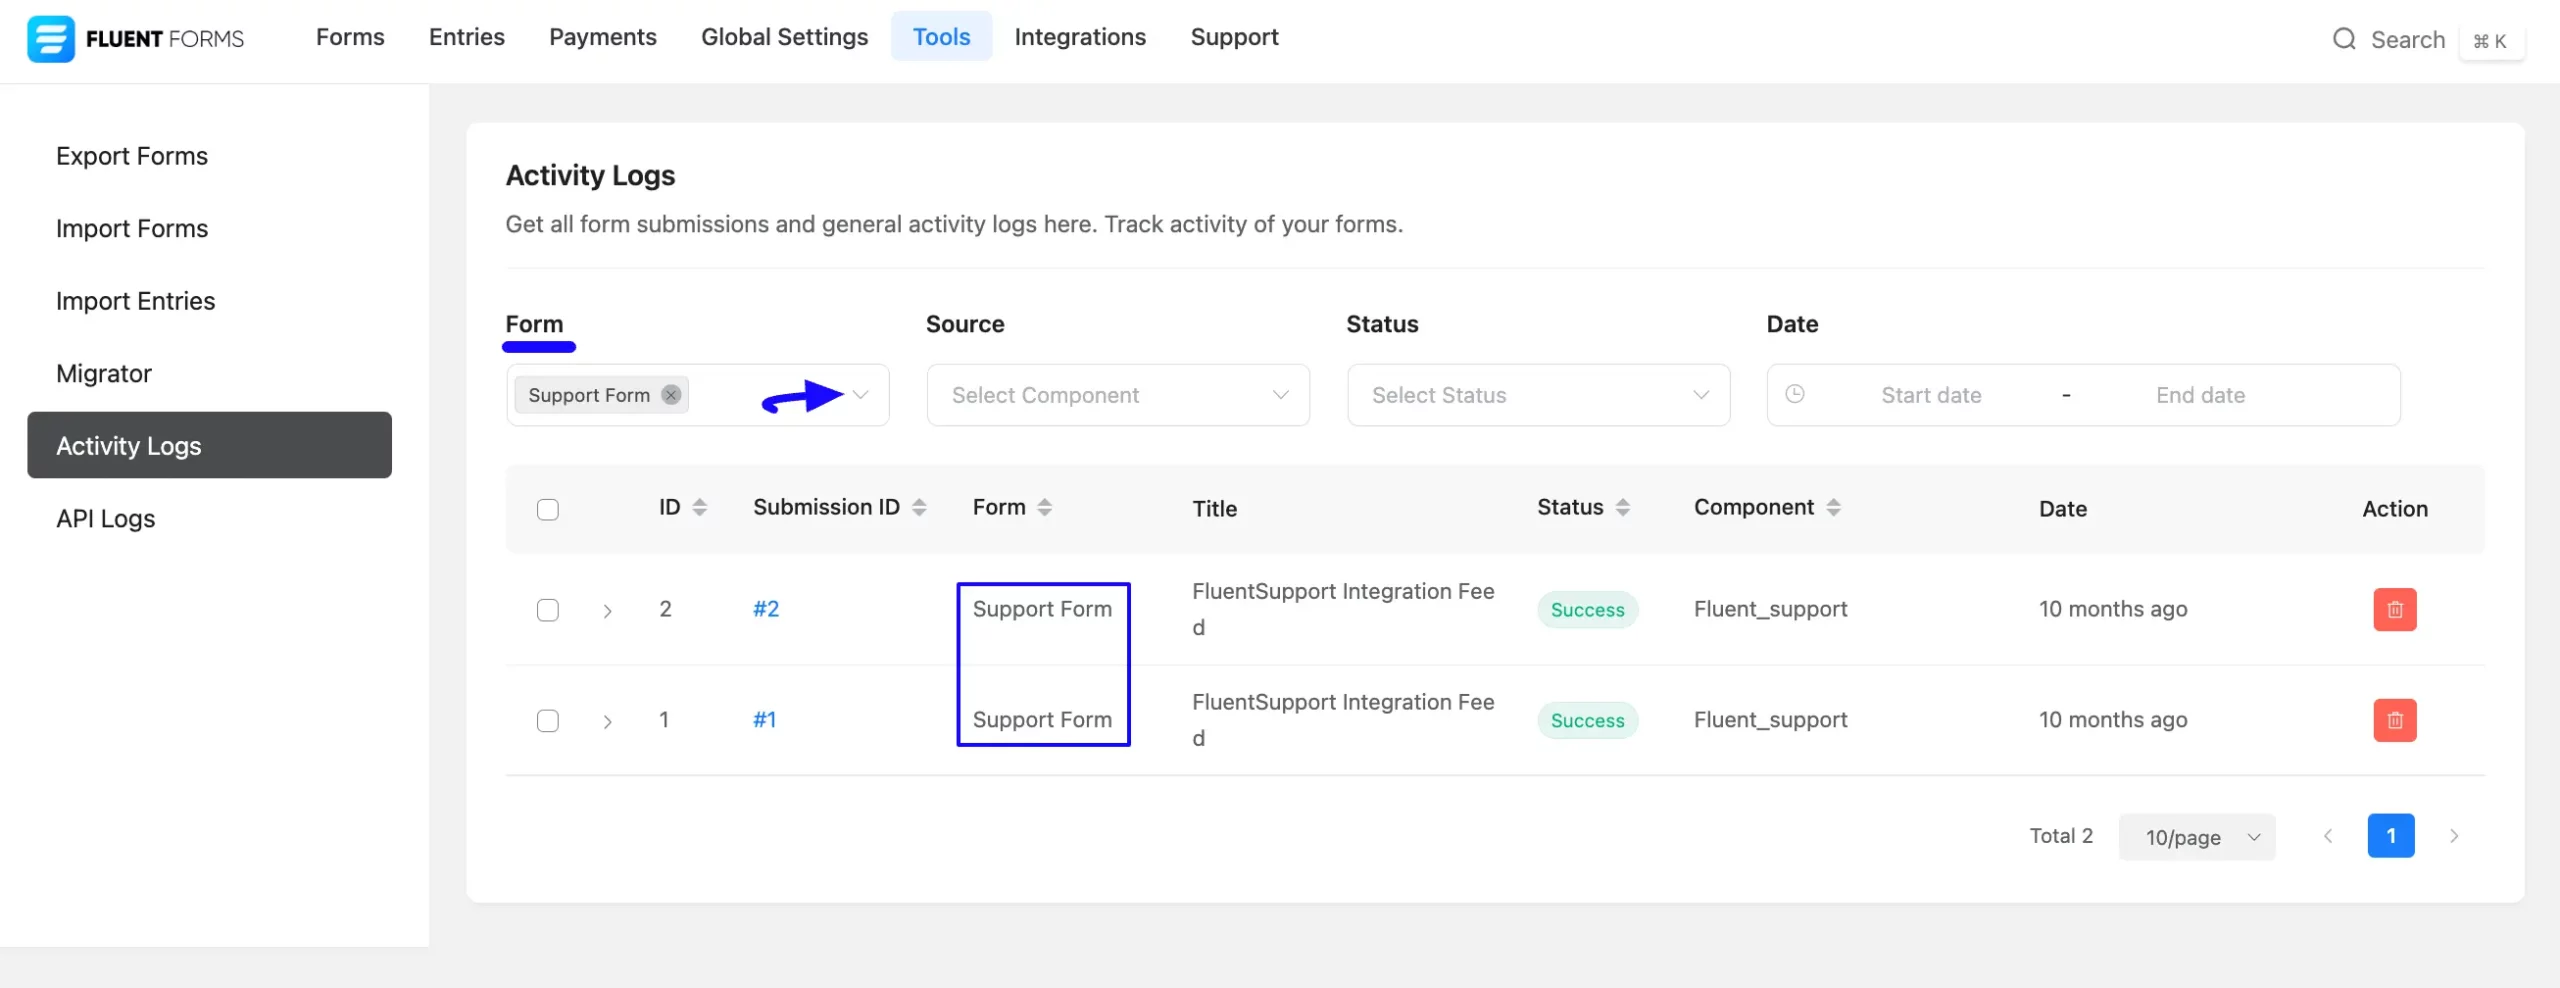
1. Form #
Use this filter to view activities of particular forms based on their Form Title, and you will get only those forms here that have any actions within them.
For example, I selected Support Form from the dropdown list by clicking the Arrow Icon, and the two Support Forms available appeared.
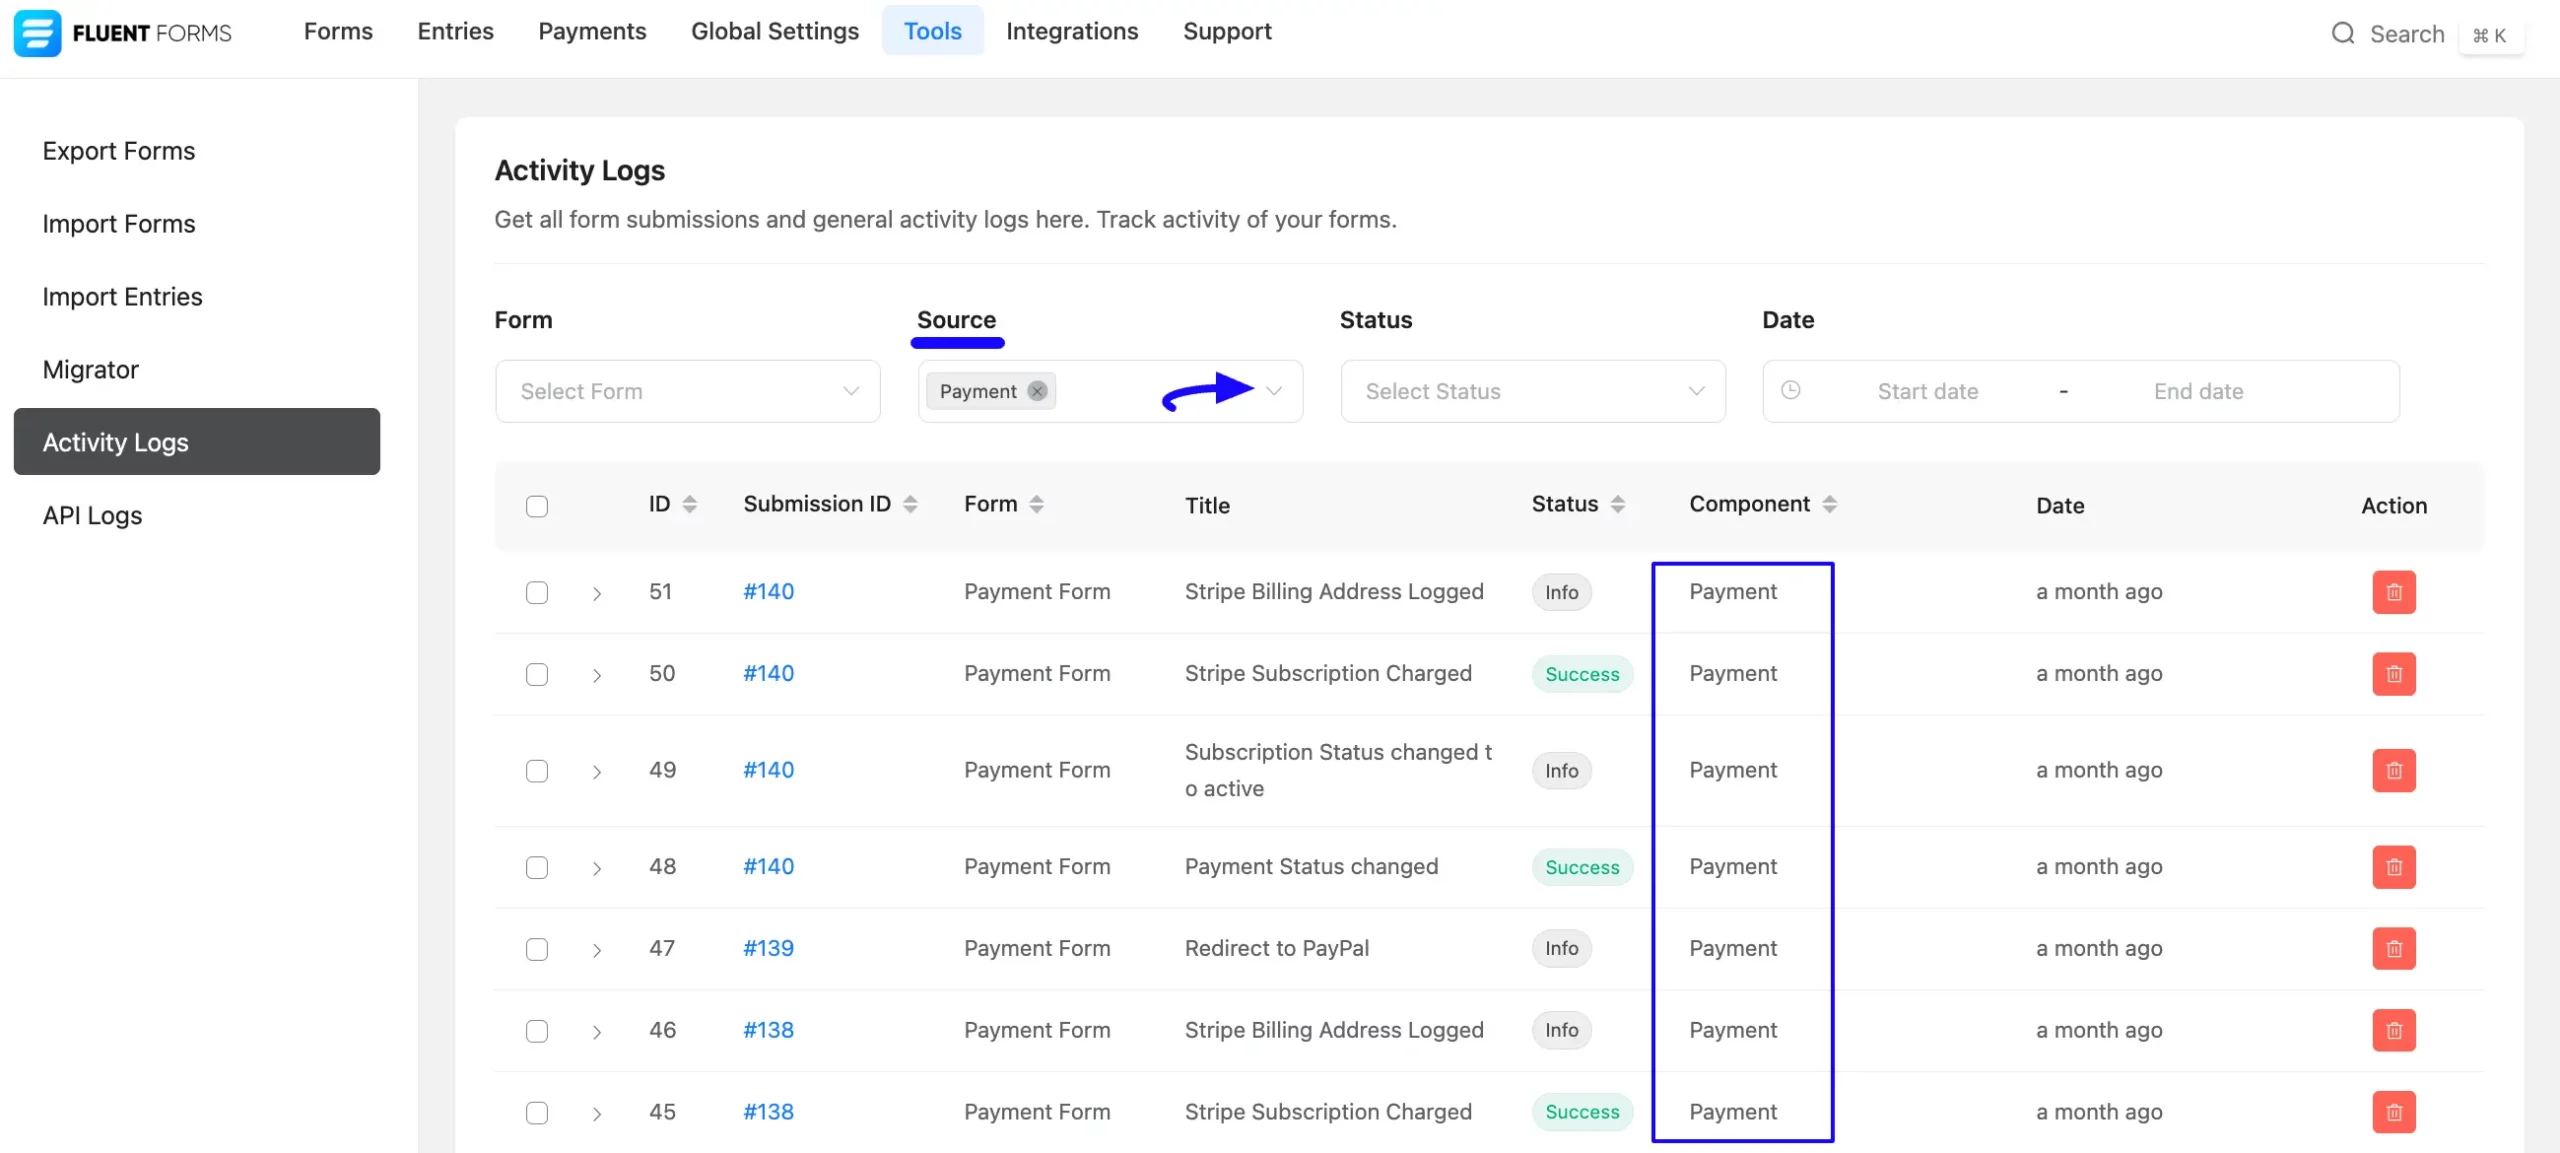
2. Source #
Here, you can filter your logs based on different options, which you will find according to the Actions Occurred and the Integration Feed you added within the form. For example —
- Email Notification,
- Payment
- User Registration, etc.
For example, if you have any payment issues inside a specific form or want to view payment activities for all forms, select “Payment” options from the dropdown list by clicking the Arrow Icon in the Source.
And, you will find all the payment-related activities of your forms which will help you identify the specific issues you want to address. Similarly, you can check any form-related activity based on the Action happening in your forms.
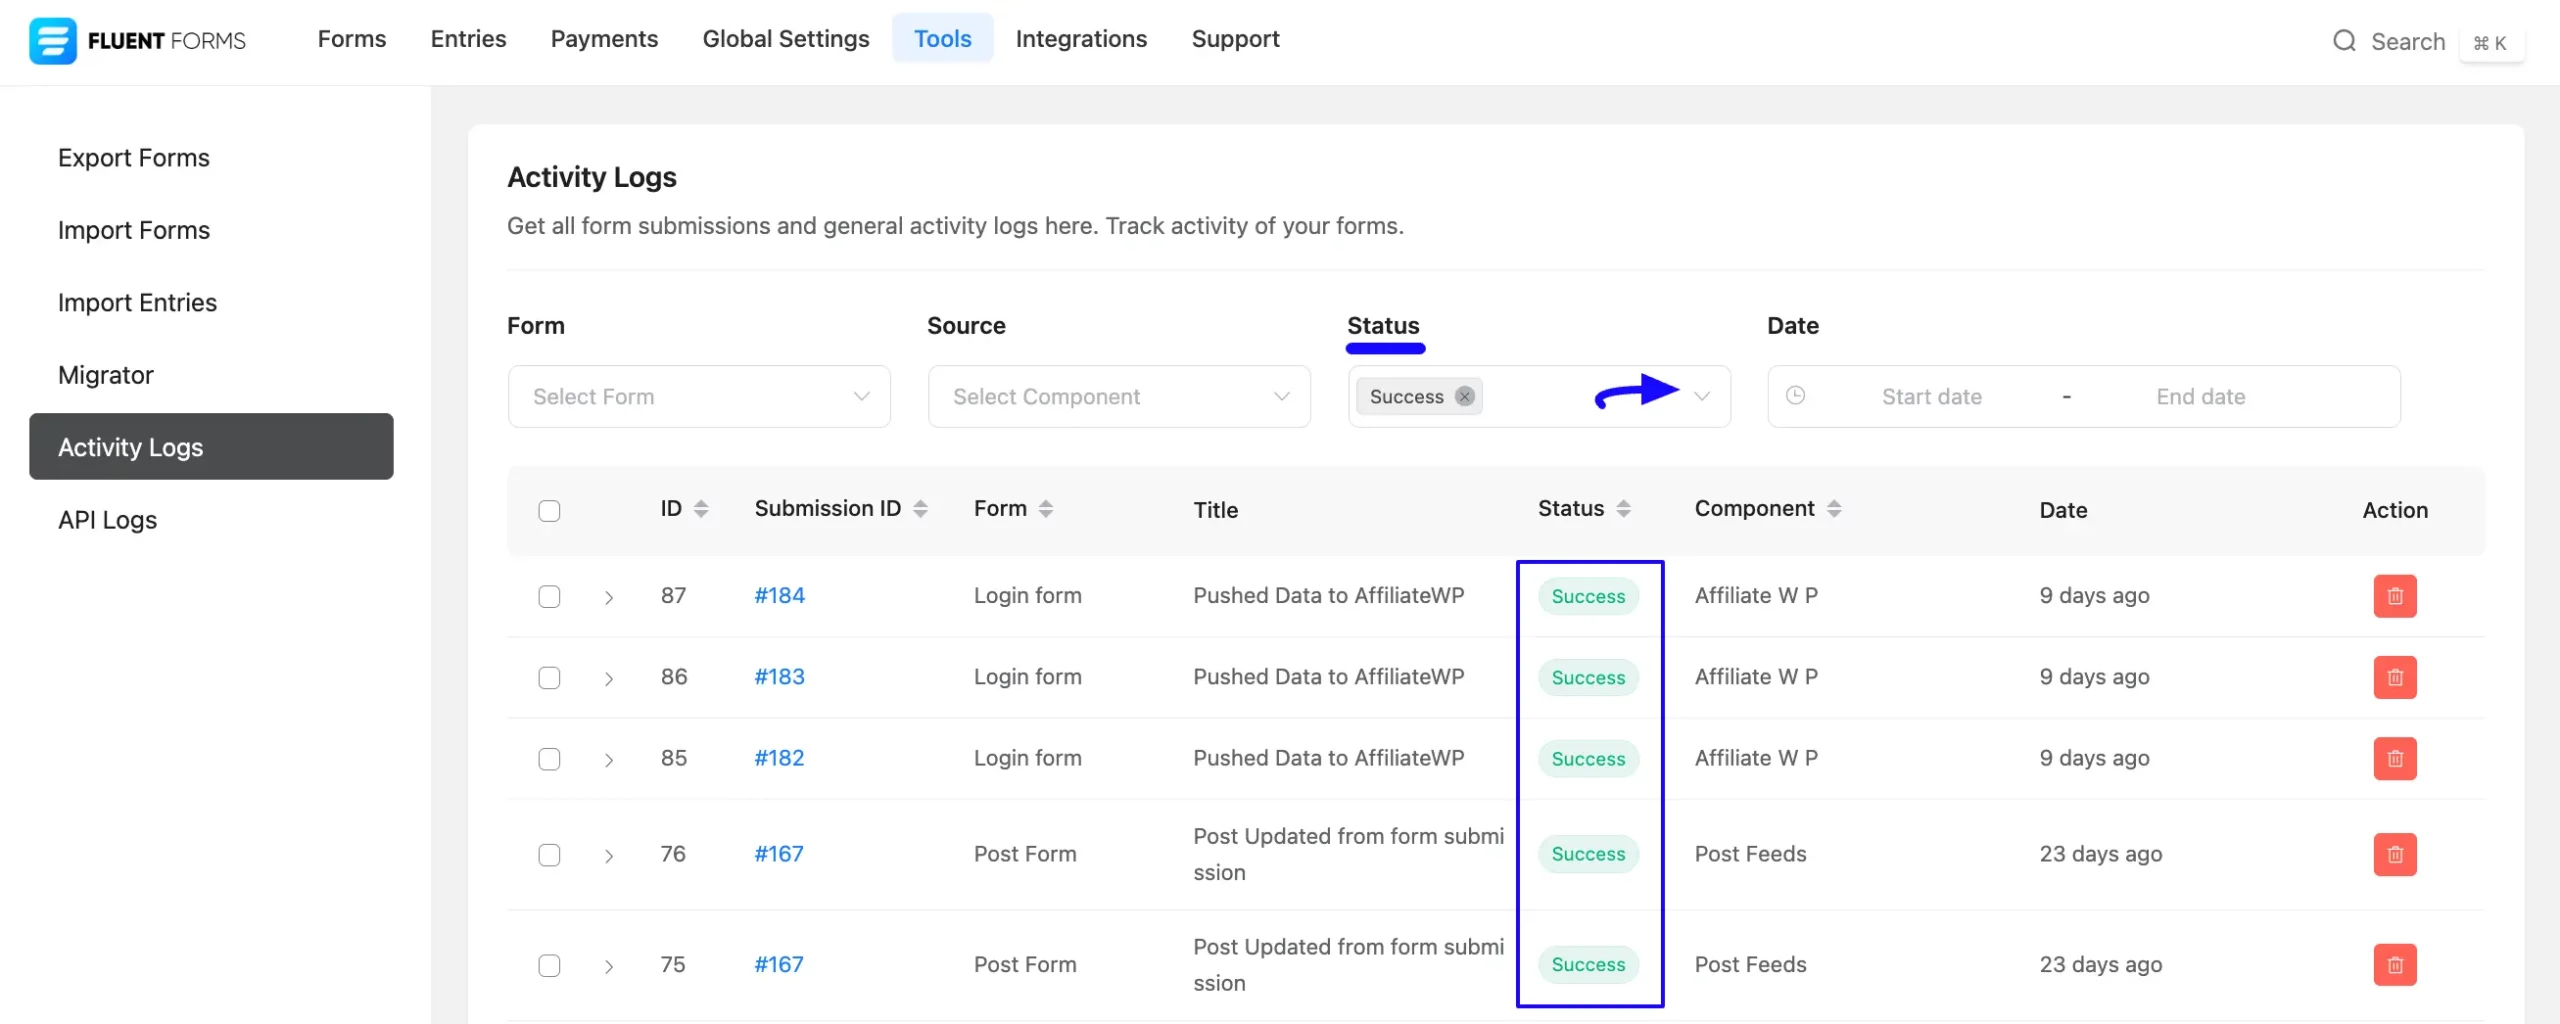
3. Status #
You also have the option to filter your activity logs based on the Status (Success, Info, and Failed) of your forms.
4. Date #
With this option, you can filter your activities by selected Dates to see actions for specific days.
To show the use of all filtering options at a glance, follow the GIF below:
Check Single Activity Log #
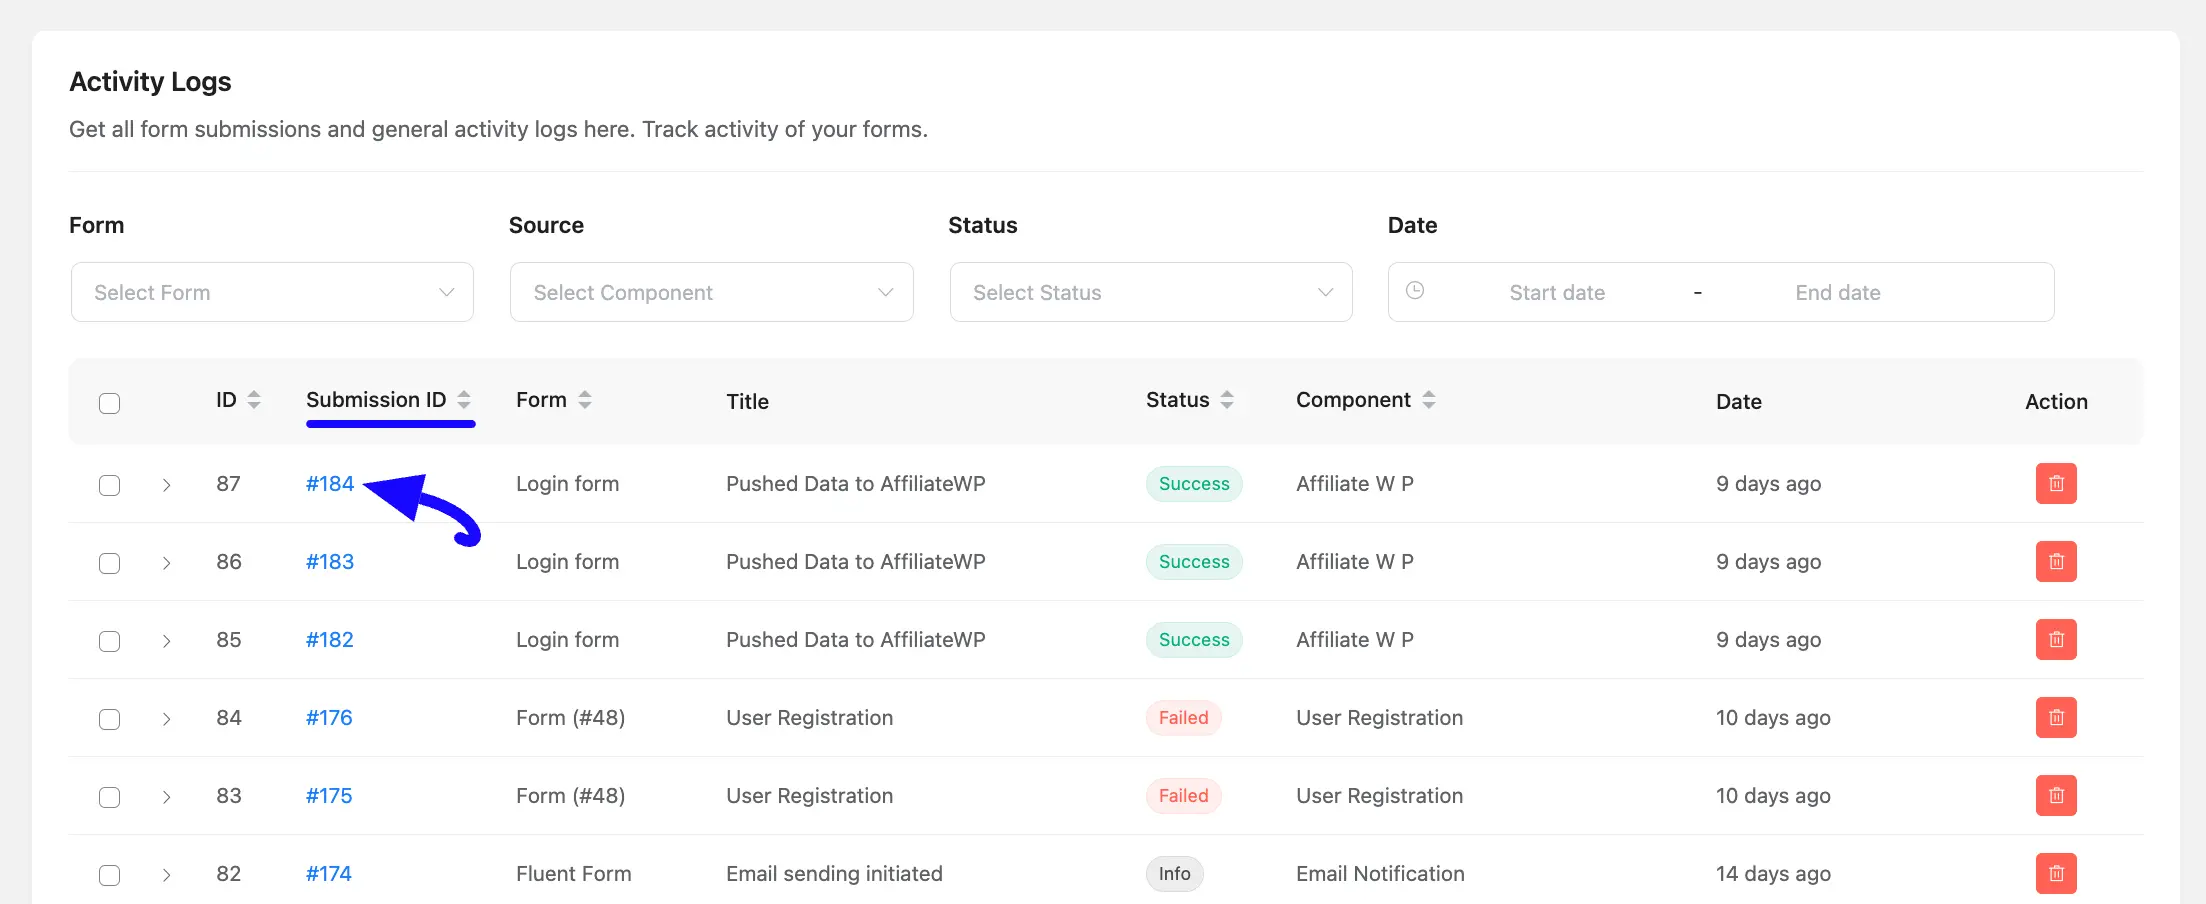
If you want to see the activity data of a specific form in a brief without checking the individual entries in detail, click on the Arrow Icon just before the Submission ID.
If you wish to view more detailed information for a specific entry, click on the desired entry number under the Submission ID column.
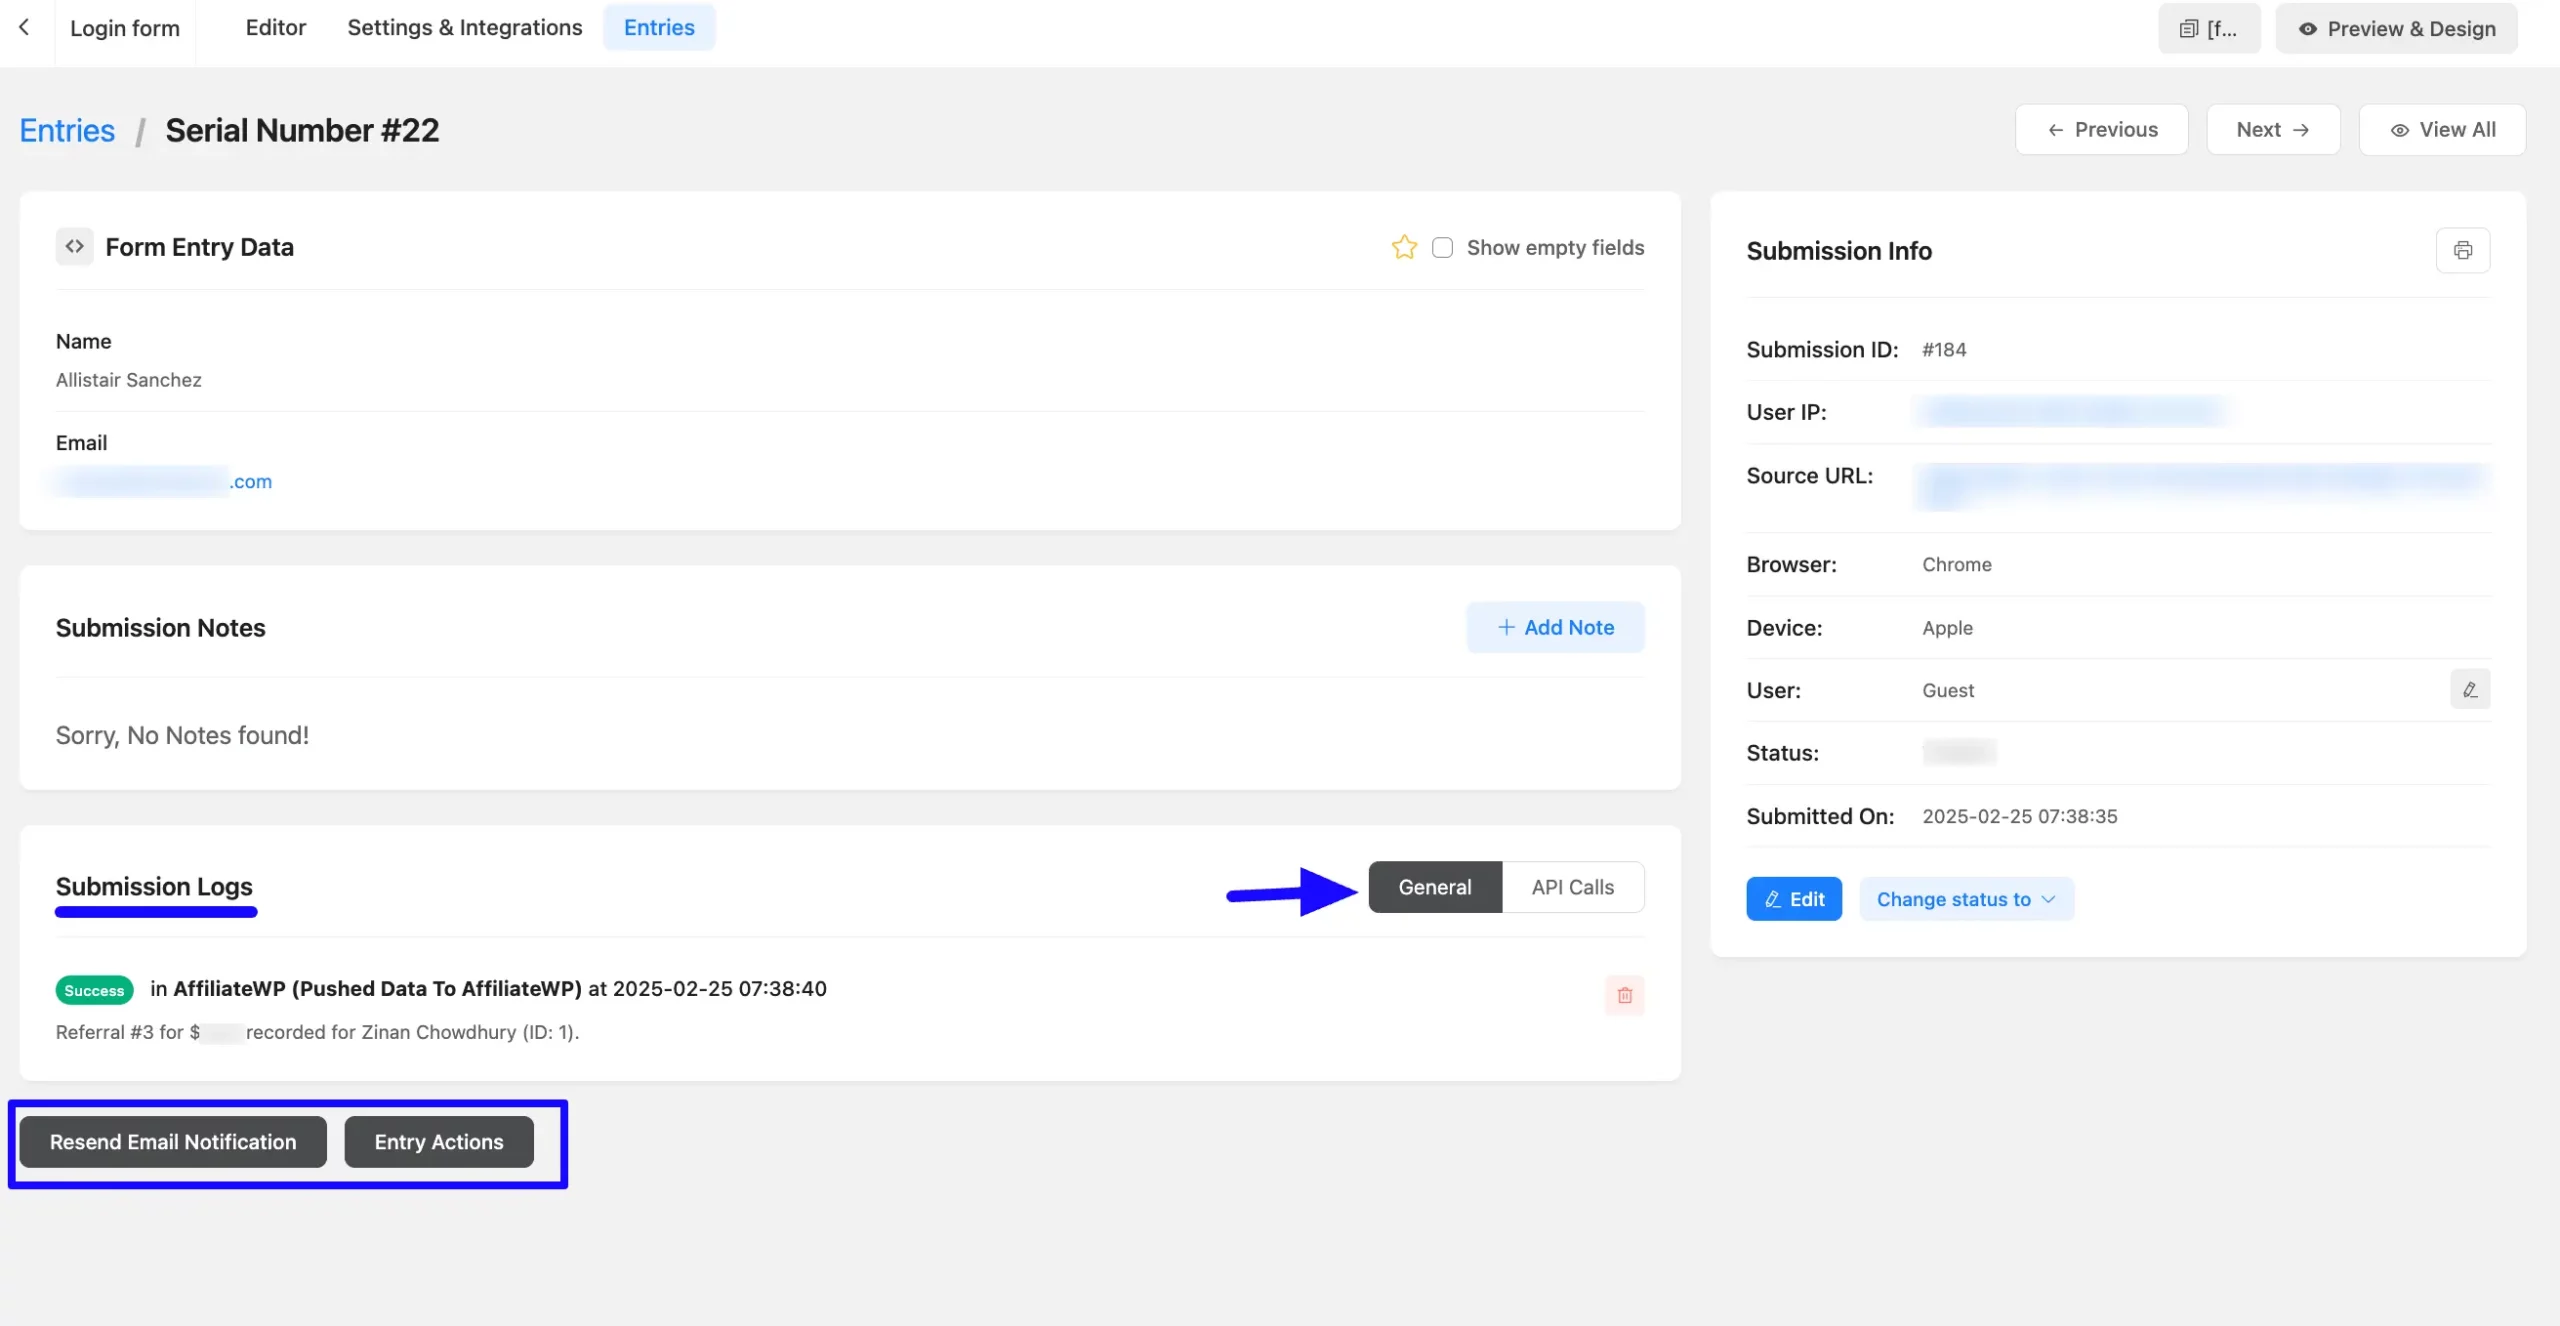
Here, you can see the overall detailed submission information of a user for this particular Entry.
To check specifically the general Activity Log, scroll down to the Submission Logs, click the General tab, and you will get all the details.
If your action didn’t occur successfully, you can use the Resend Email Notification and Entry Action button to manually complete the desired action.
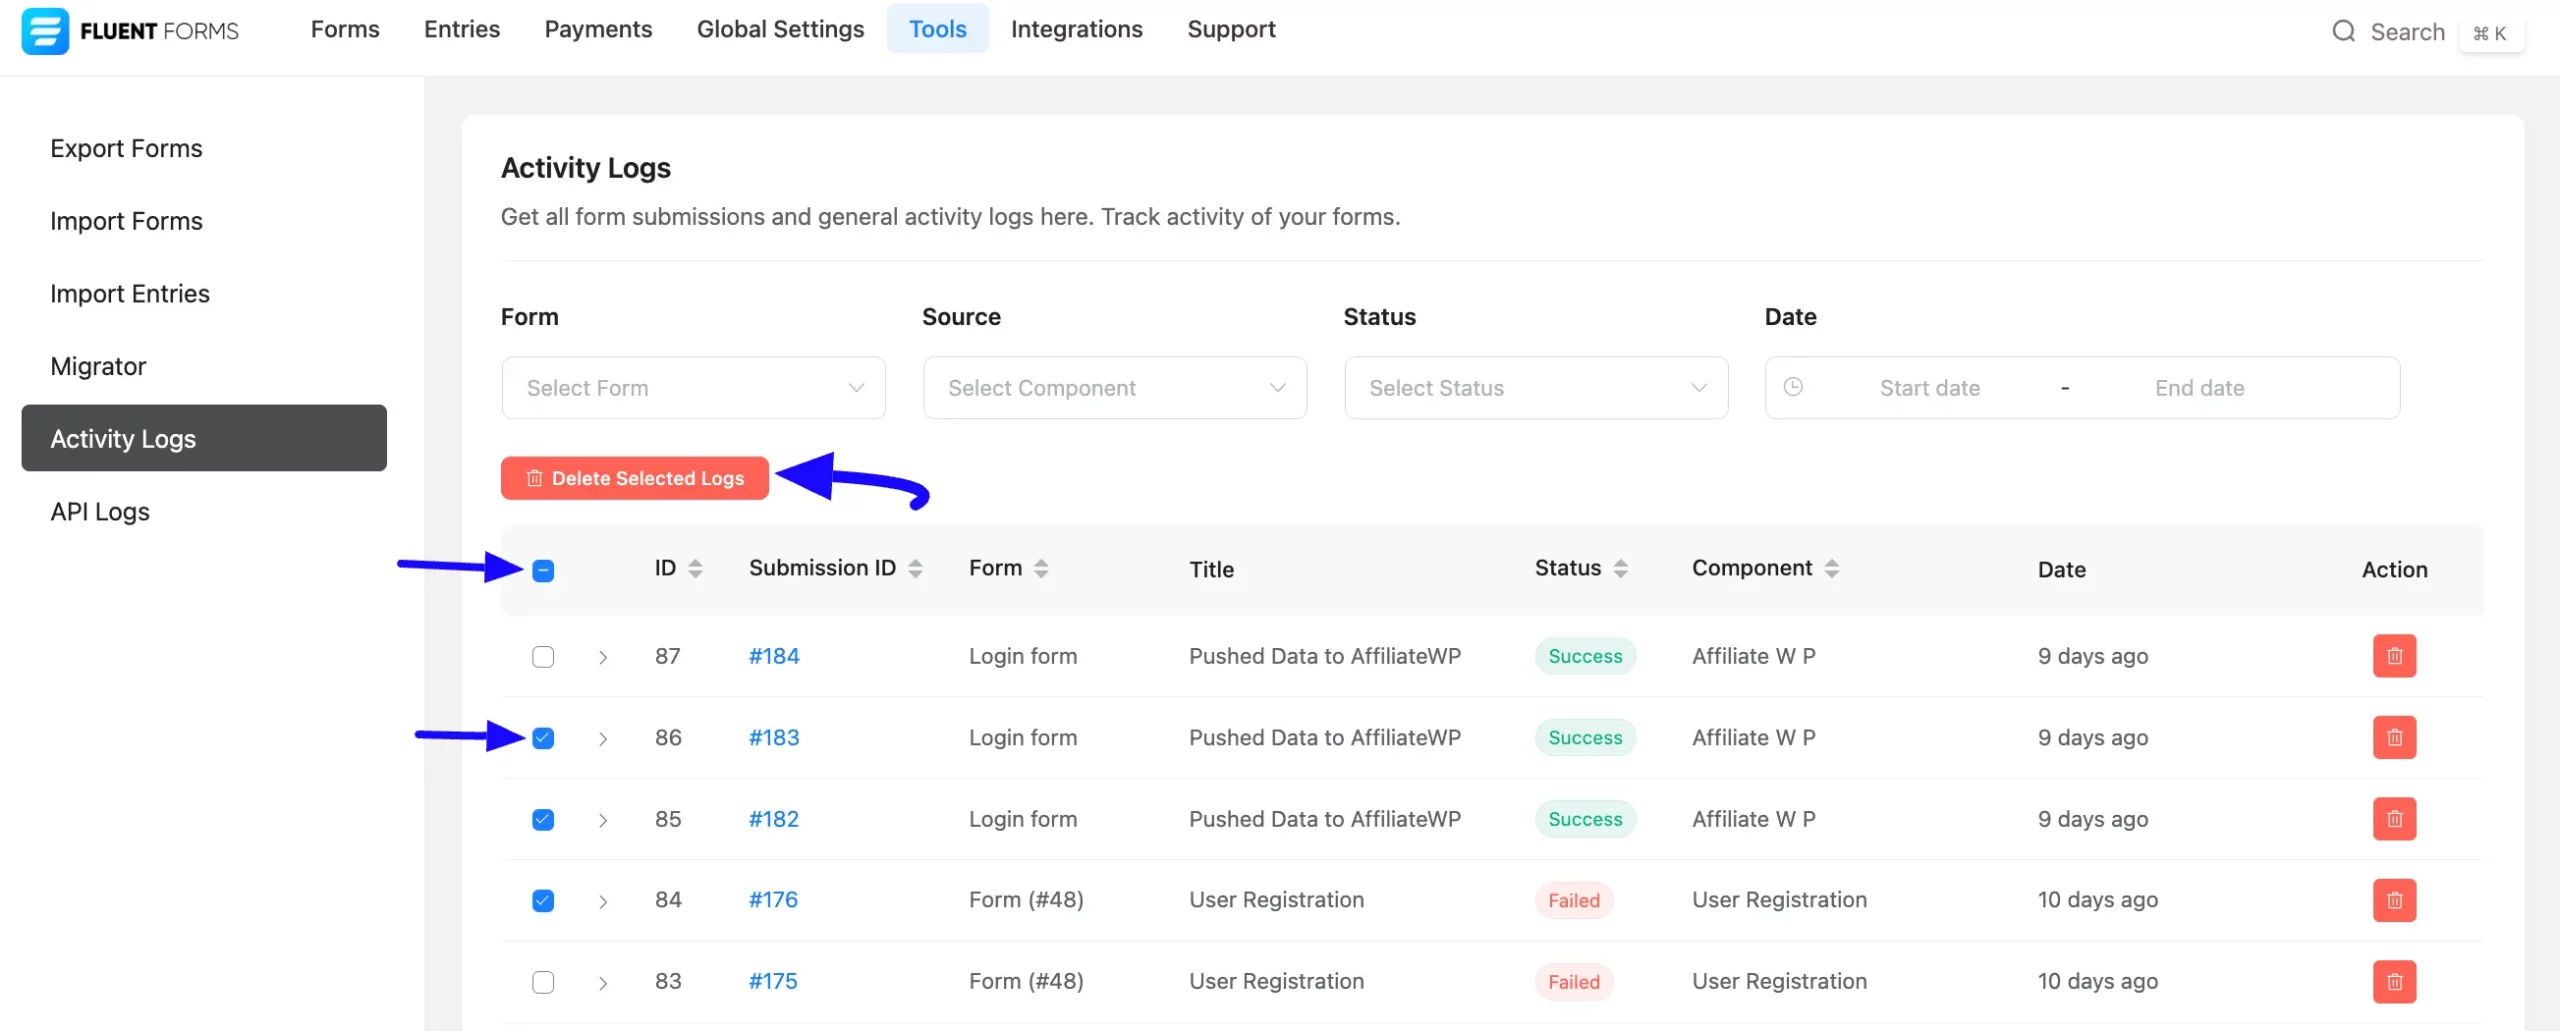
Delete Activity Logs #
If you want to delete any activity log, you can do it simply by clicking the Delete Icon under the Action column.

You can also delete all the Activity Logs at once by clicking the Checkbox placed just before the ID column, or you can delete by selecting the activity logs individually based on your needs.
Then, click the Delete Selected Logs button, and all your selected logs will be deleted.
If you have any further questions, concerns, or suggestions, please do not hesitate to contact our @support team. Thank you.


