In Fluent Forms, the Container field allows you to add multiple fields horizontally in one row instead of a new row for each field for your Fluent Forms, and make them look more compact and organized to your users. This article will guide you through adding the Container input fields to your Fluent Forms for your WordPress Site.
Also, the Container filed allows you to create a straightforward, simple, and easy-to-use Iinline Form (i,e., the forms can be embedded within a line of text, a paragraph, or any other content area without breaking the page layout).
Add Container Fields #
To learn how to add the Container input fields, follow the steps with screenshots below –
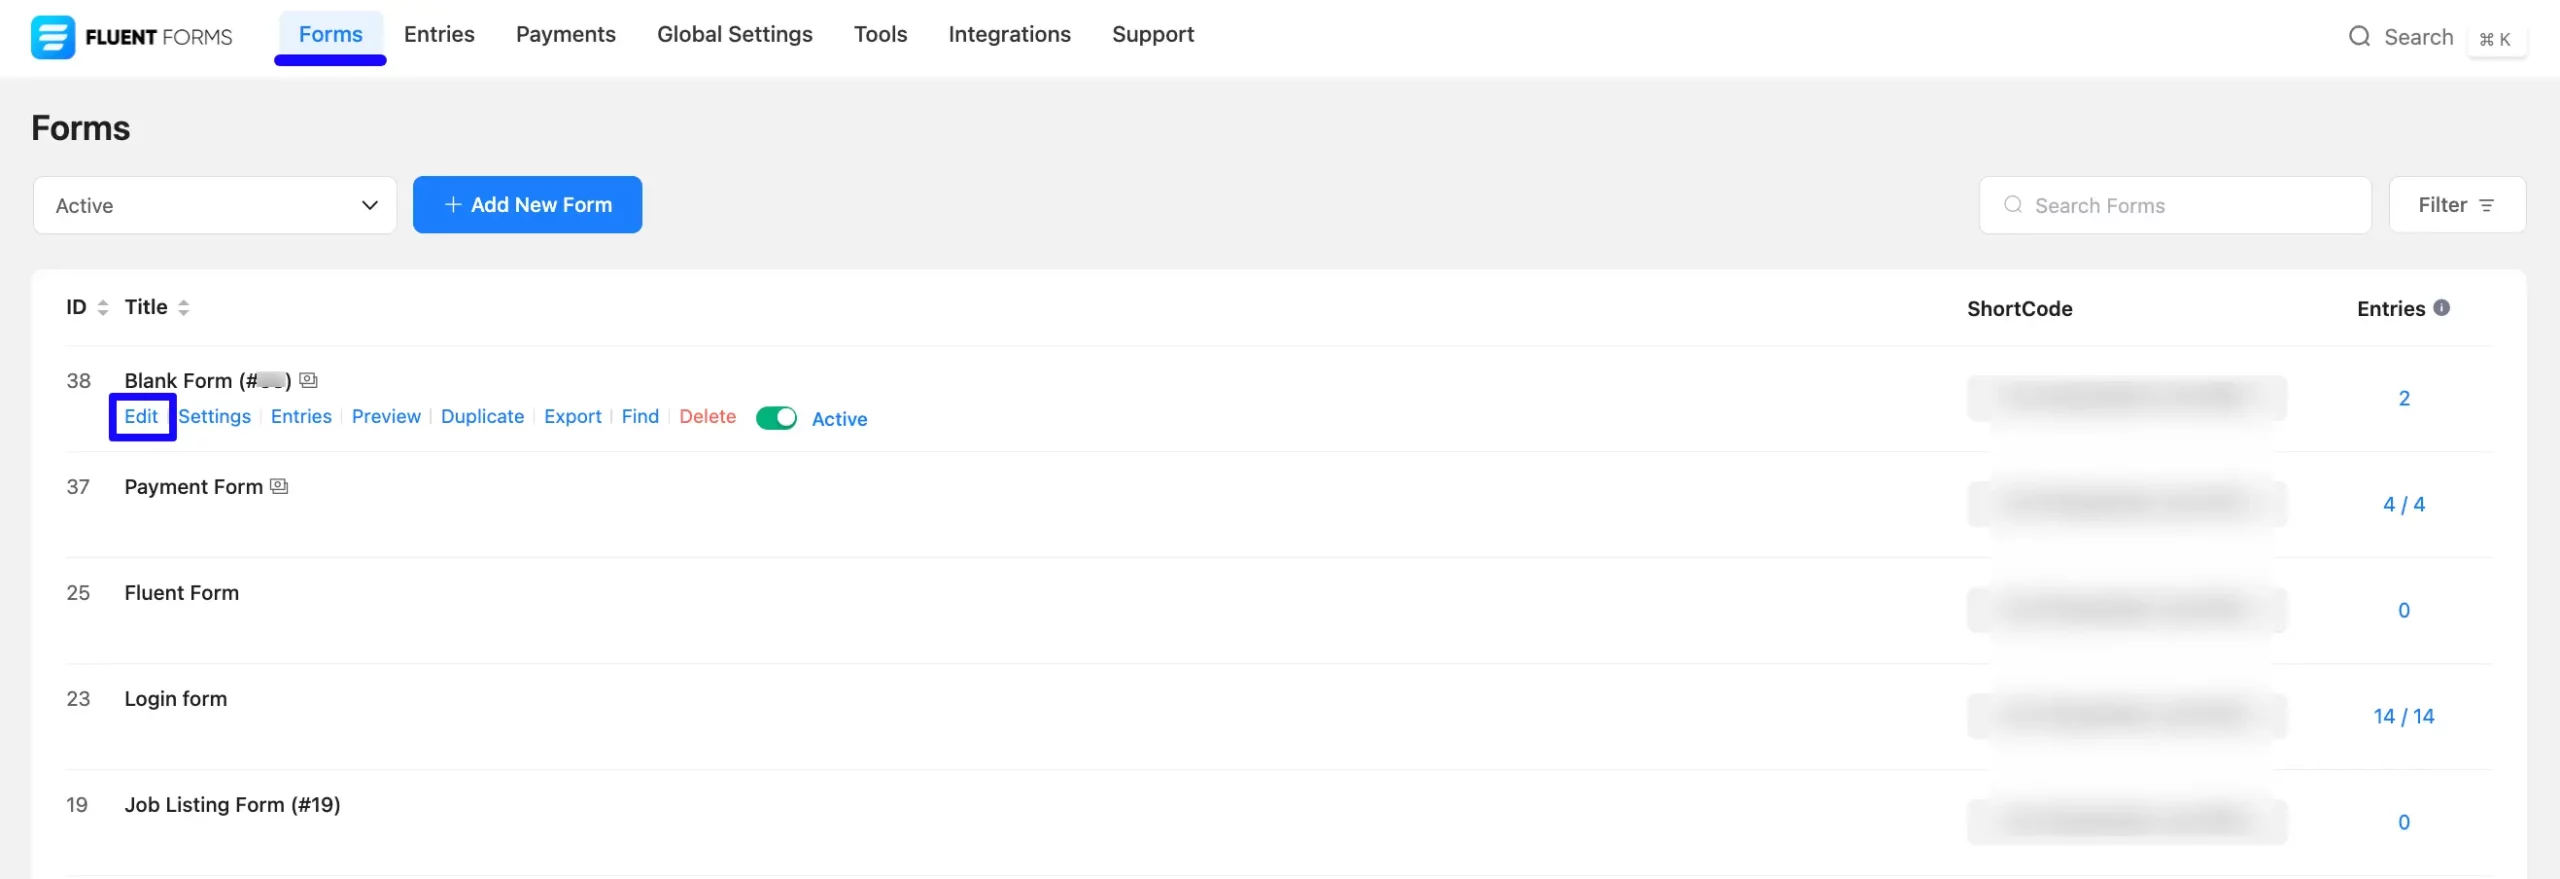
First, go to the Forms section from the Fluent Forms Navbar, choose a desired Form to which you wish to add the Container field, and click the Pencil/Edit icon to open the Editor page of that form.
If you do not have any existing forms, read the Create a Form from Scratch or Create a Form using Templates documentation to create a new one. For example, I choose an existing form to show the whole process.
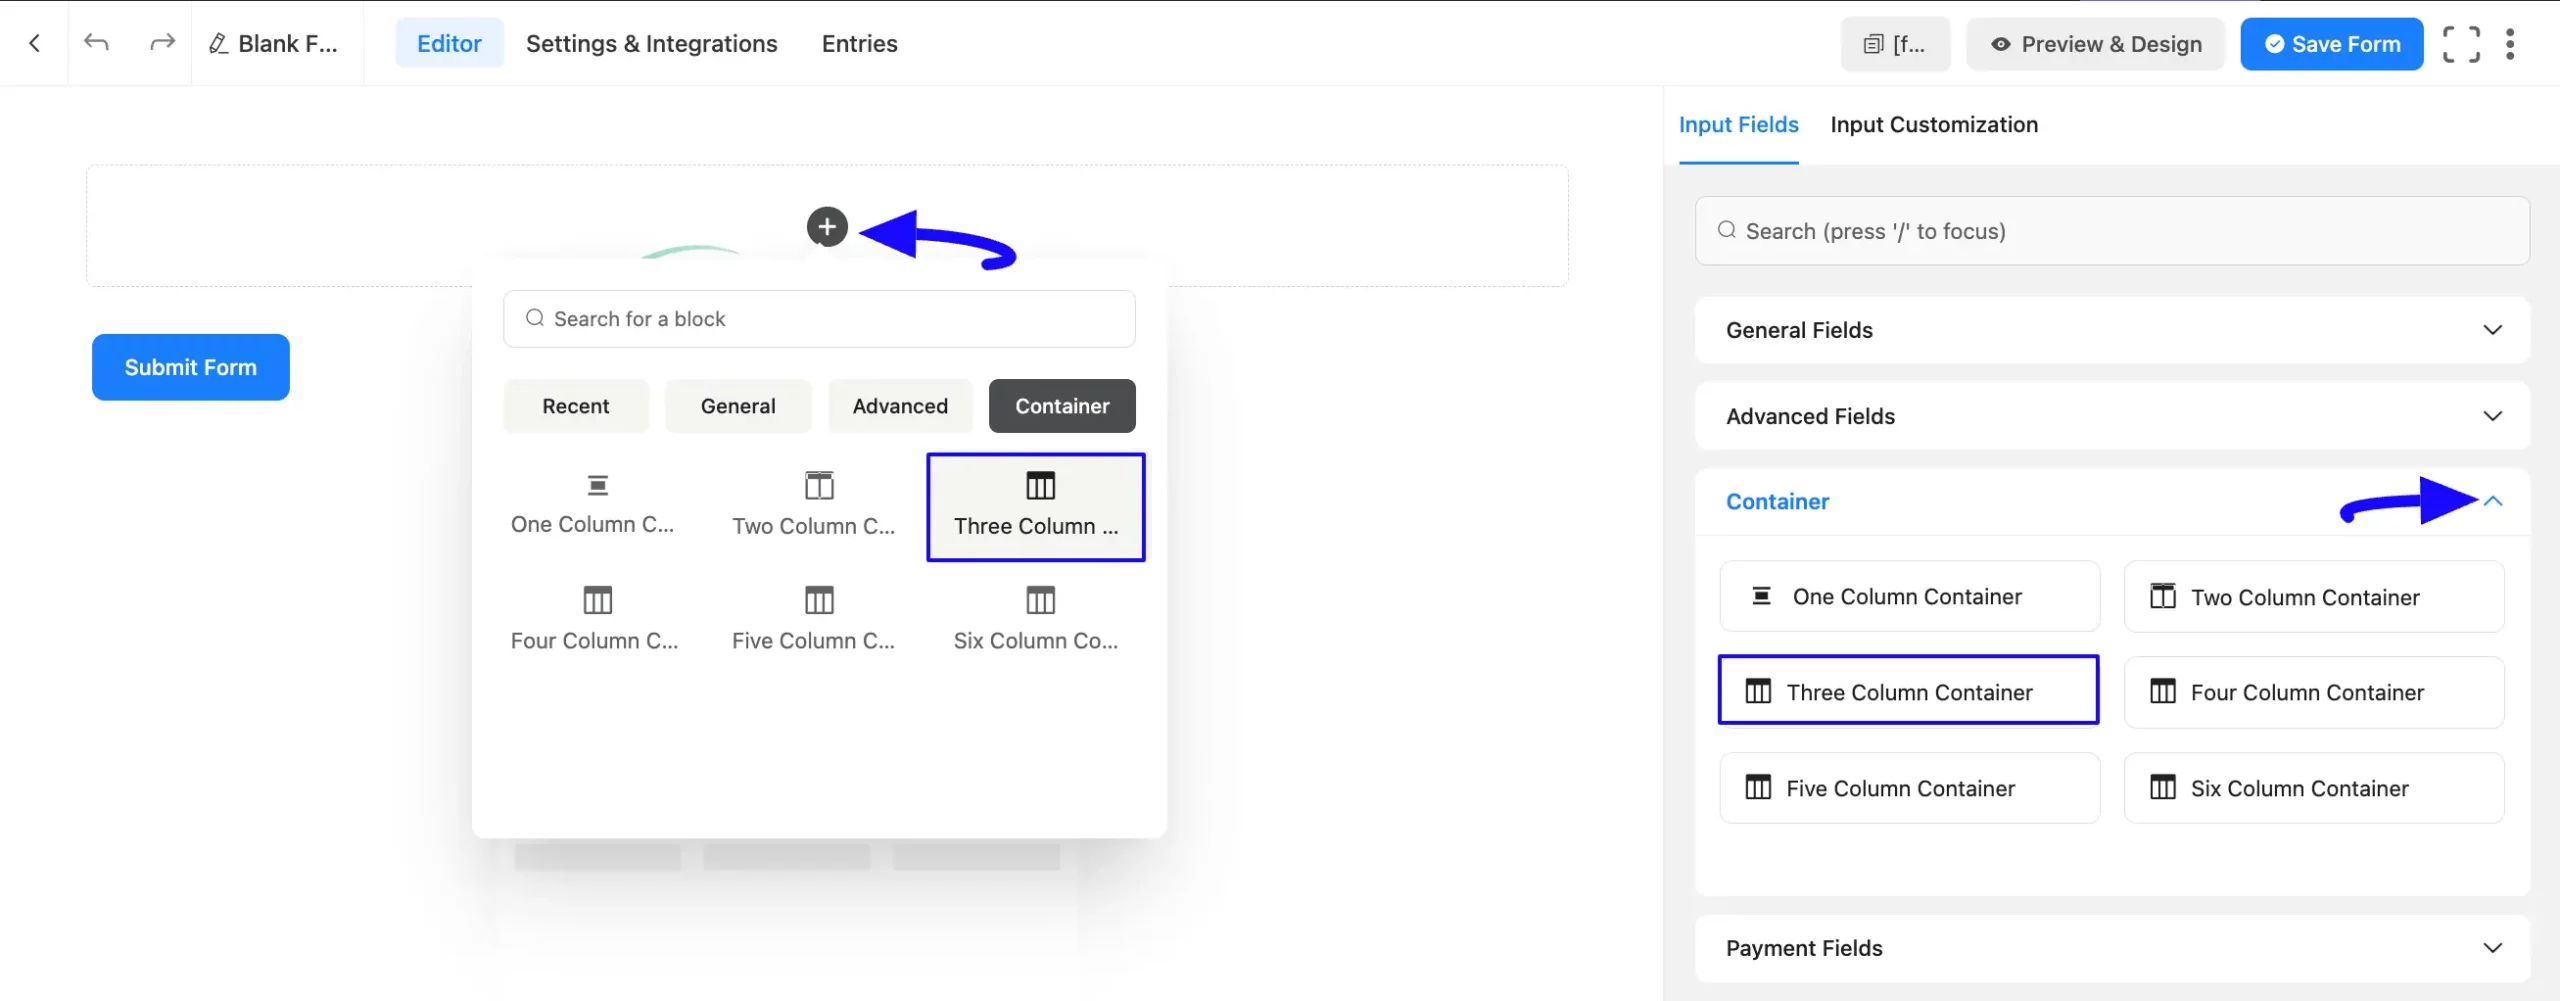
Once you are on the Editor page, click the Plus Icon in your form editor and open the Container input fields module. The Container option is also in the right sidebar under the Input Fields tab.
Under the Container module, you will see that Six Types of Container fields are available. Each types types of container have the same functionality except the number of added columns.
Now, choose the desired Column Layout by clicking on it or Drag & Drop it into your editor. For example, I selected Three Column Cotainer.
Now, click the Plus Icon to add three different desired fields horizontally inside three columns.
For example, I added the Name, Email, and Custom Submit Button fields respectively inside the three columns.
Also, you can simply Drag & Drop the Name, Email, and Custom Submit Button fields in the columns.
Note that the default Submit button below each form will disappear when you add the Custom Submit Button field to the third container.
Plus, you can adjust the position of the fields by aligning them as shown in the GIF below.
Customize Container Field #
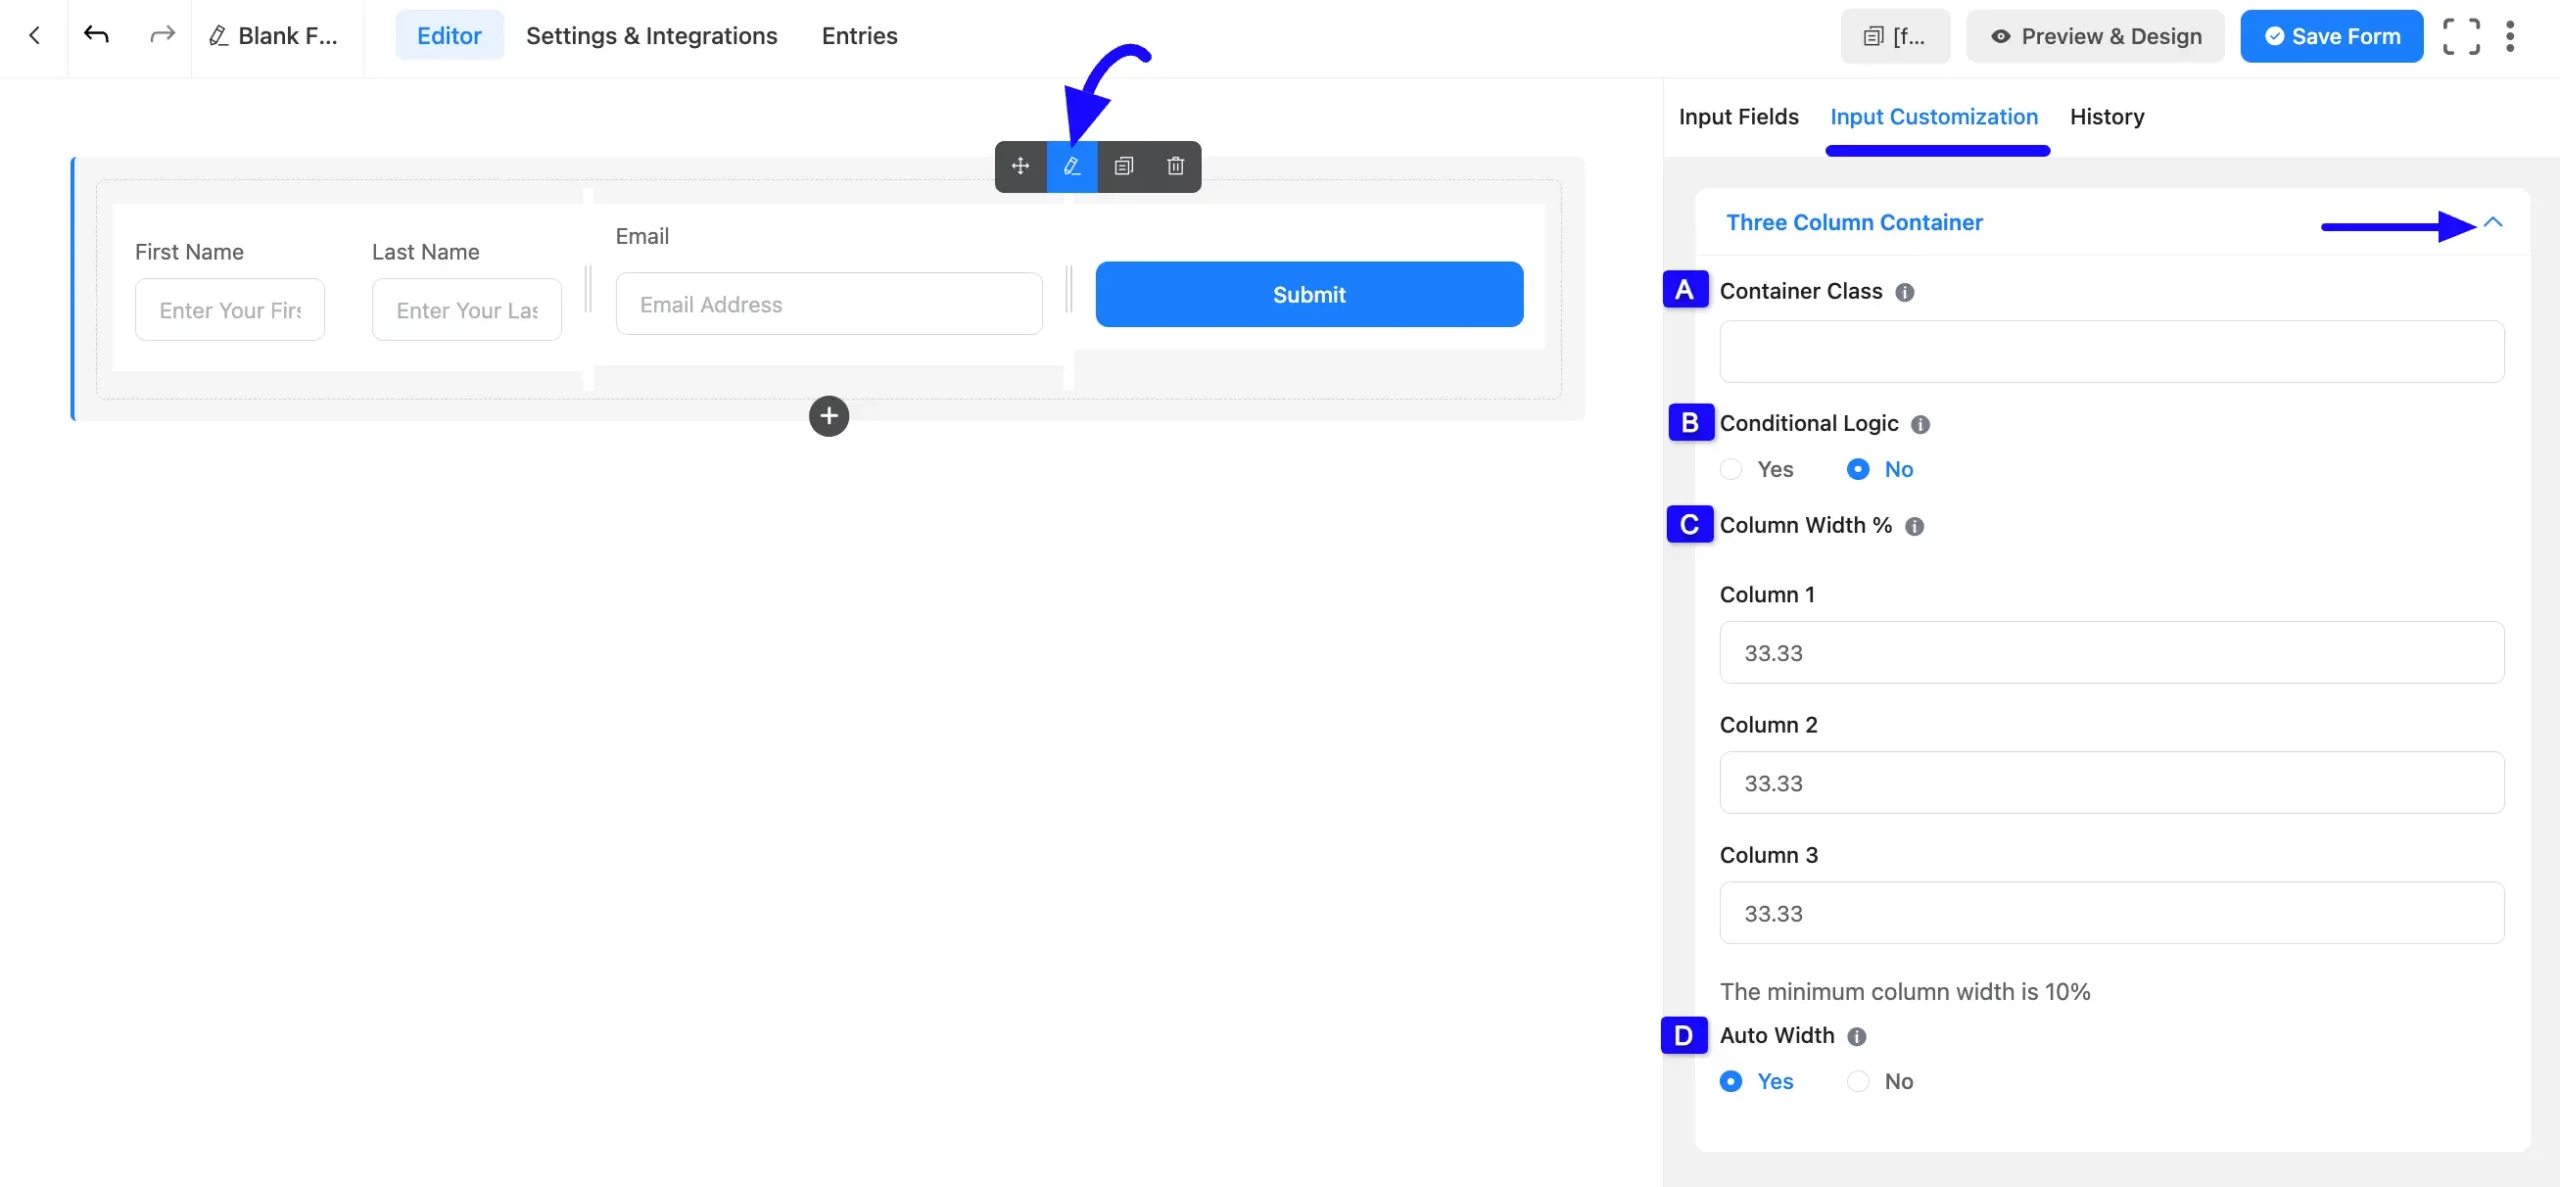
You can see that a desired Container field is added to the form. You can edit this field by hovering over it and clicking the Pencil Icon.
It will take you to the Input Customization tab on the right side and offer you the following options for customizing the desired field.
A. Container Class: Use this option to add your custom CSS classes to the field’s wrapper.
B. Conditional Logic: This option allows the coupon field to function conditionally based on your submission values according to your set of conditional logic/s. To learn more, read this Documentation.
C. Column Width: Using this option, you can set the width of the columns. The minimum column width is 10%.
D. Auto Width: Enable the automatic width calculation for columns by clicking the Yes button. Otherwise, click the No button to adjust the width according to your preference.
You can also customize the fields you added under the columns by hovering over them and clicking the Pencil Icon. It will take you to the Input Customization tab of the selected field and offer you the options for customizing that field.
If you’d like to change the appearance of the form to fit the website design, you can follow our CSS Guide on how to design the form. Also, have a look at how to style a Fluent Forms form.
Embed the Form into Frontend #
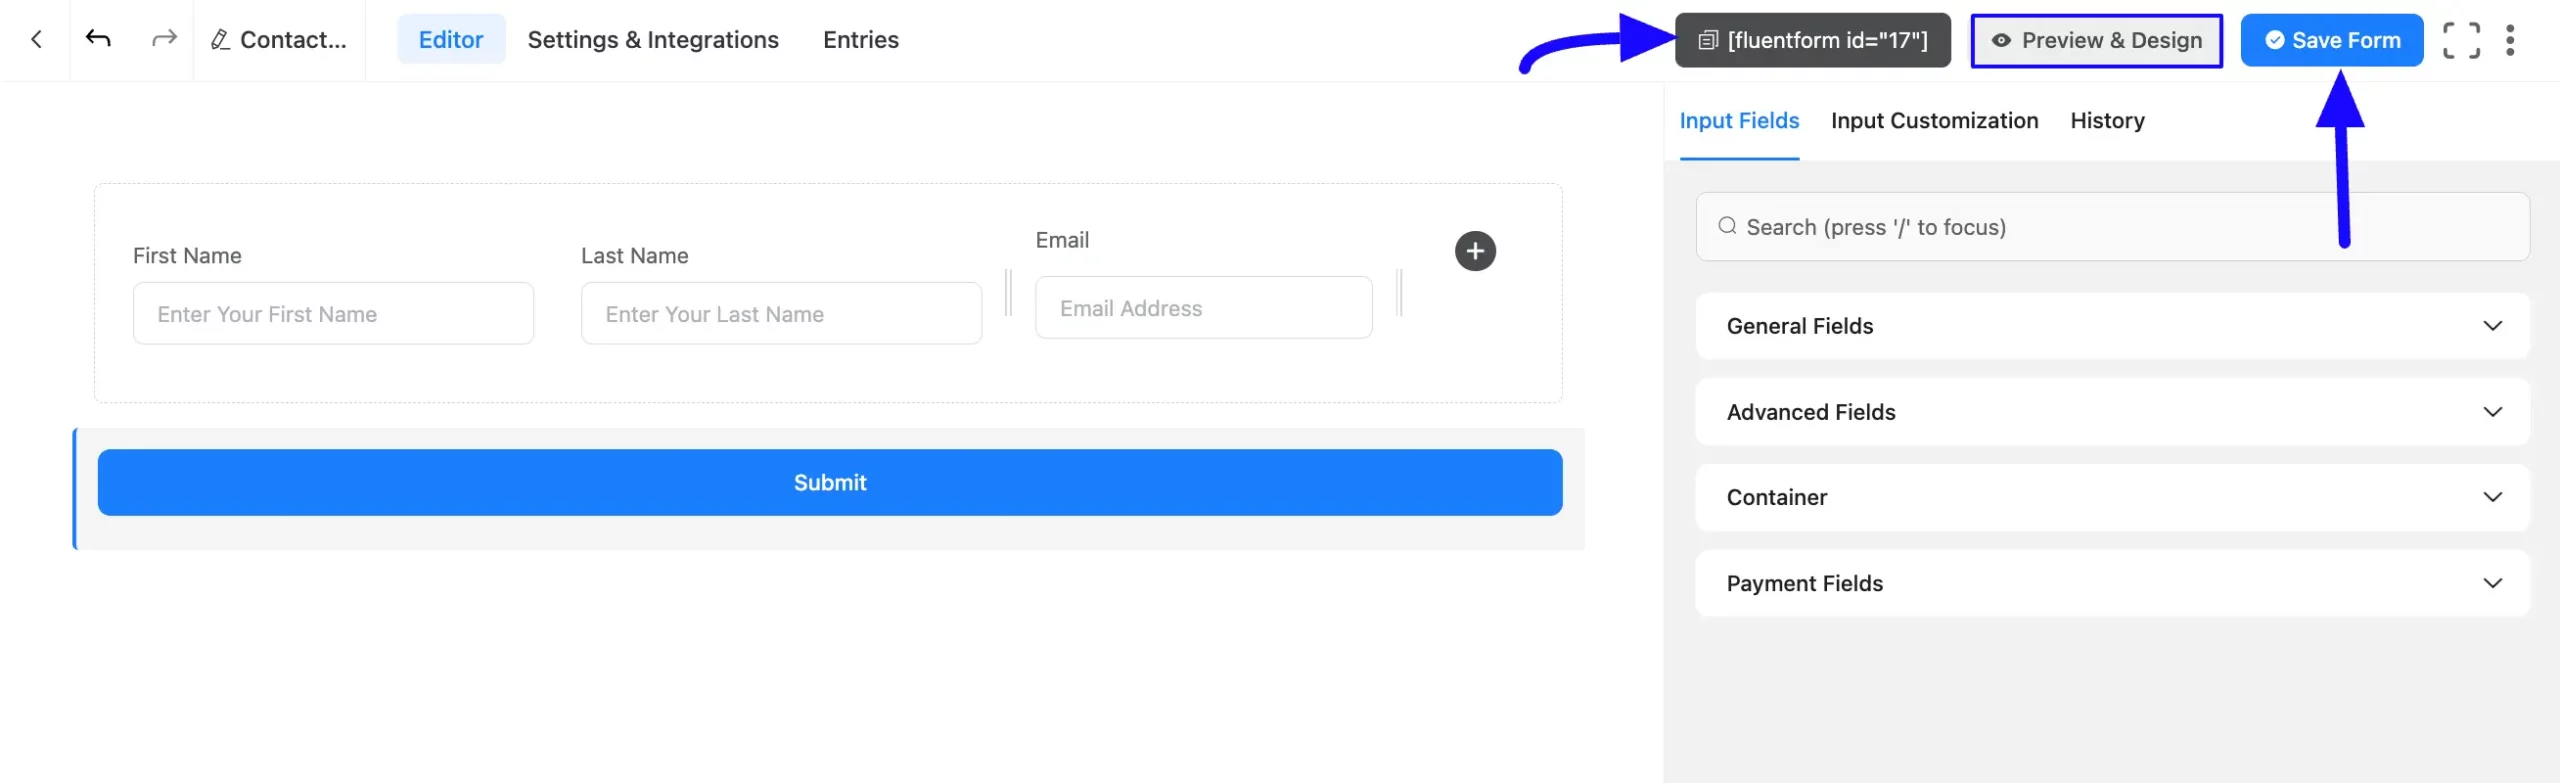
Once you complete the customization, click the Save Form button to save all changes you made. Also, to see the form preview, click the Preview & Design button in the middle.
To integrate and display the form on a specific Page/Post, copy the Shortcode from the top right side and paste it into your desired Page/Post.
Preview of Container field #
Here, is the preview of the added Container field under the Fluent Form.

This way you can add the Container field and create as many Inline Forms as you want with Fluent Forms.
If you have any further questions, concerns, or suggestions, please do not hesitate to contact our @support team. Thank You.


