Fluent Forms integrates hCaptcha, one of the most popular independent CAPTCHA services. Preventing bot submissions using hCaptcha is a contemporary, privacy-conscious solution.
This article will guide you through configuring hCaptcha in your WordPress Site through Fluent Forms.
Configuring hCaptcha Integration #
To learn how to configure hCaptcha integration, follow the steps with screenshots below –
First, go to Global Settings from the FluentForms Navbar, open the Security tab from the left sidebar, and click the hCaptcha option.
Now, you will be asked to provide the Site Key and Secret Key of your hCaptcha Account for the configuration.

Getting the hCaptcha Site and Secret Key #
To learn how to get the hCaptcha Site and Secret keys, follow the steps with the screenshots below –
First, log in to your hCaptcha Account. If you don’t have an hCaptcha account, sign up here.
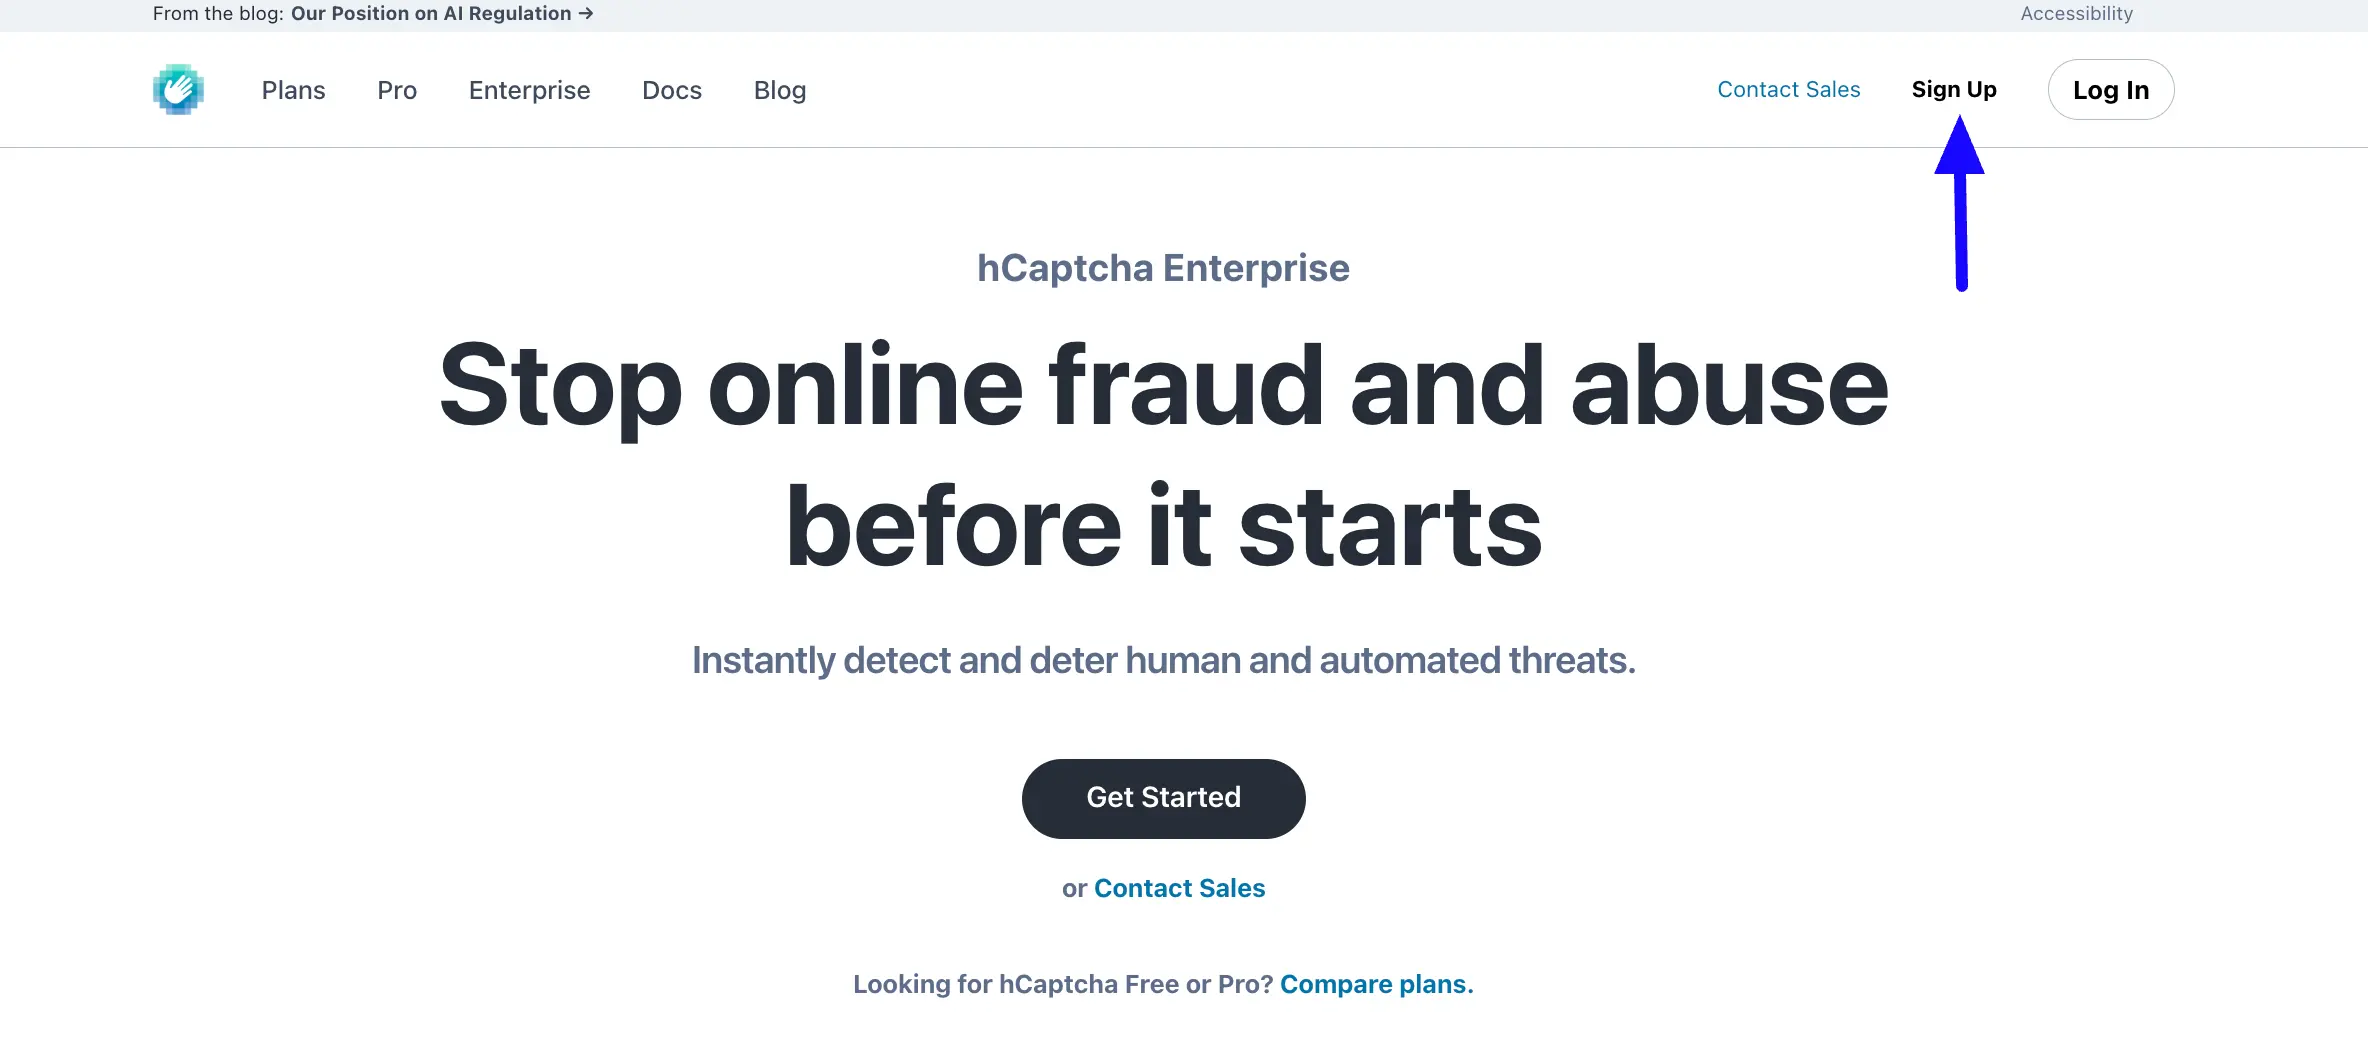
Now, select the option Add hCaptcha to my website or app option. Then you will see a login page to log in to your account using the desired email.

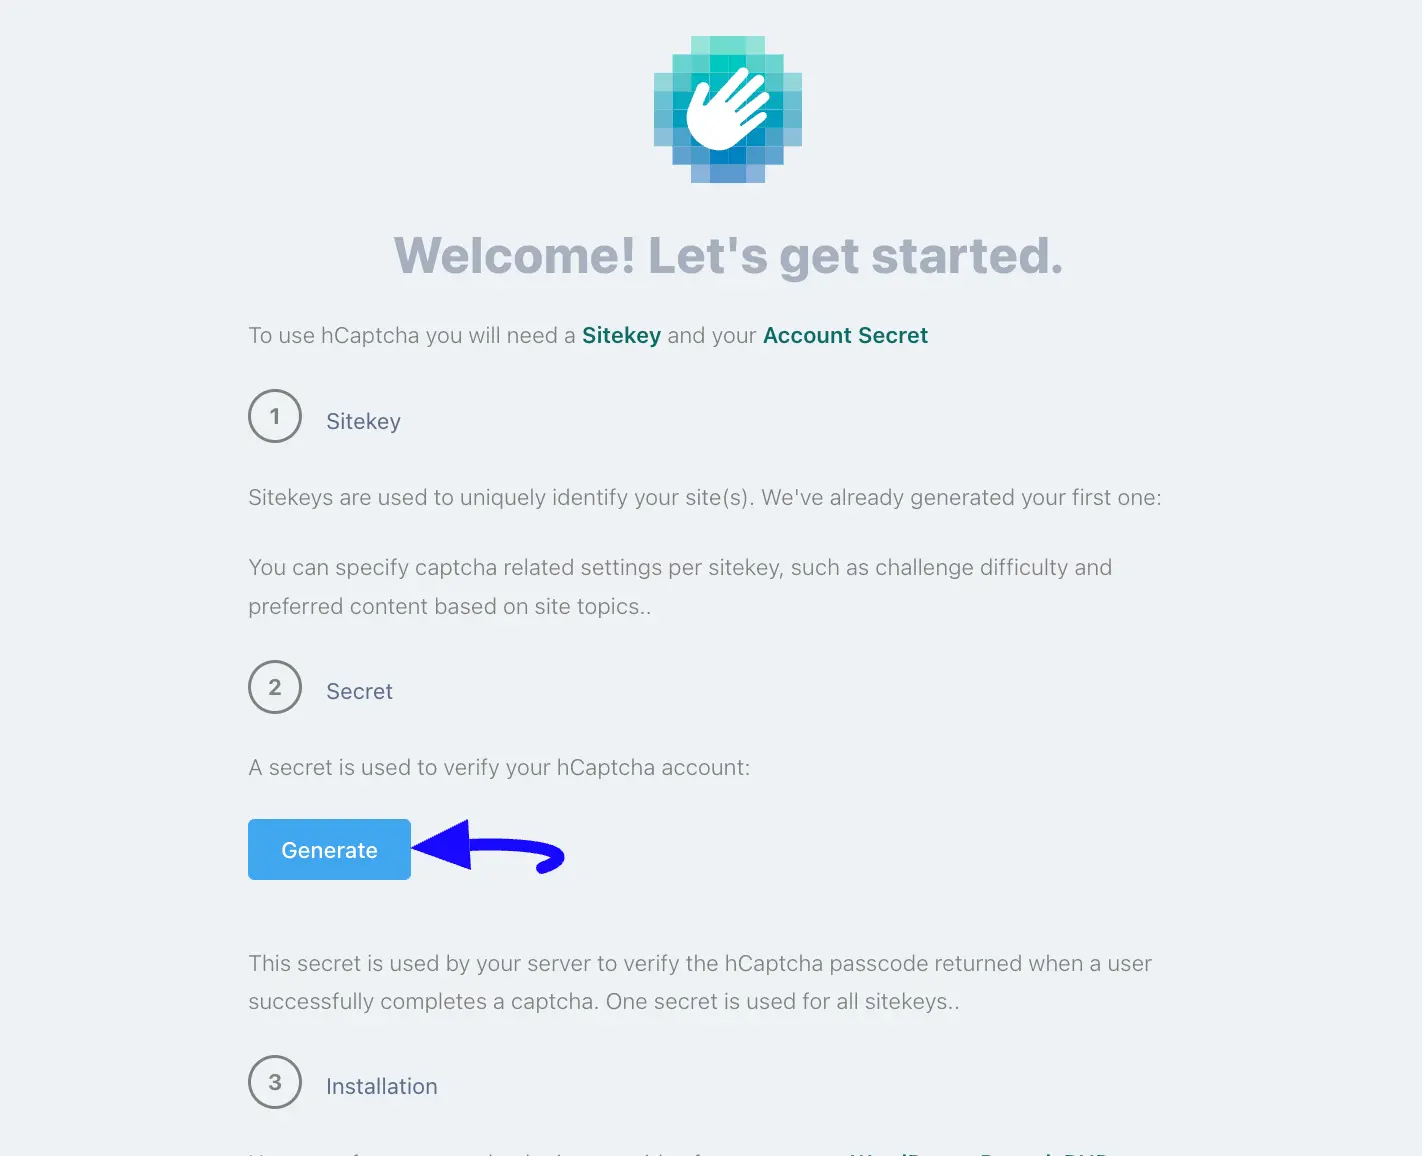
Once you log in to the account, click the Generate button to generate the Secret Key.
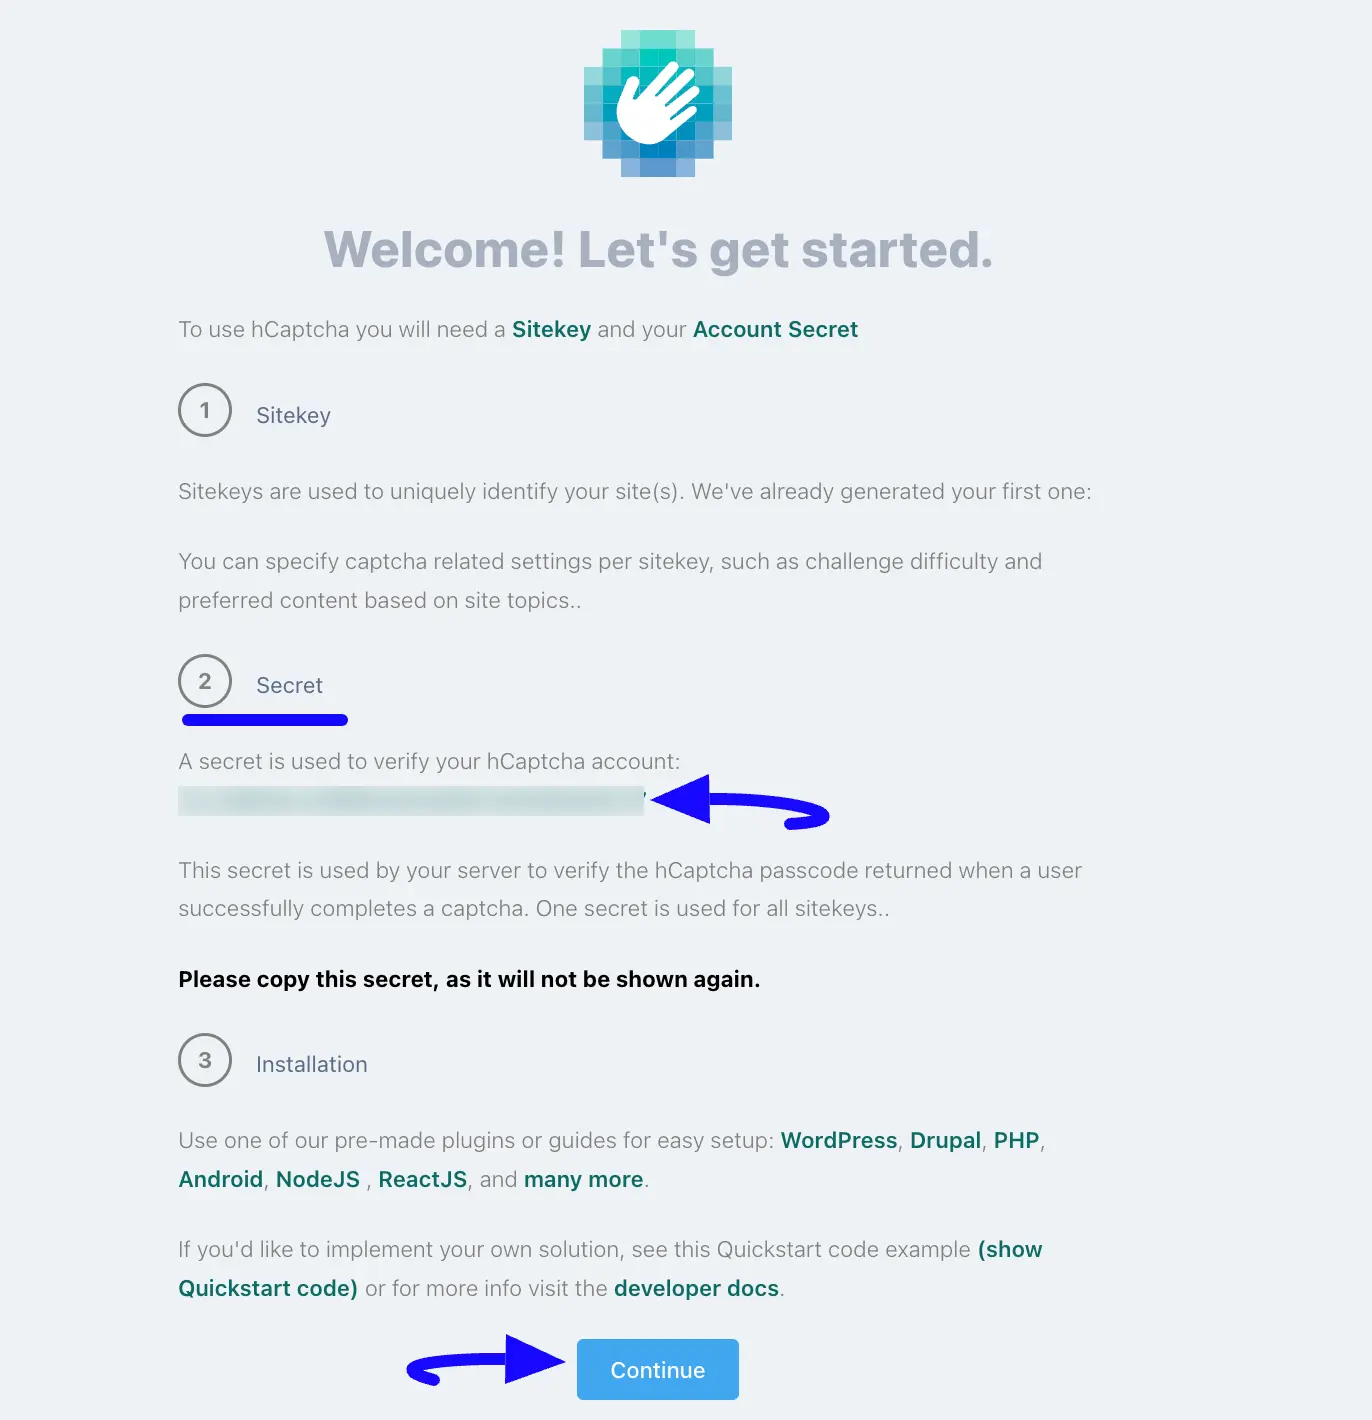
Now, copy the Secret Key and click the Continue button to get the Site Key.
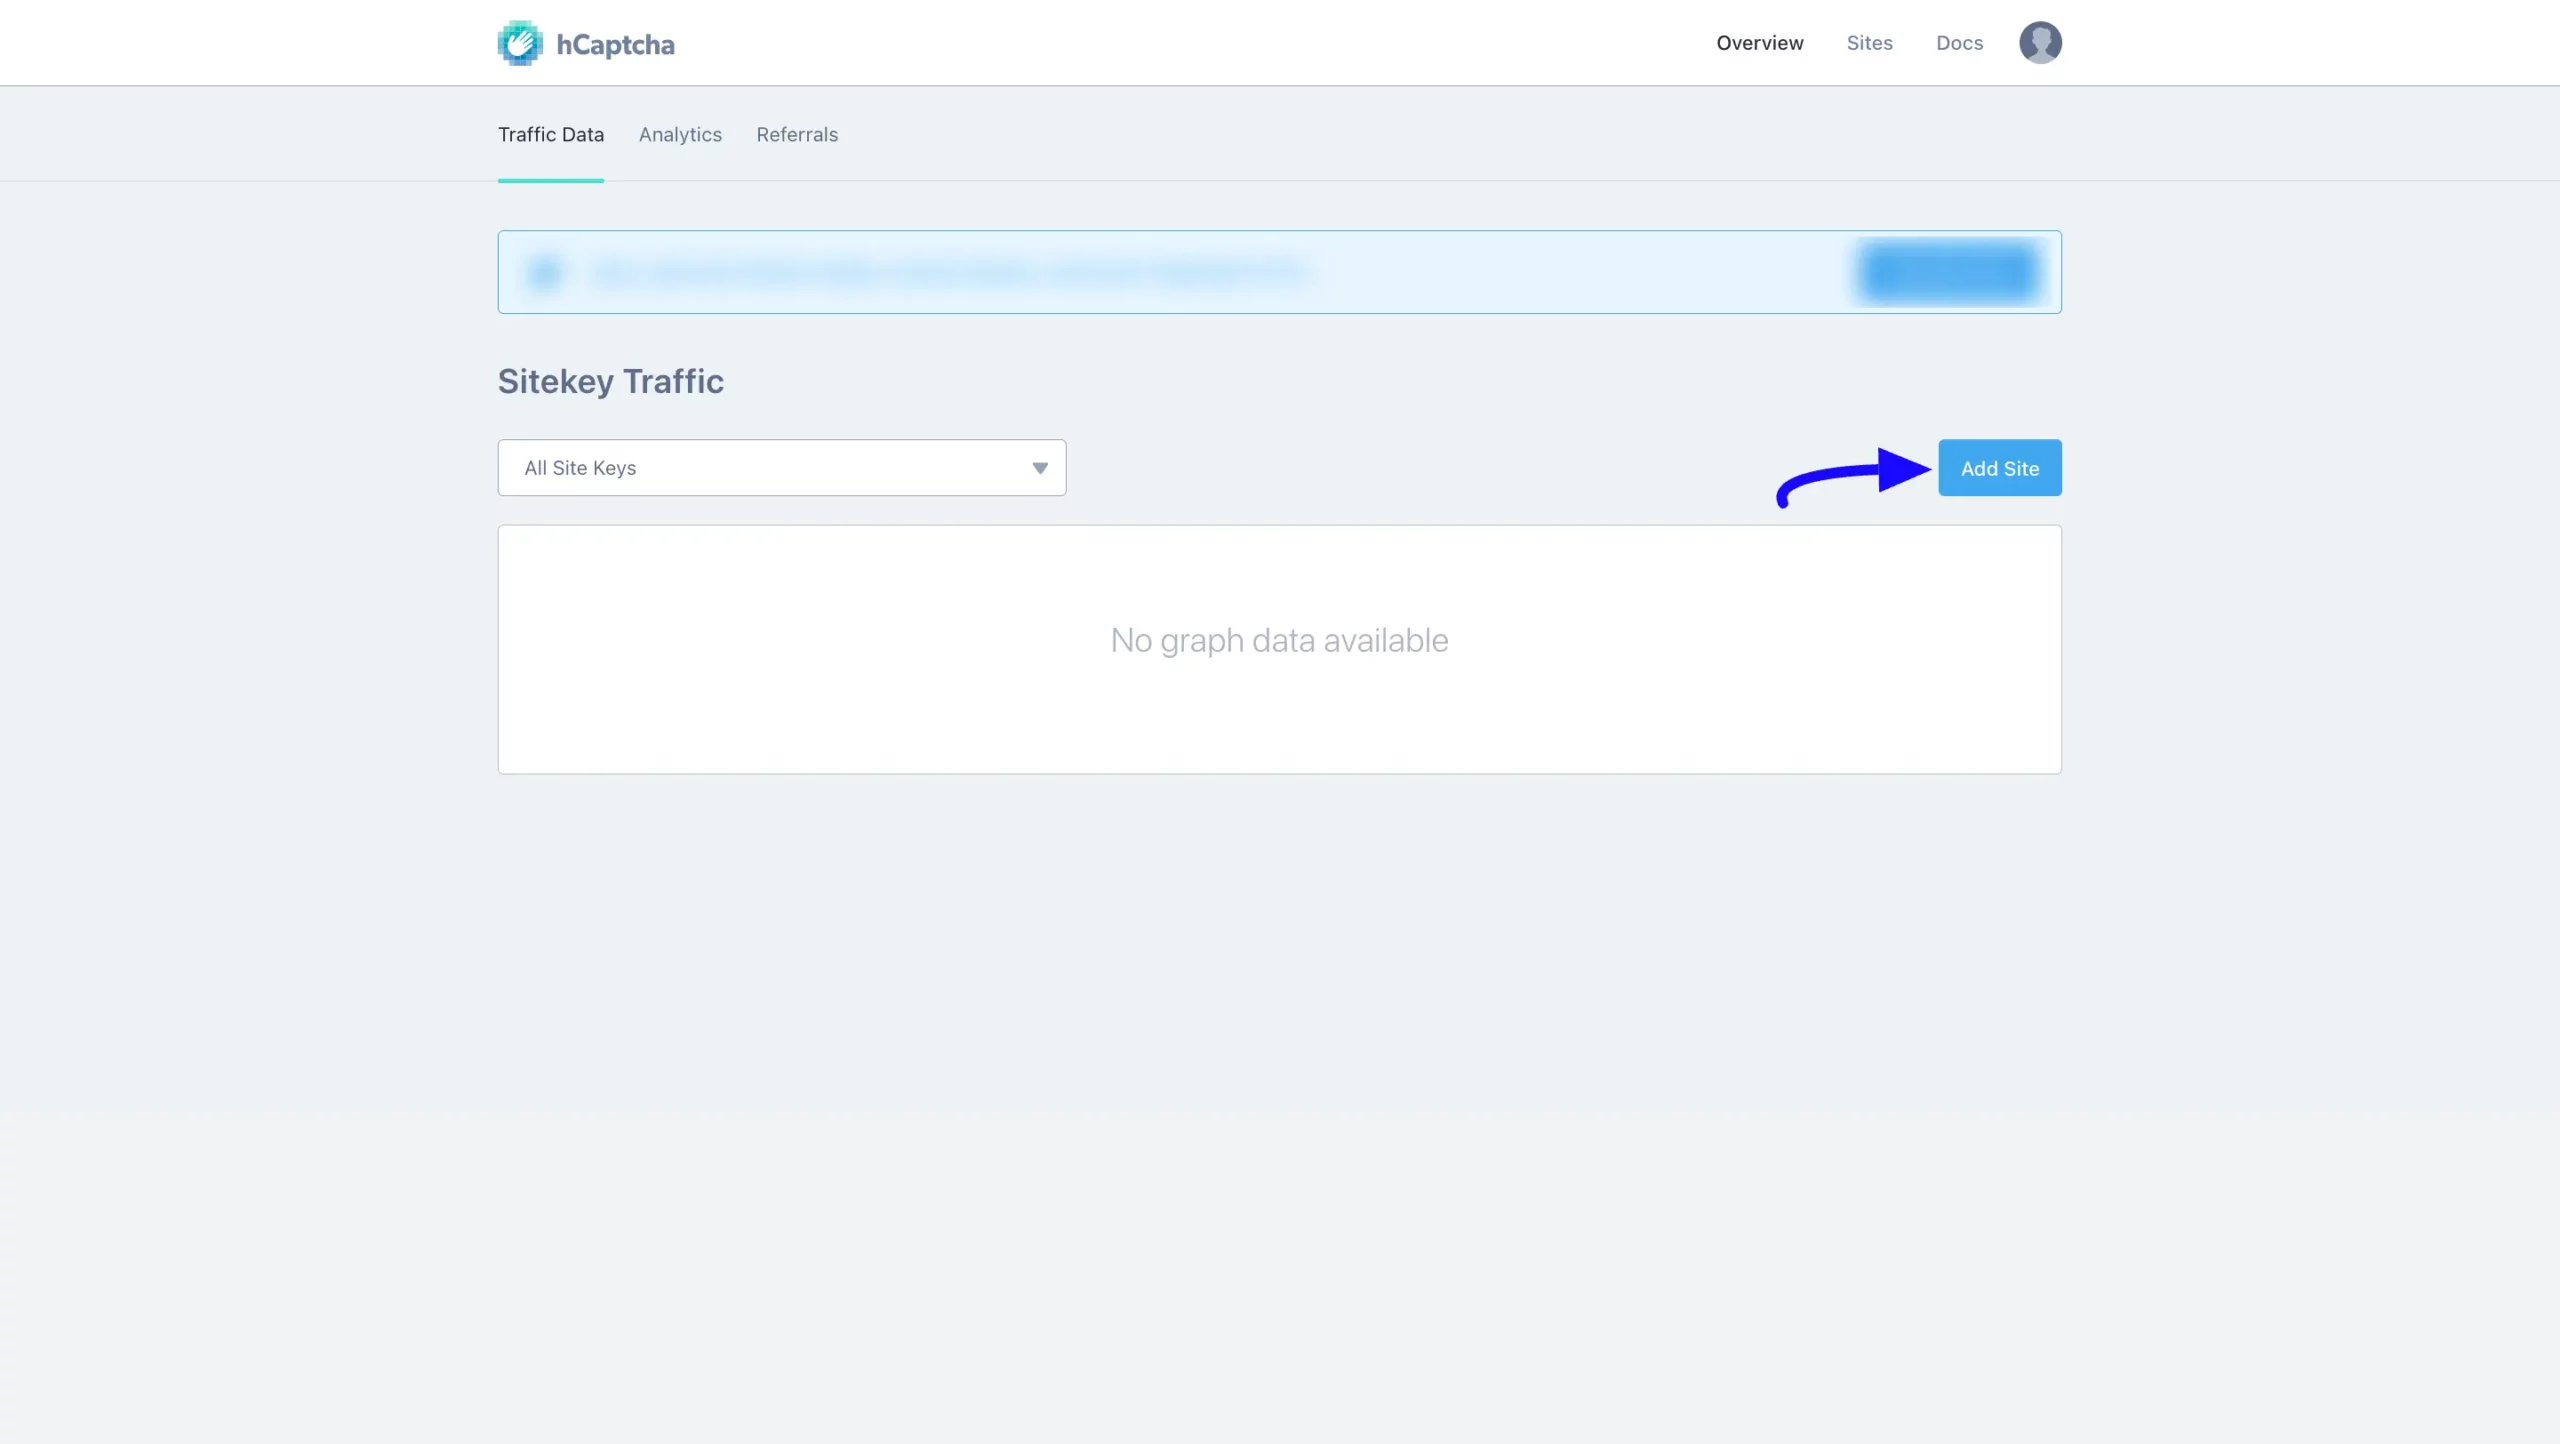
Click on the Add Site button to add your desired site where you want to add hCaptcha.
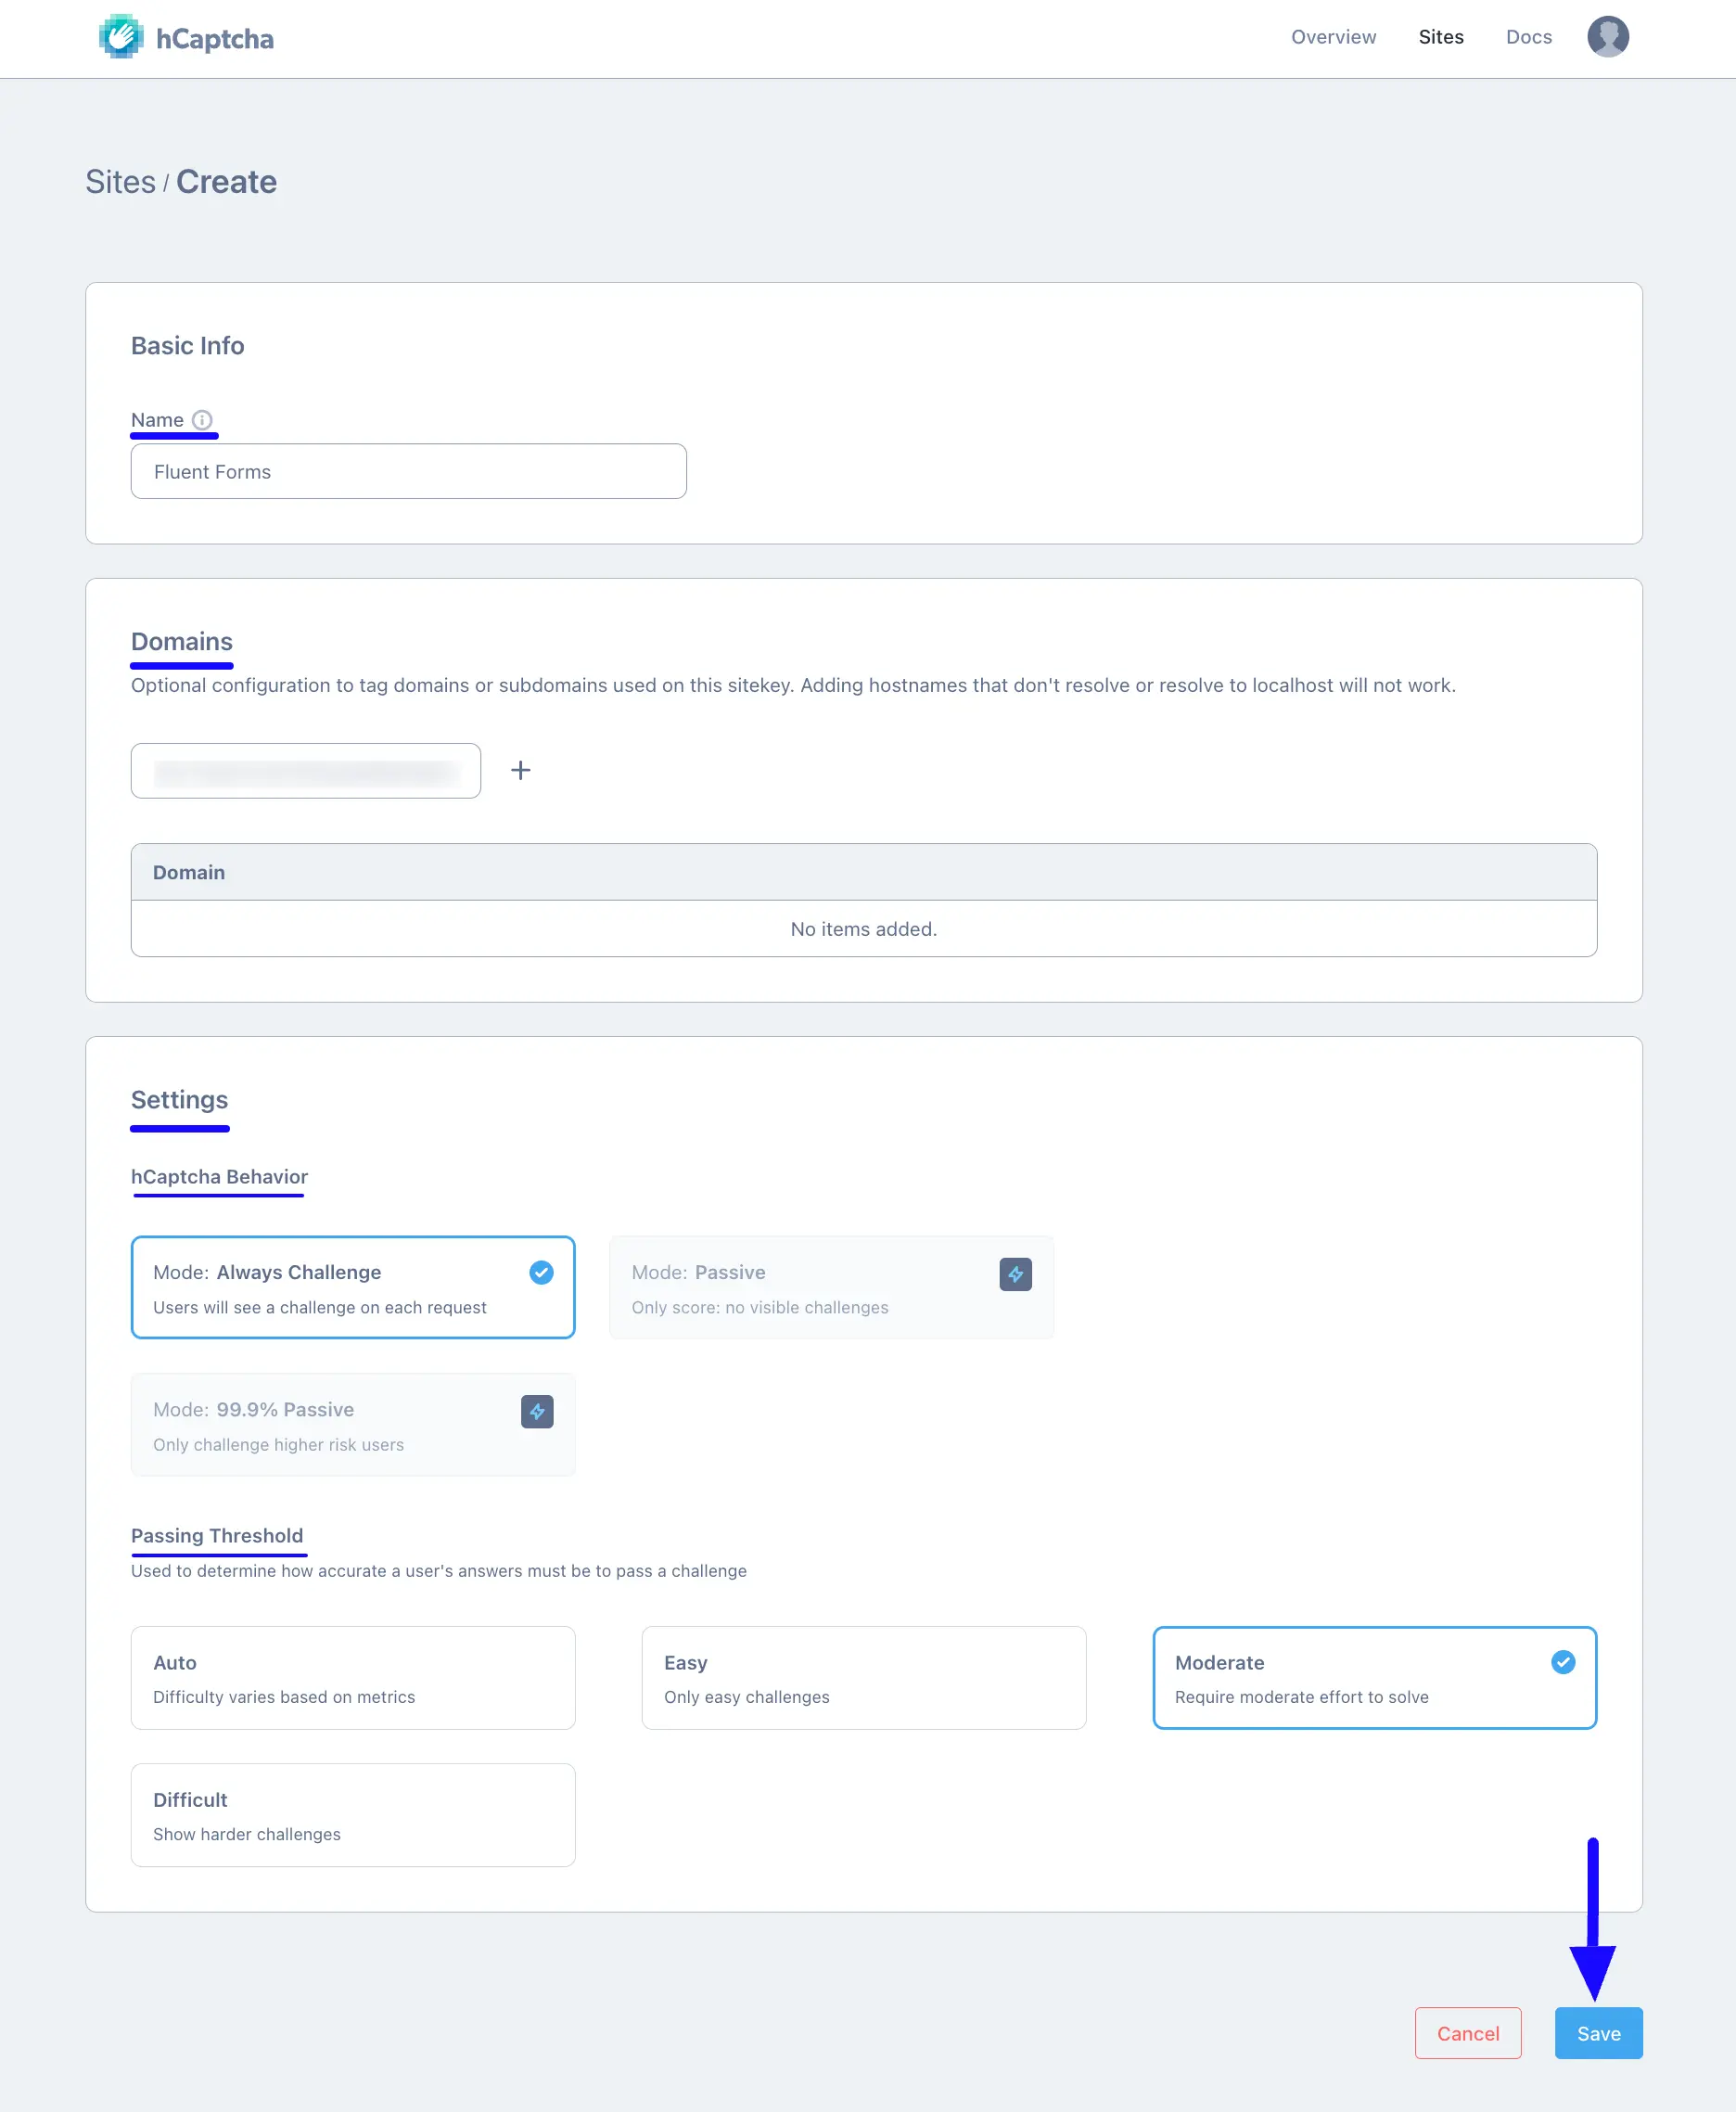
Now, put a Name to identify your website in the future and enter your website/s address in the Domains field to register your domain for hCaptcha verification.
Also, for additional Settings, you can select the hCaptcha Behavior and Passing Threshold according to your needs.
Once you provide all the necessary information, click the Save button, and you will get your desired Site key.
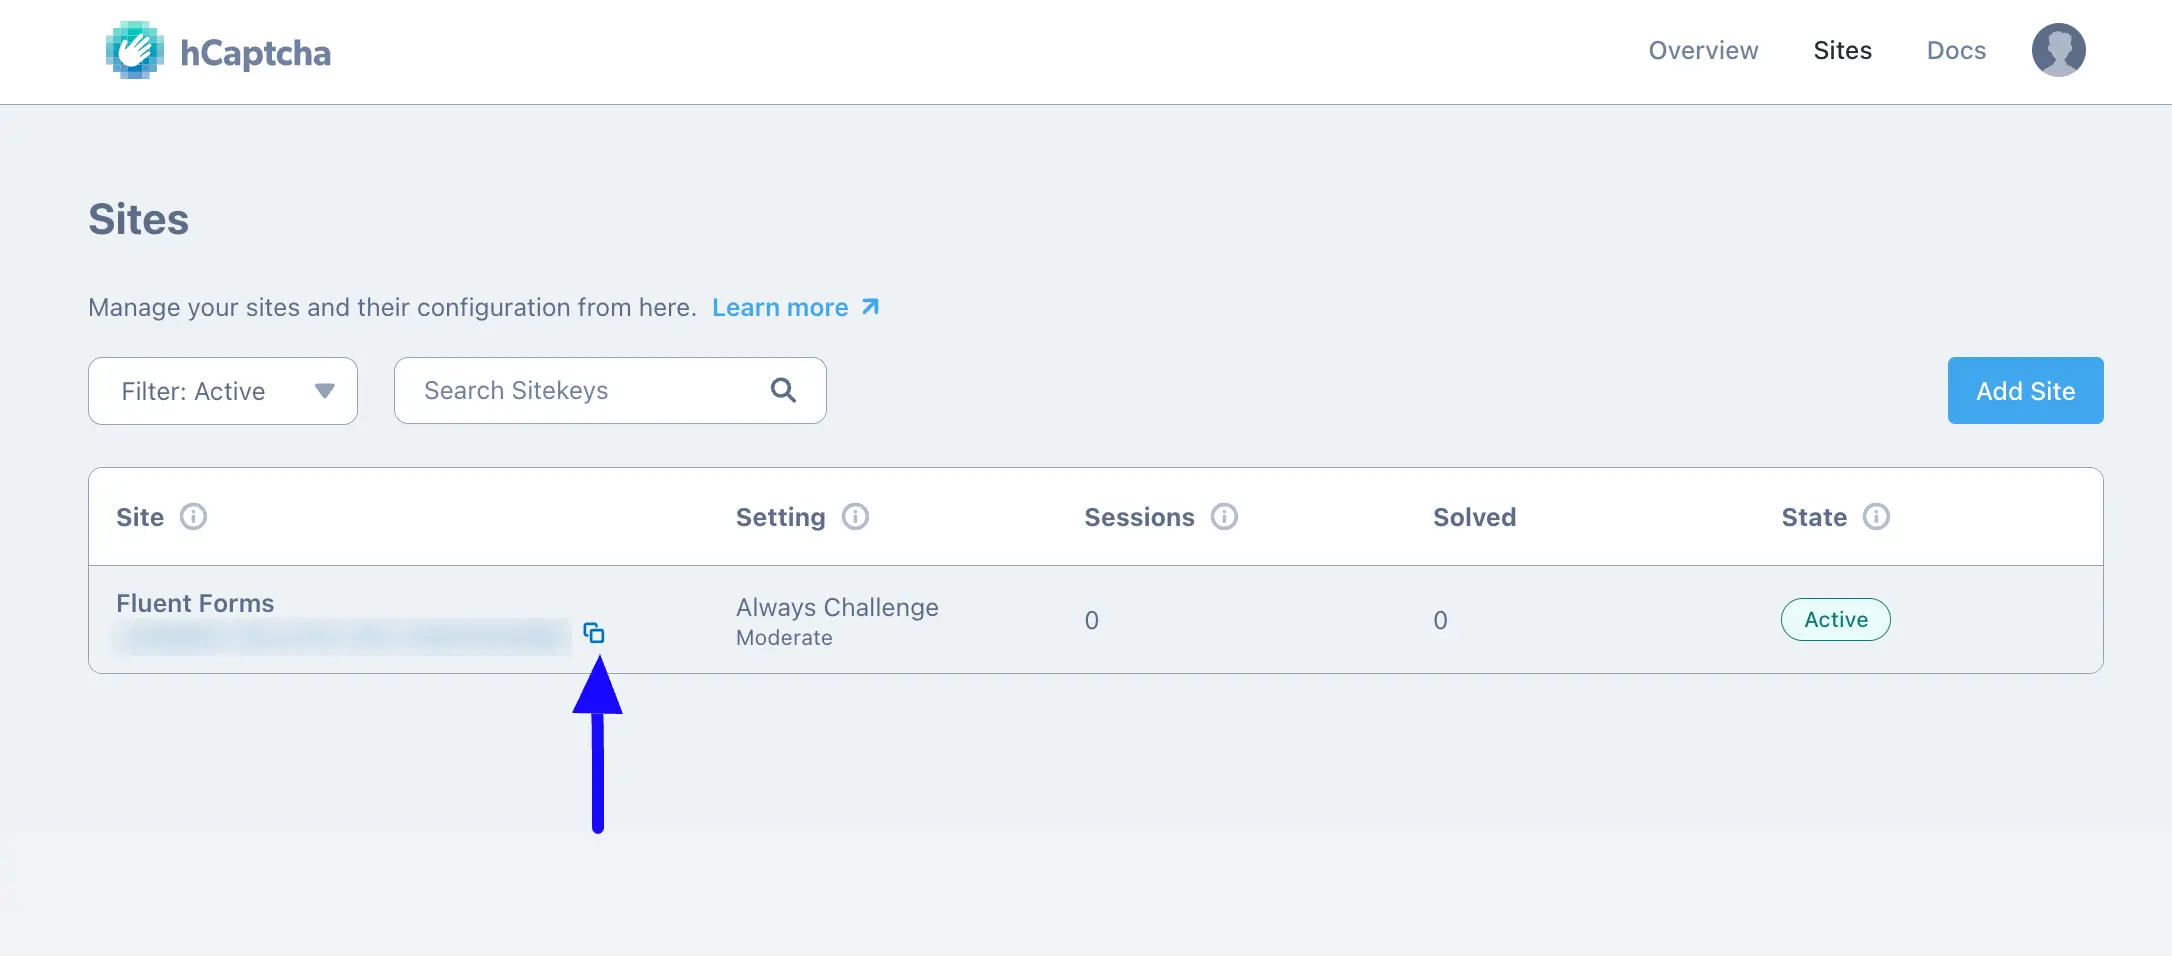
Now, copy the Site Key by clicking the Copy button under the desired added site.
Connecting hCaptcha with Fluent Forms #
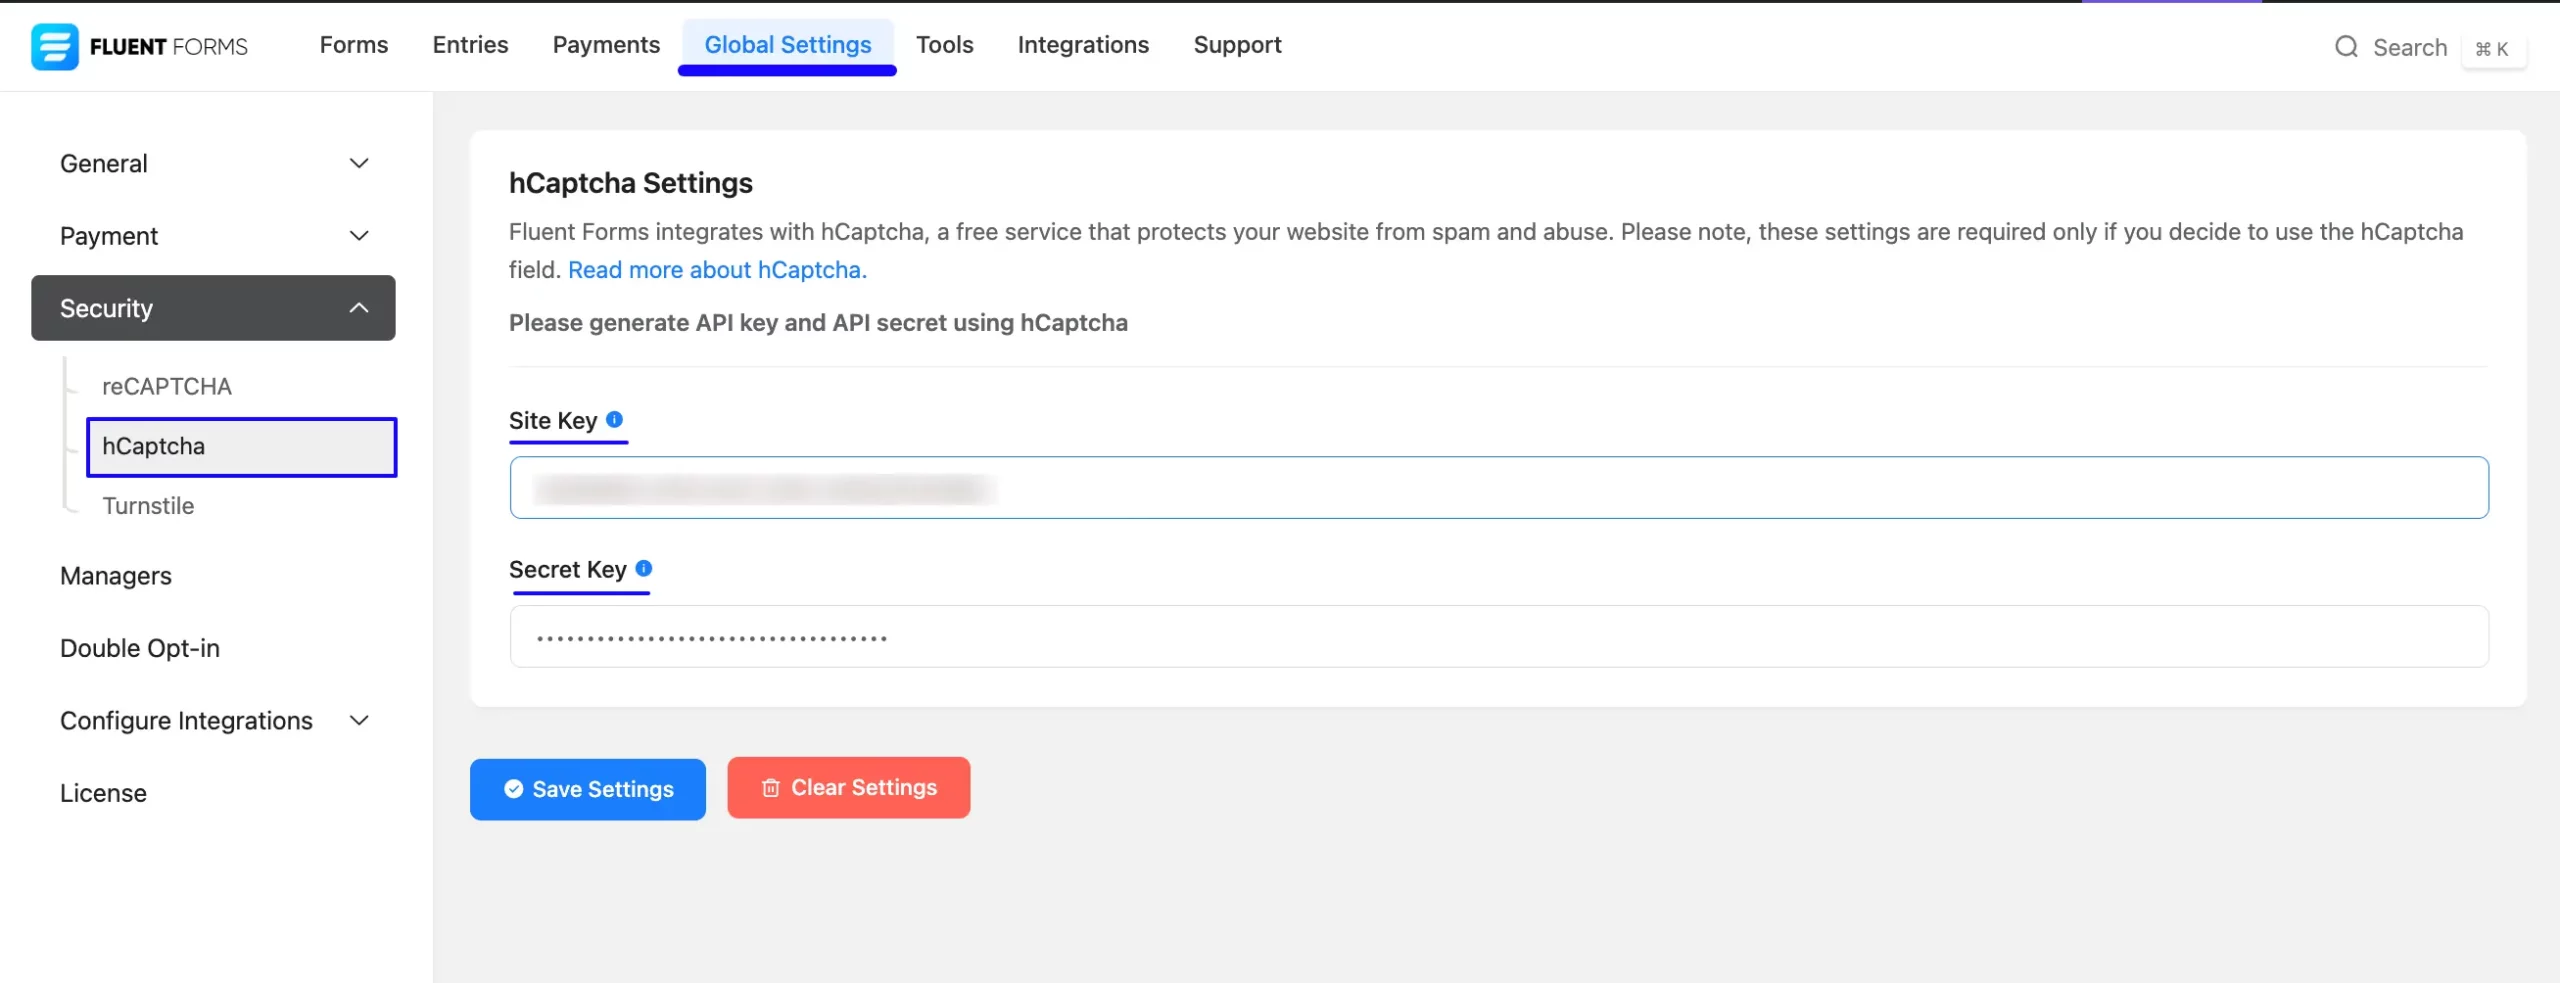
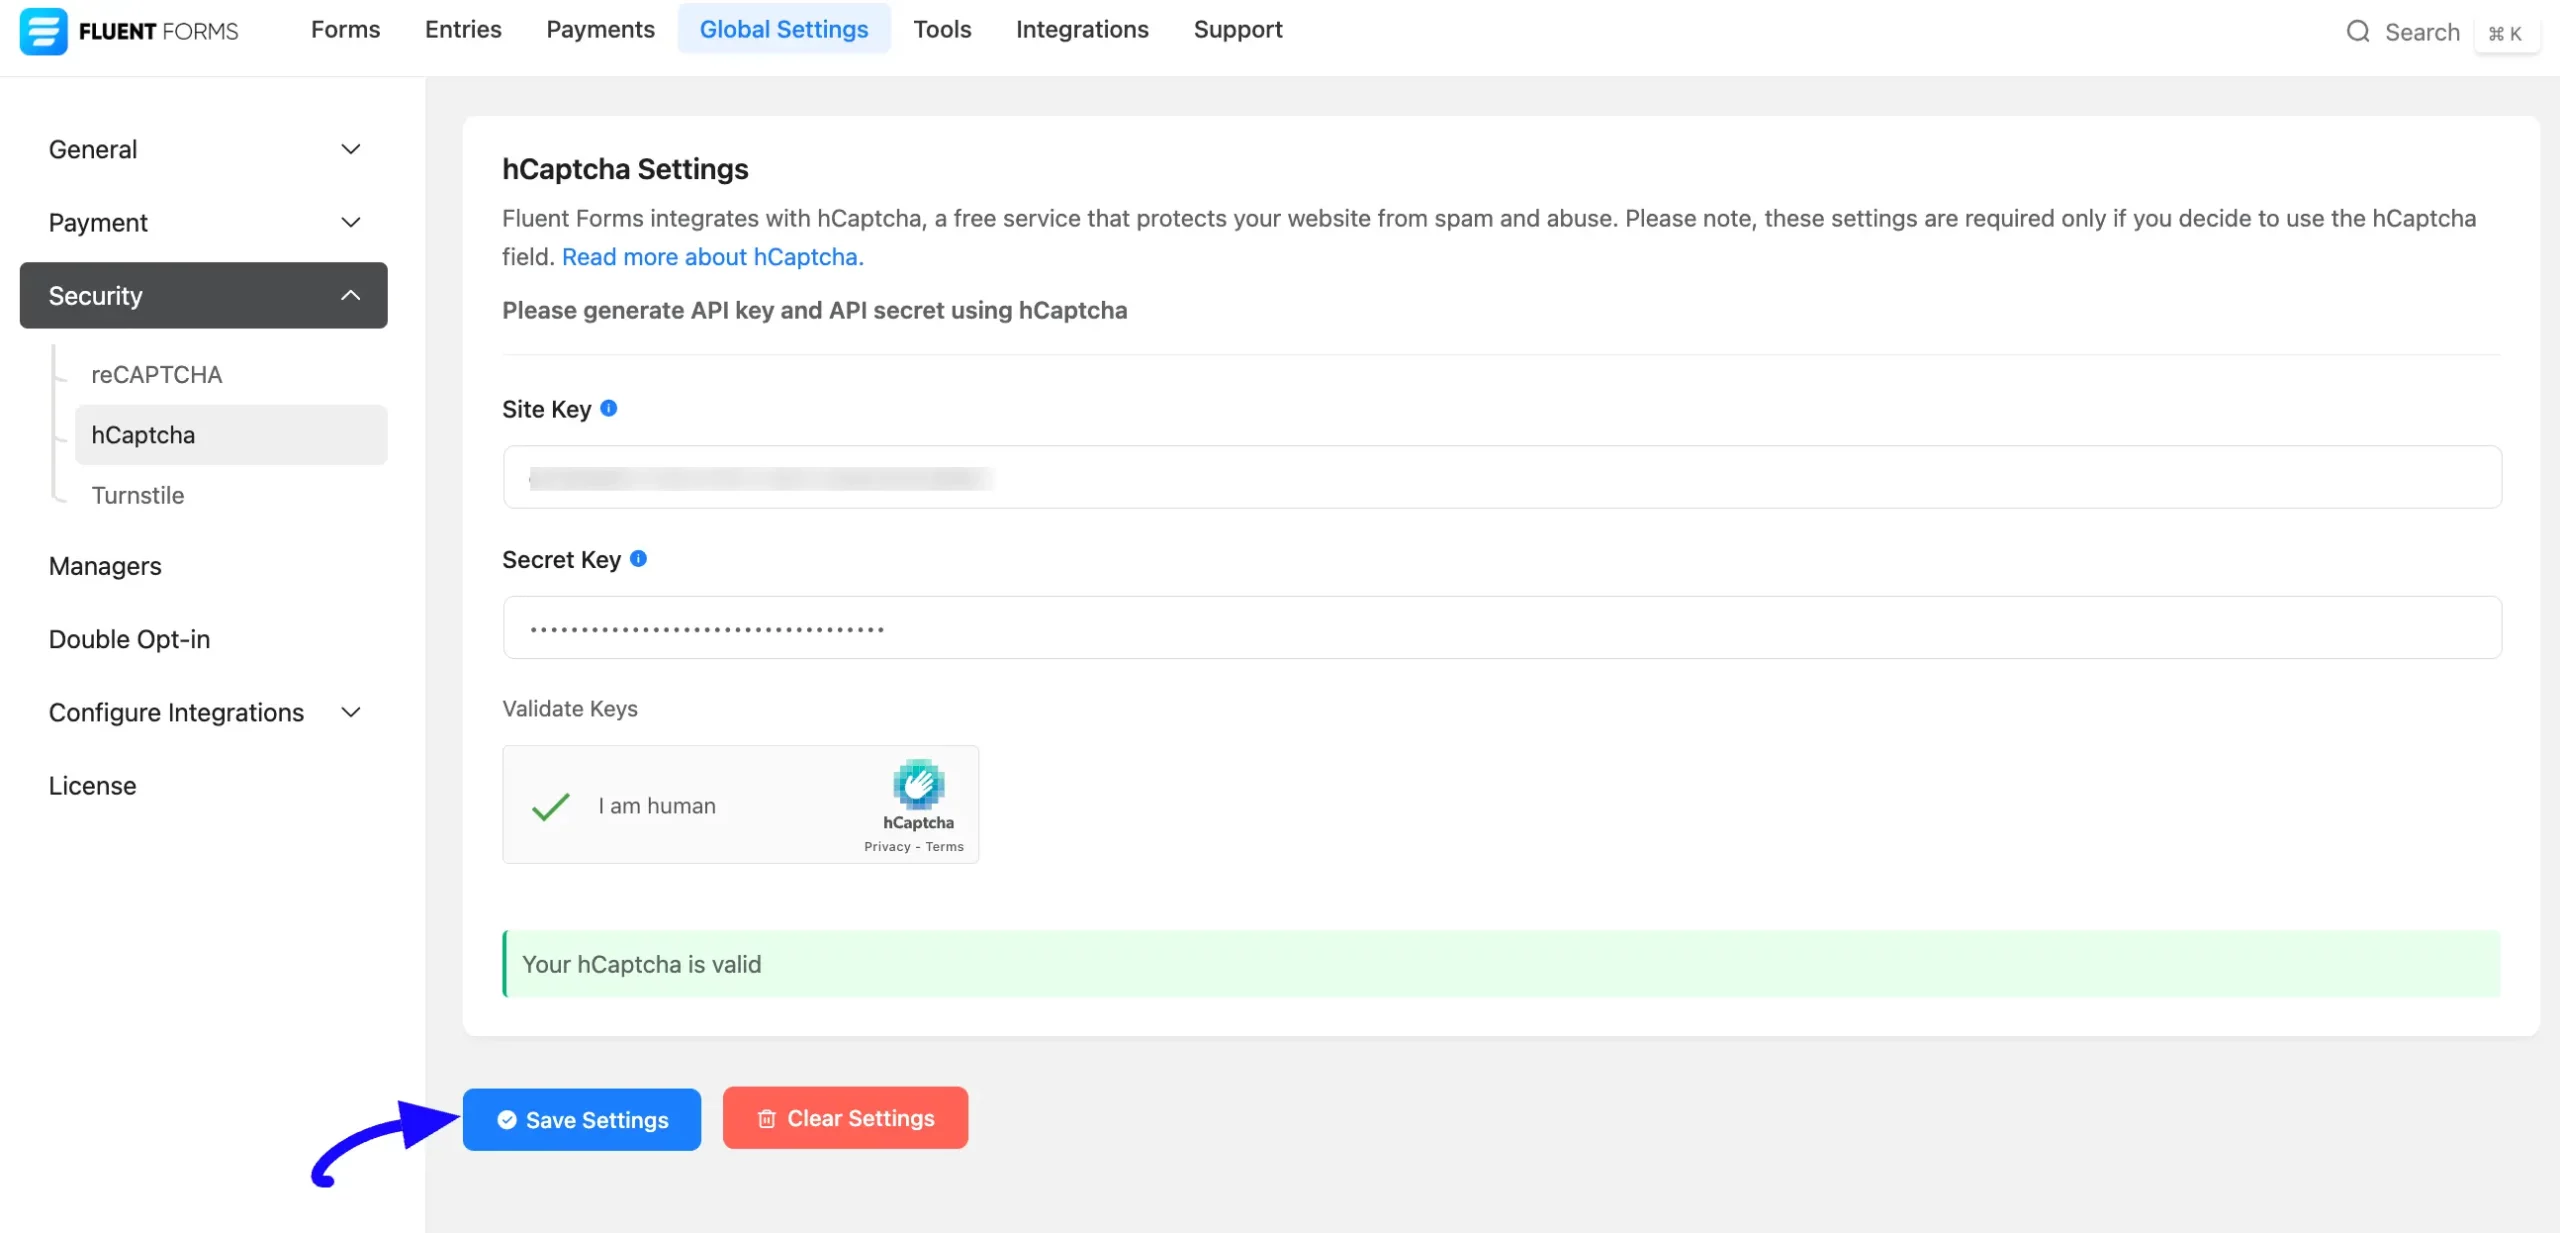
Return to the Global Settings from the FluentForms Navbar, open the Security tab from the left sidebar, and click the hCaptcha.
Now, paste the Keys you copied from the hCaptcha into the Site Key and Secret Key fields respectively.
After you provide the keys, a pop-up will appear to Verify their validity.
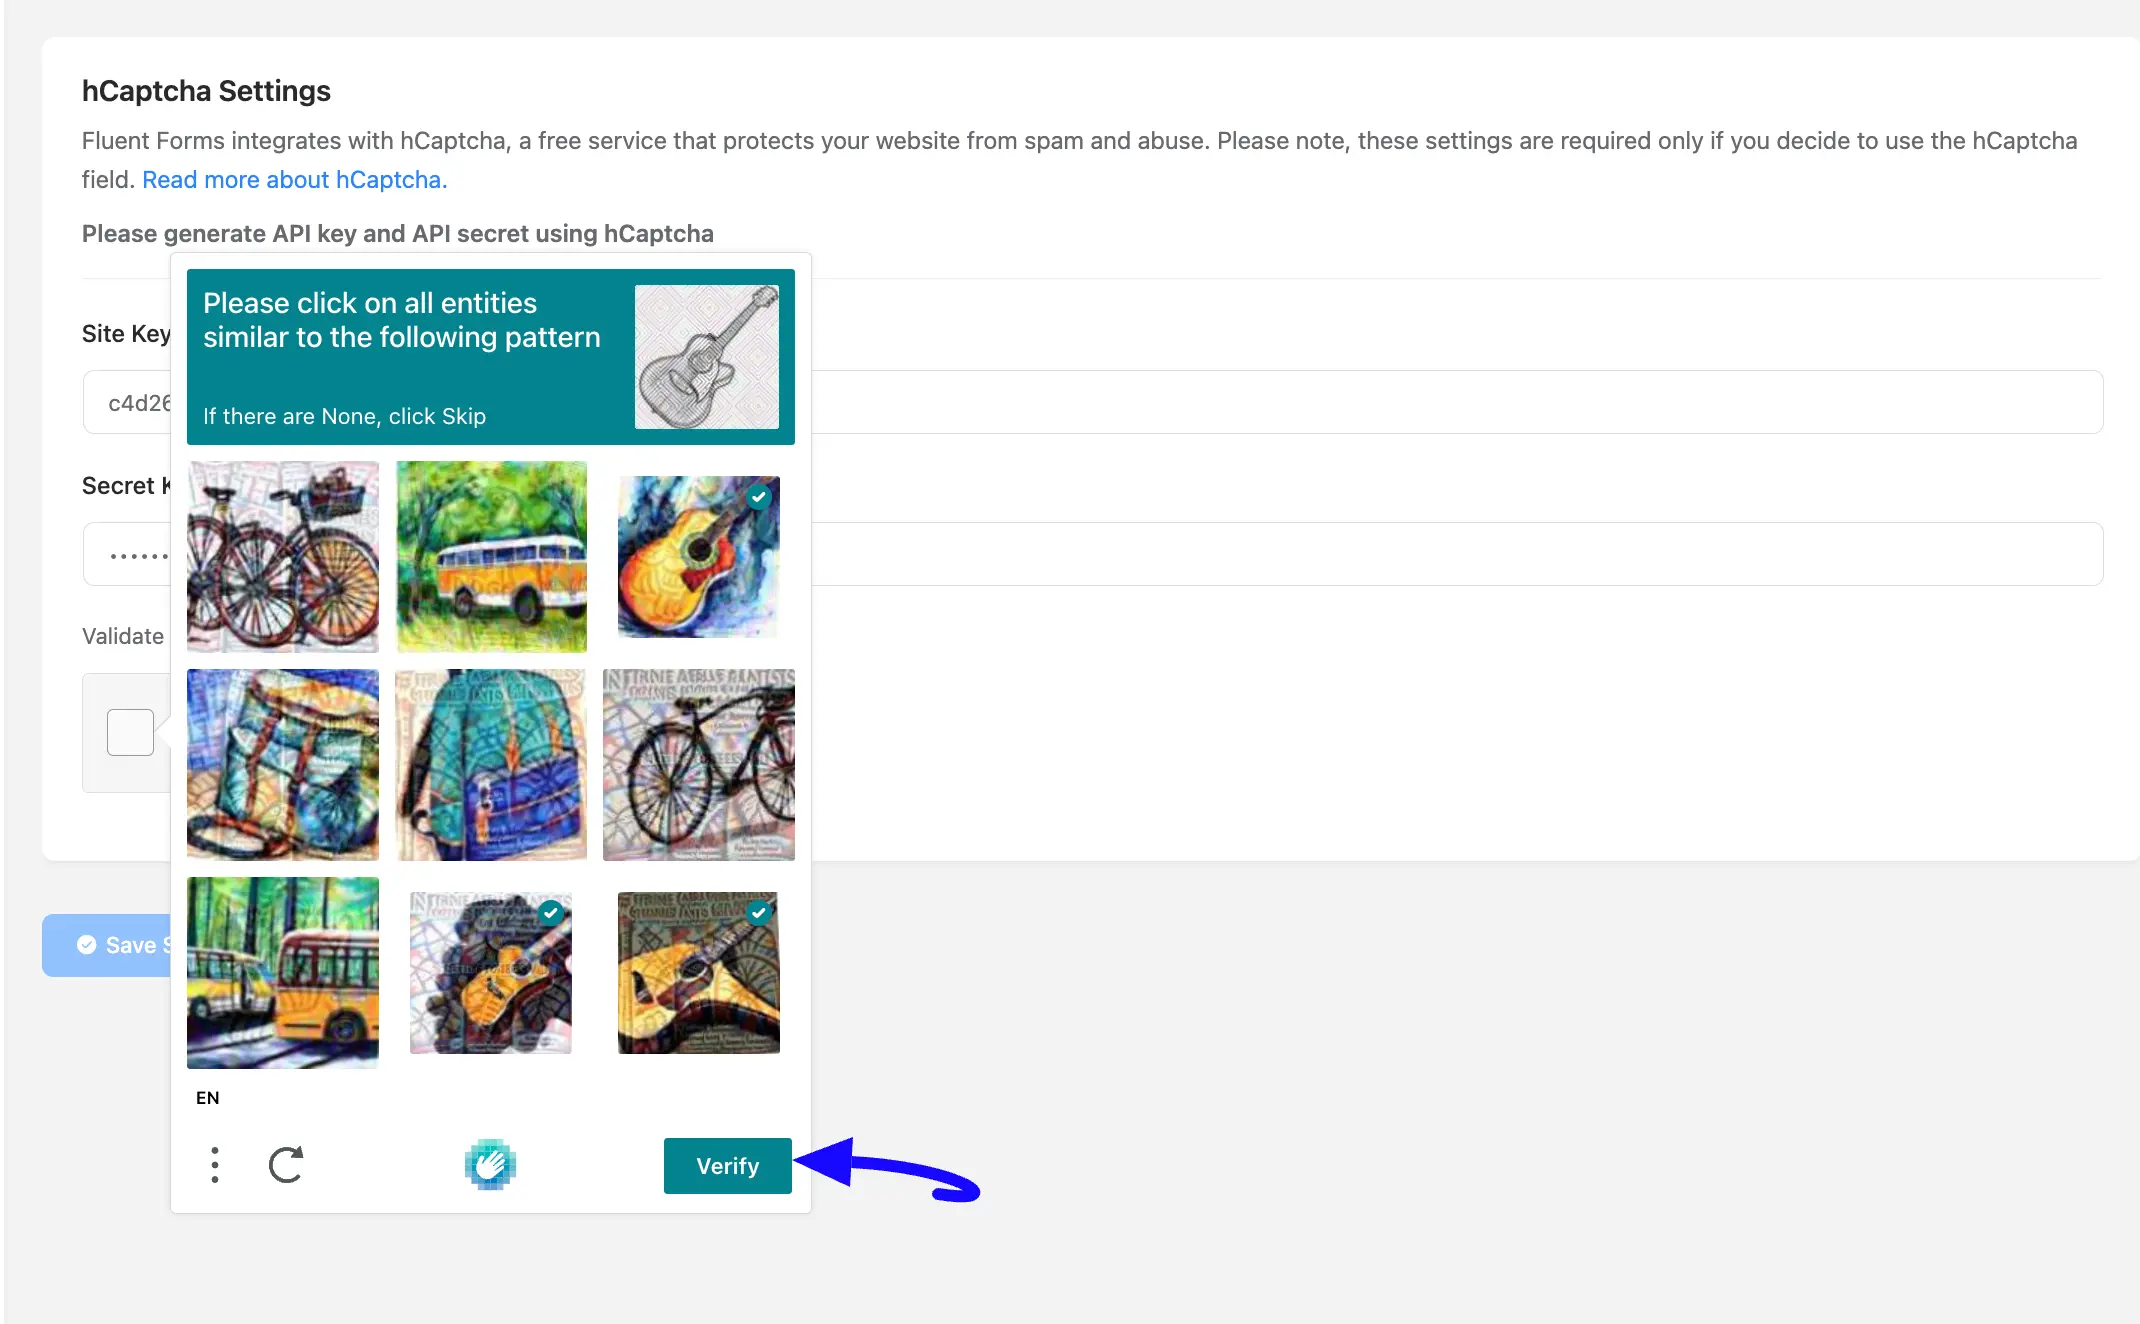
Finally, press the Save Settings button to make your hCaptcha Integration functional.
Integrating hCaptcha with Forms #
To learn the process of integrating the hCaptcha in a specific form, follow the steps with screenshots below –
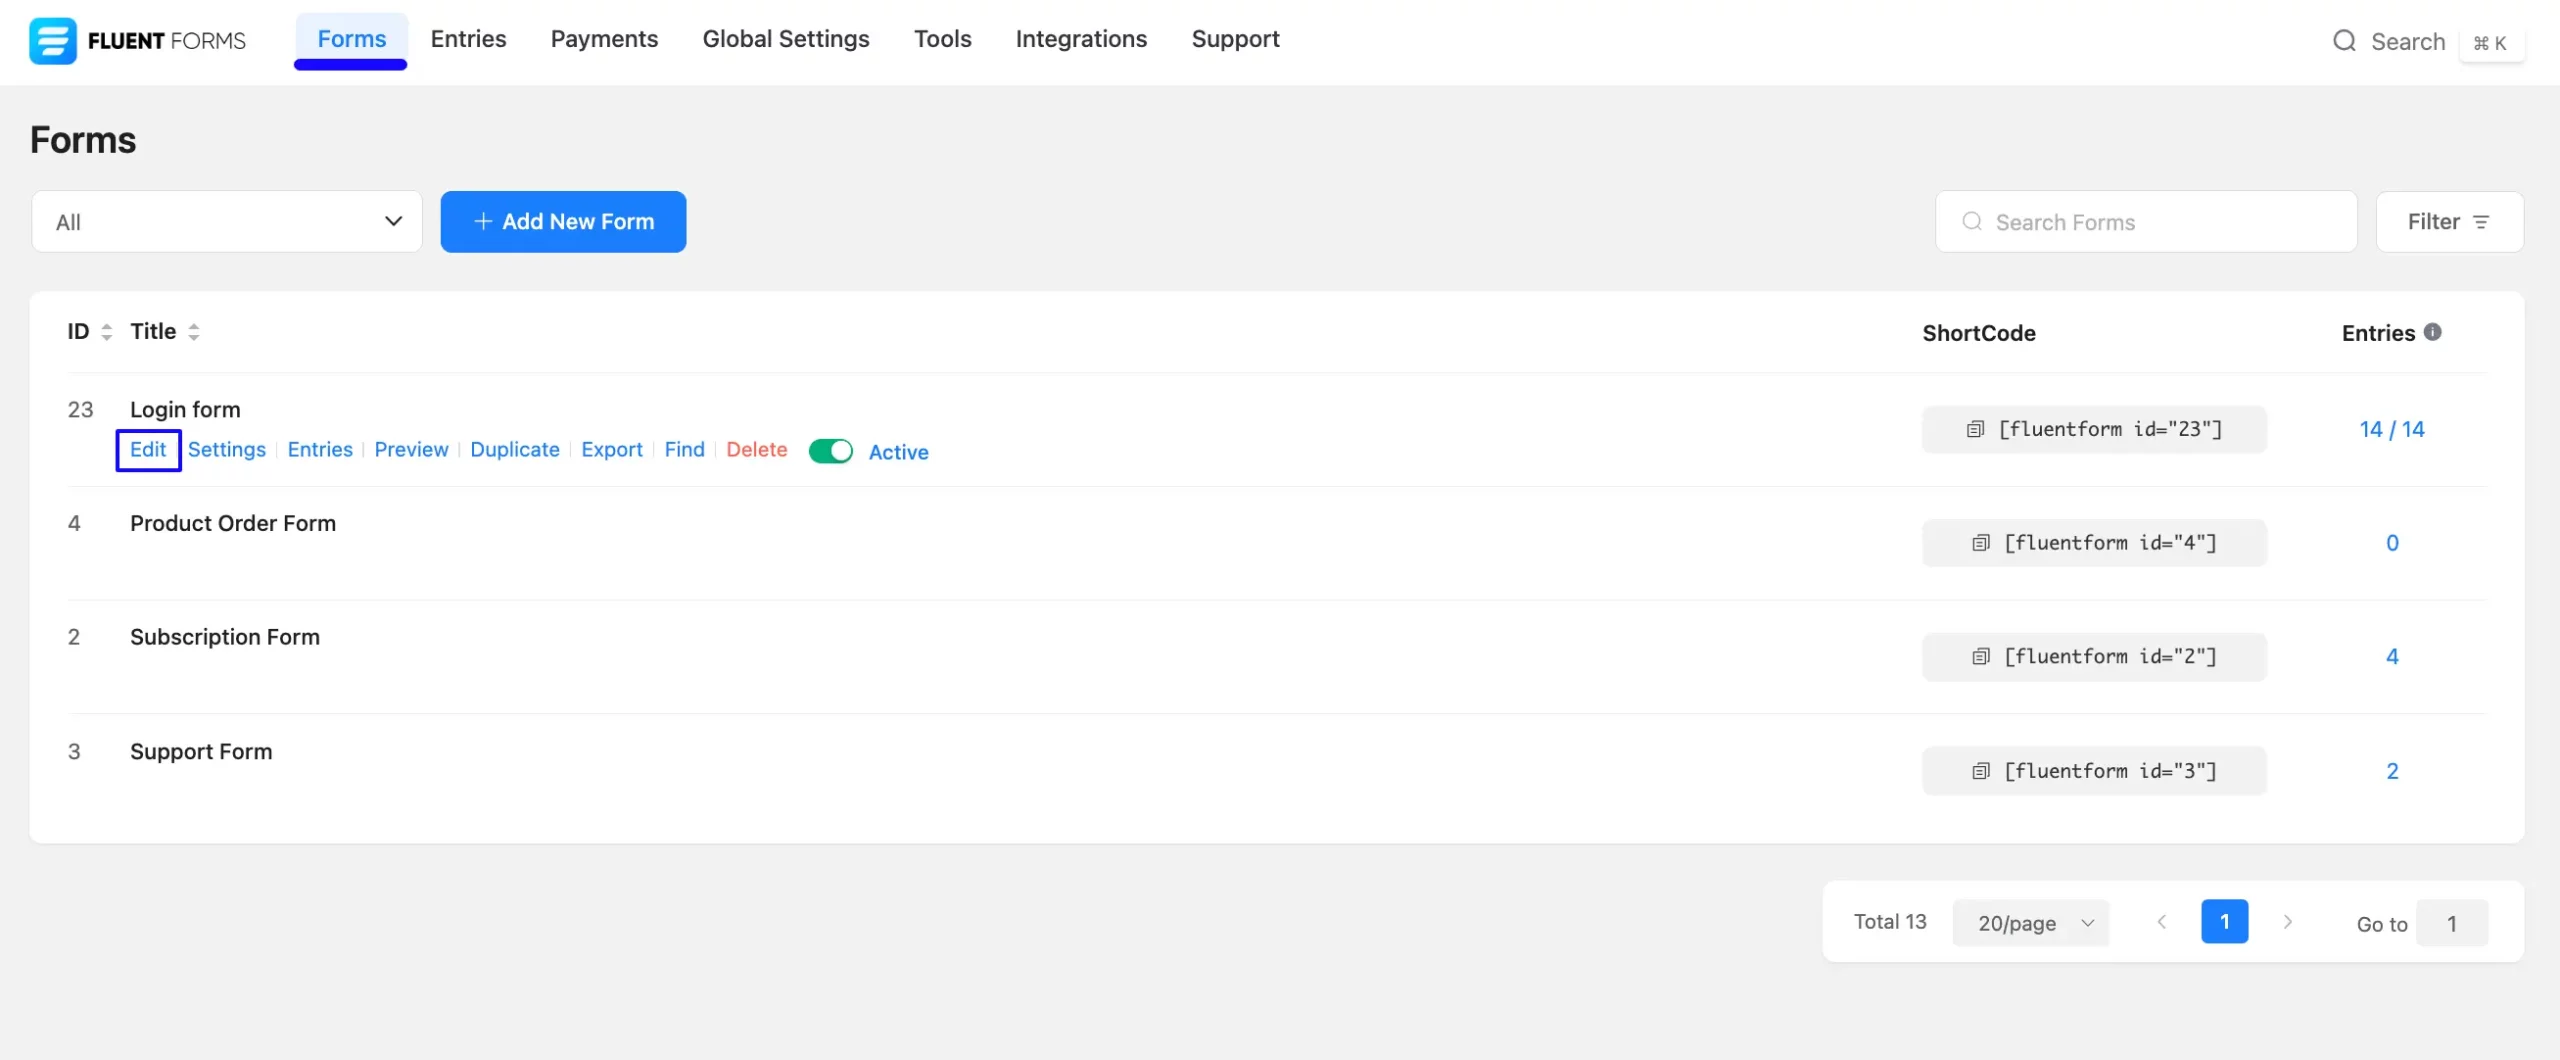
First, go to Forms from the top navbar, and open the Editor page of your desired form by clicking the Edit button where you want to set this hCaptcha protection.
If you do not have any existing forms, read the Create a Form from Scratch or Create a Form using Templates documentation to create a new one.
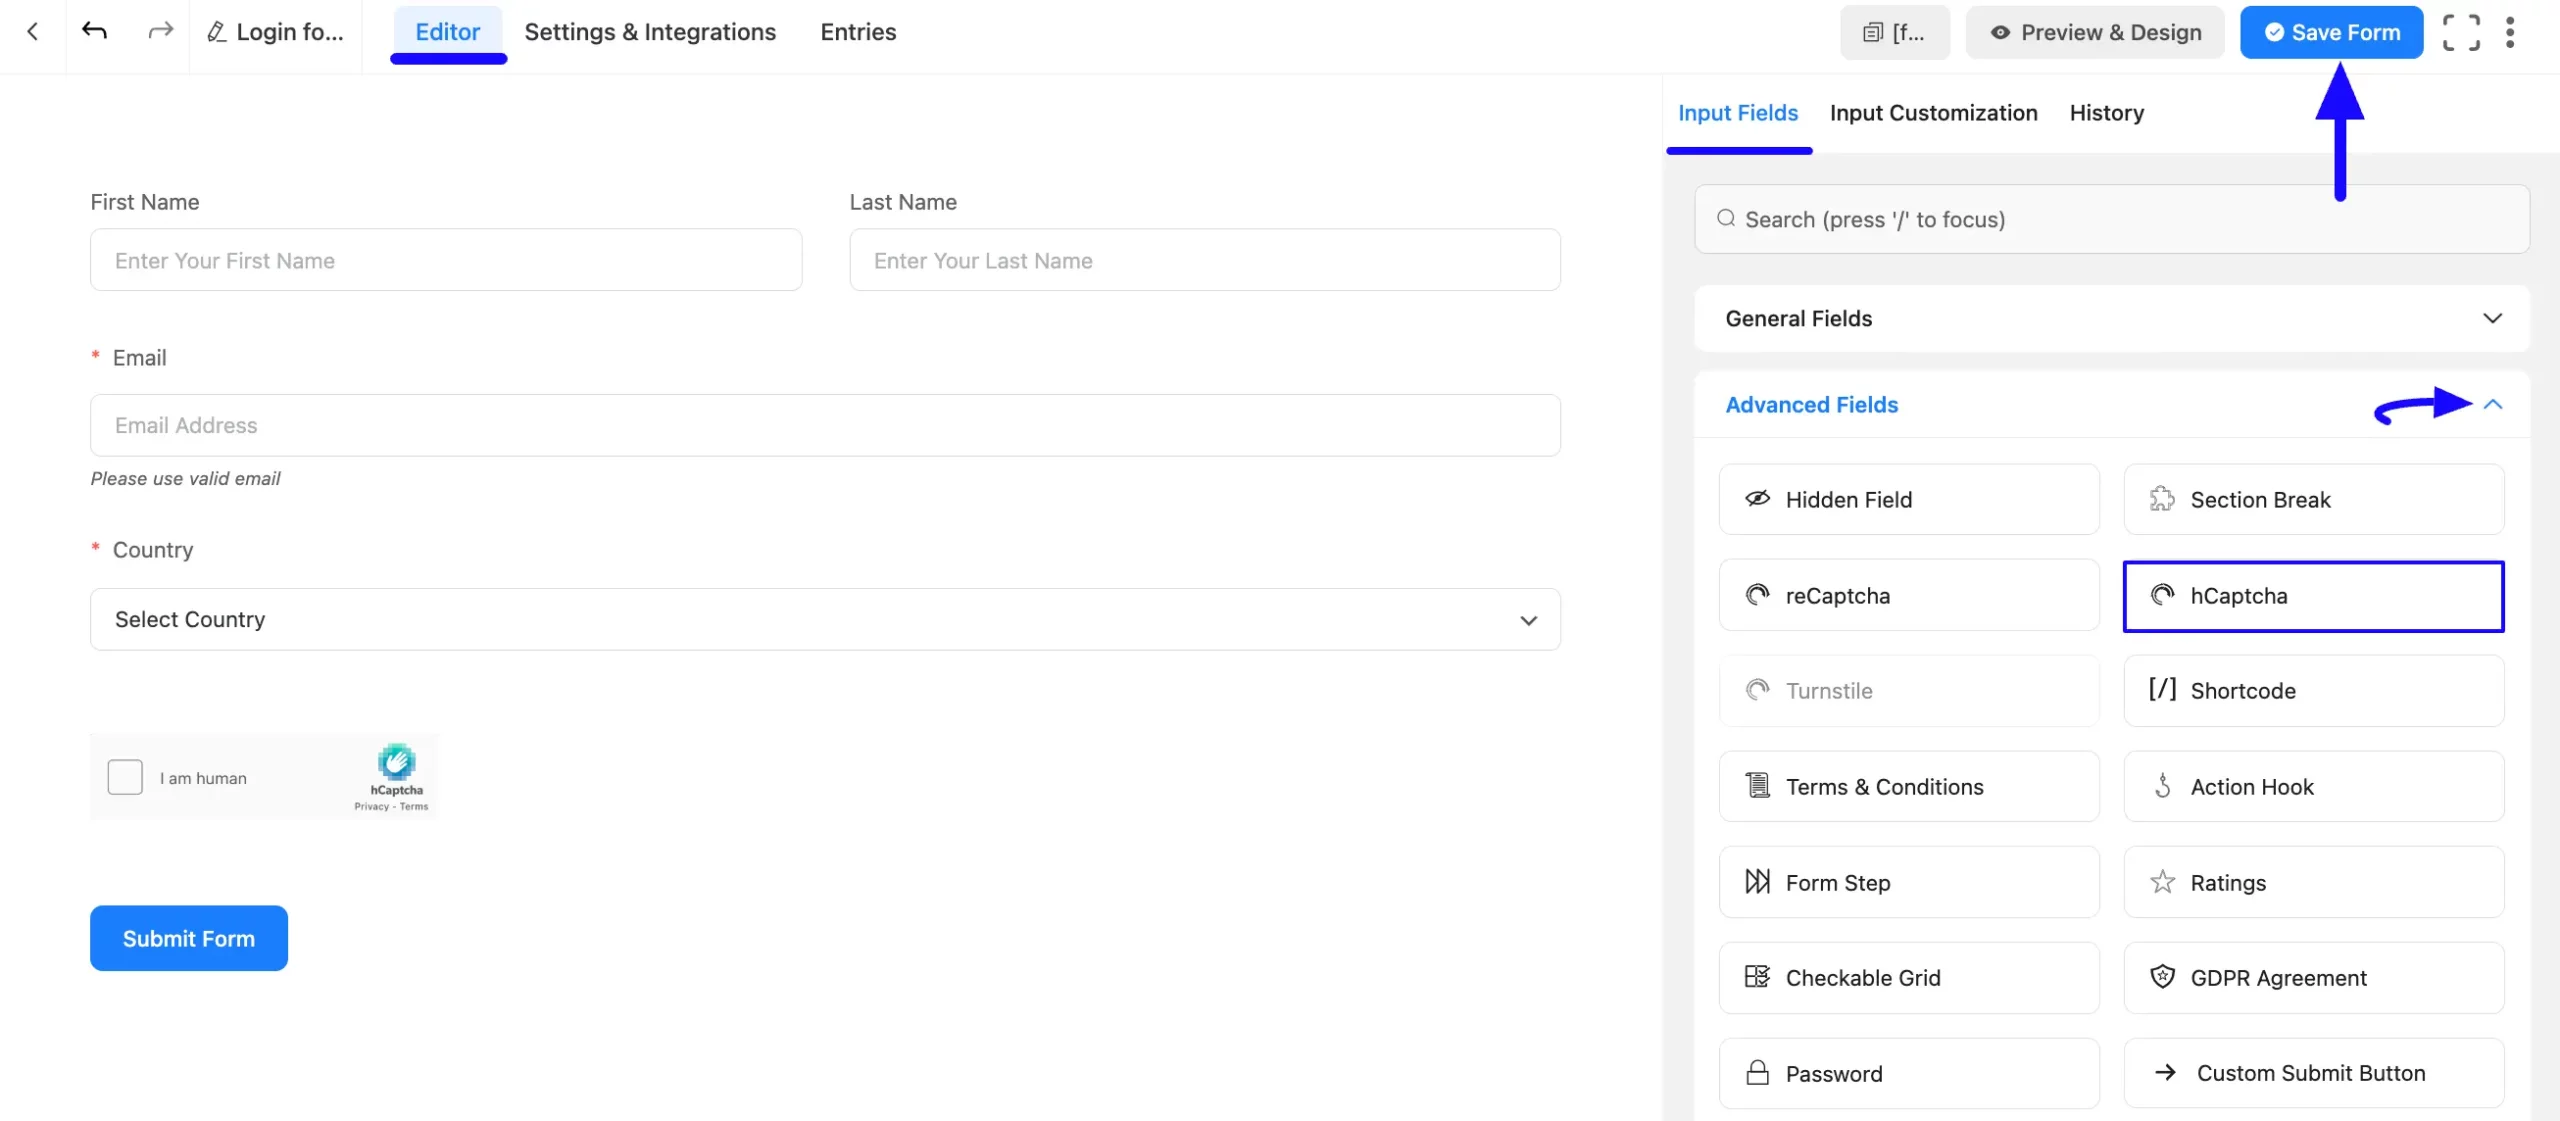
Once you are on the Editor page, go to the Input Fields on the right side, open the Advanced Fields dropdown list, and click the hCaptcha input field.
Finally, click the Save Form button to integrate your configured hCaptcha into this form.
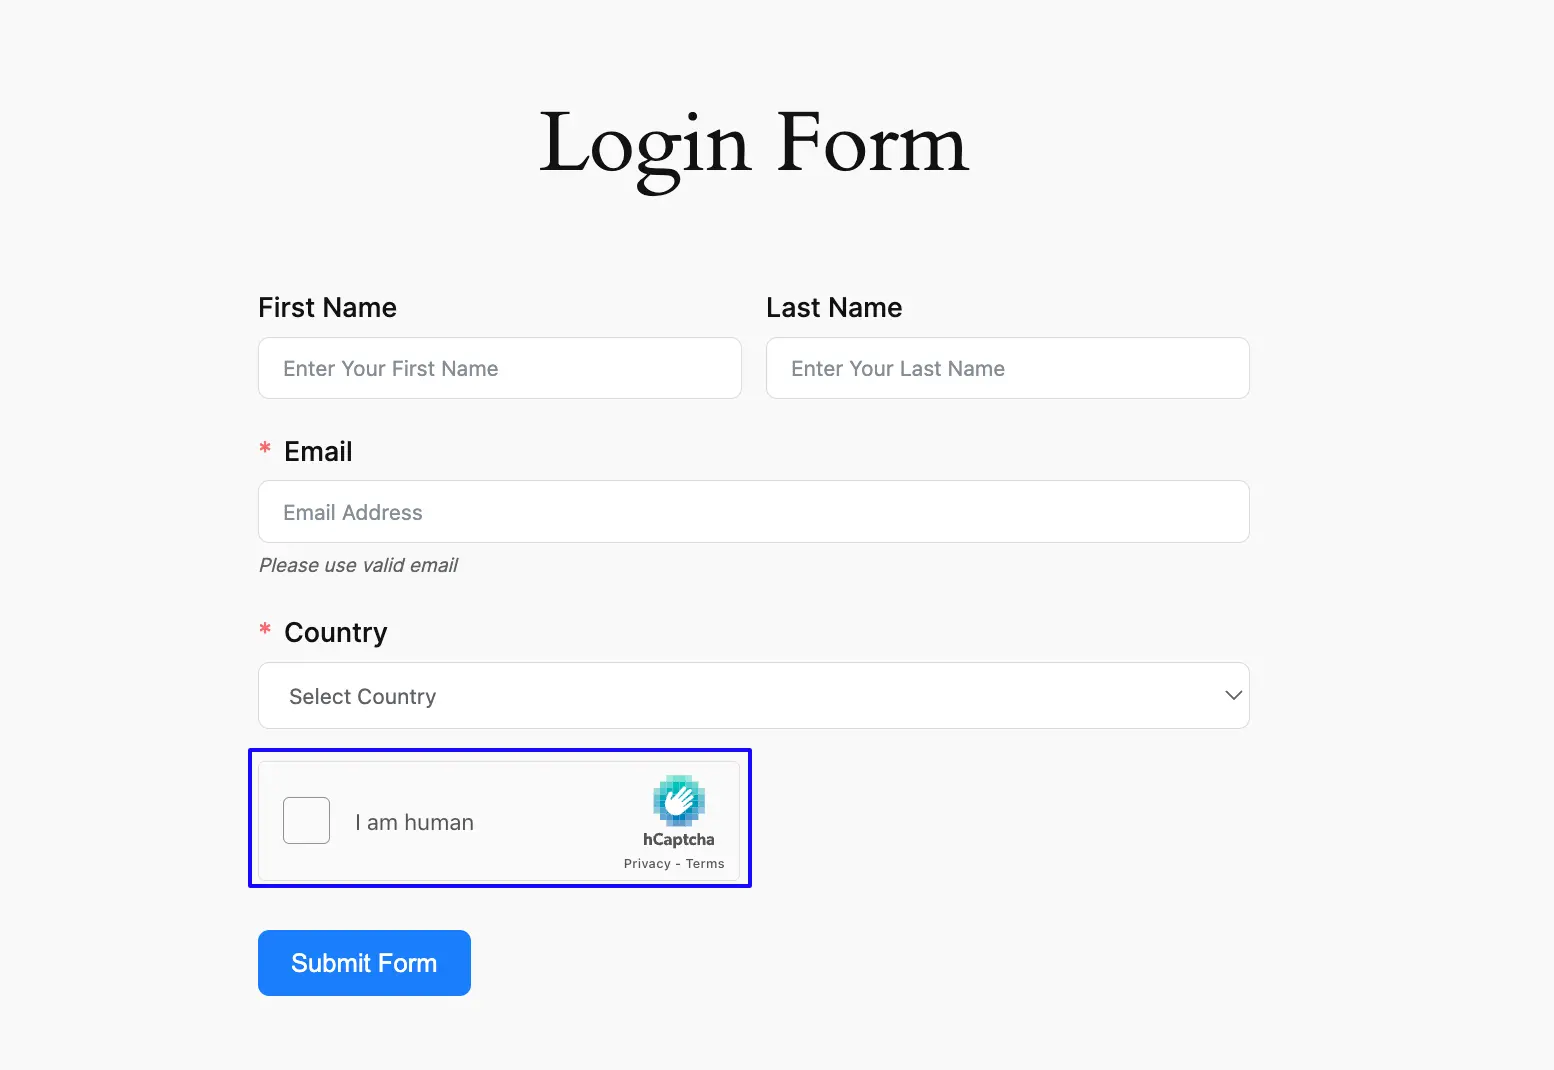
Here is the preview of the integrated hCaptcha in a specific form.
If you have any further questions, concerns, or suggestions, please do not hesitate to contact our @support team. Thank you.


