
Fluent Forms allows you to integrate Akismet to enhance security for your form entries, protecting them from spambots and keeping your contact lists spam-free. This article will guide you through the process of integrating Akismet with Fluent Forms.
Installing & Activating Akismet in #
Before starting the Akismet Integration process, the Akismet Plugin has to be installed and activated on your WordPress Site. Otherwise, you will not get the Akismet Integration option in Fluent Forms.
To learn how to install and activate the Akismet plugin in WordPress, follow the steps below –
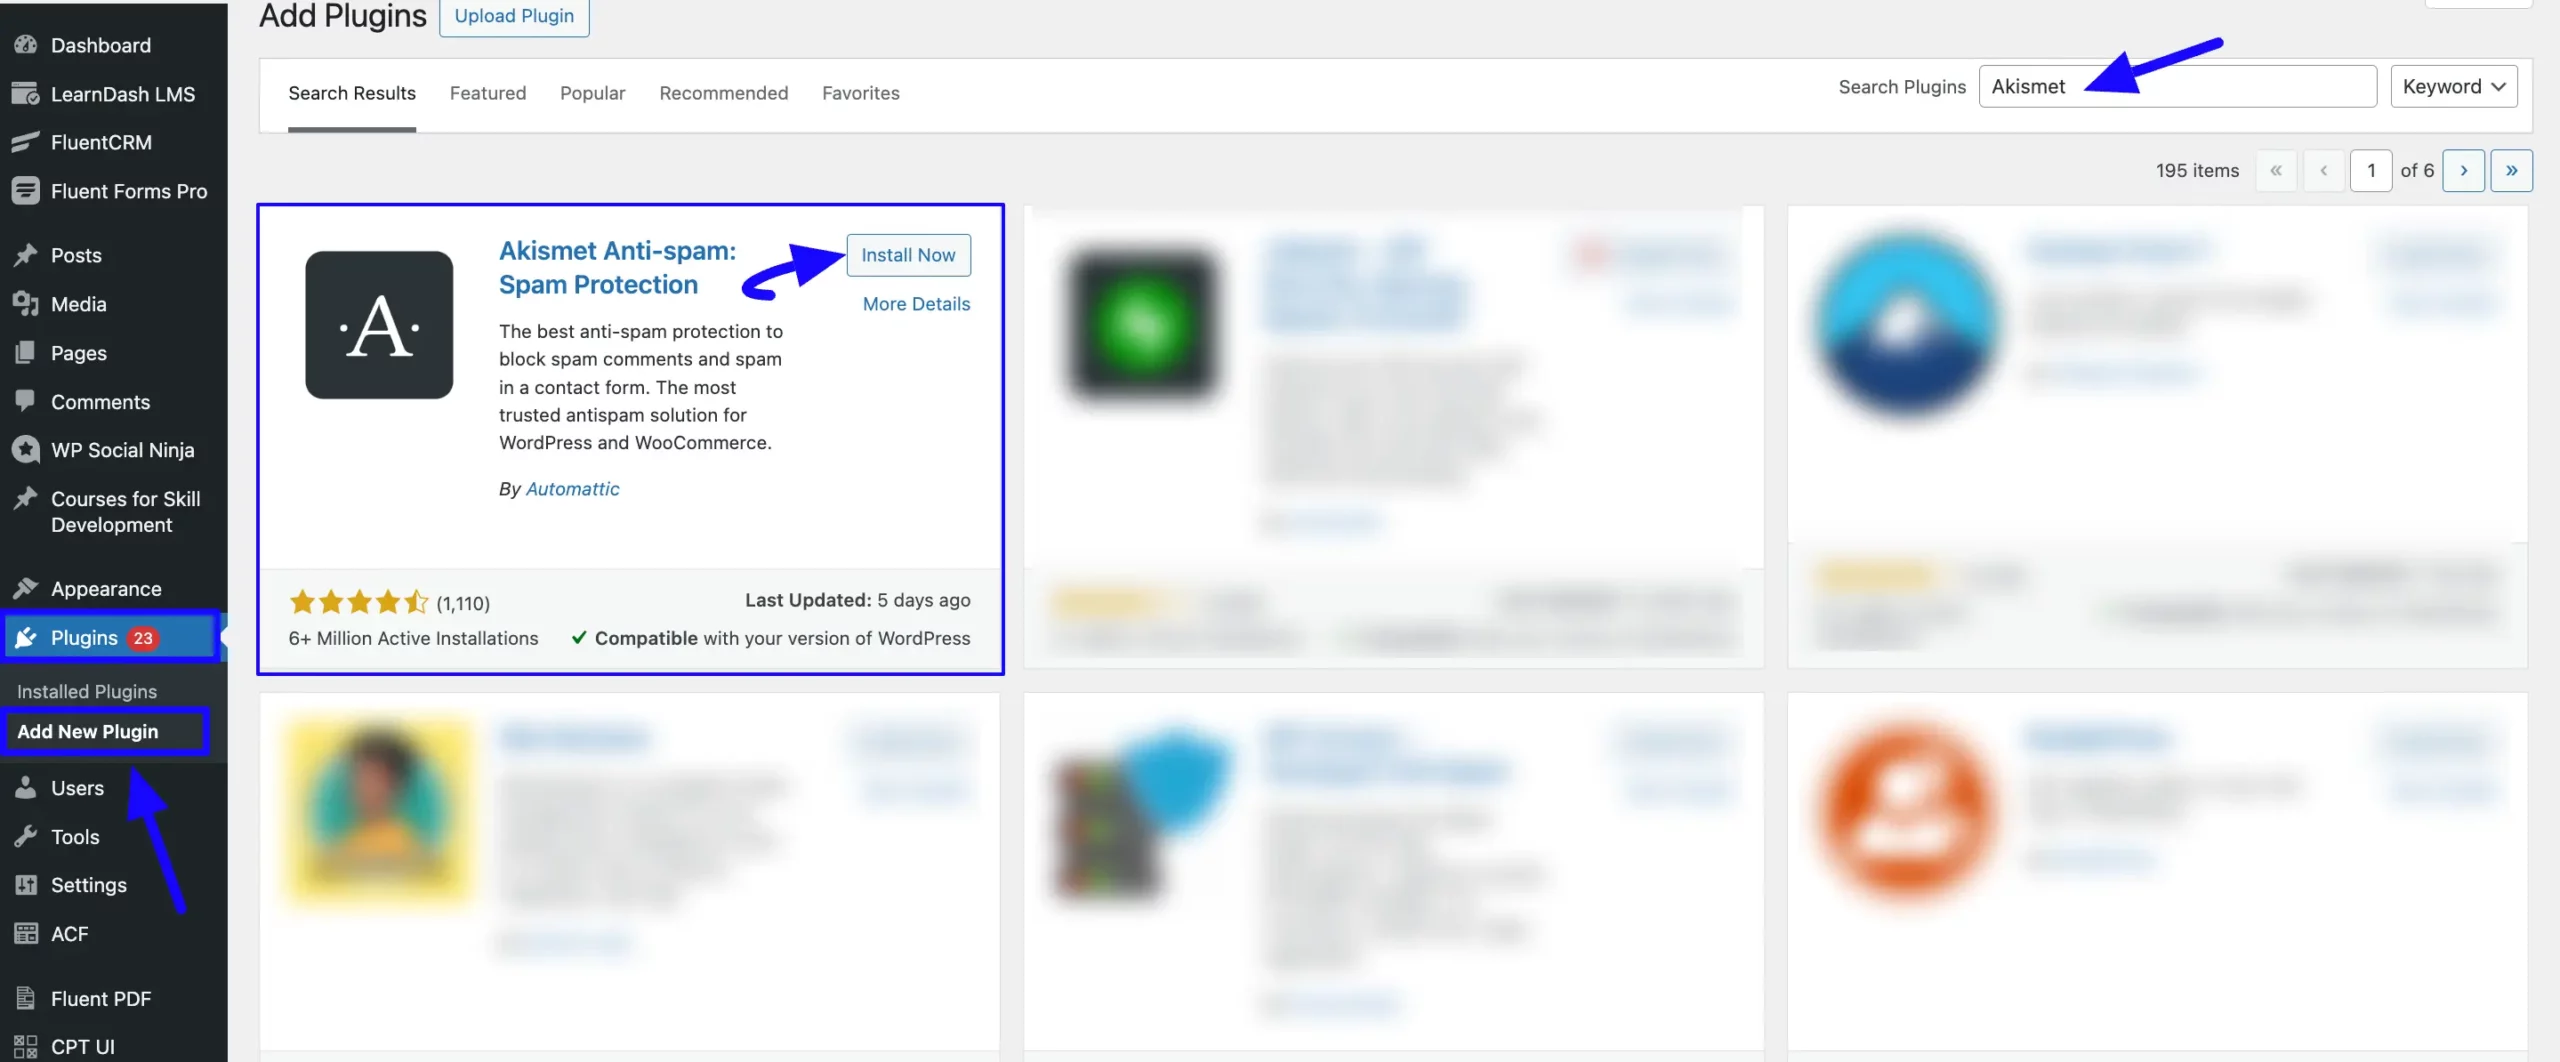
First, go to Plugins in the WordPress Admin Panel on the left side, click Add New Plugin, search for the Akismet plugin using the Search Plugins option on the right, and the Akismet plugin will appear.
Now, click the Install button, and your Akismet plugin will be installed on your site.
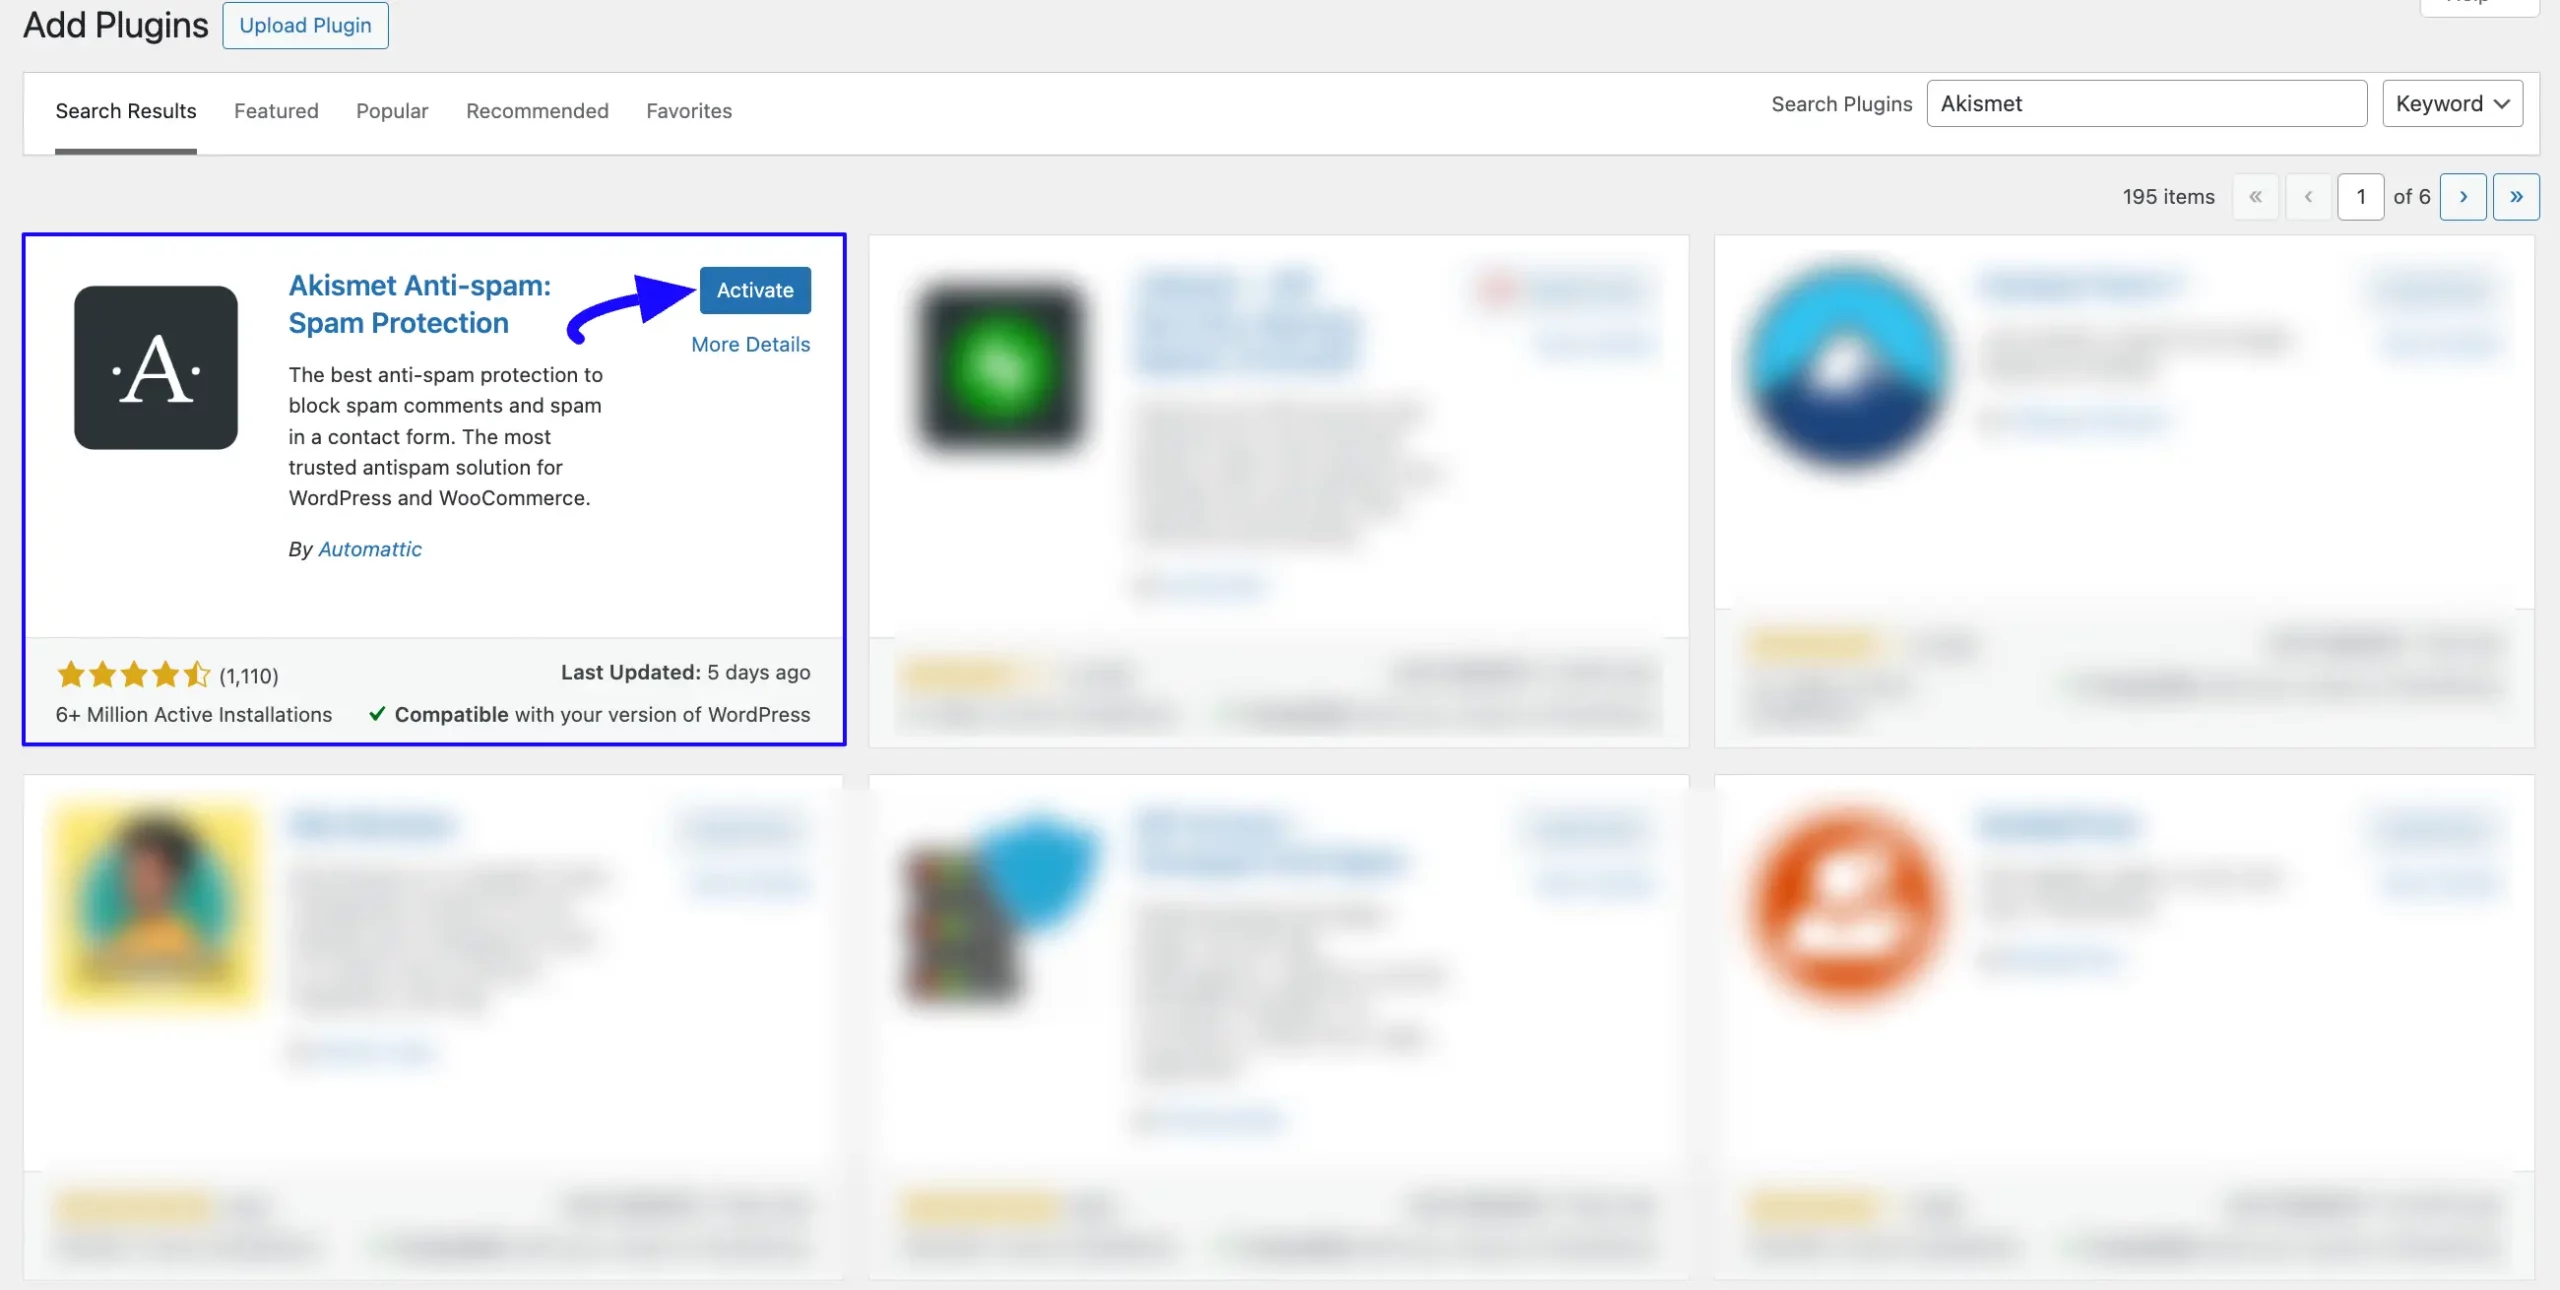
Then, click the Activate button, and the Akismet plugin will be activated and ready to function.
Integrating Akismet with Fluent Forms #
To learn how to integrate Akismet with Fluent Forms, follow the steps with screenshots below –
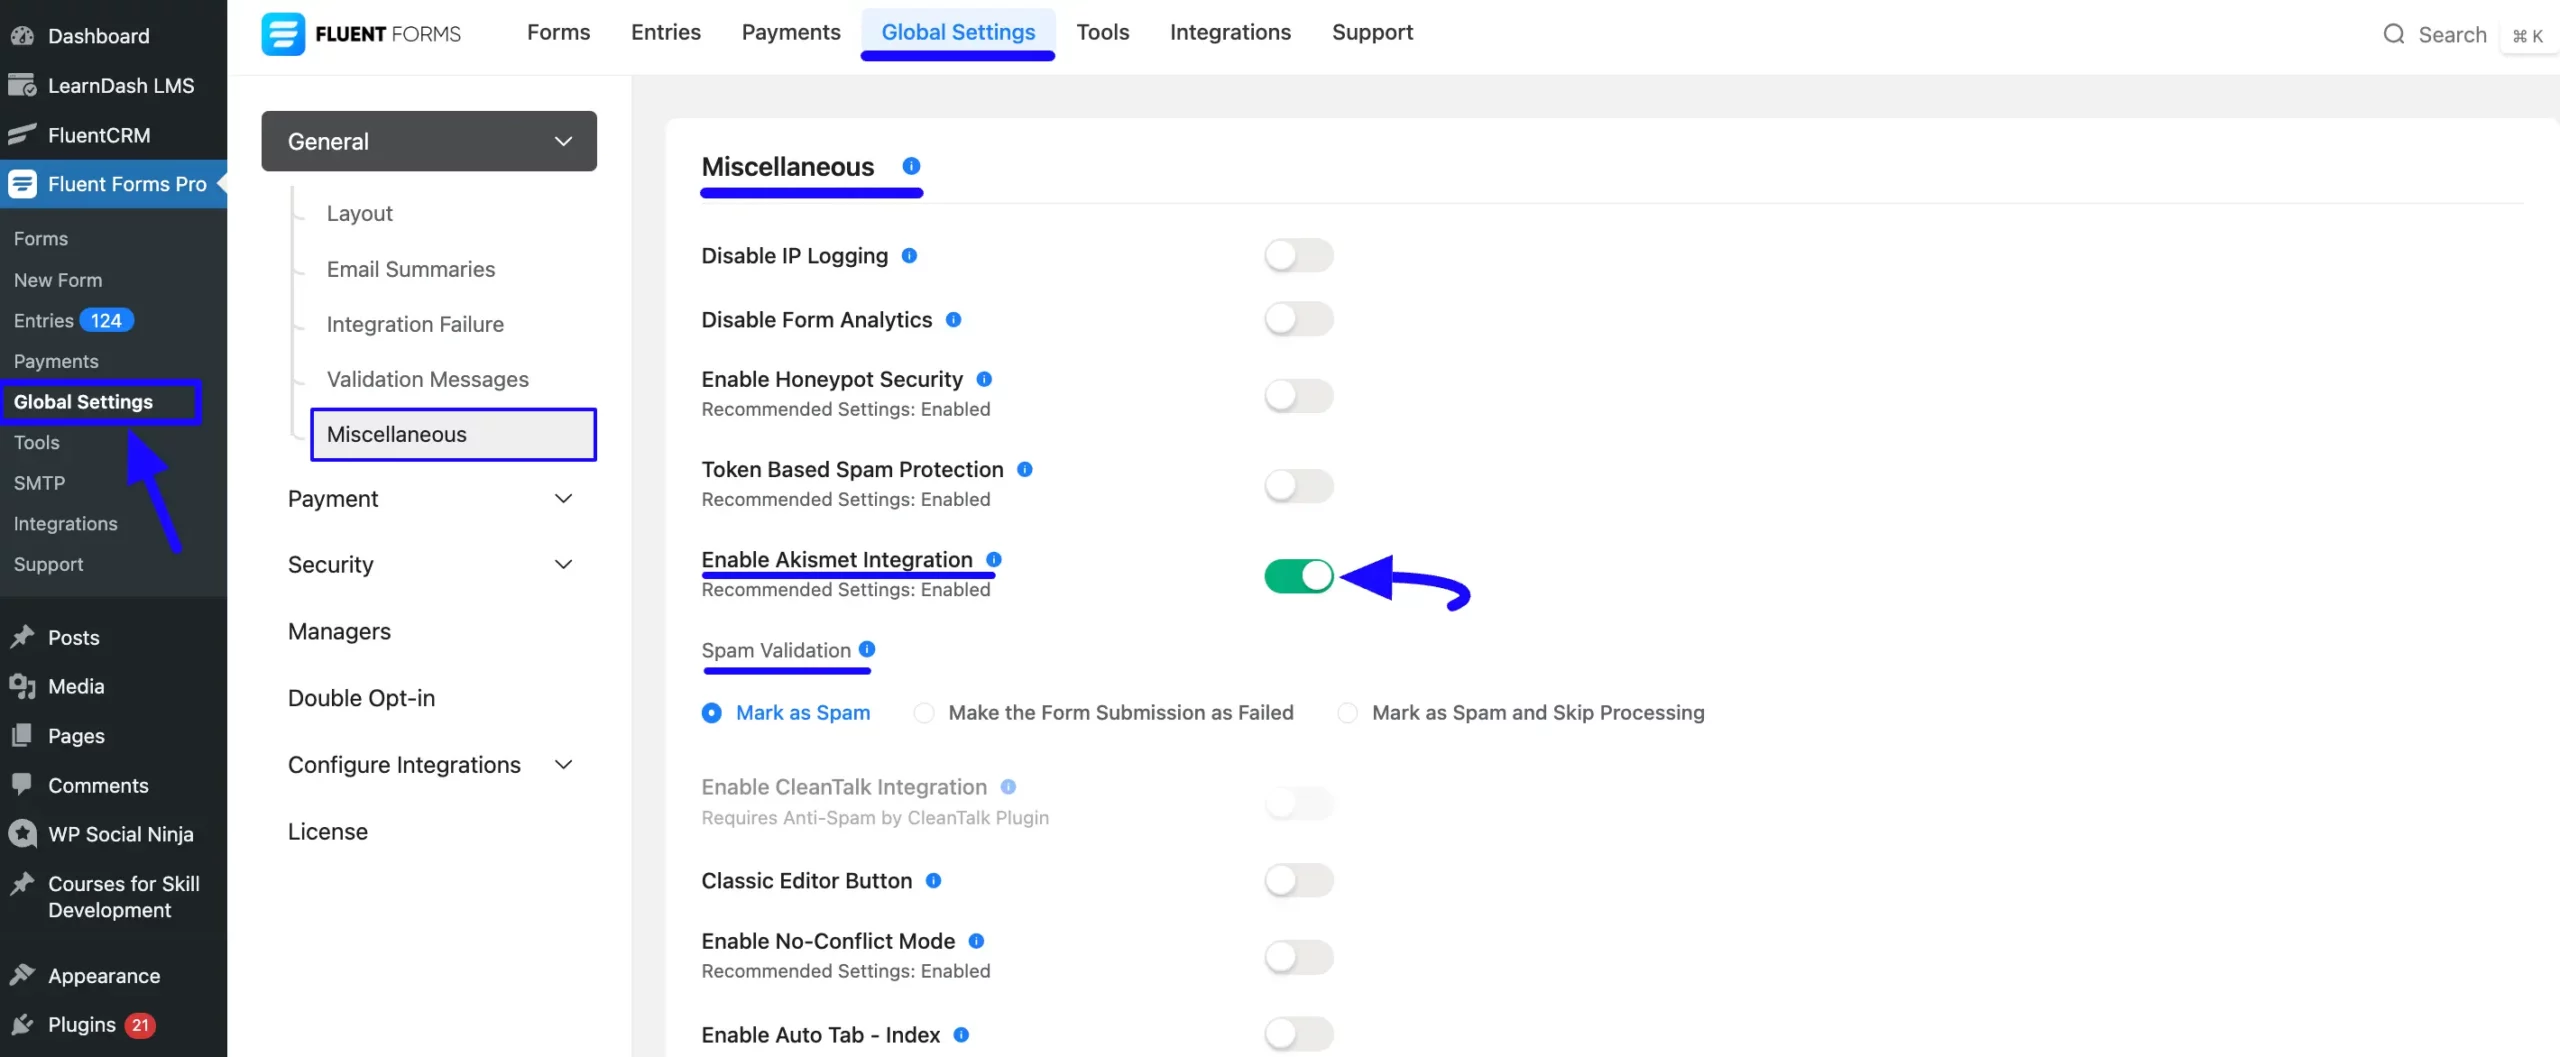
First, go to Global Settings from the WordPress Left Sidebar or FluentForms Navbar, open the General tab from the left menu, and click the Miscellaneous option.
- Enable Akismet Integration: Now, turn on this toggle, and the security will be enabled to verify your form submissions with Akismet and provide better security.
- Spam Validation: Using this option, you can select what will happen once a submission is marked as spam. You can choose any one among these “Mask as Spam“, “Make the Form Submission as failed“, or “Mark as Spam and Skip Processing” options.
Lastly, don’t forget to click the Save Settings button to make all the setup functional.
If you have any further questions, concerns, or suggestions, please do not hesitate to contact our @support team. Thank you.


