Fluent Forms gives users complete control over configuring Column Width. Previously, you had to use the Global Styler or CSS to adjust column widths. With the drag-and-drop feature, you can resize columns easily without extra coding.
This article will guide you in adding resizeable containers in fluent forms.
Add a Container Field #
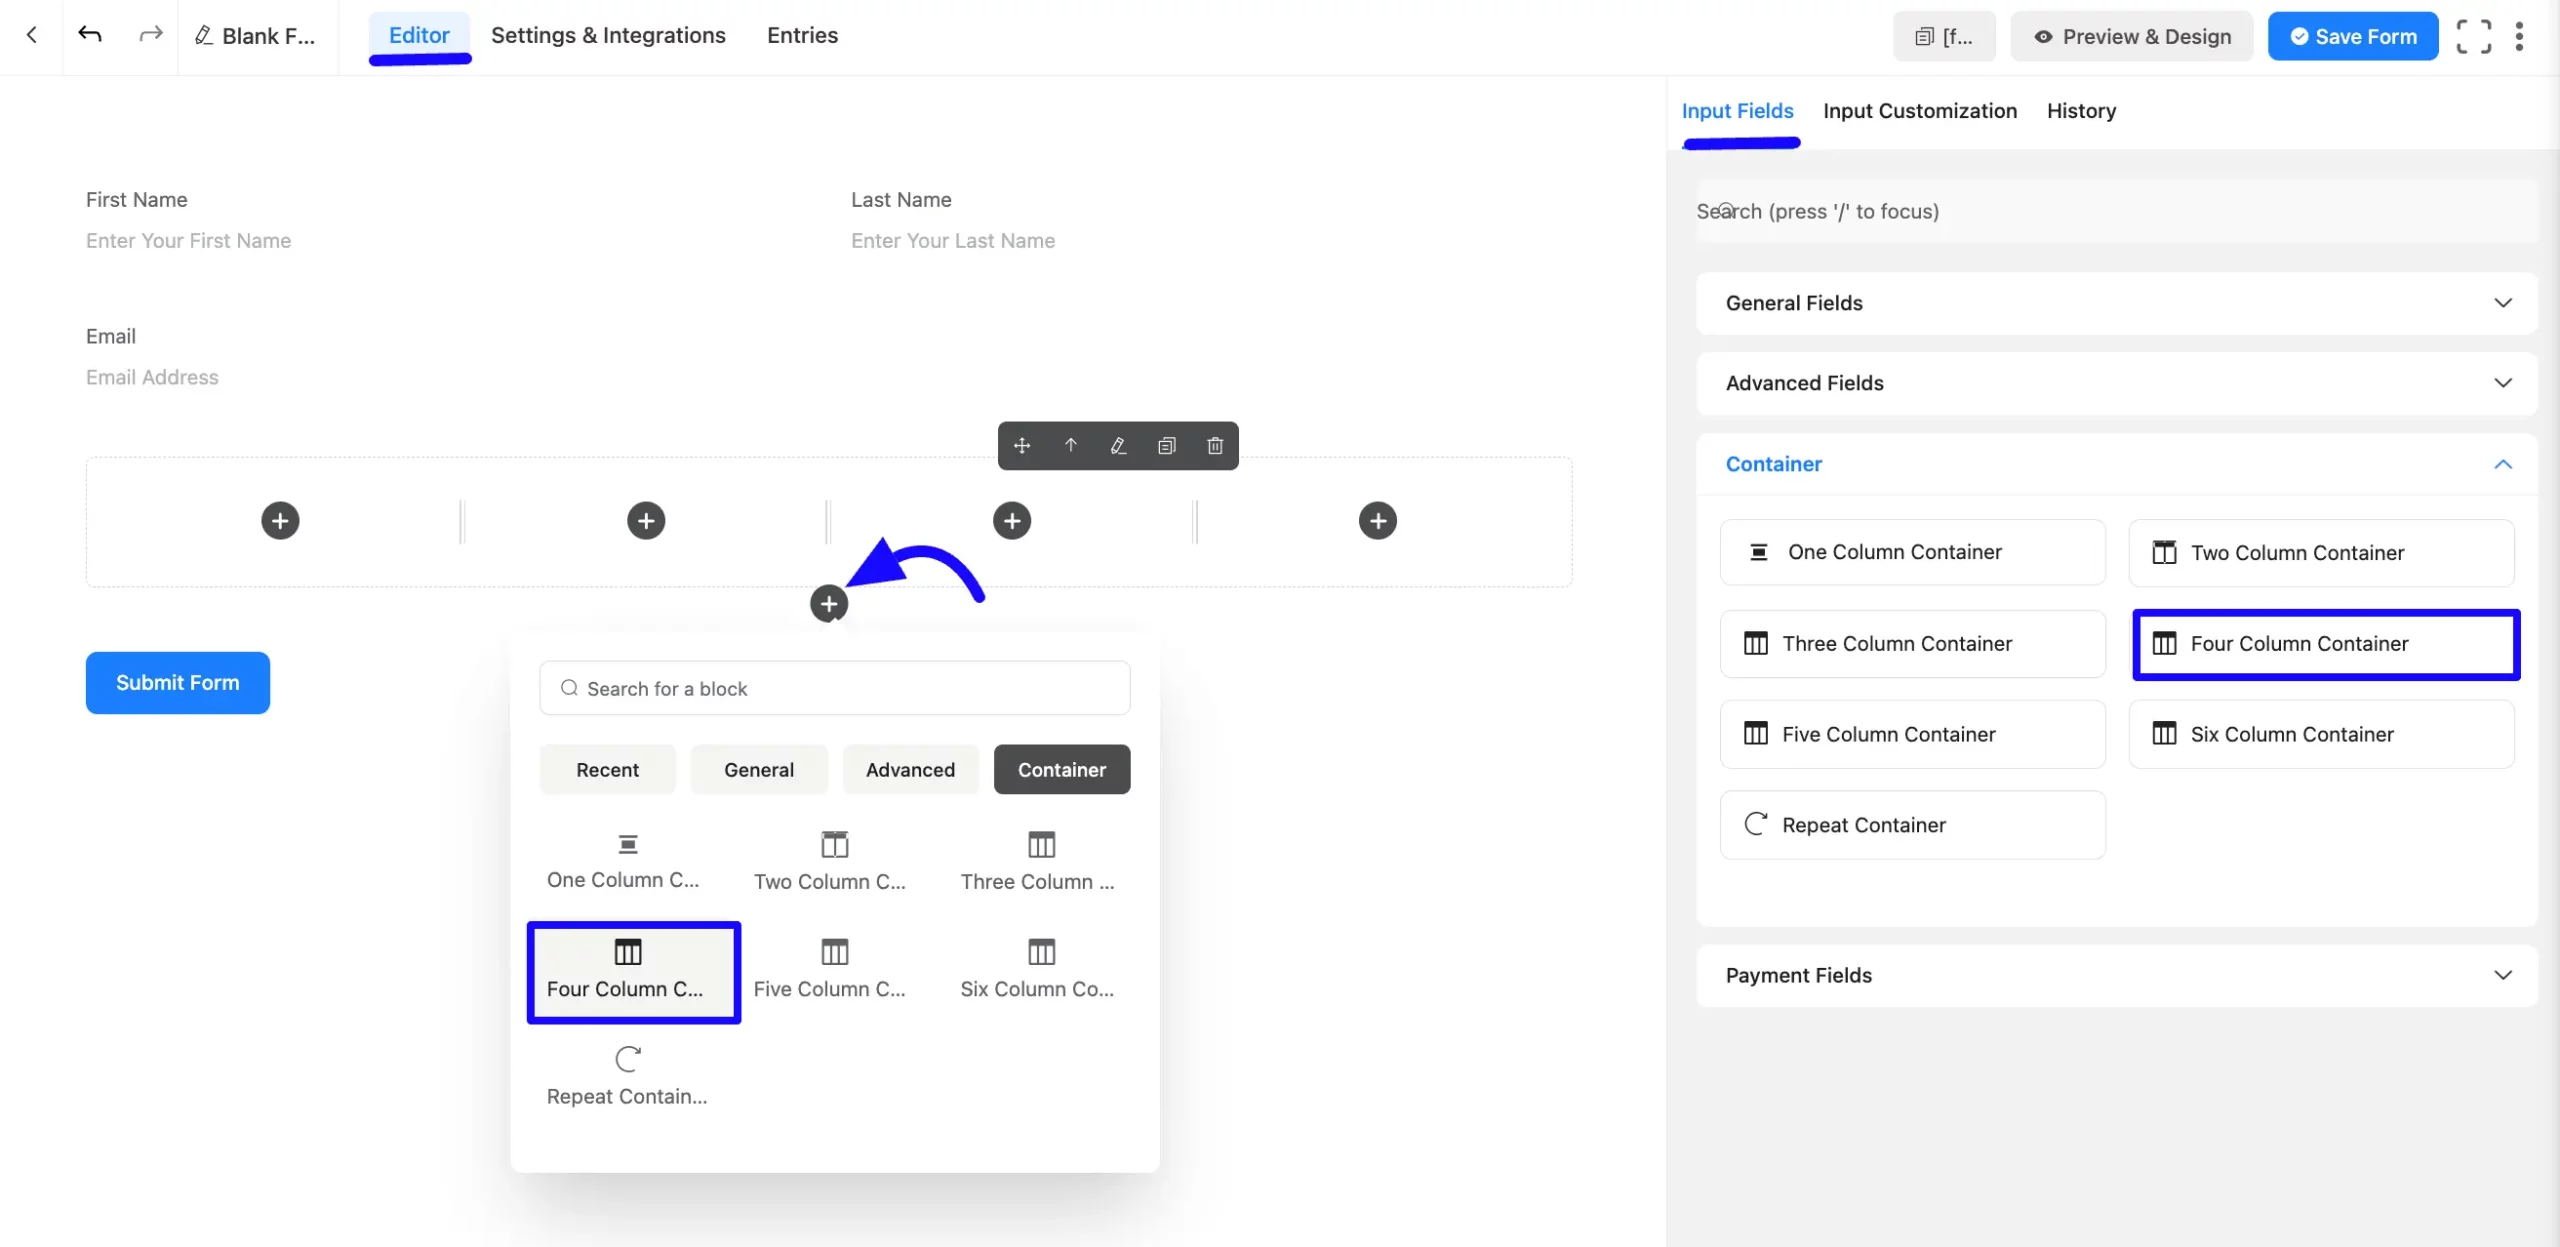
First, open Fluent Forms and drag and drop to add a container field, or click the Plus Icon to add the Container field to your form. Add the necessary fields inside the container ( Name, Email, Radio Button, Custom Submit Button etc.).
Now, click and drag the column borders left or right to adjust the width. If needed, use the Undo option to revert any changes.
Once satisfied with your column layout, save your settings.
The container will adjust to maintain proper spacing based on the selected column width.
Embed the Form into Frontend #
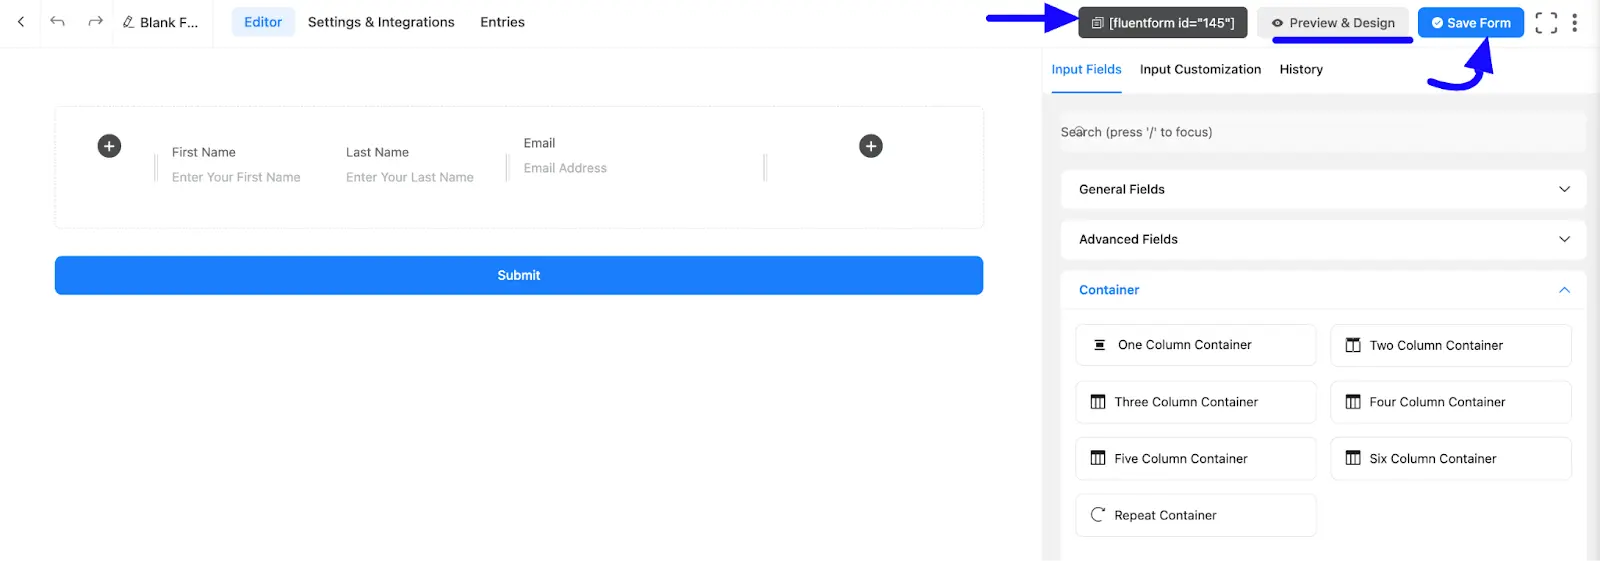
Once you complete the customization, click the Save Form button to save all your changes. Click the Preview & Design button in the middle to see the form preview.
To integrate and display the form on a specific Page or post, copy the Shortcode from the top right side and paste it into your desired Page or post.
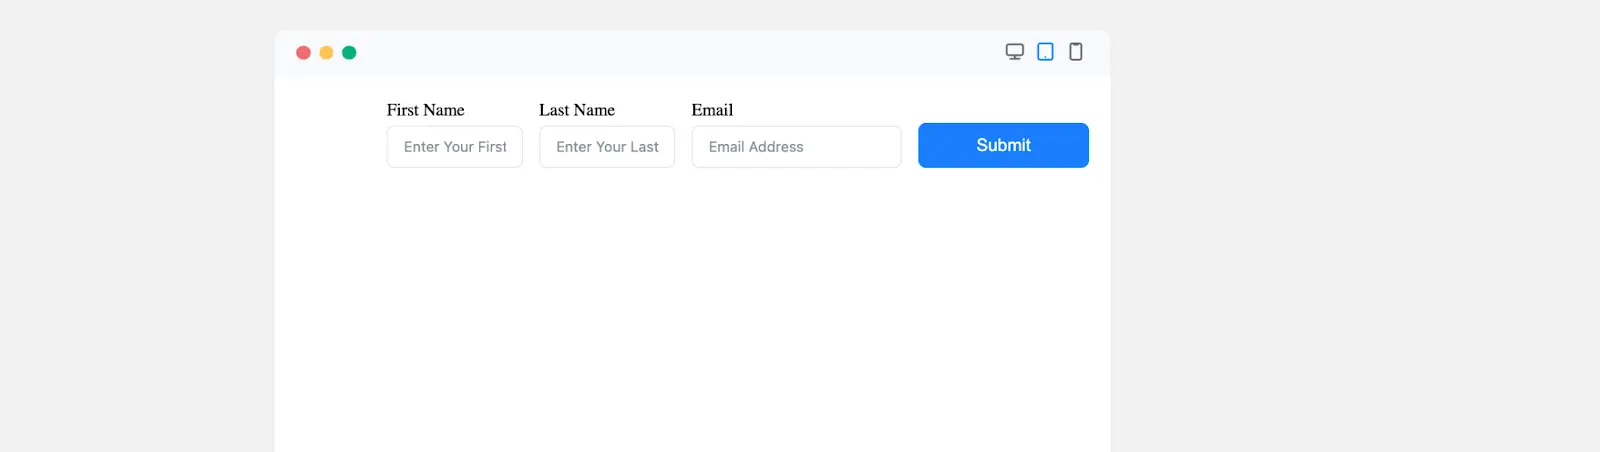
Preview of the Resizable Container #
Preview your form to see how the container adapts to the new column width.
If you have any further questions, concerns, or suggestions, please do not hesitate to contact our support team. Thank you.


