Fluent Forms offers a wide range of Pre-built Form Templates to help you save valuable time and avoid the hassle of creating forms from scratch. This article will guide you through the process of creating, using, and customizing them.
Creating Forms using Pre-built Templates #
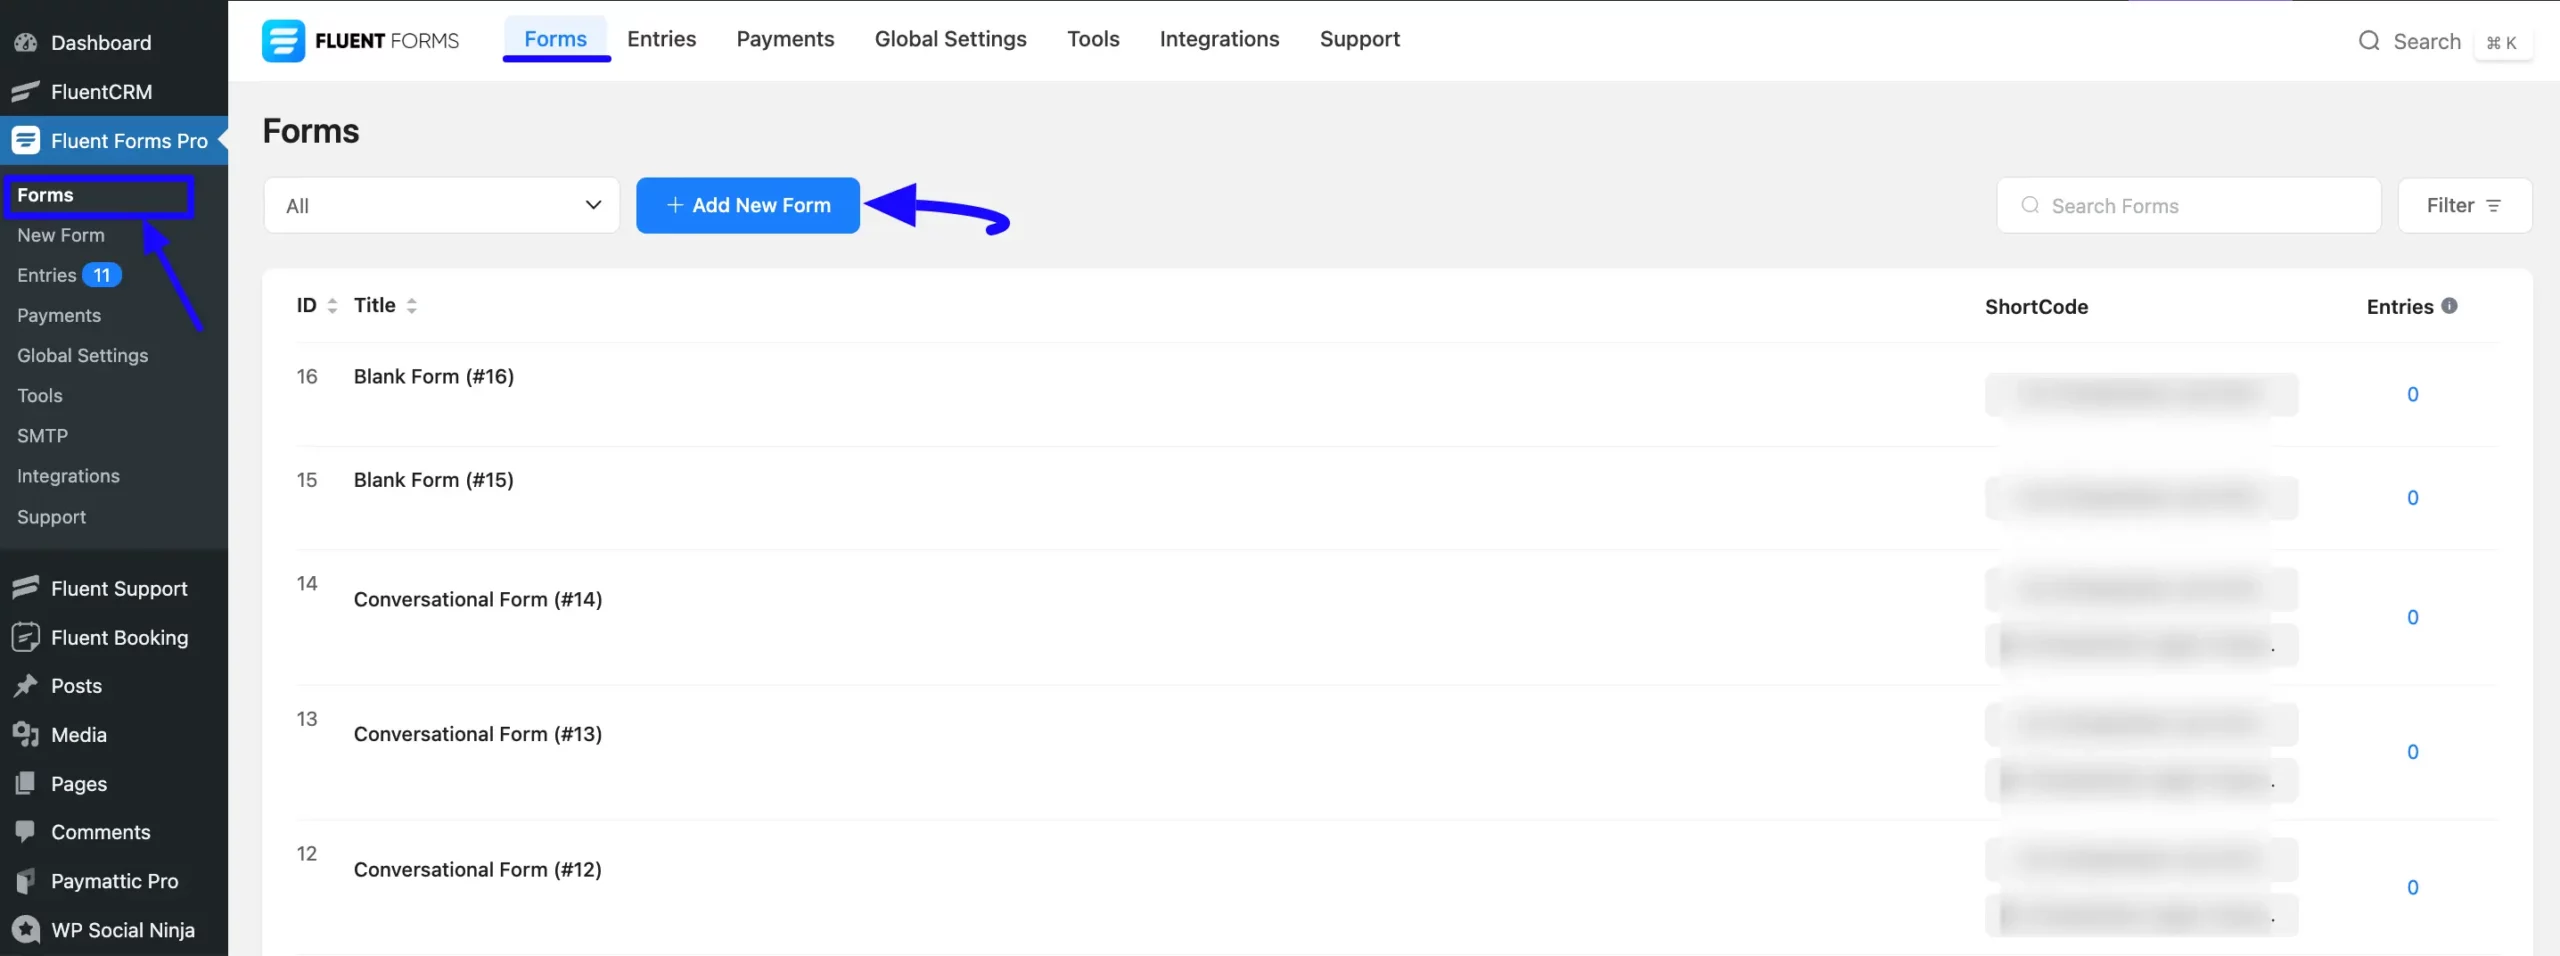
To start, log in to your WordPress Dashboard. Now, navigate to the Fluent Forms > Forms from the left sidebar. Then click on the + Add New Form button in the Forms Section.
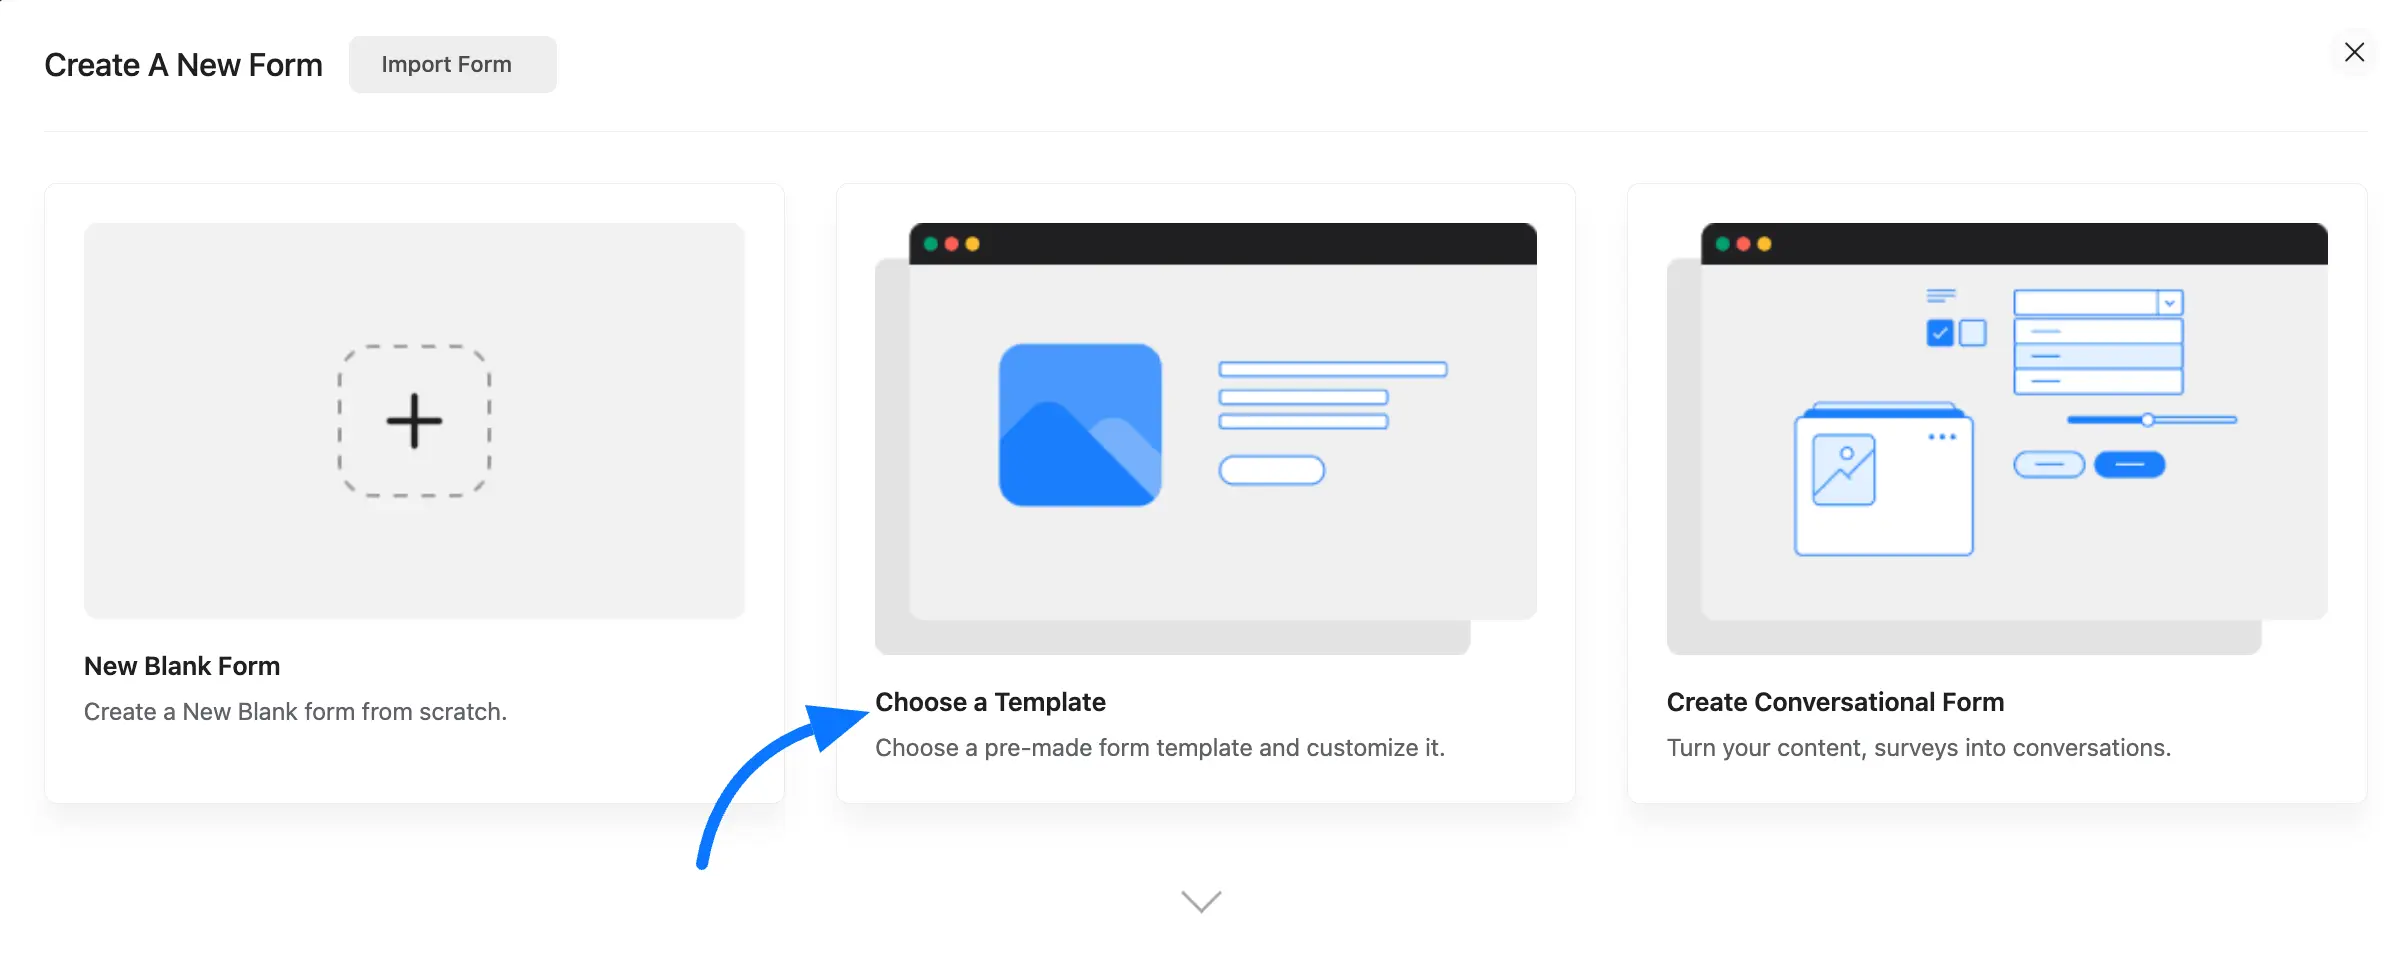
Now, a pop-up will appear with three options. Click the Choose Template tab.
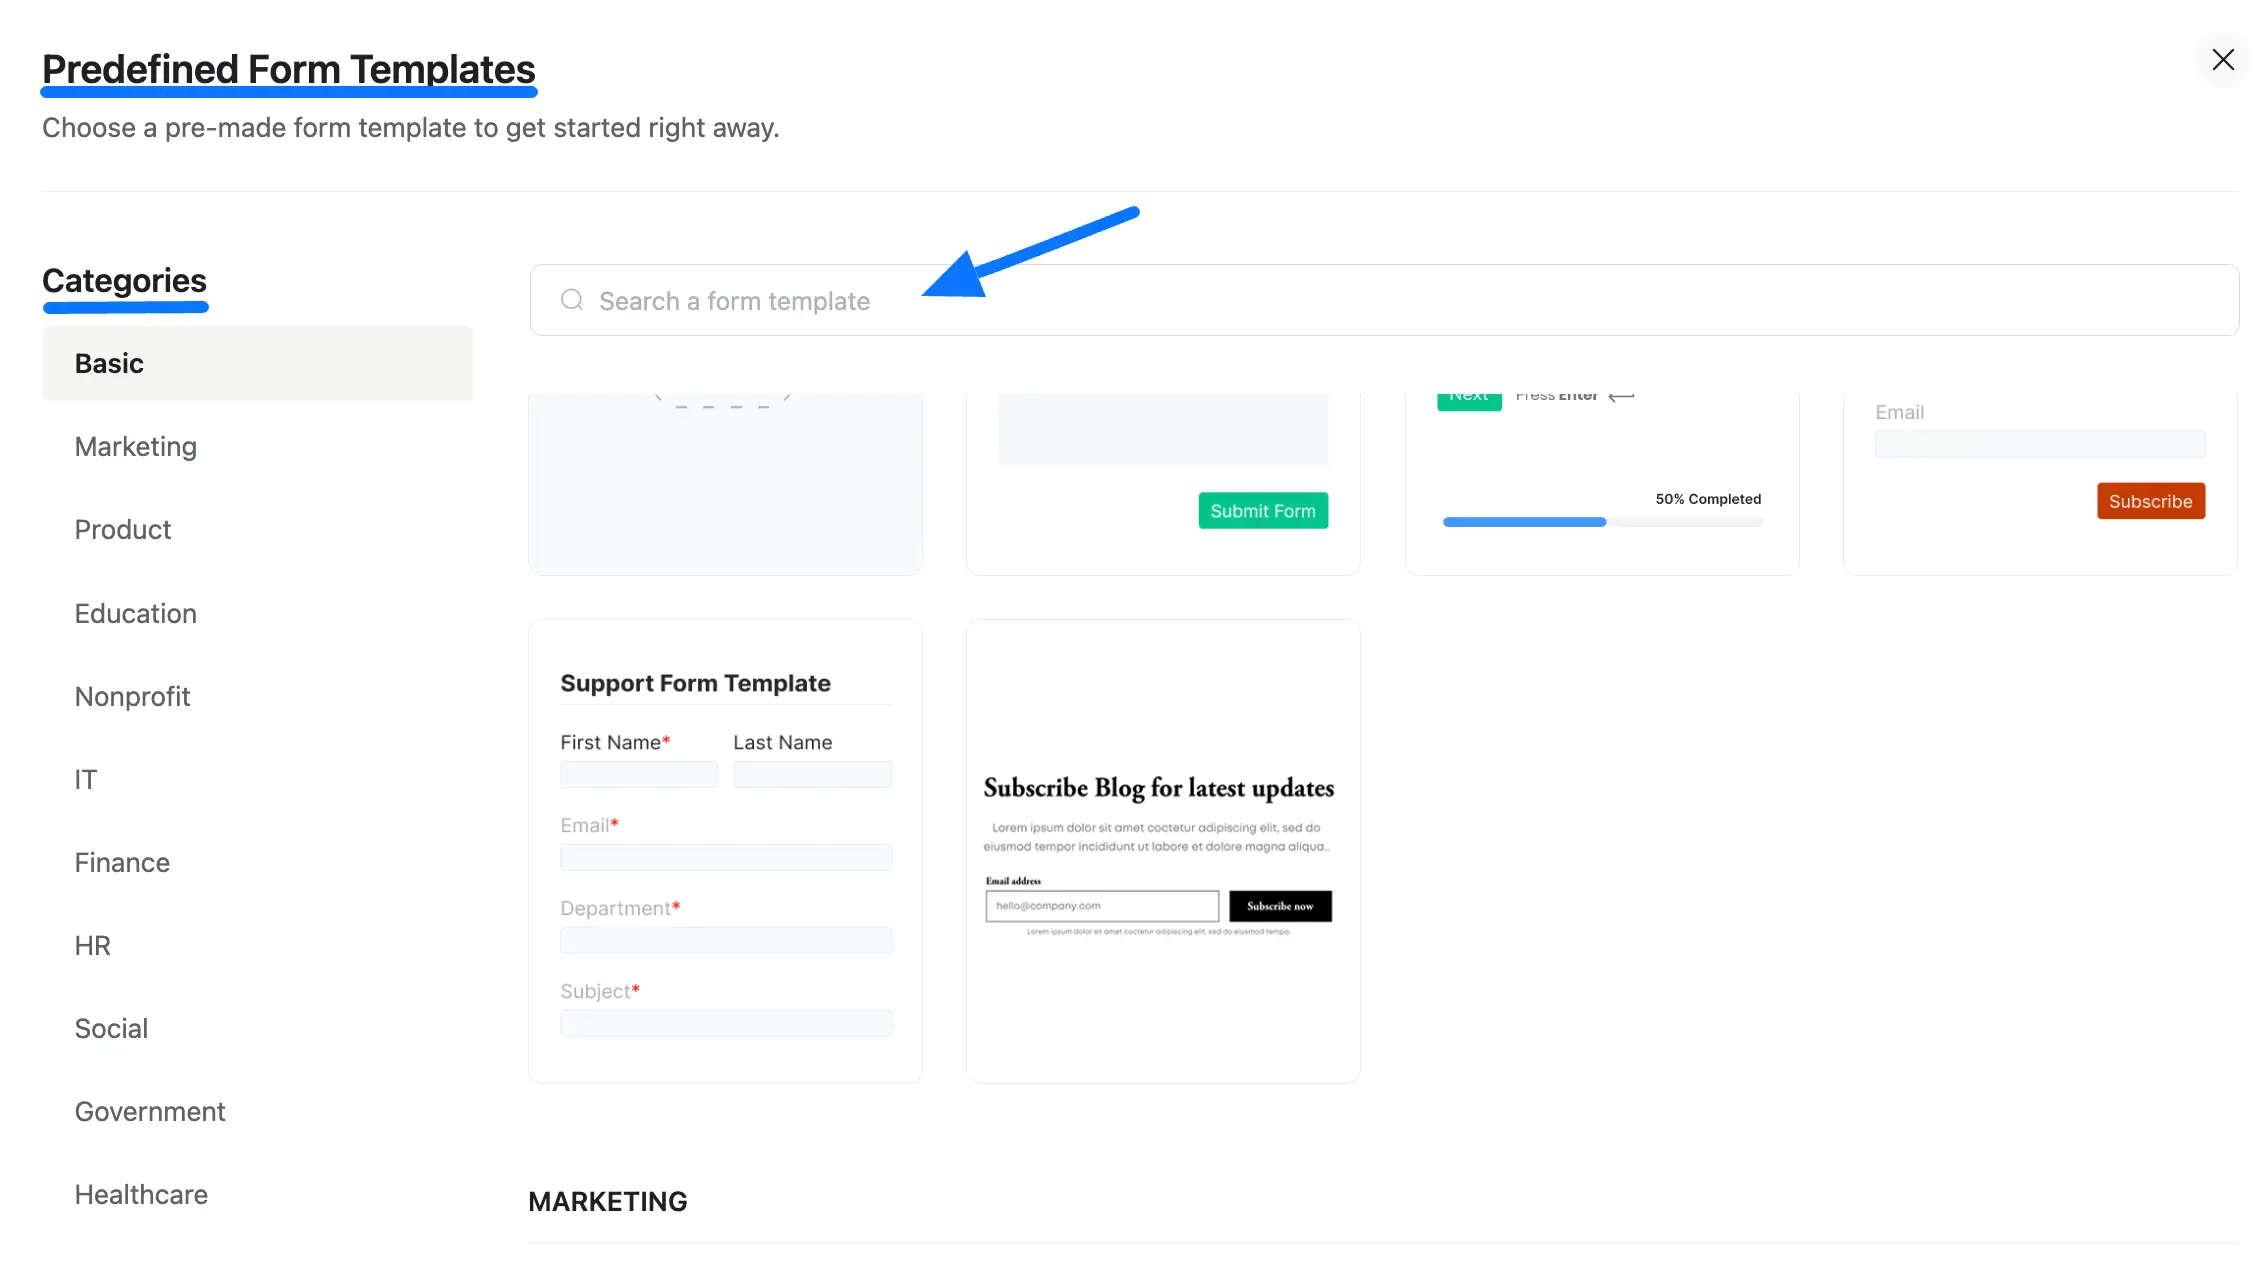
A new popup, Predefined Form Templates, also appears here. Now, you can choose a pre-made form template as per your wish to get started quickly. These templates are categorized into different categories.
- Basic
- Marketing
- Product
- Education
- Nonprofit
- IT
- Finance
- HR
- Social
- Government
- Healthcare
Browse through categories or search for the desired one by entering its name in the Search Bar.
Then, click on the form you need to use.
Pre-built Form Customization #
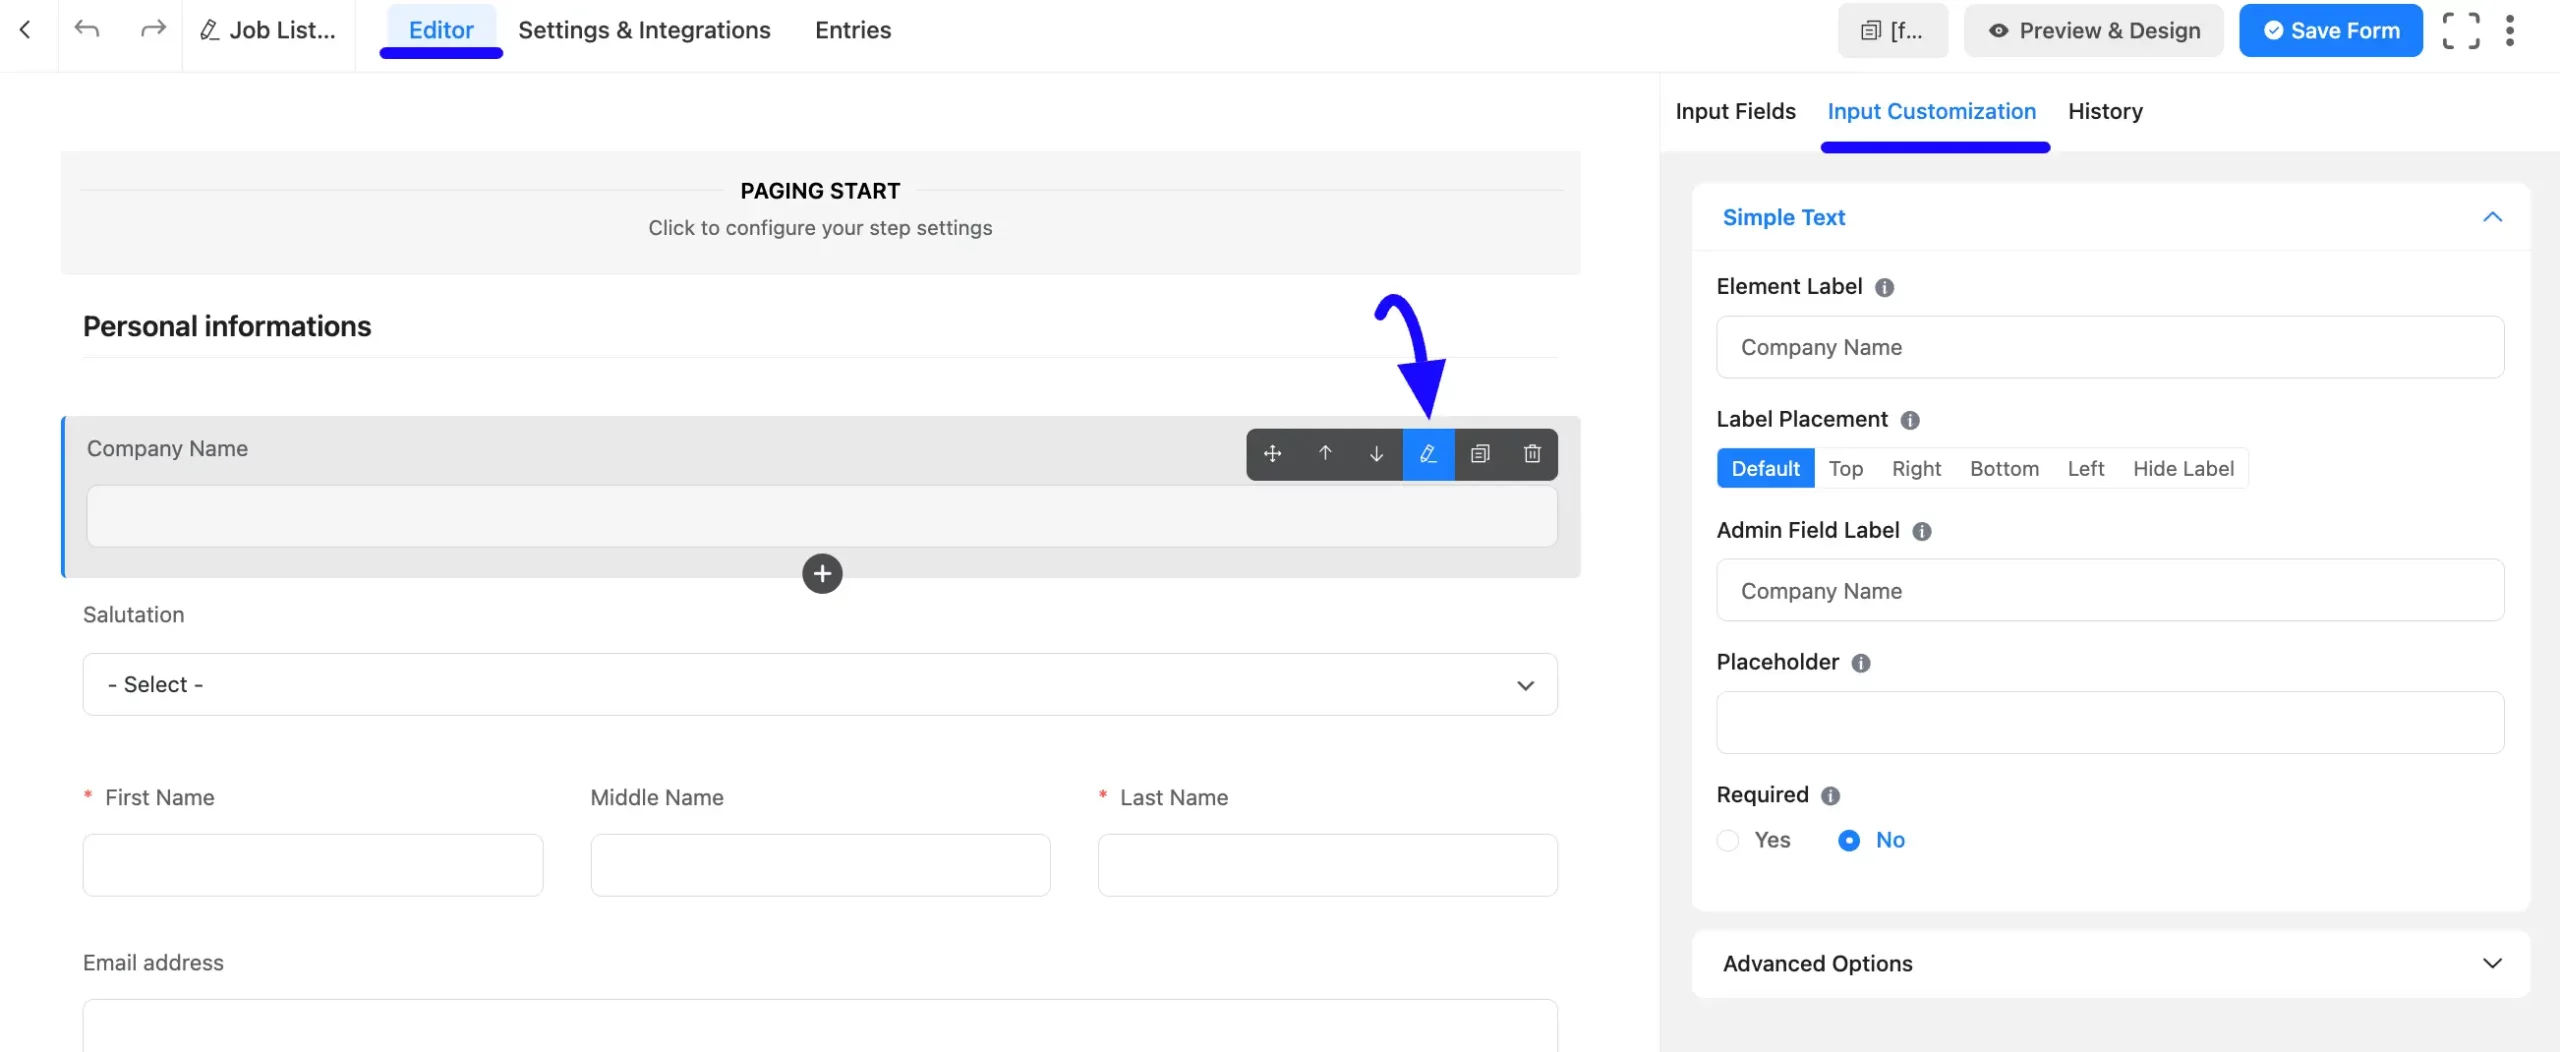
Fluent Forms offers various options for customizing the fields you plan to use. If necessary, customize the field.
To customize an added field, hover over it and click the Pencil/Edit Icon, and it will take you to the Input Customization tab on the right sidebar which offers the options for customization.
Embedding Form into Frontend #
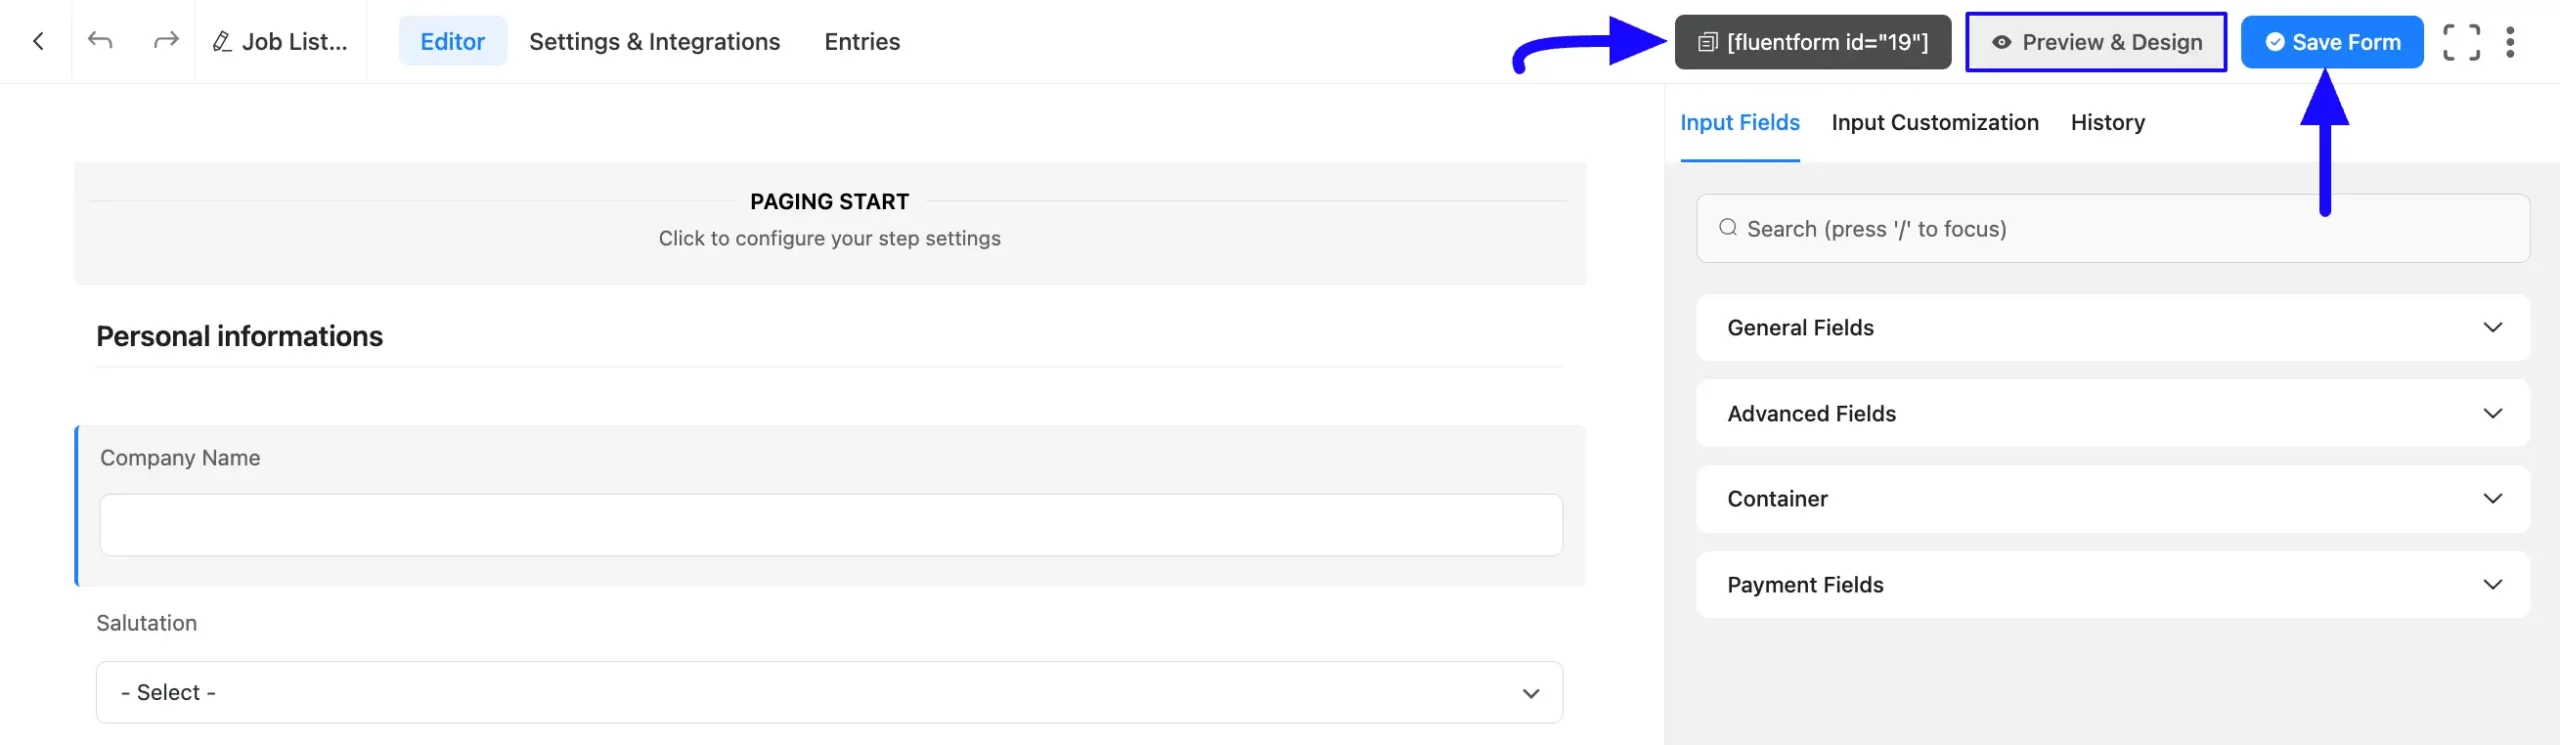
After customization, click the Save Form button in the top right corner to save all the changes.
Also, click the Preview & Design button in the middle if you want to see the preview of your form.
Then, copy the Form ShortCode from the top bar to display it on the front end.
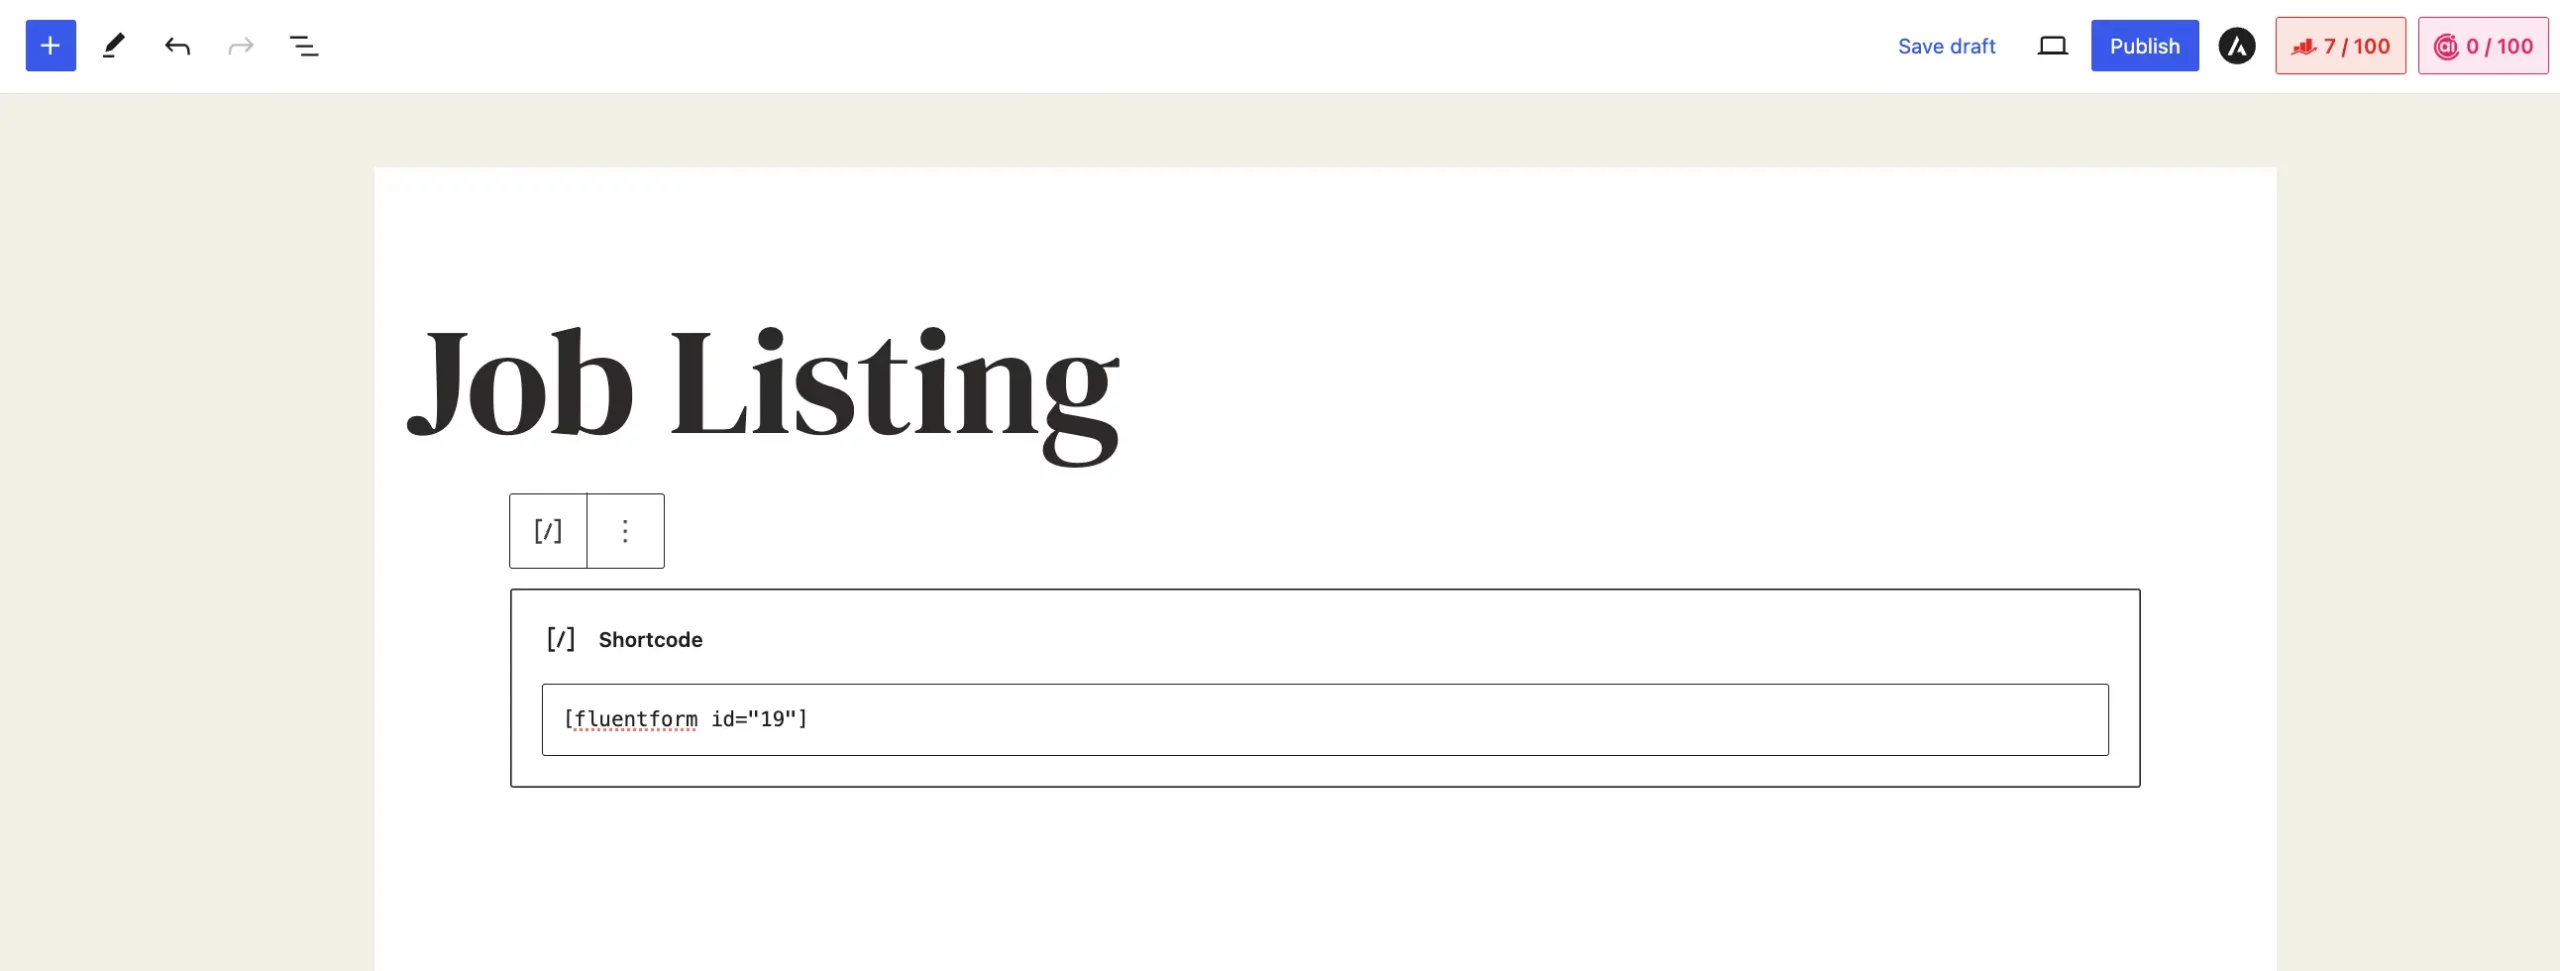
Paste the shortcode in your desired Page/Post where you want this shortcode to appear on your WordPress Site.
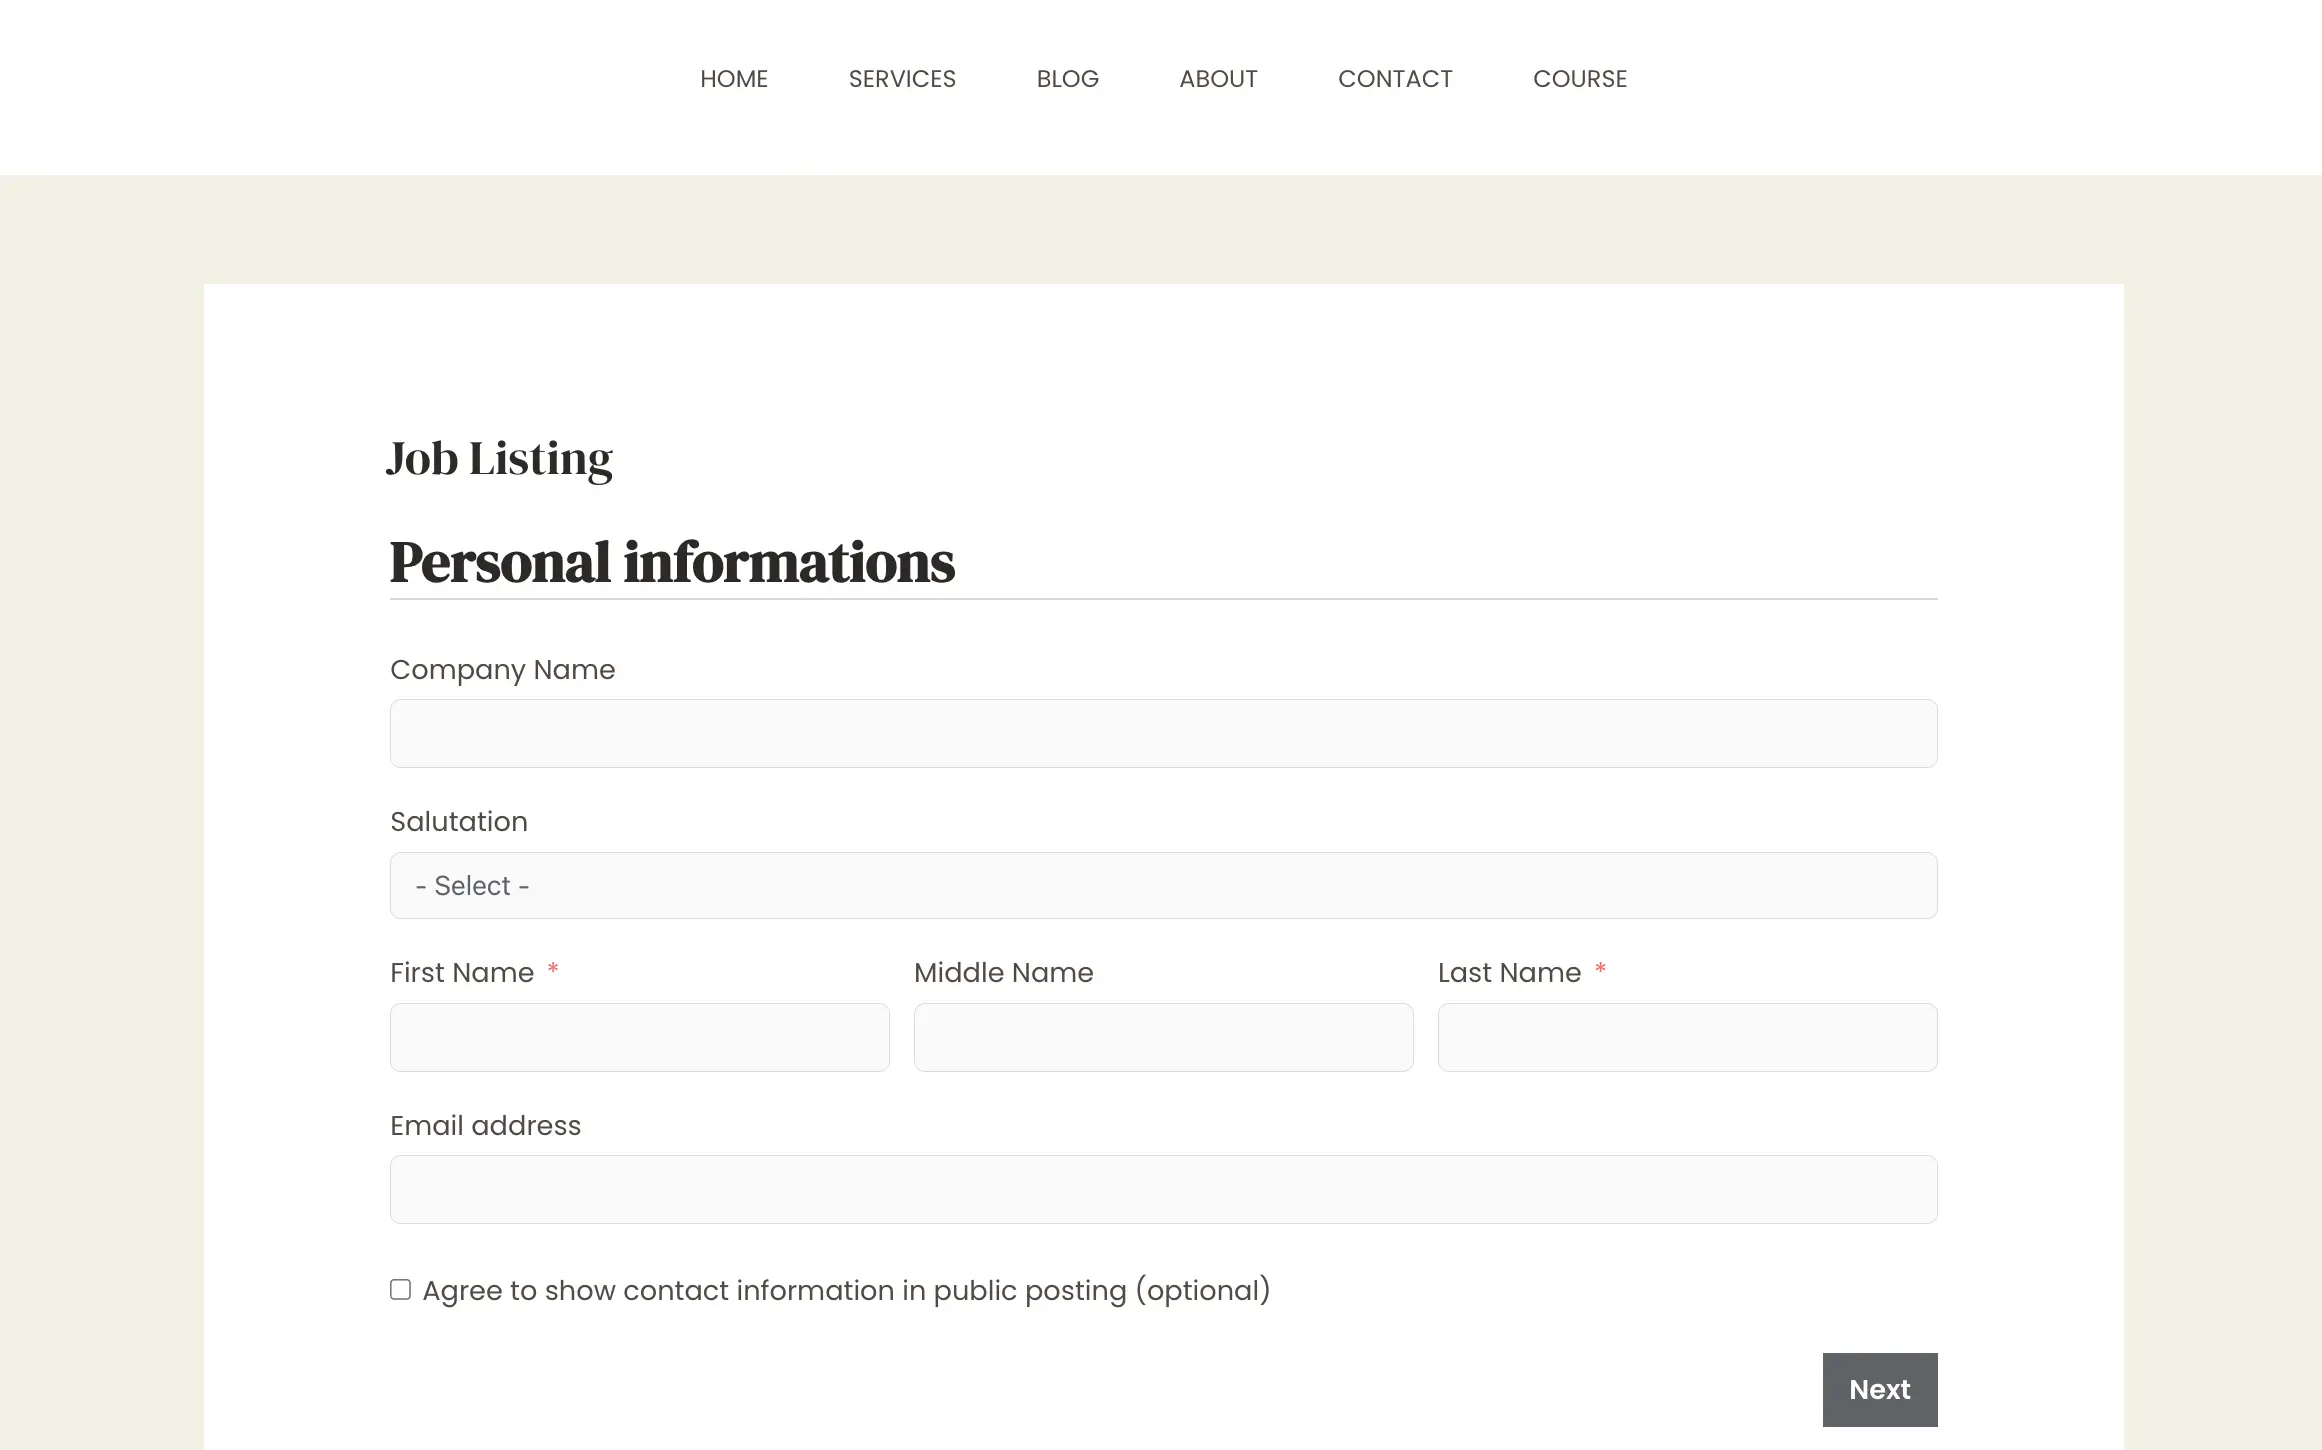
Here is the preview of the newly created form.
This way you can create as many forms as you want with Fluent Forms within minutes.
If you have any further questions, concerns, or suggestions, please do not hesitate to contact our @support team. Thank You.


