Razorpay is a payment processing platform that allows Fluent Forms a smooth online payment transaction in India, supporting various payment methods including credit cards, debit cards, net banking, UPI, and popular wallets like JioMoney, Mobikwik, Airtel Money, FreeCharge, Ola Money, and PayZapp.
This article will guide you through integrating Razorpay into your WordPress Site with the Fluent Forms plugin.
Remember, Razorpay Integration is a Premium Feature of the Fluent Forms Plugin. So, you need the Fluent Forms Pro plugin to integrate this.
Enable Razorpay Payment Method #
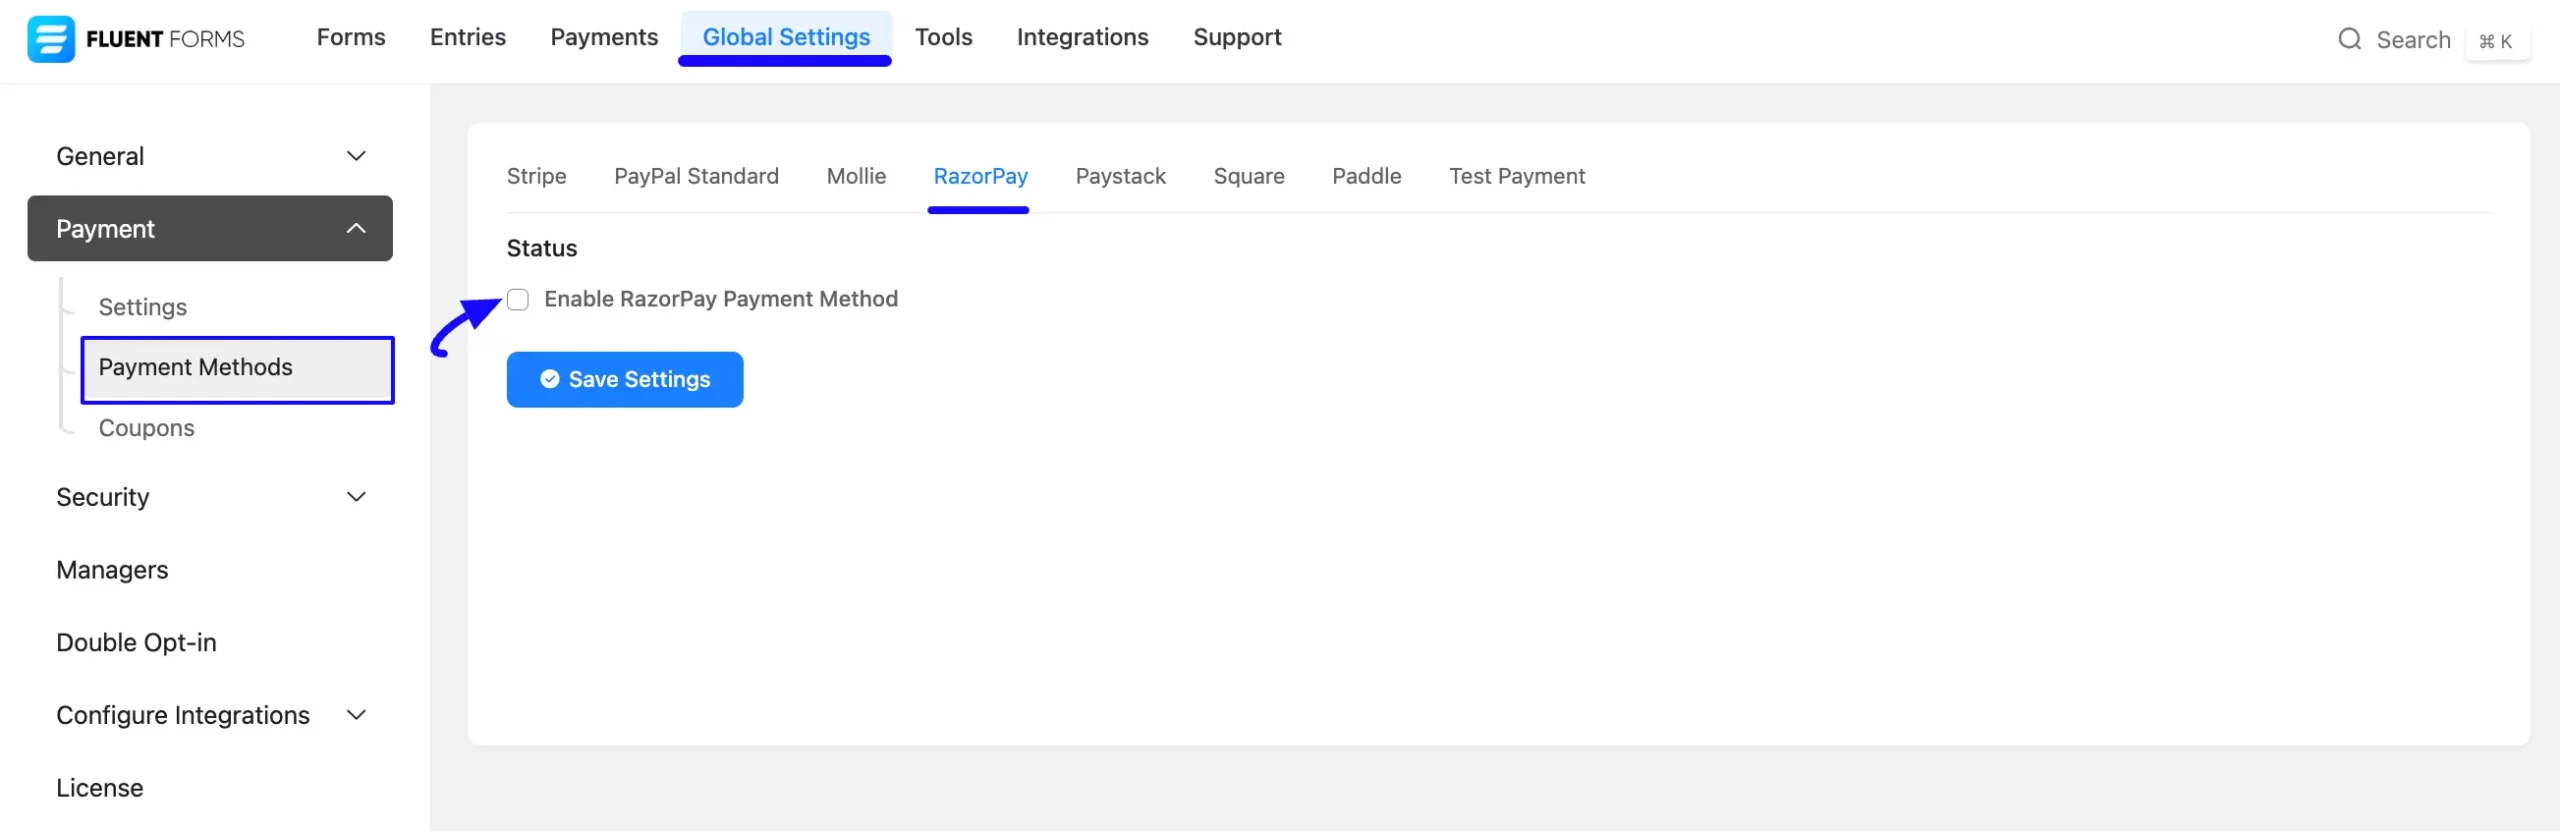
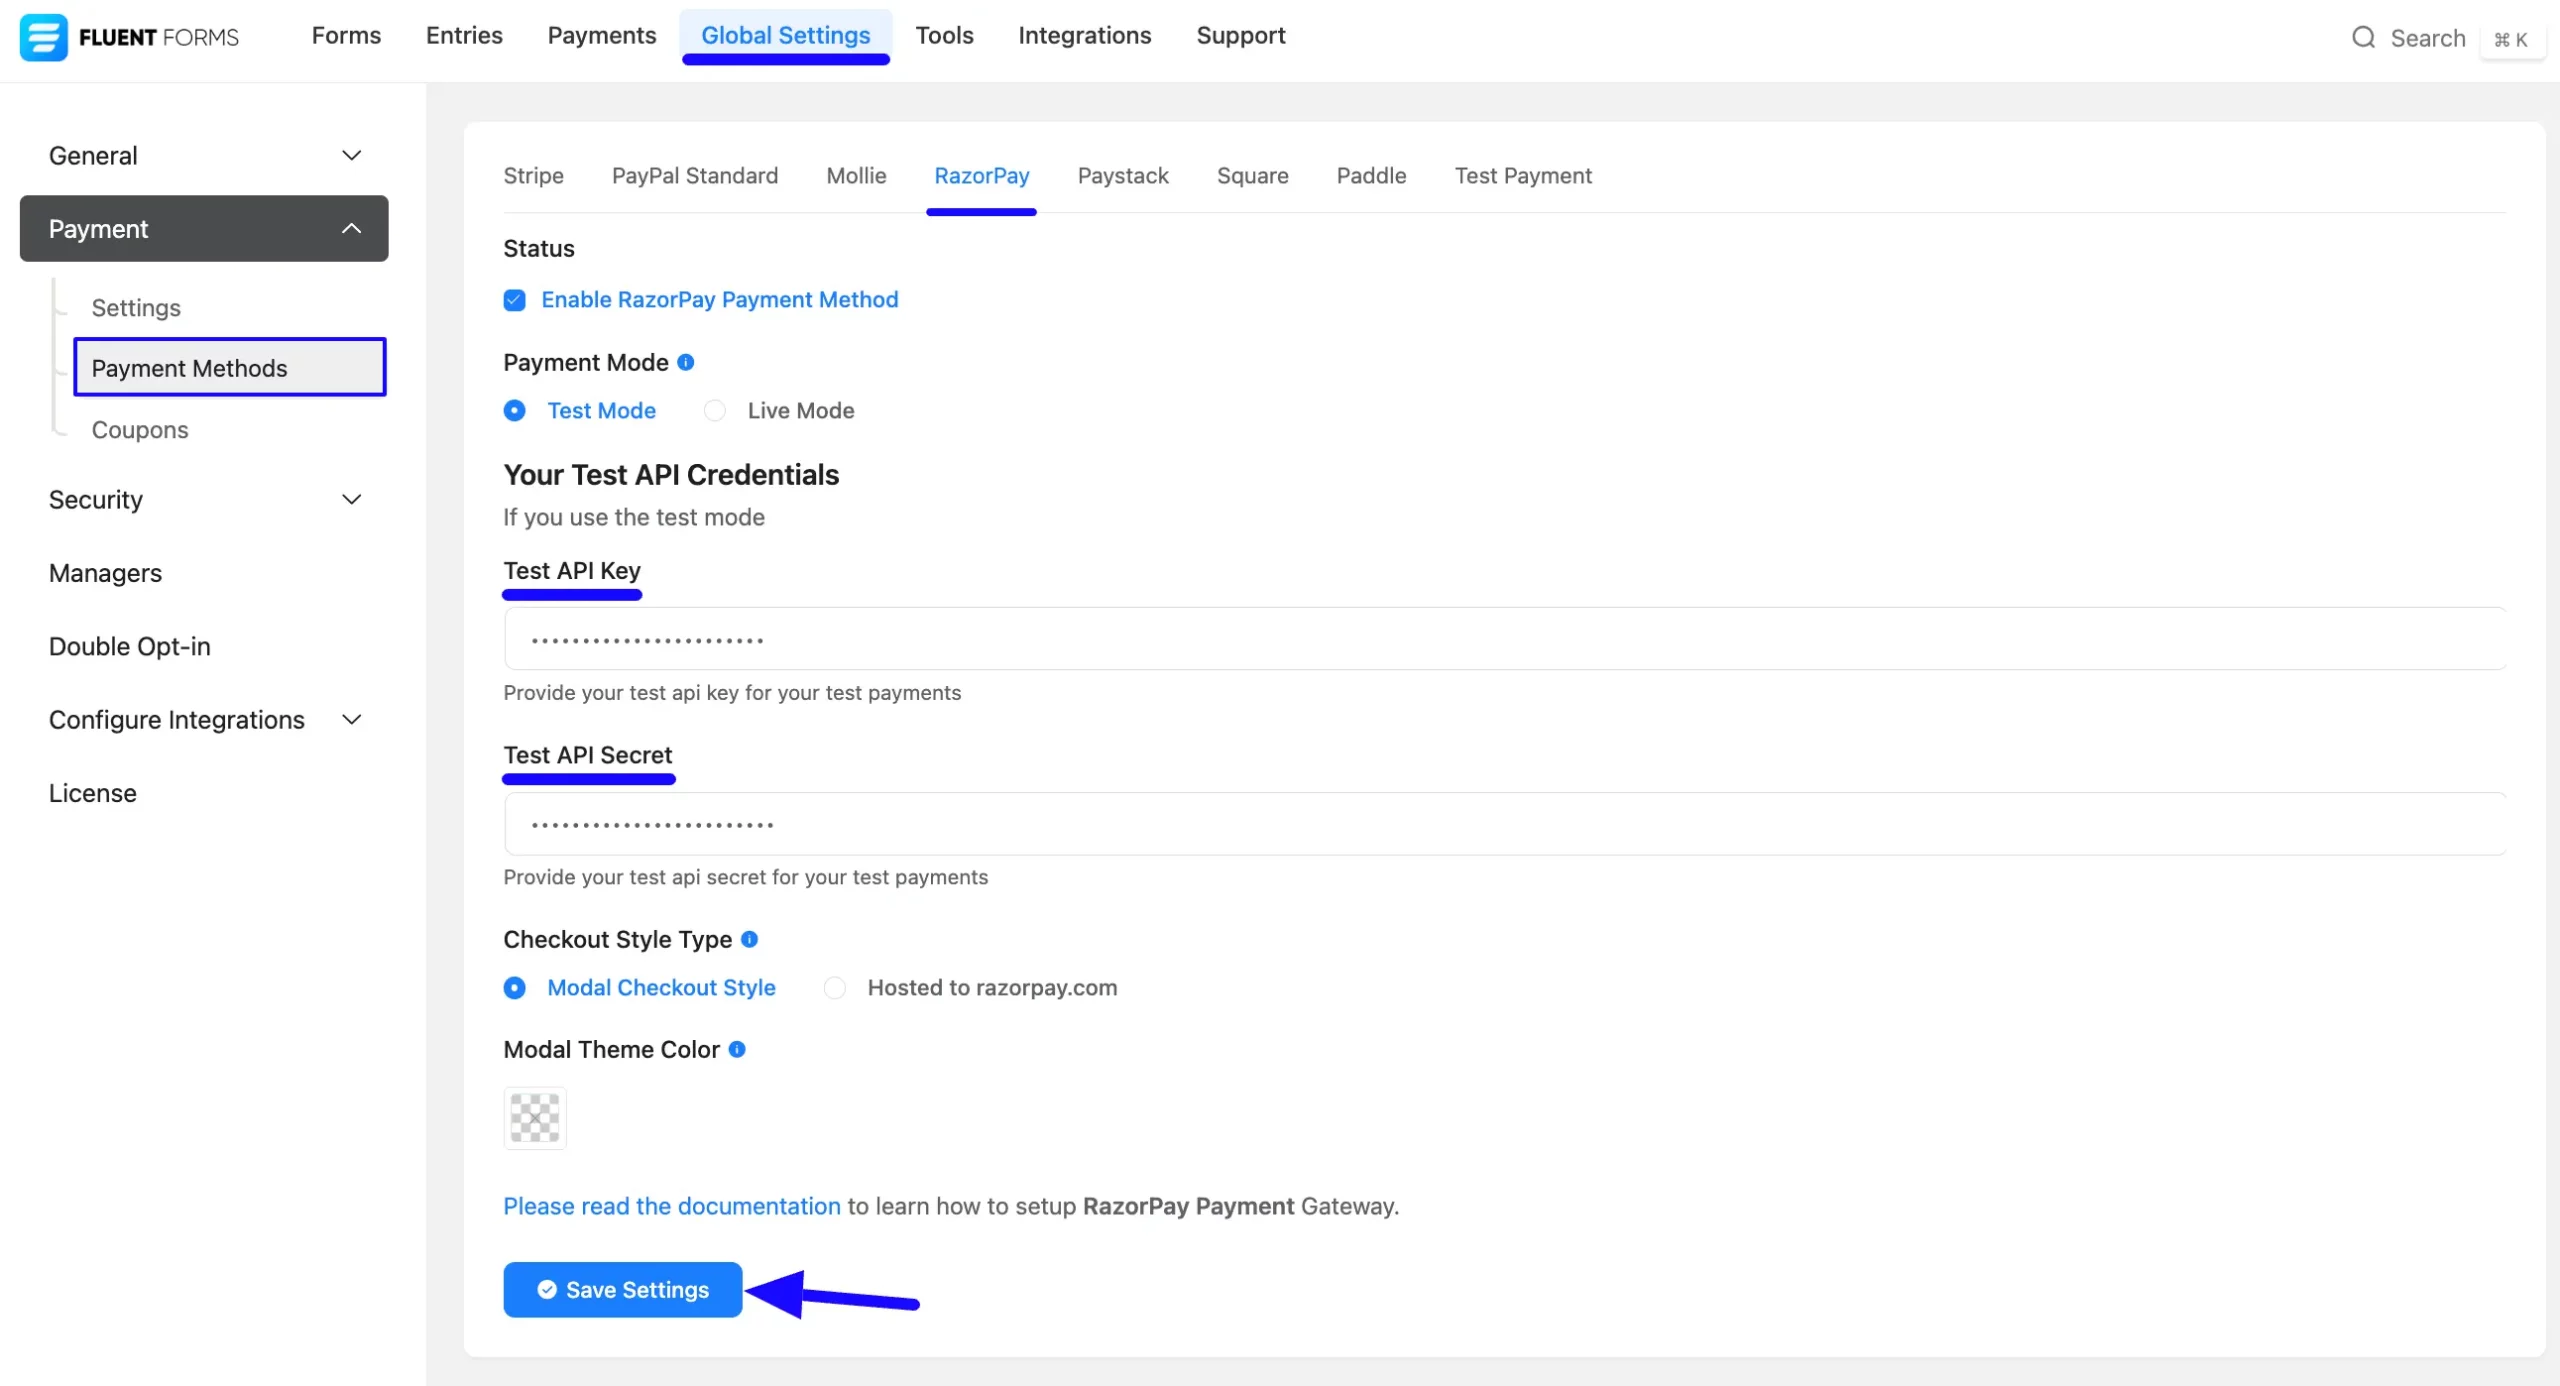
First, go to Global Settings from the Fluent Forms Navbar, open the Payment tab from the left sidebar, and click the Payment Methods option.
Now, go to Razorpay in the top navbar and click Enable Razorpay Payment Method. The Razorpay Payment Method will be enabled globally for all forms.
Configure Razorpay with Fluent Forms #
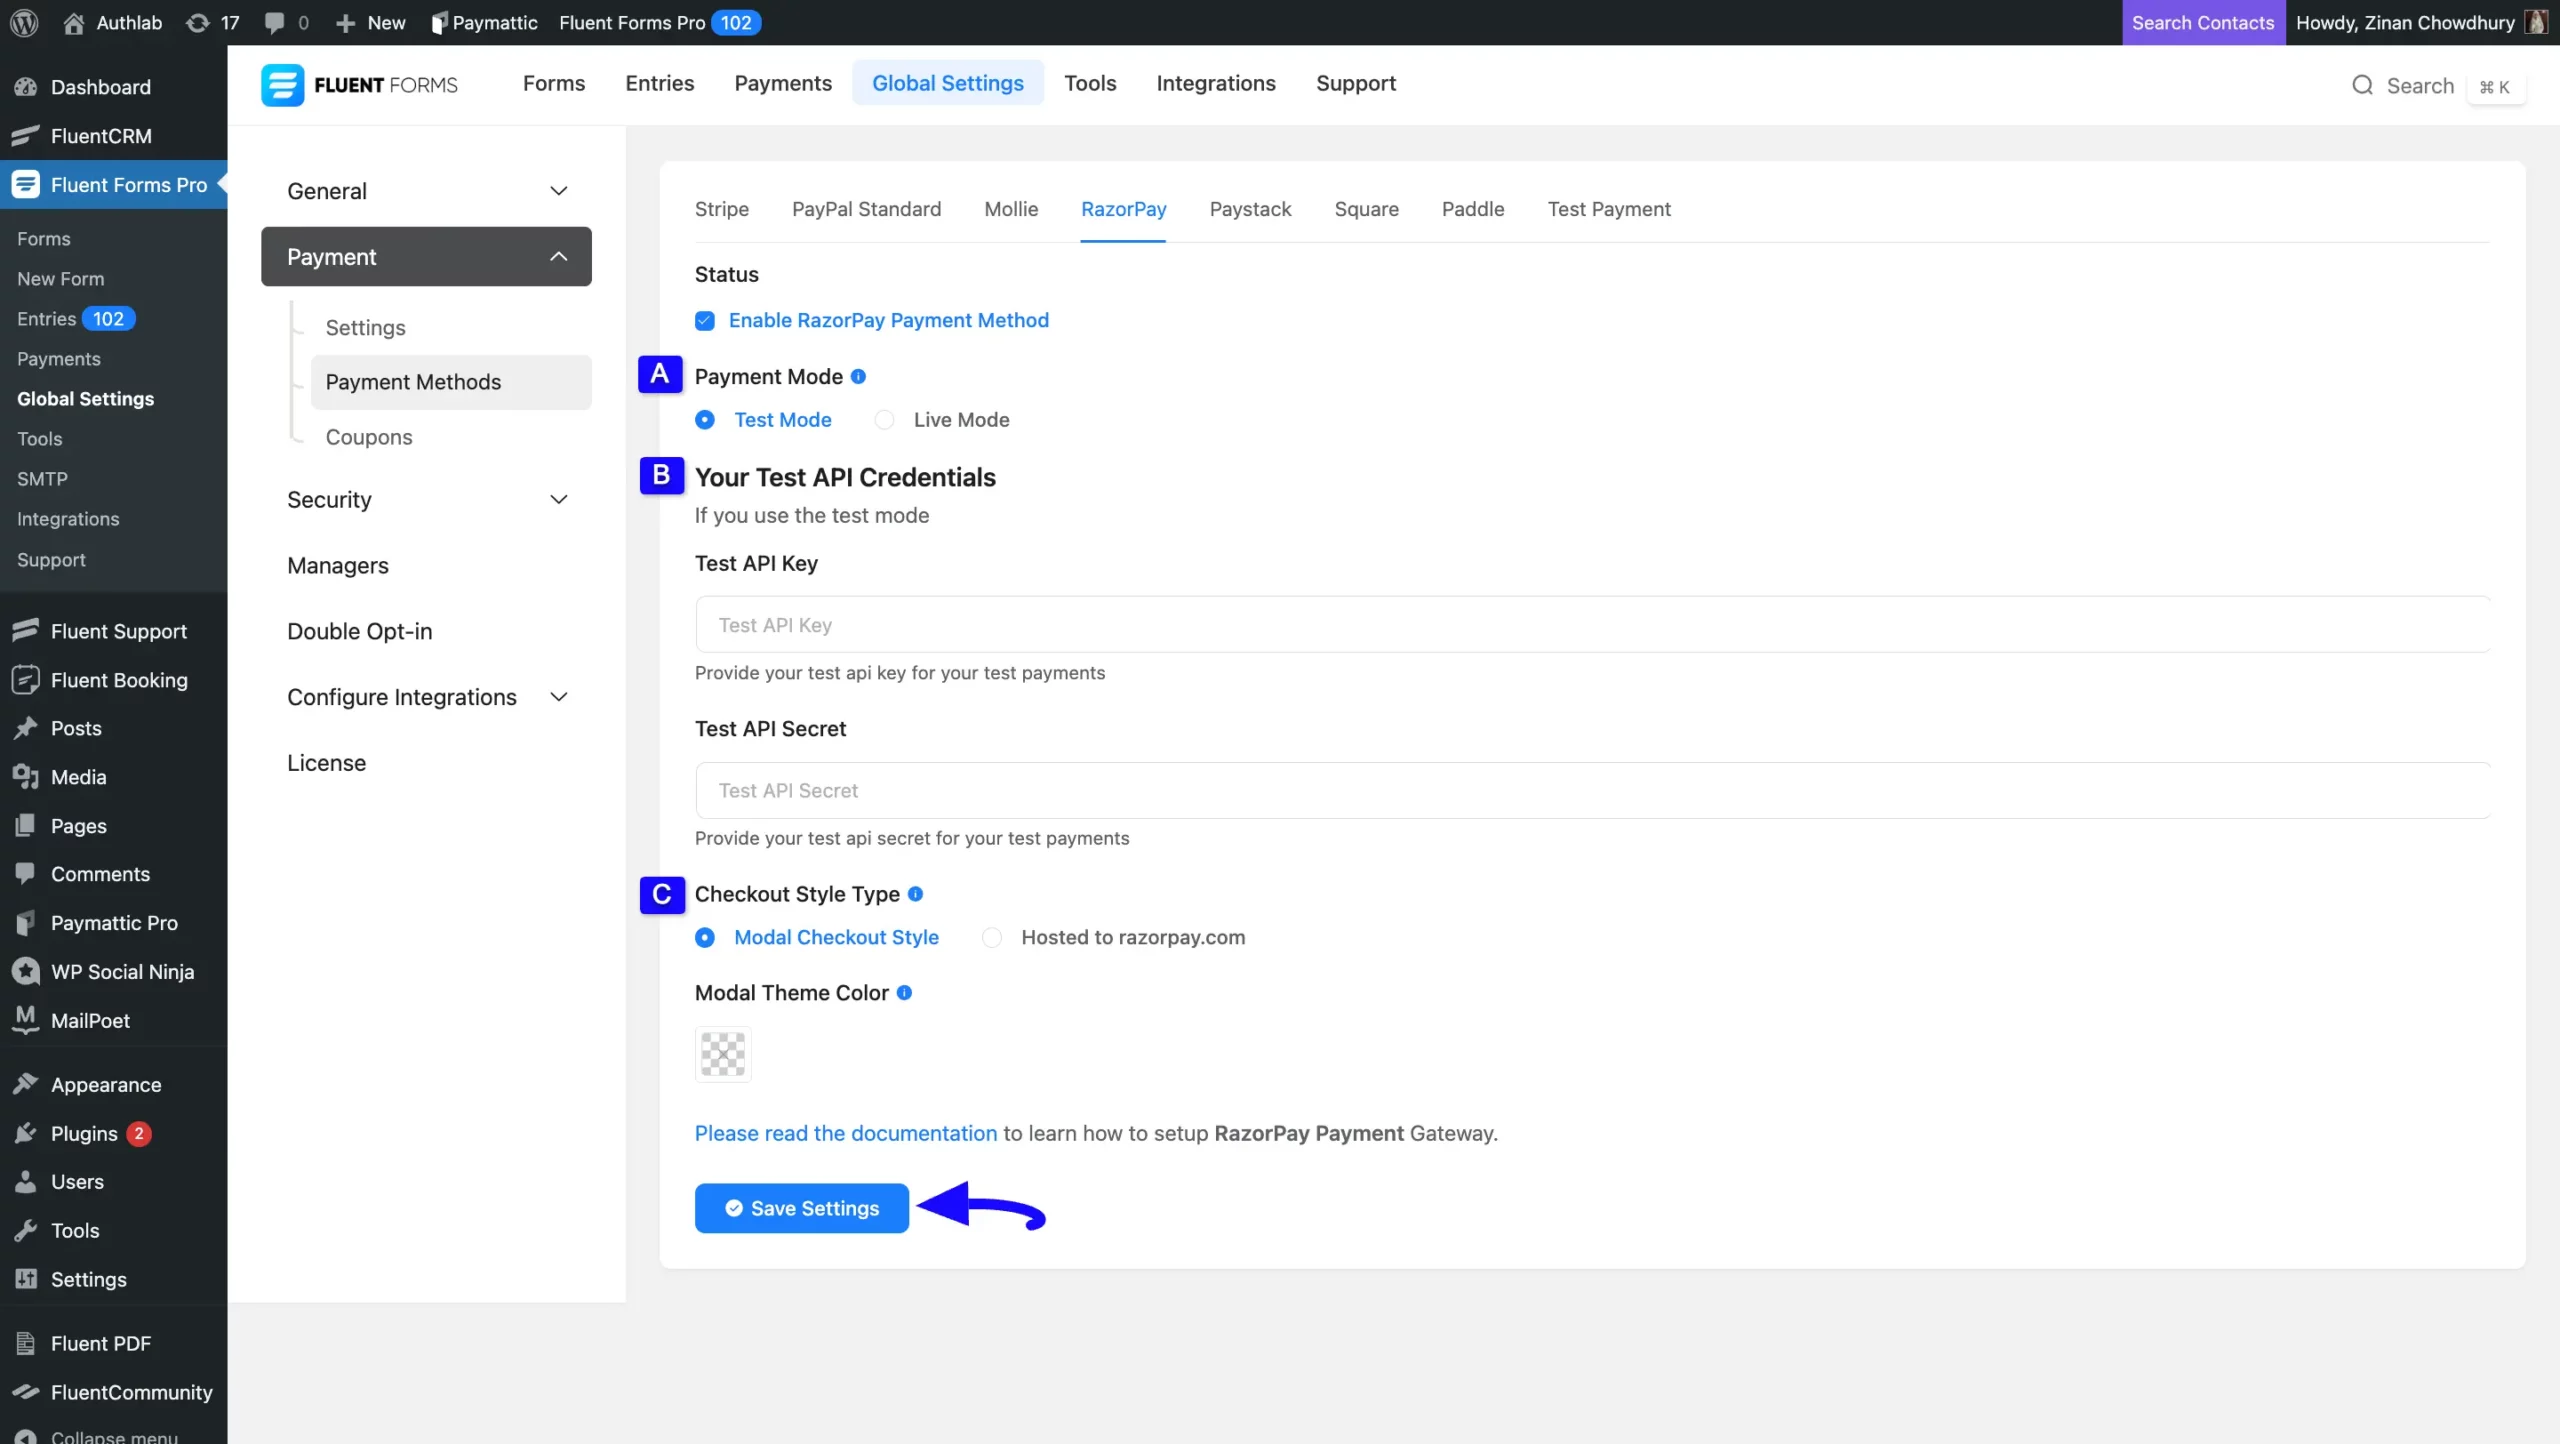
Once you enable Razorpay, all the required settings will appear to configure Razorpay with Fluent Forms. These are:
A. Payment Method
B. API Credentials
C. Checkout Style
Always press the Save Settings button to save the changes you made.
All the Razorpay Settings options mentioned above are briefly explained below:
A. Payment Method #
Before starting the configuration, select any Payment Mode between Test (for test payments) and Live (for real payments) as both options follow the same process, e.g., I choose the Test Mode.
B. API Credentials #
Here, you need to provide the API Key and API Secret from your Razorpay Account to configure Razorpay with Fluent Forms.
To learn how to get all the required API Credentials from your Razorpay, follow the steps with screenshots below –
Get the API Credentials from Razorpay #
First, log into your RazorPay Account. If you do not have an account, sign up from here.
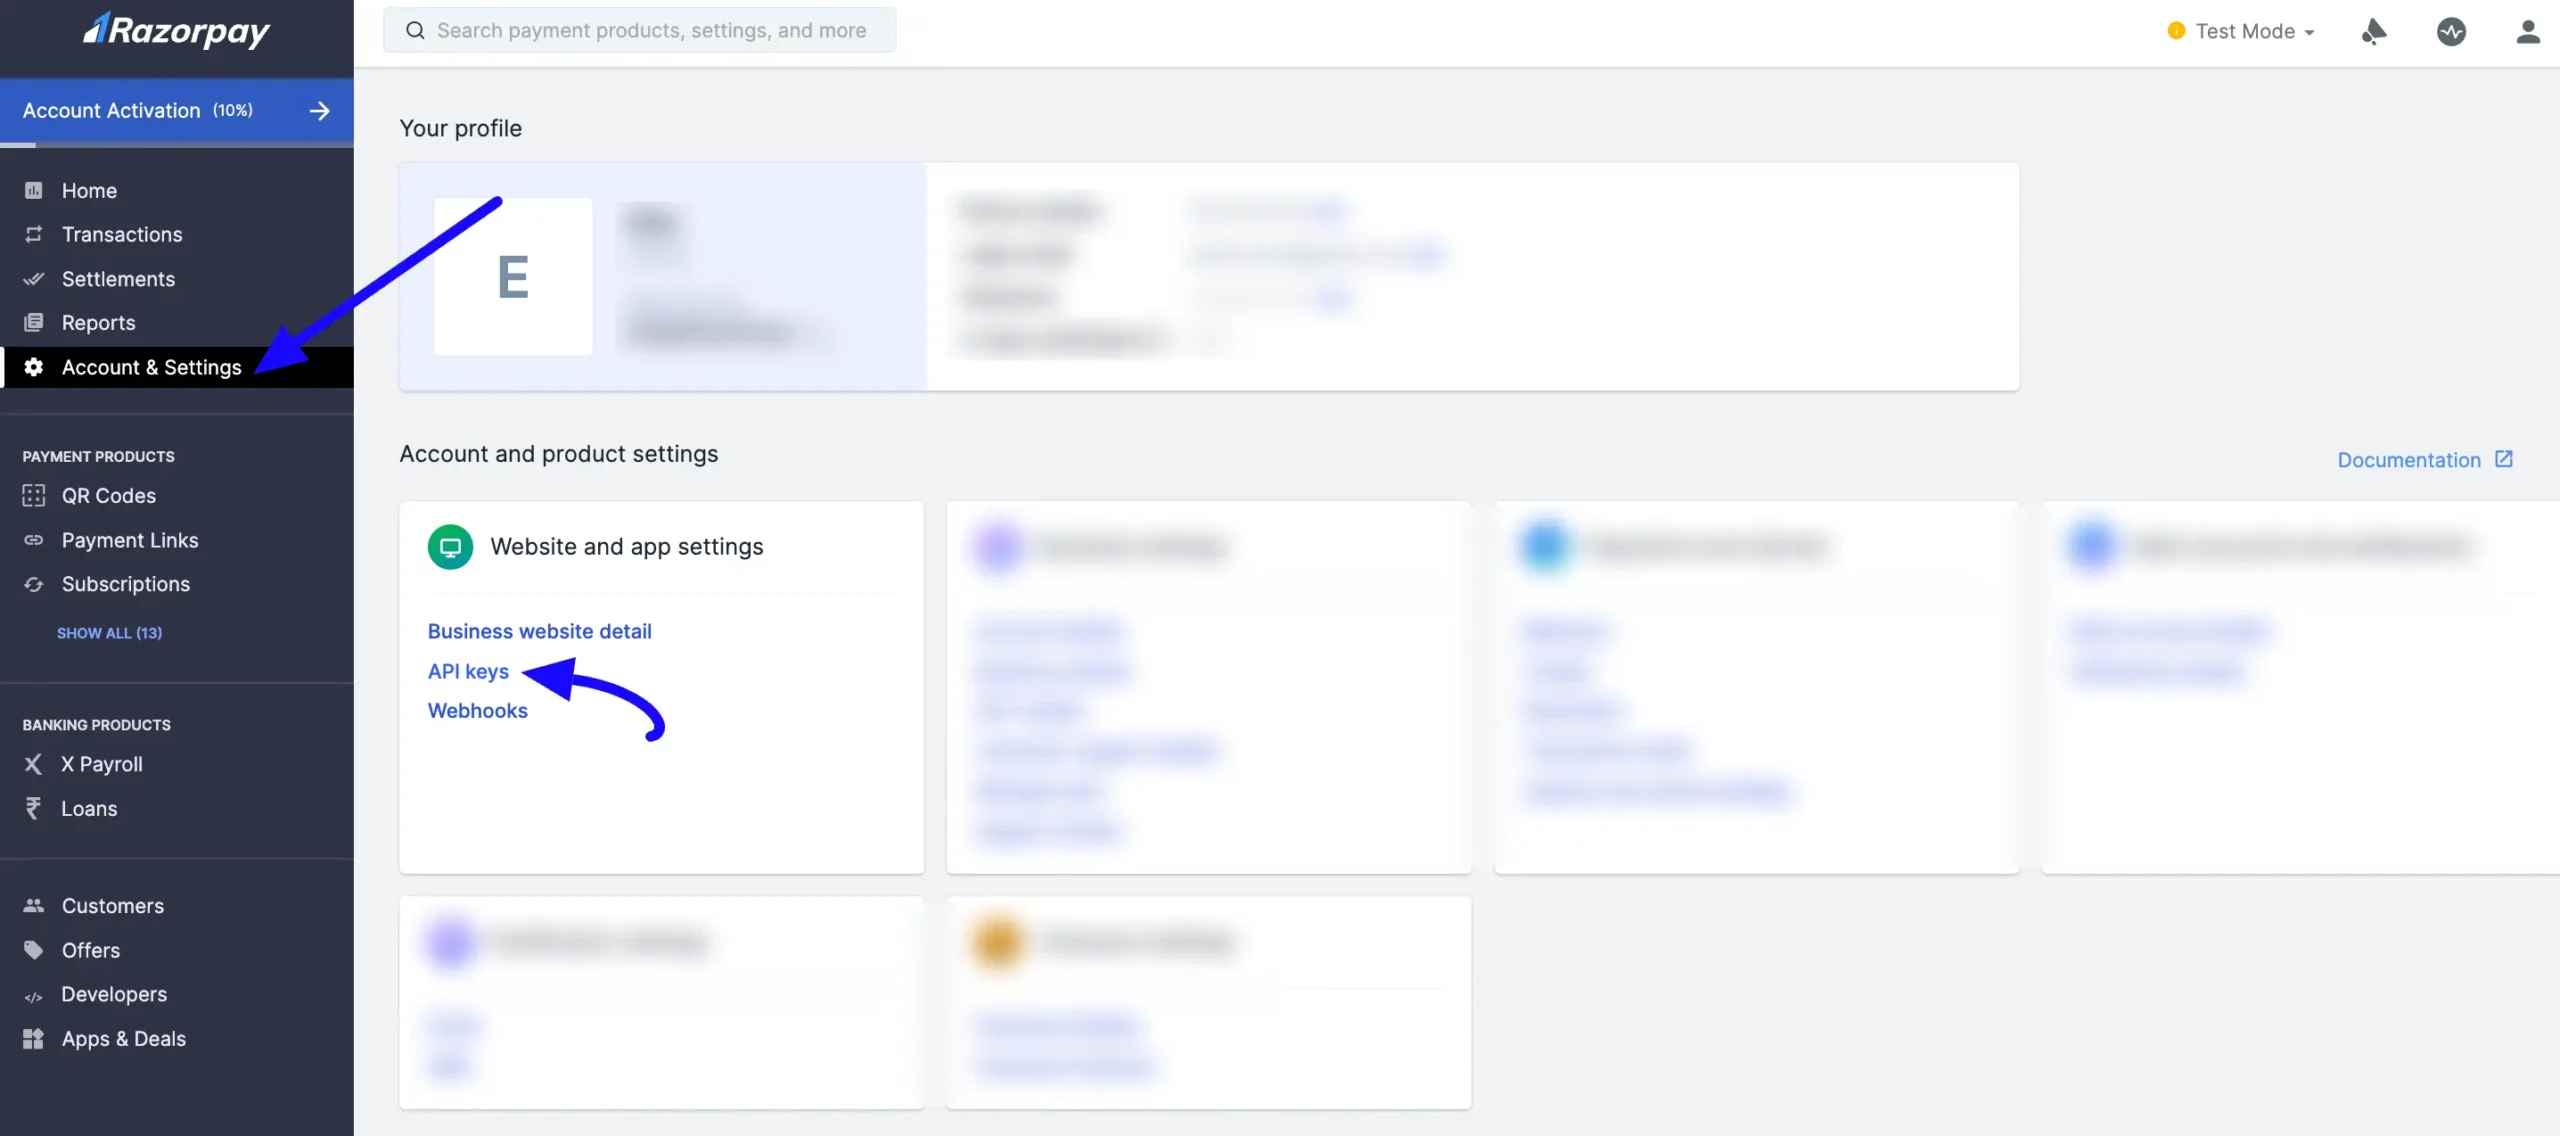
Once you log in to the RazorPay Dashboard, go to the Accounts & Settings section from the Left sidebar, and click the API keys tab.
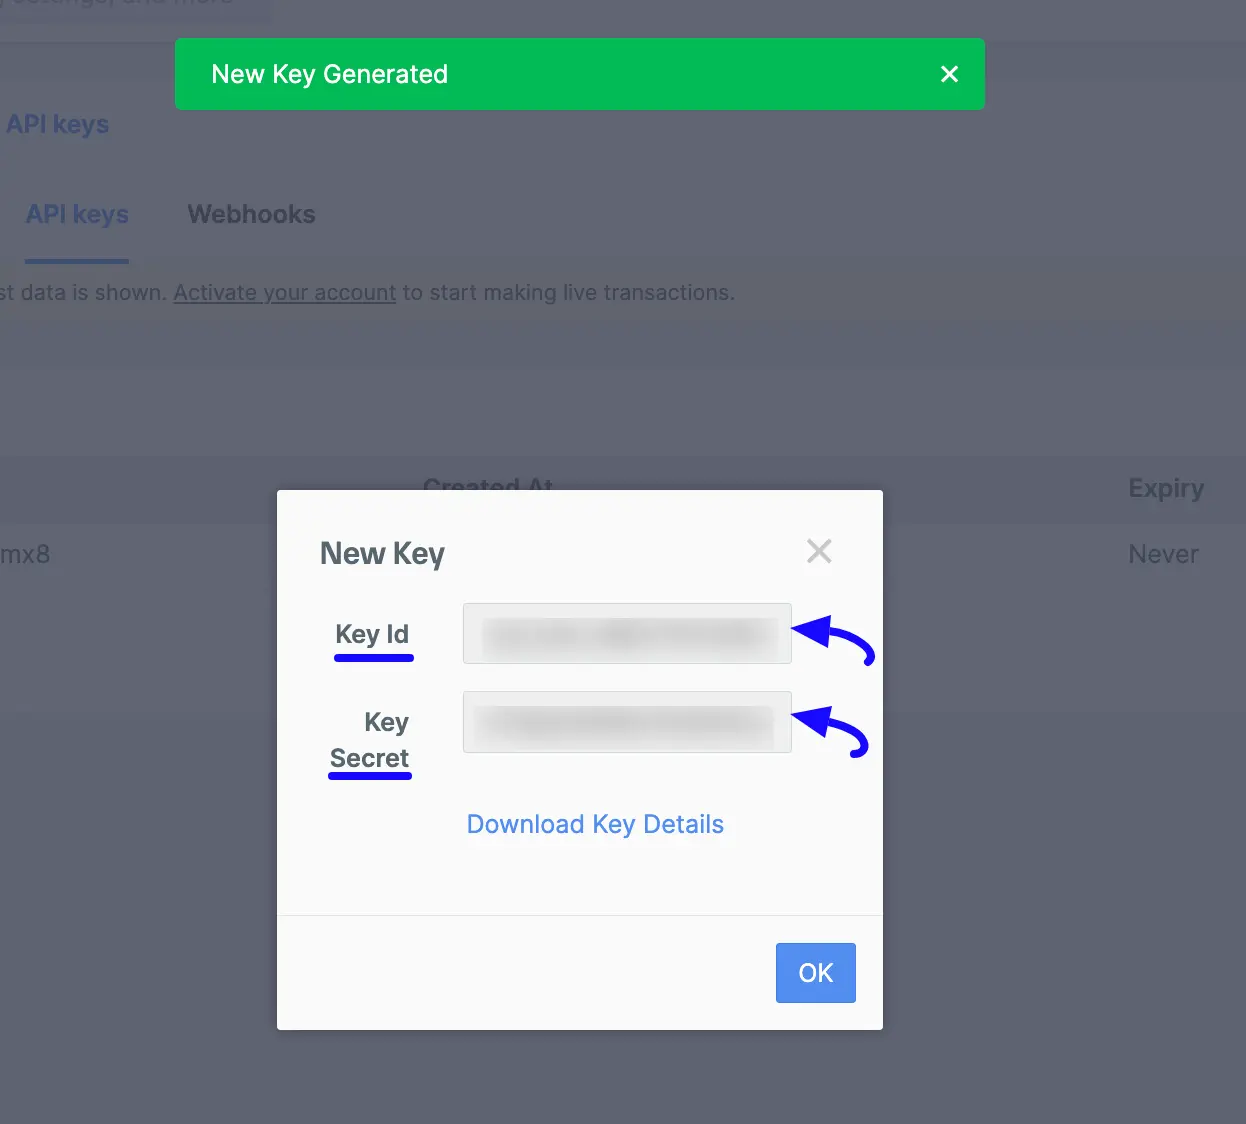
To get the Key ID and Key Secret, you need to generate a new key.
Click the Regenerate Test Key button and new keys will be generated for the configuration.
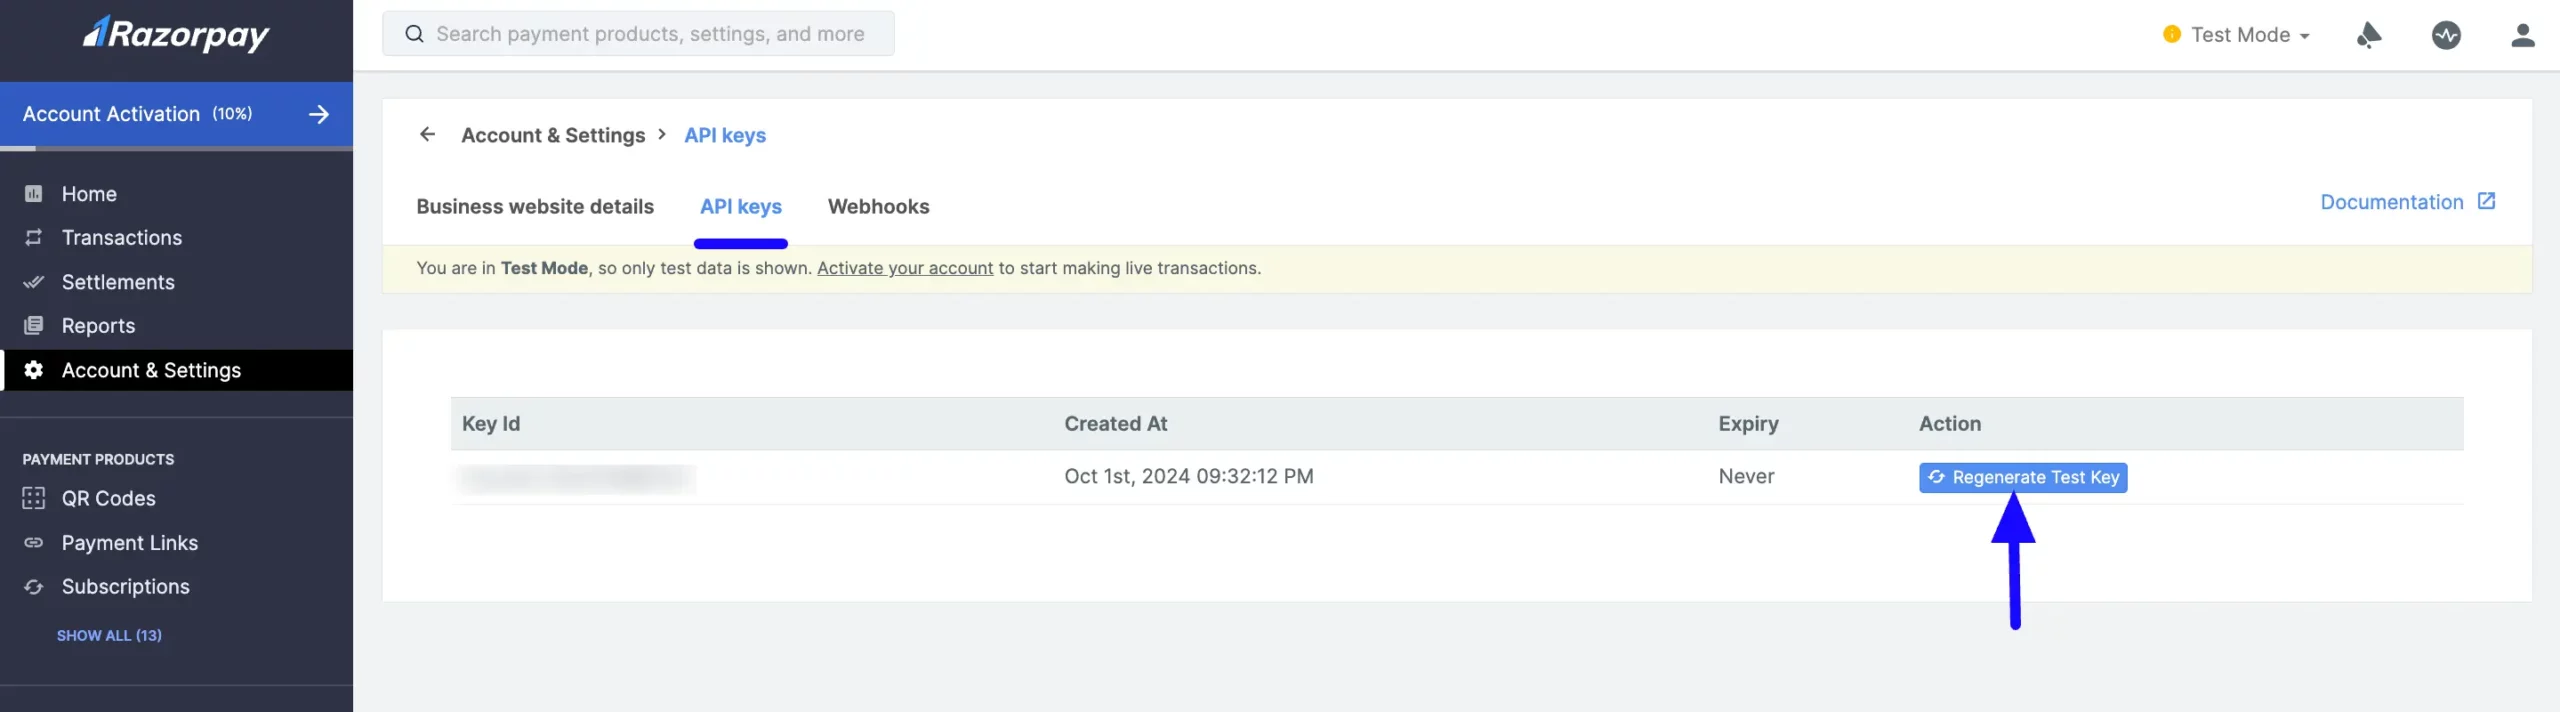
Here, you will get your desired Key ID and Key Secret, and copy them.
Now, return to the Razorpay Payment Method Settings from the Global Settings section of Fluent Forms.
Then, paste the Key ID and Key Secret into the API Key and API Secret fields respectively.
Finally, press the Save Settings button and your Razorpay account will be configured with Fluent Forms for your WordPress Site.
C. Checkout Style Type #
Fluent Forms offers the following two different checkout styles. You can choose the Checkout Style Type based on your preferences.
- Modal Checkout Style
- Hosted to razorpay.com
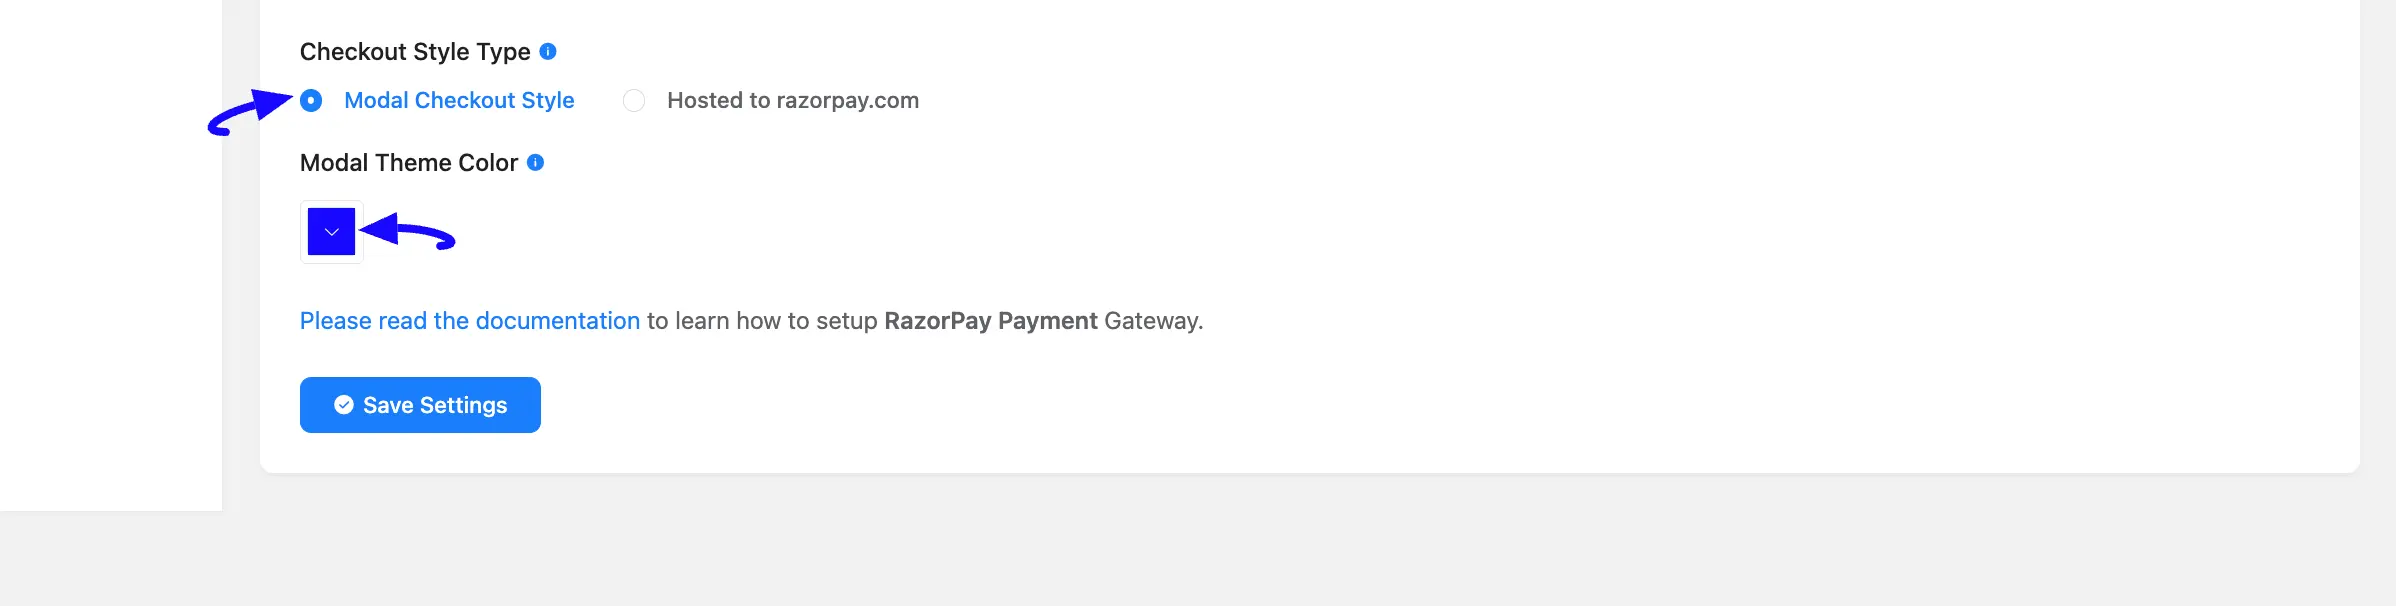
Modal Checkout #
This checkout style lets you collect payments on your site.
You can also choose a custom brand theme color for the Razorpay checkout popup or leave it blank to use the default Razorpay theme.
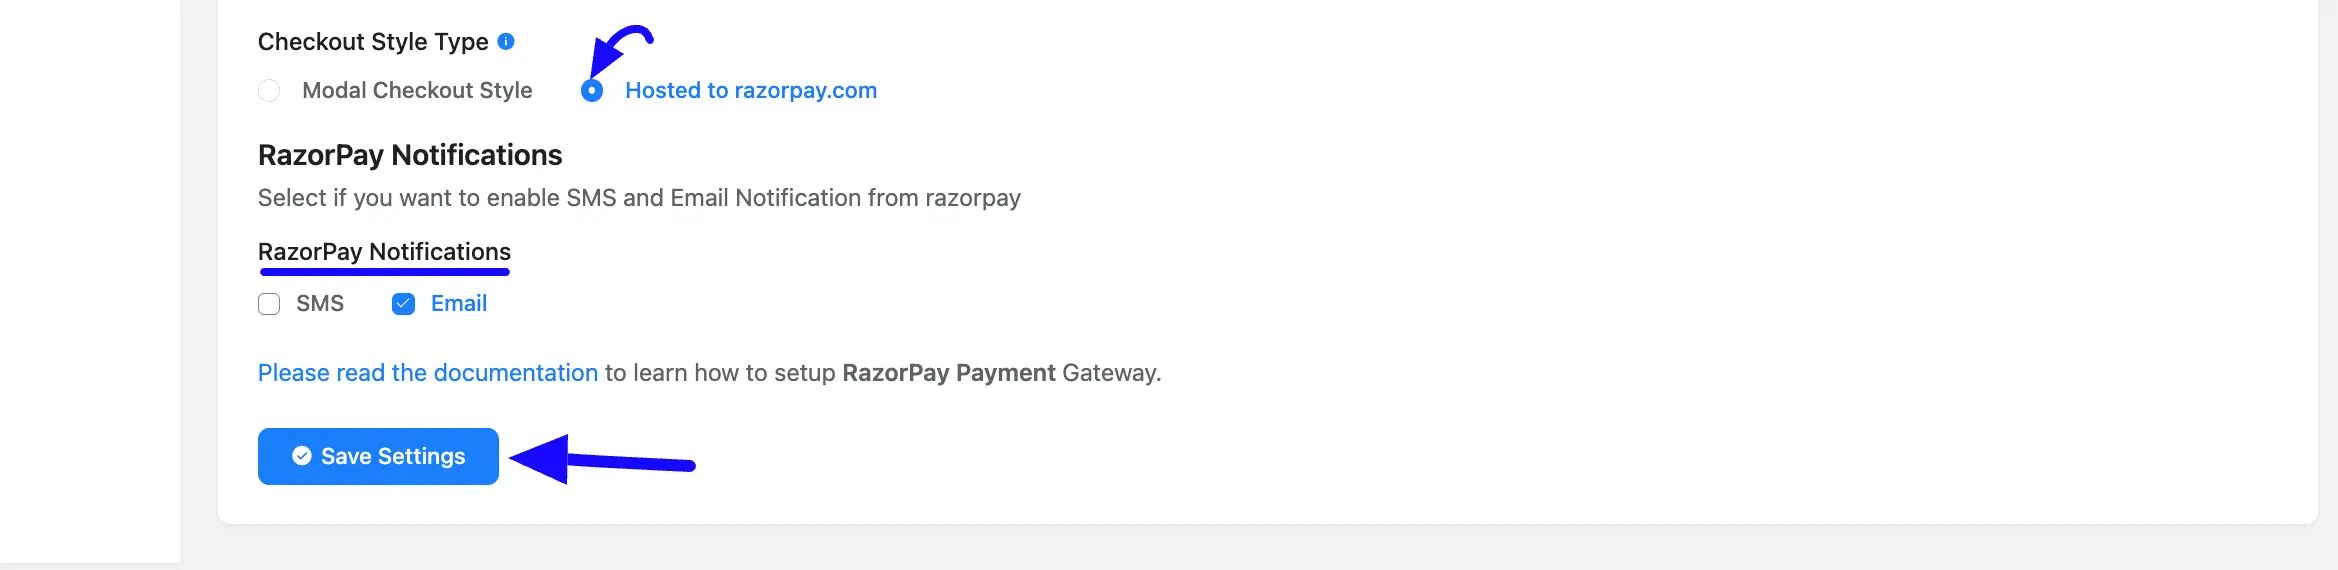
Hosted to razorpay.com #
This checkout style redirects users to the RazorPay Website for checkout.
Also, using this setting option, you can configure the SMS and Email notifications from RazorPay to your WordPress Site to ensure you stay updated.
You can select both SMS and Email, or any one of them by simply checking the boxes to receive notifications.
Remember, always press the Save Settings button to save the changes you made.
Integrate Razorpay in Forms #
Once you finish setting up your Razorpay payment method, you can easily add this payment method to any of your existing Payment Forms (i.e., a form where Payment Item and Payment Method fields are added).
If you do not have any existing Payment Forms, read this Documentation to learn how to create one.
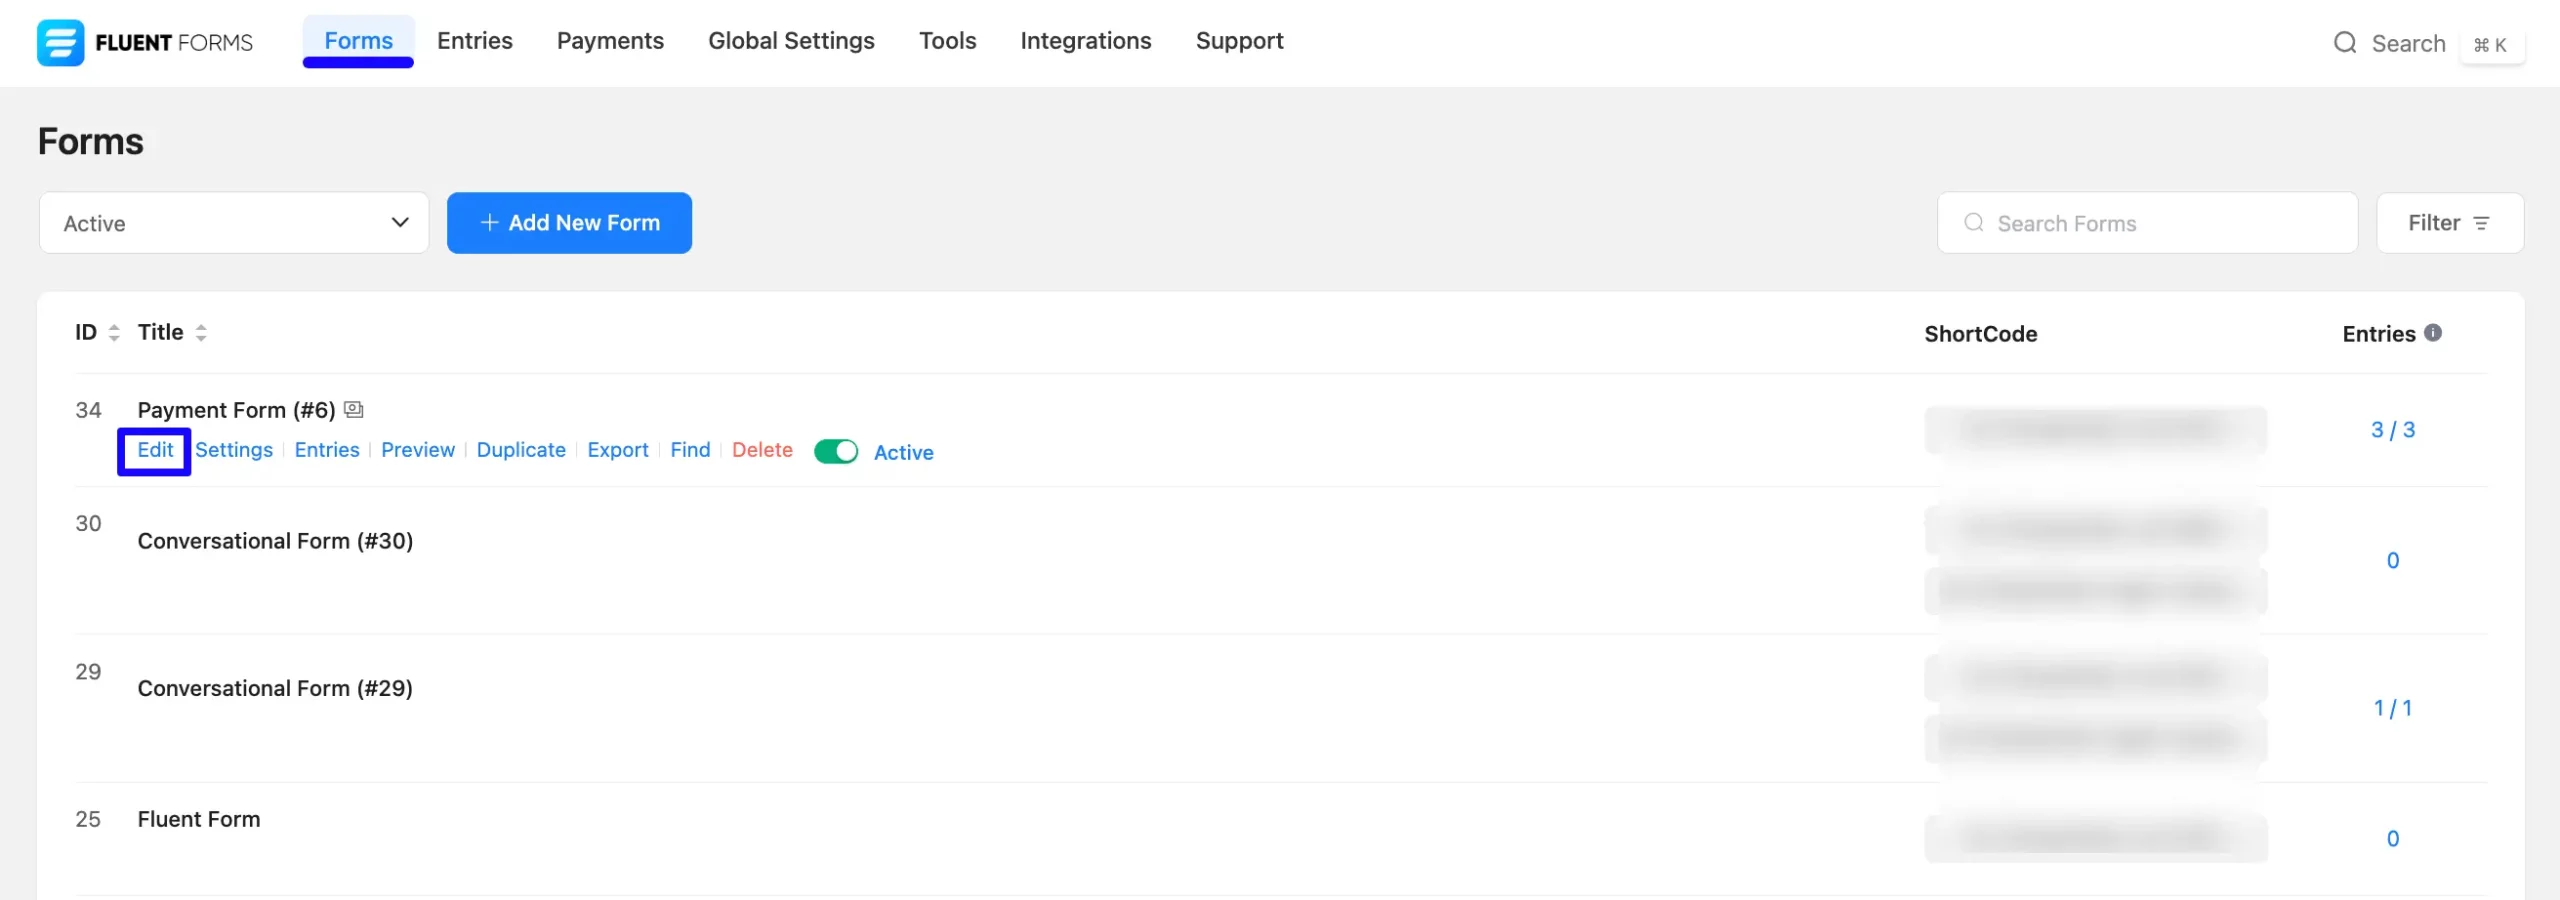
First, go to the Editor page of your desired form by clicking its Edit option.
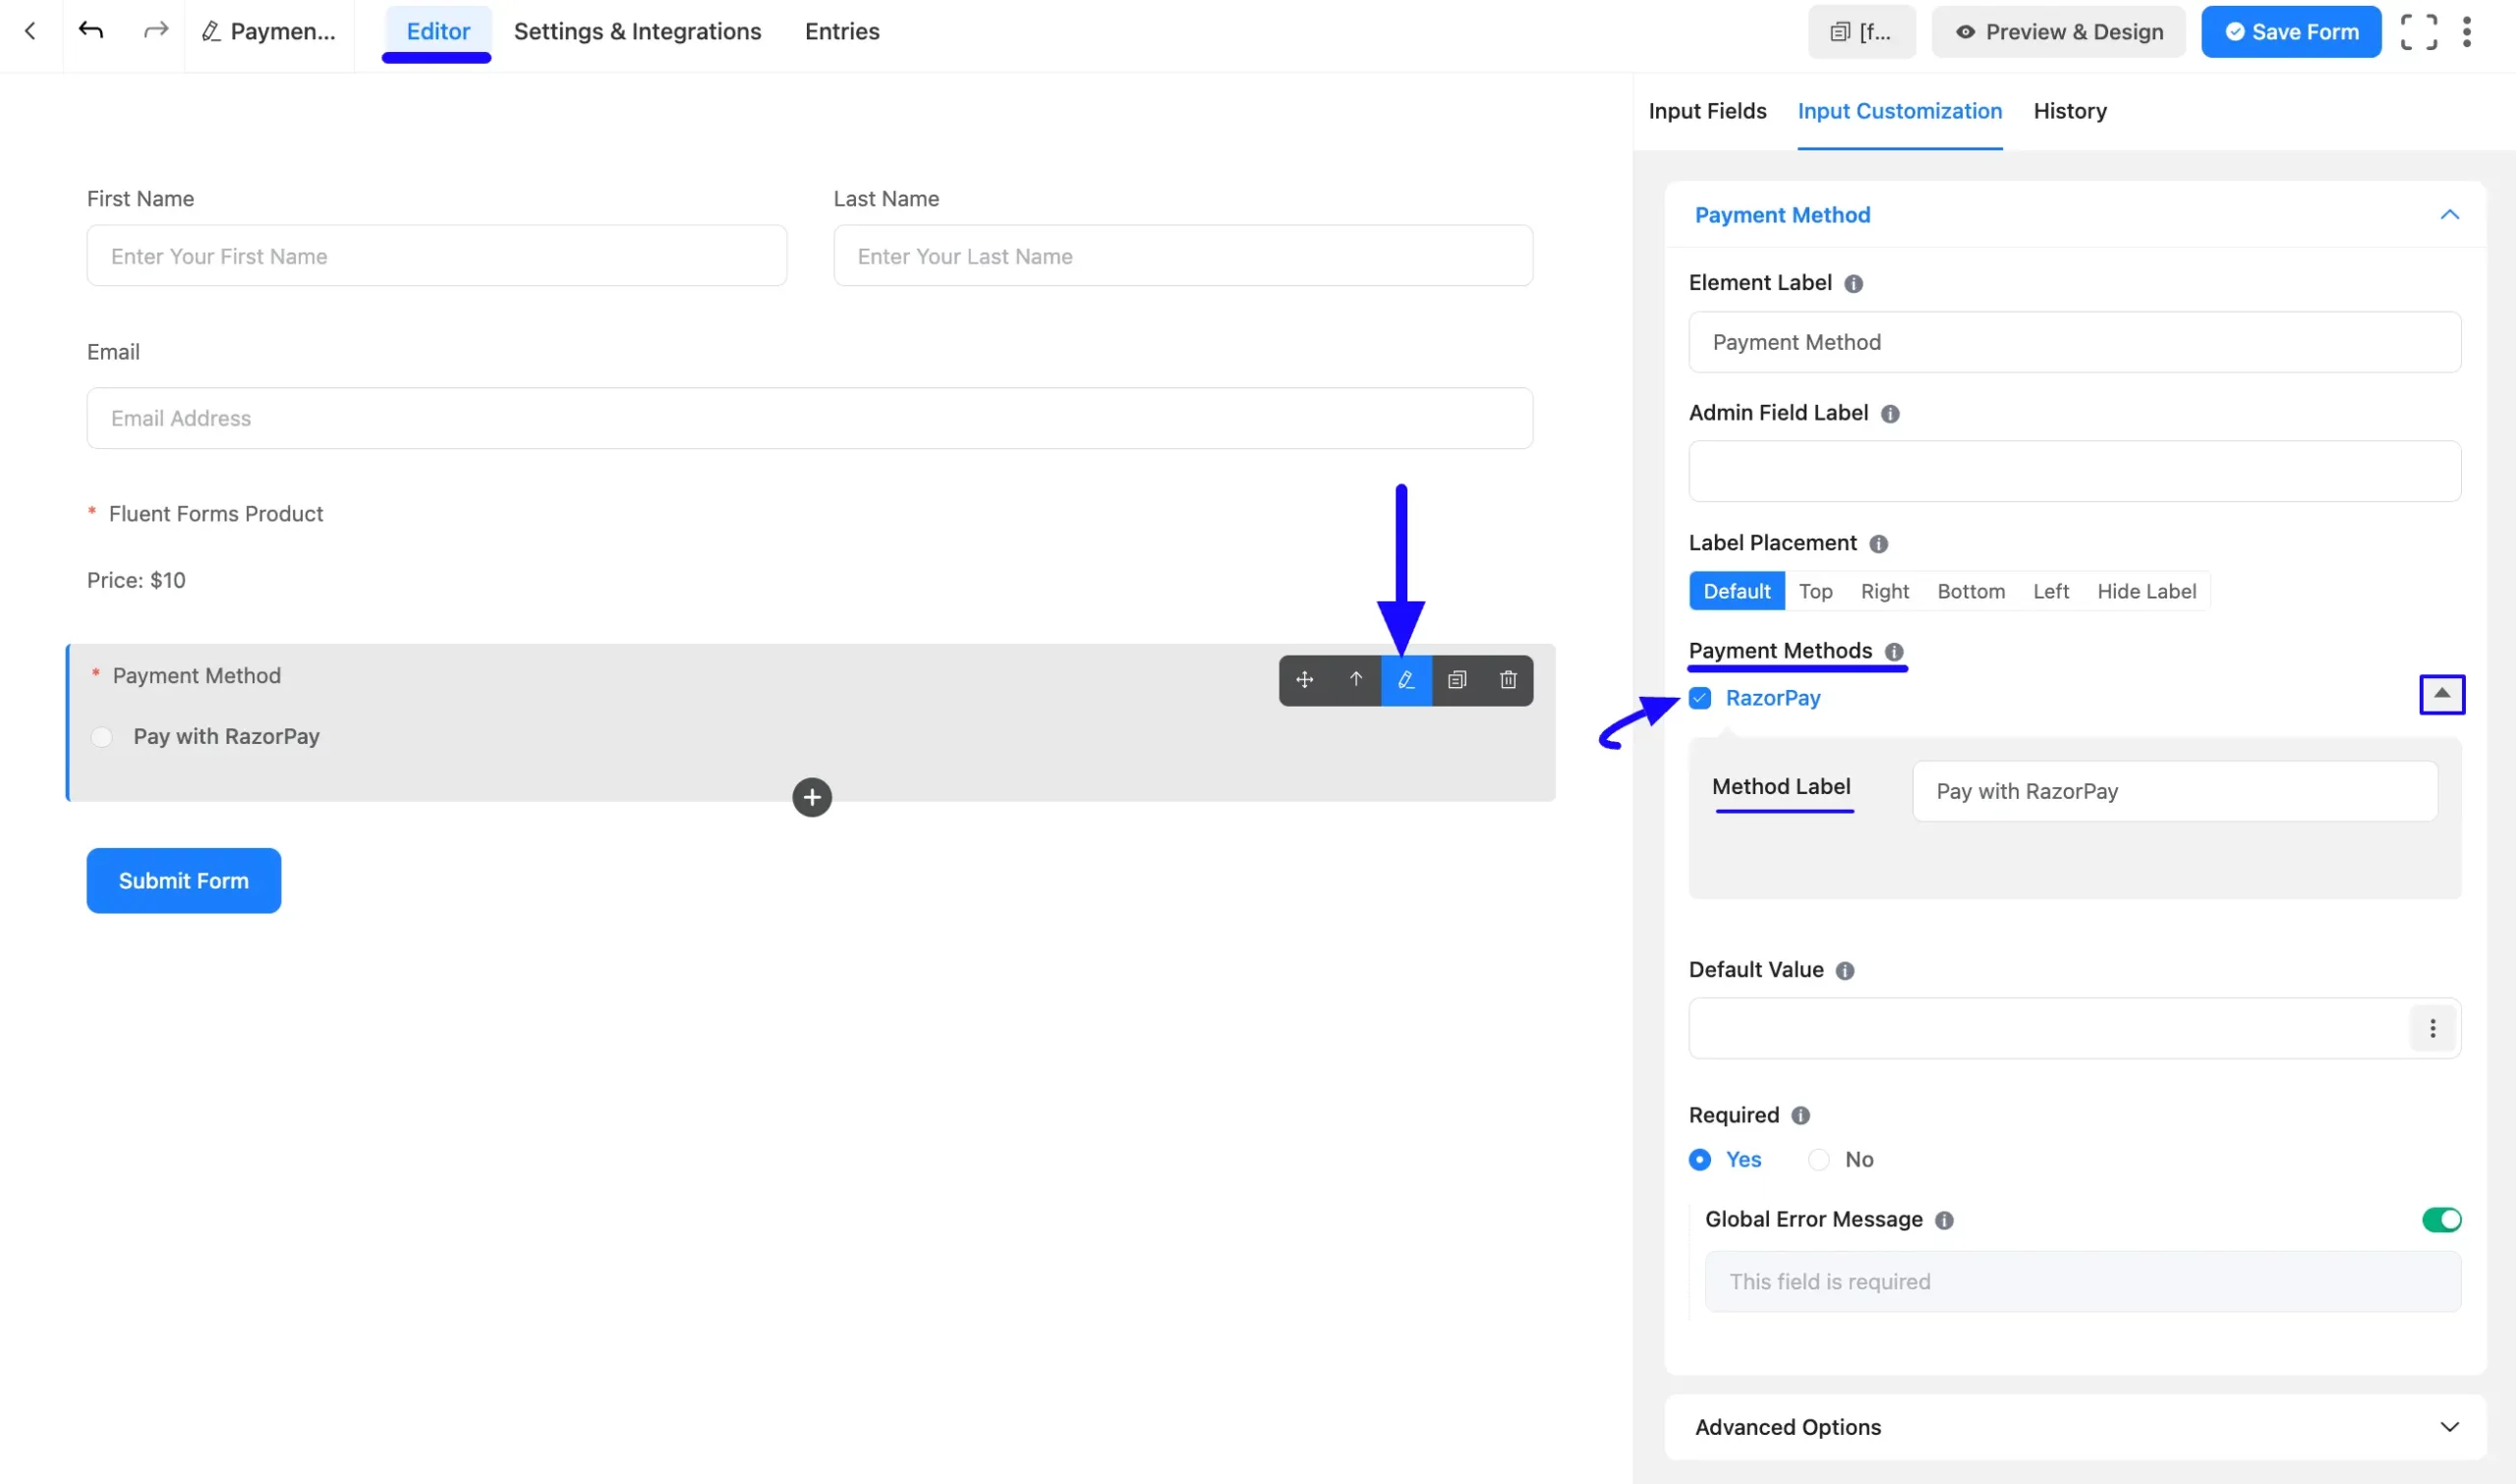
Once you are on the Editor page, go to the Input Customization menu on the right side of the added Payment Method field by clicking the Pencil Icon.
Now, go to the Payment Methods, check the Razorpay option, click the Dropdown Arrow, and you will get the option to change the Method Label based on your preference.
To learn more details about the Payment Method field, read this Documentation.
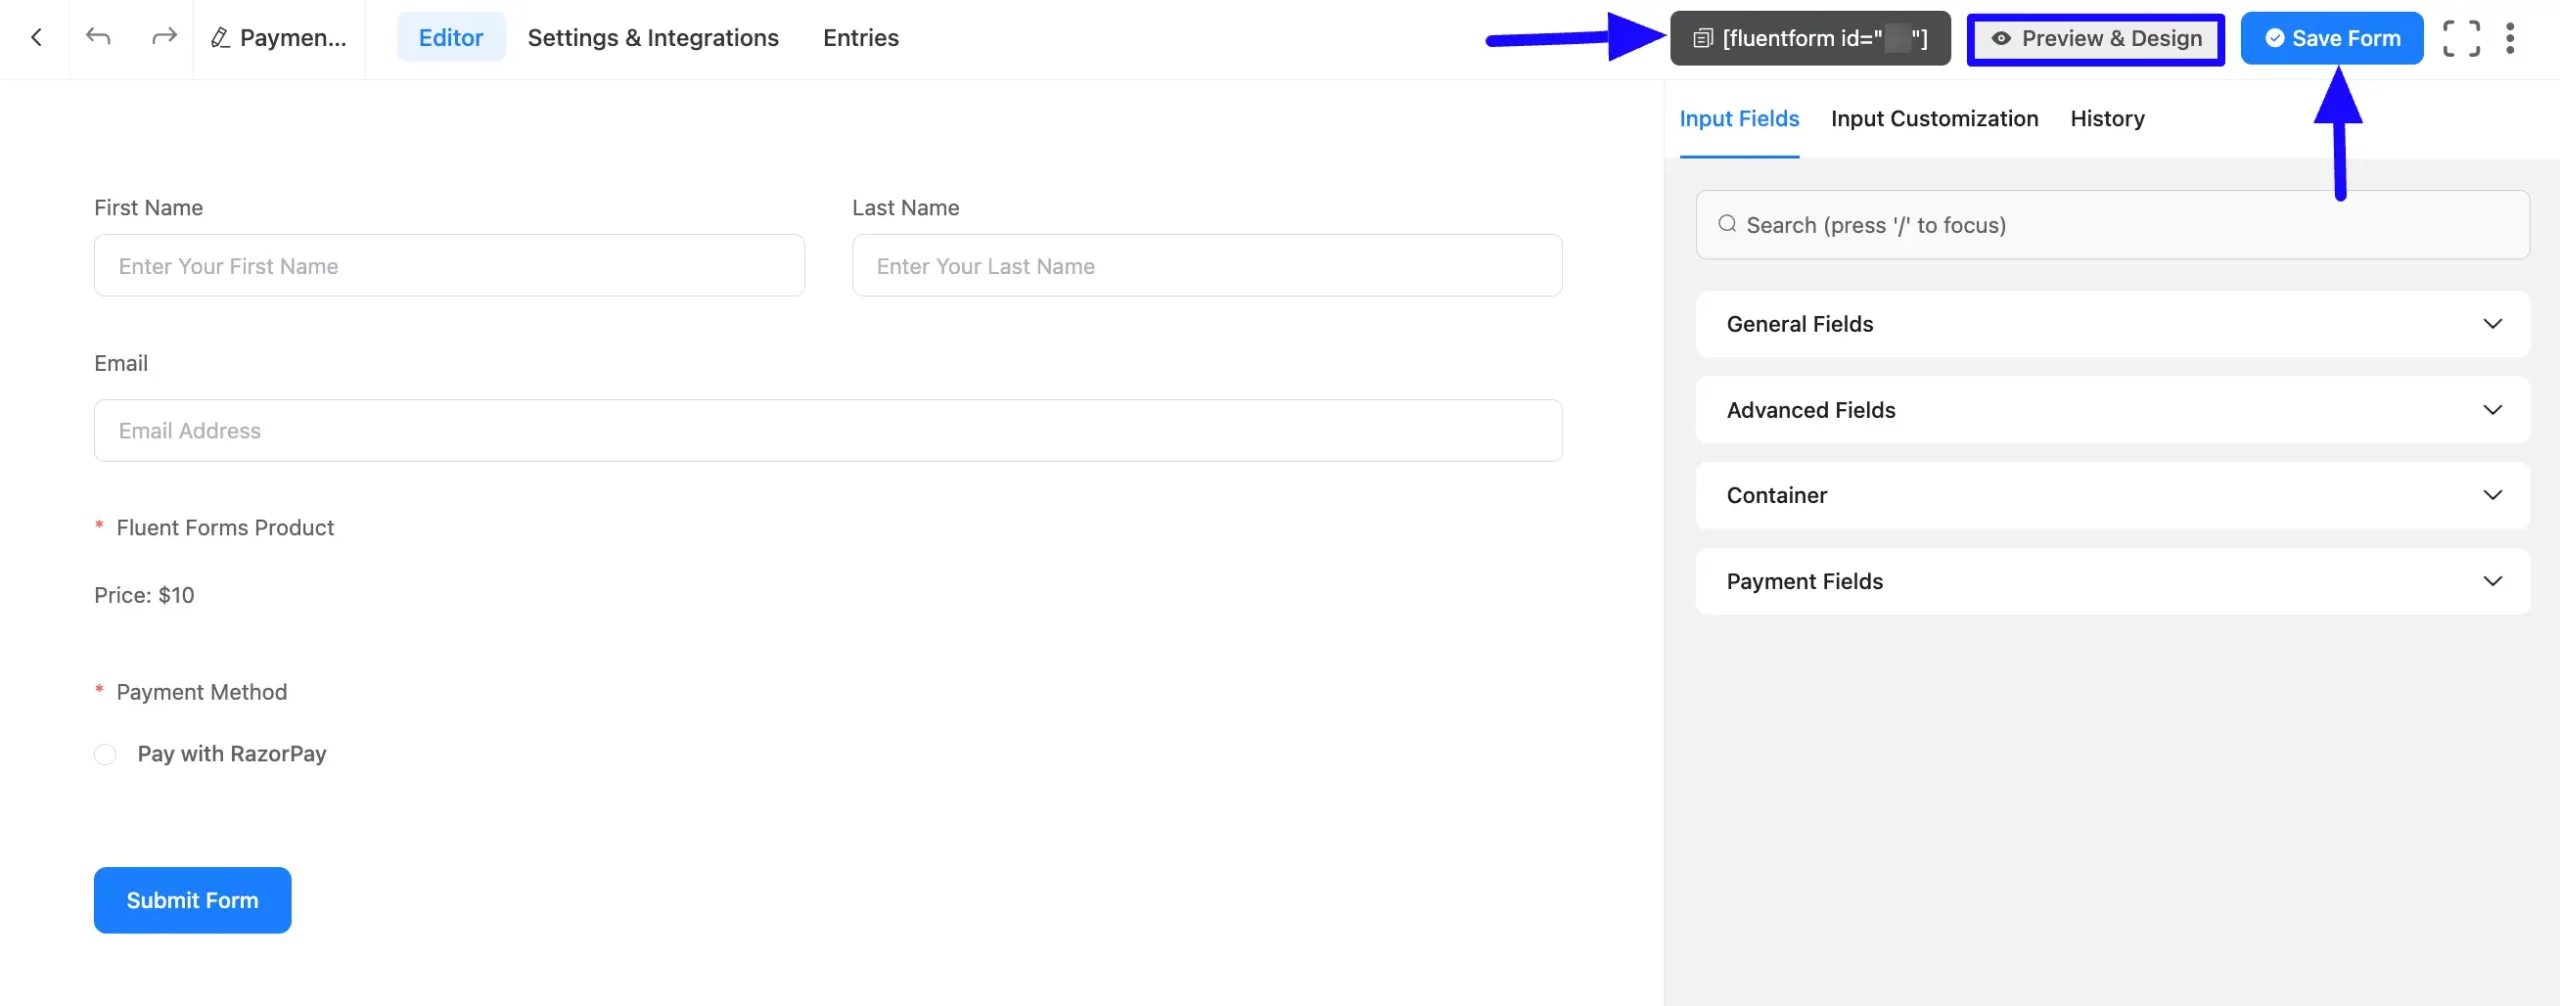
Once you complete the edit, press the Save Form button to save all the changes.
Now, to embed and display the form on a specific Page/Post, copy this Shortcode from the top right side and paste it into your desired Page/Post.
Also, to see the Preview of the form, click the Preview & Design button in the middle.
Preview of Added Payment Method #
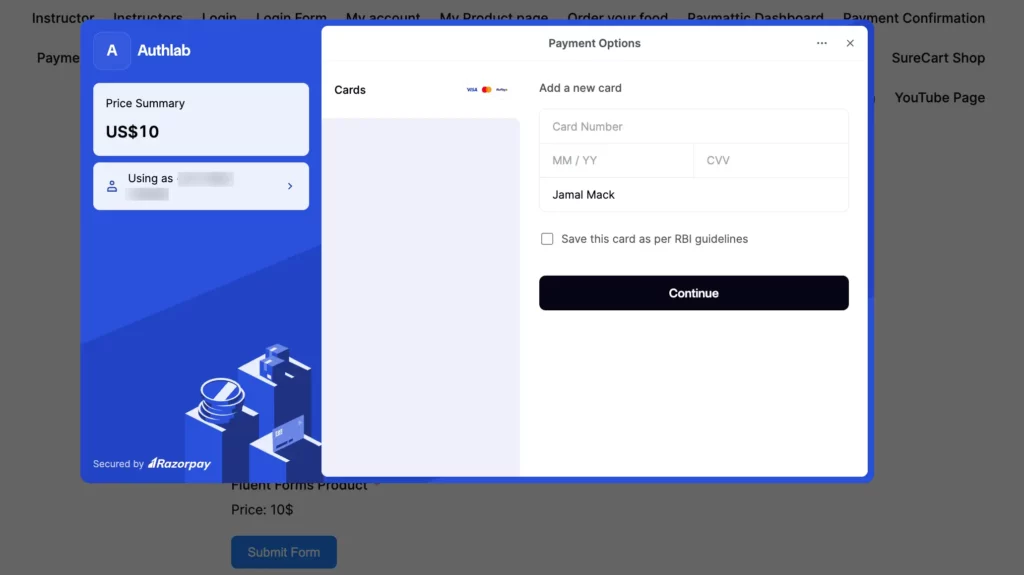
Here is the preview of the Payment Method that we just added. Once a user clicks the Submit Form button it will redirect to Razorpay to complete the payment process.

Here is the preview of the Razorpay Checkout Modal.
If you have any further questions, concerns, or suggestions, please do not hesitate to contact our @support team. Thank you.


